1 — Pre-pressing and Interfacing
Before you start sewing, we recommend block fusing some pattern pieces. Block fusing is a fusing technique whereby you apply your interfacing to a section of fabric prior to cutting out the pattern pieces. It helps avoid interfacing slippage and stops your pattern pieces from stretching out of shape, and therefore ensures accuracy. It also means you only need to cut your pieces out once. Block fusing does require you to group all the pattern pieces requiring interfacing together when you cut out your pattern however, so you may require additional fabric.
If you do not wish to block fuse, you can piece fuse these pattern pieces. This means cutting out each pattern piece in both interfacing and your main fabric and then applying the interfacing to each piece separately. If you choose to piece fuse keep your pattern pieces close by for reference and make sure they don’t stretch out of shape.

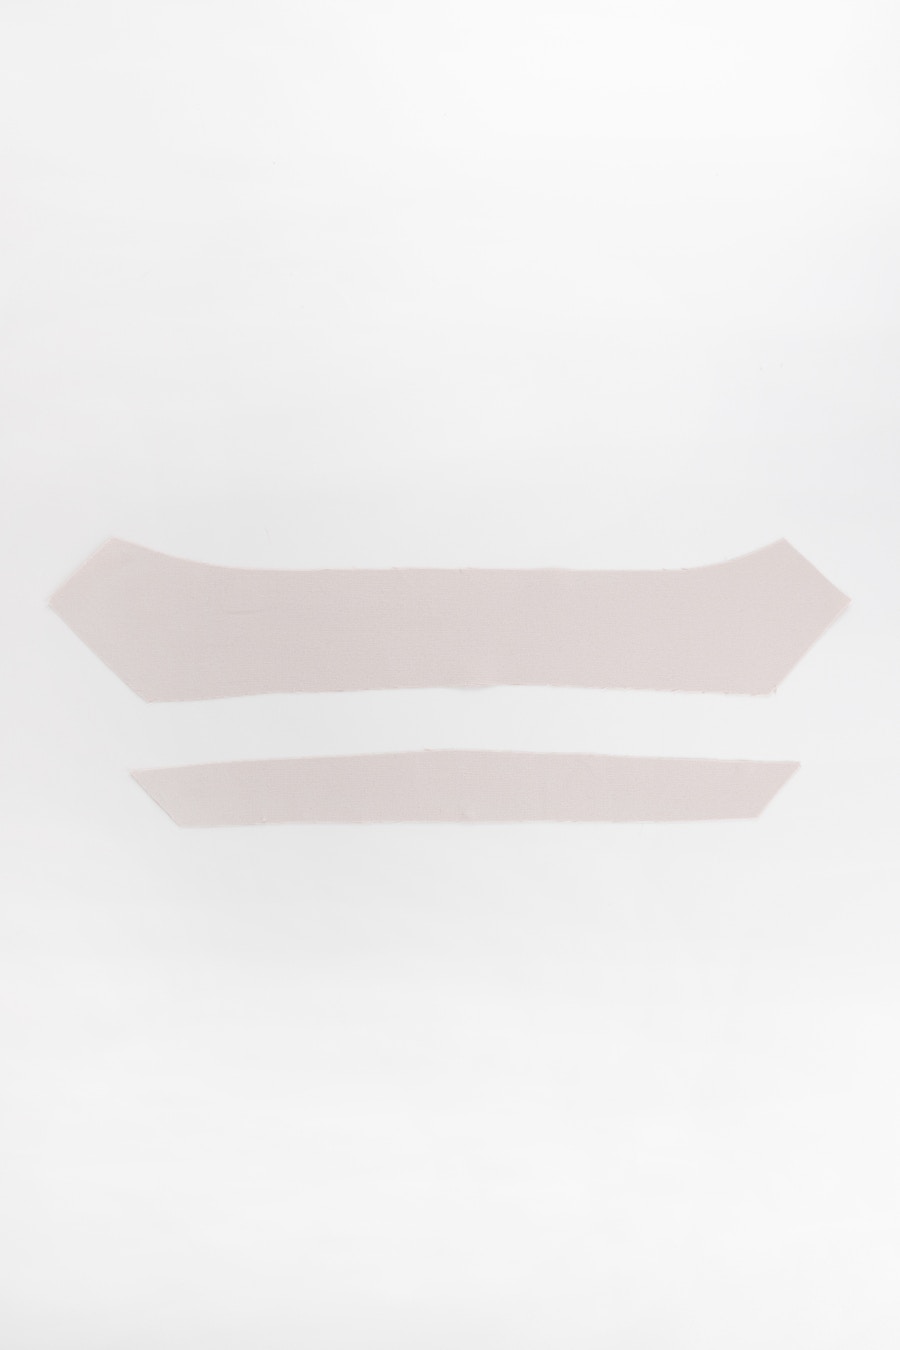
The pattern pieces requiring fusing are the collar, collar stand, and front facings.
Interfacing the front is optional, depending on the weight of the fabric you are using. Take note, that as the front of the blazer is unlined, this interfacing will be visible on the inside of your blazer.
It is also optional to strip fuse the body and sleeve hems - for a lighter fabric, this can help to provide hem stability.
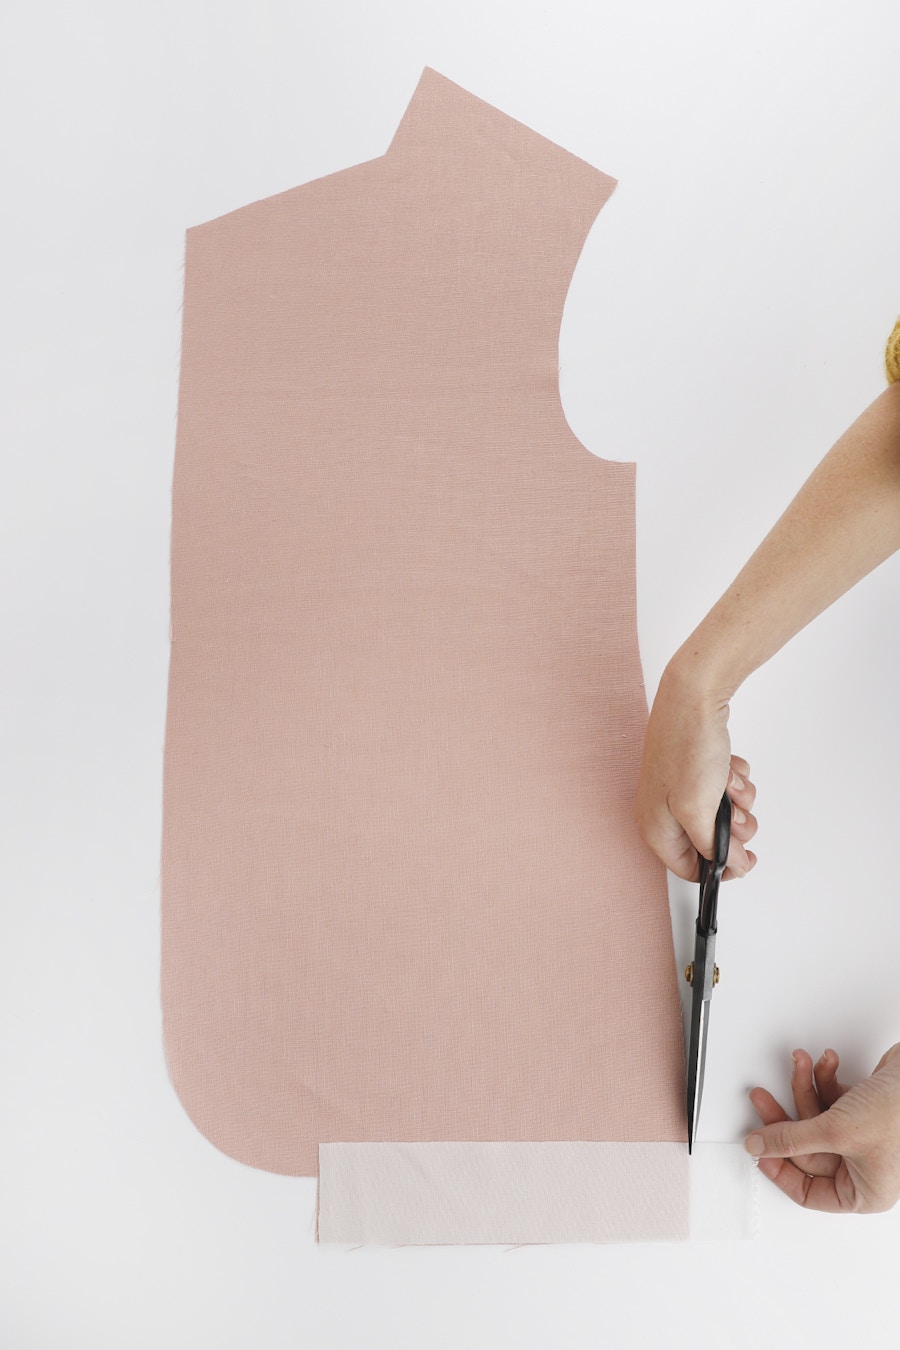
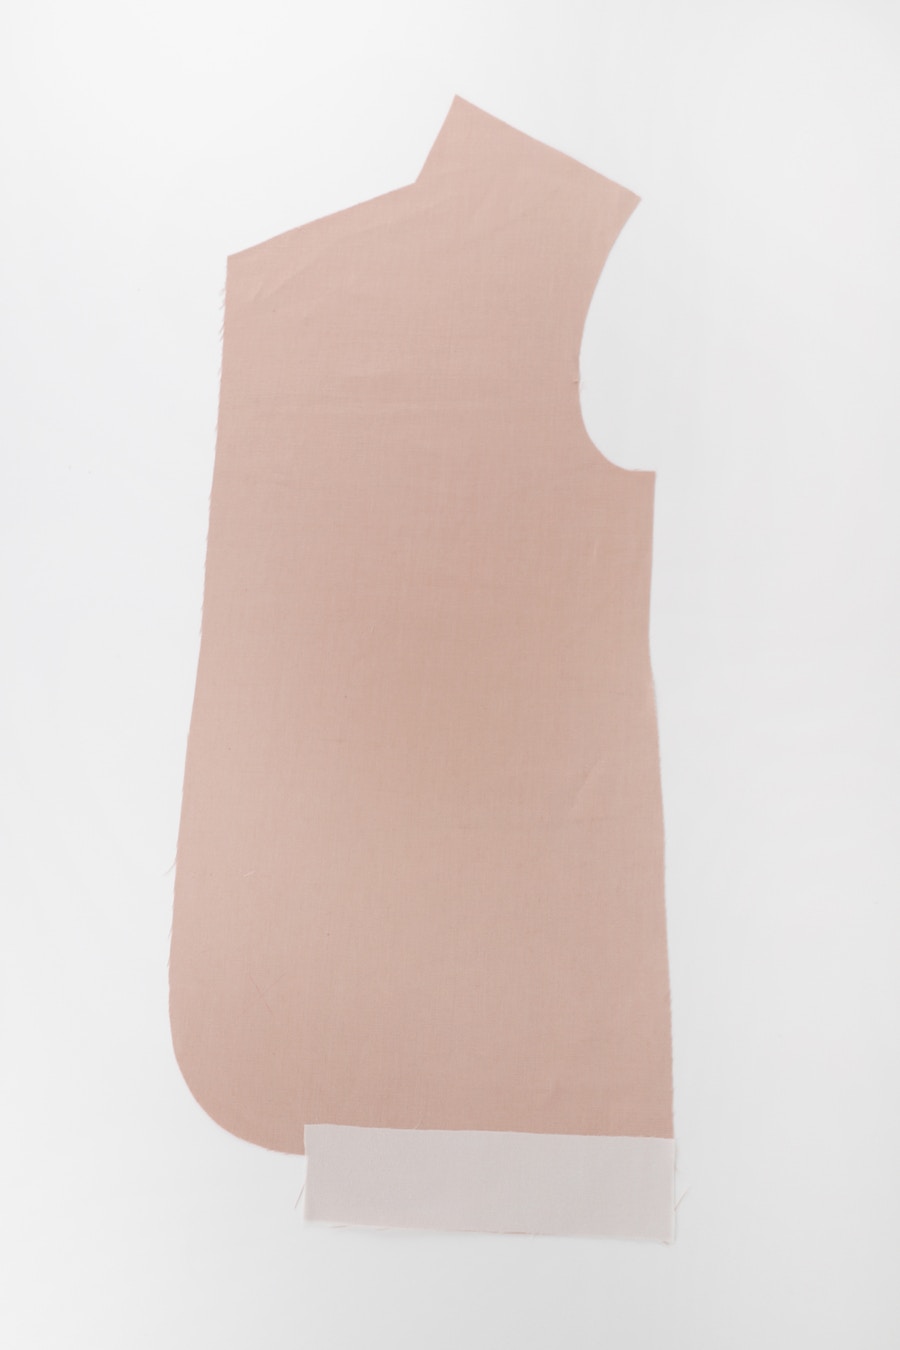
It is also optional to strip fuse the body and sleeve hems - for a lighter fabric, this can help to provide stability at the hem. Cut your strips of fusible interfacing, slightly wider than the depth of your hem.
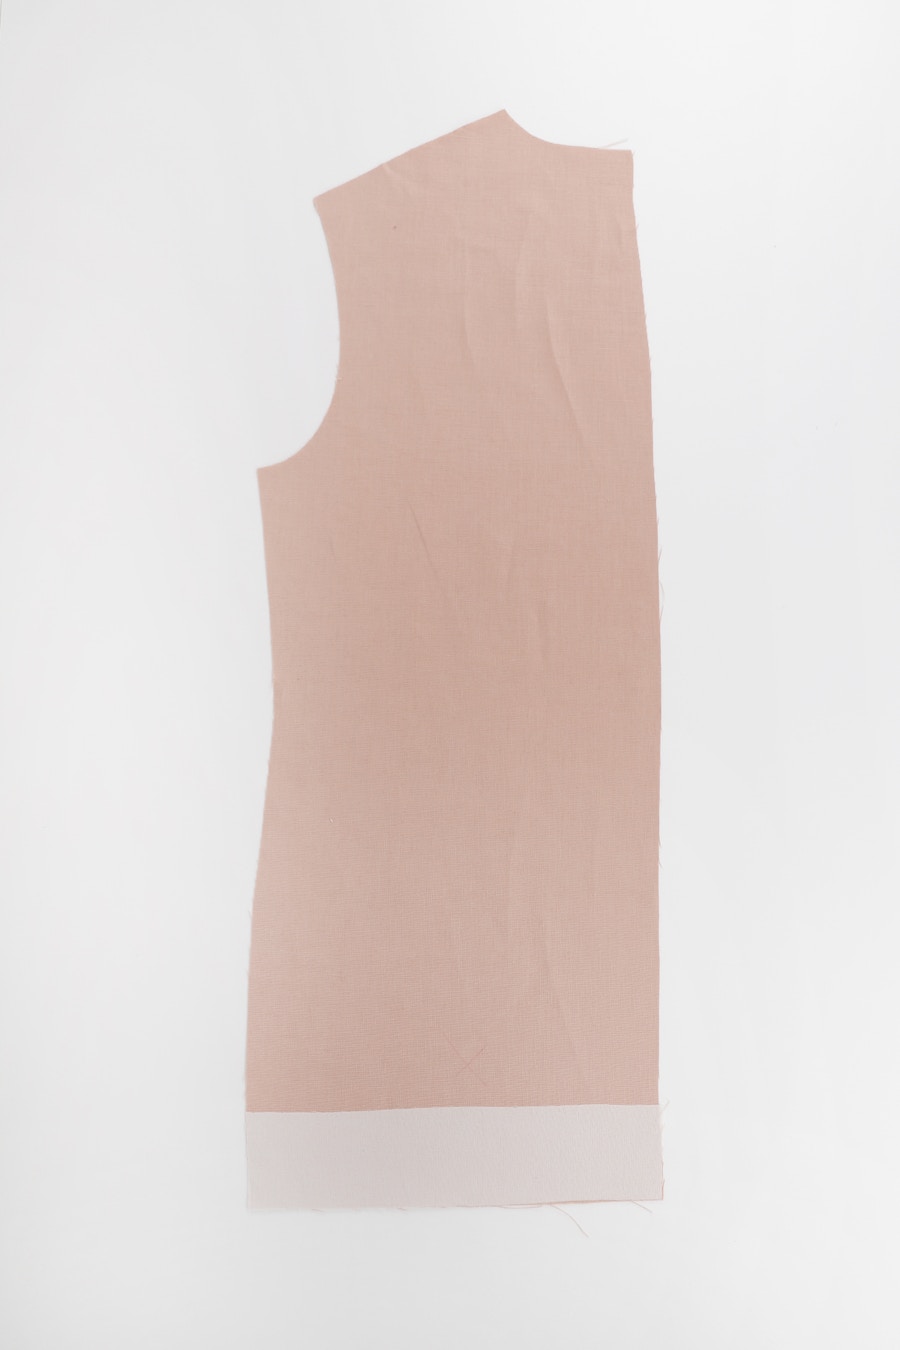
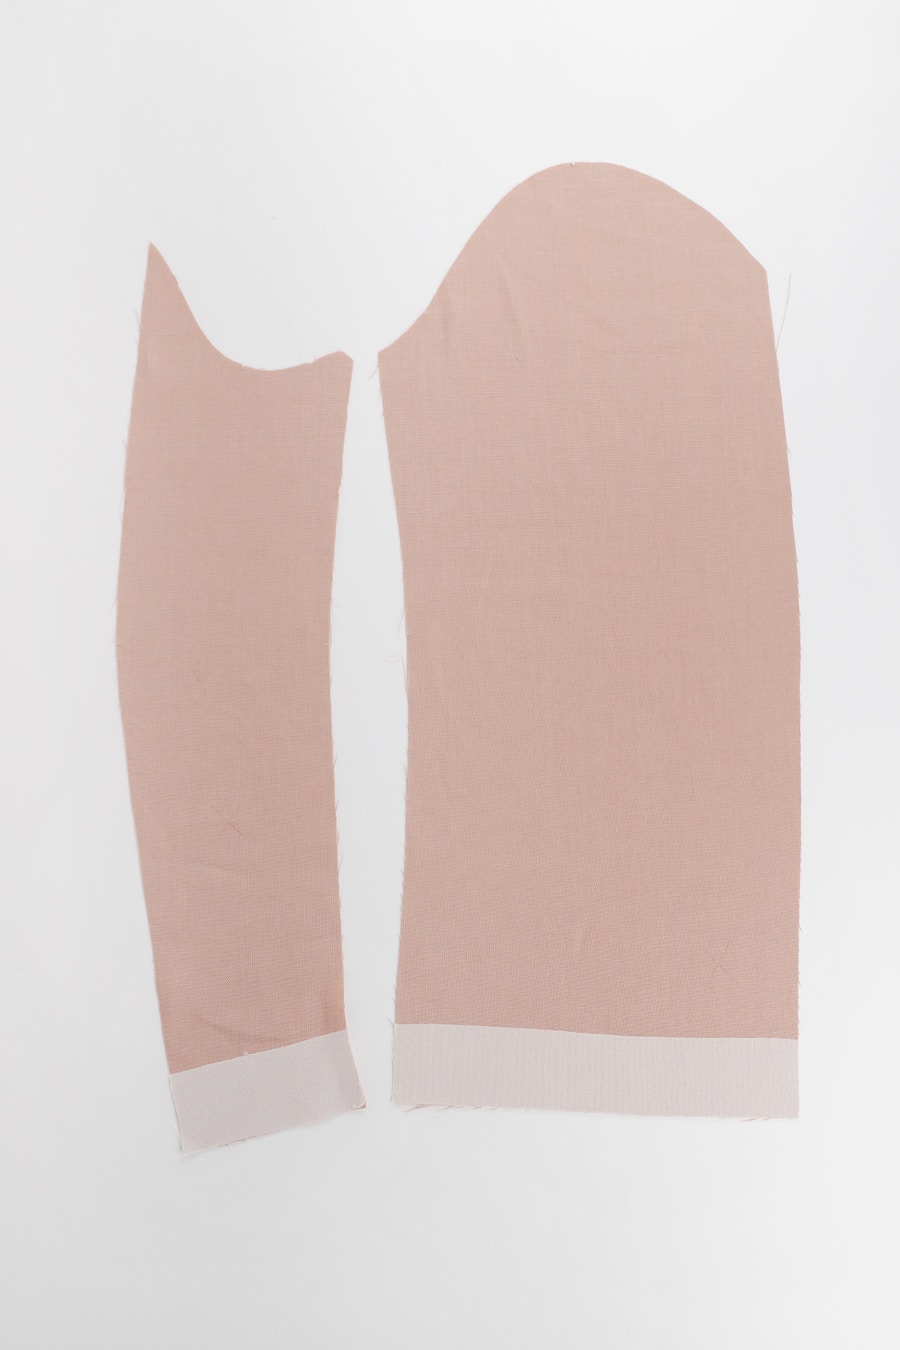
Repeat the process for the back, top sleeve, and under sleeve pieces.
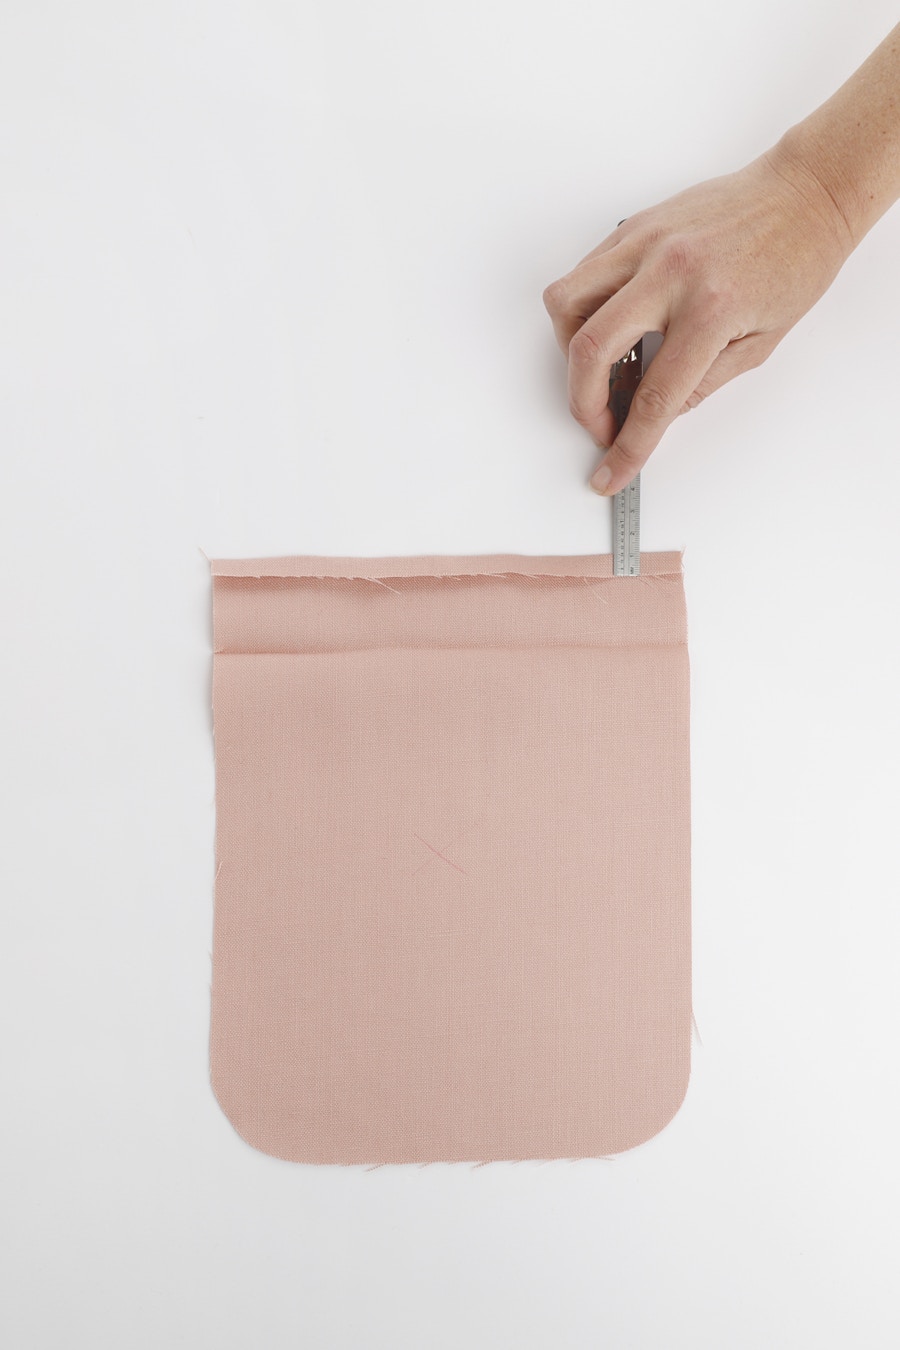
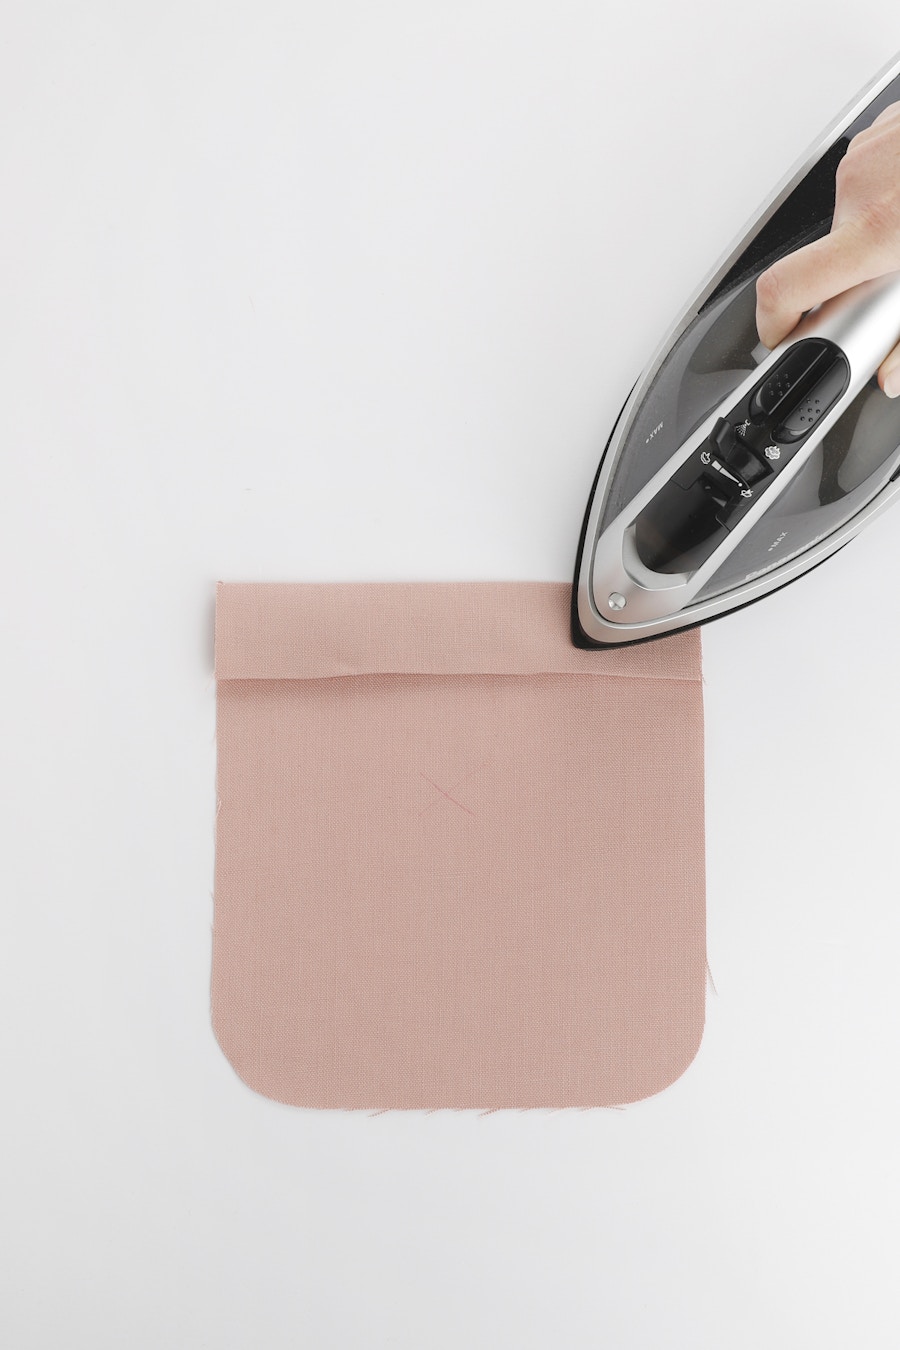
We strongly recommend that you use an iron to press some areas of your pieces before you begin sewing. This will help to ensure accuracy as you sew, as well as aid in giving your Leo Blazer a neat and tidy finish.
Fold the top of the pocket seam allowance over 1cm to the wrong side, then a further 4cm to the wrong side as indicated by the notches and press. The finished fold will be 4cm.
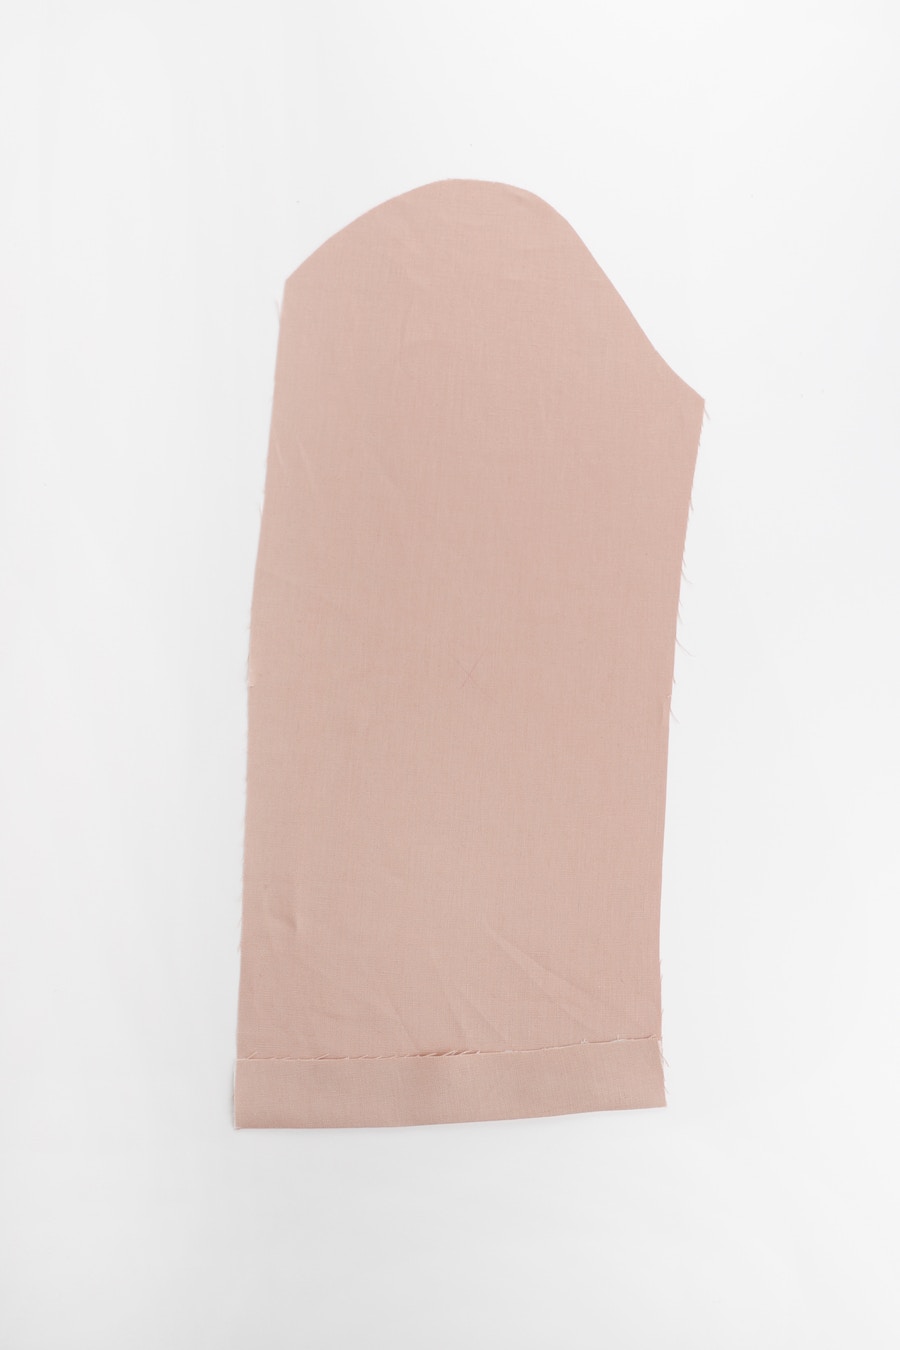
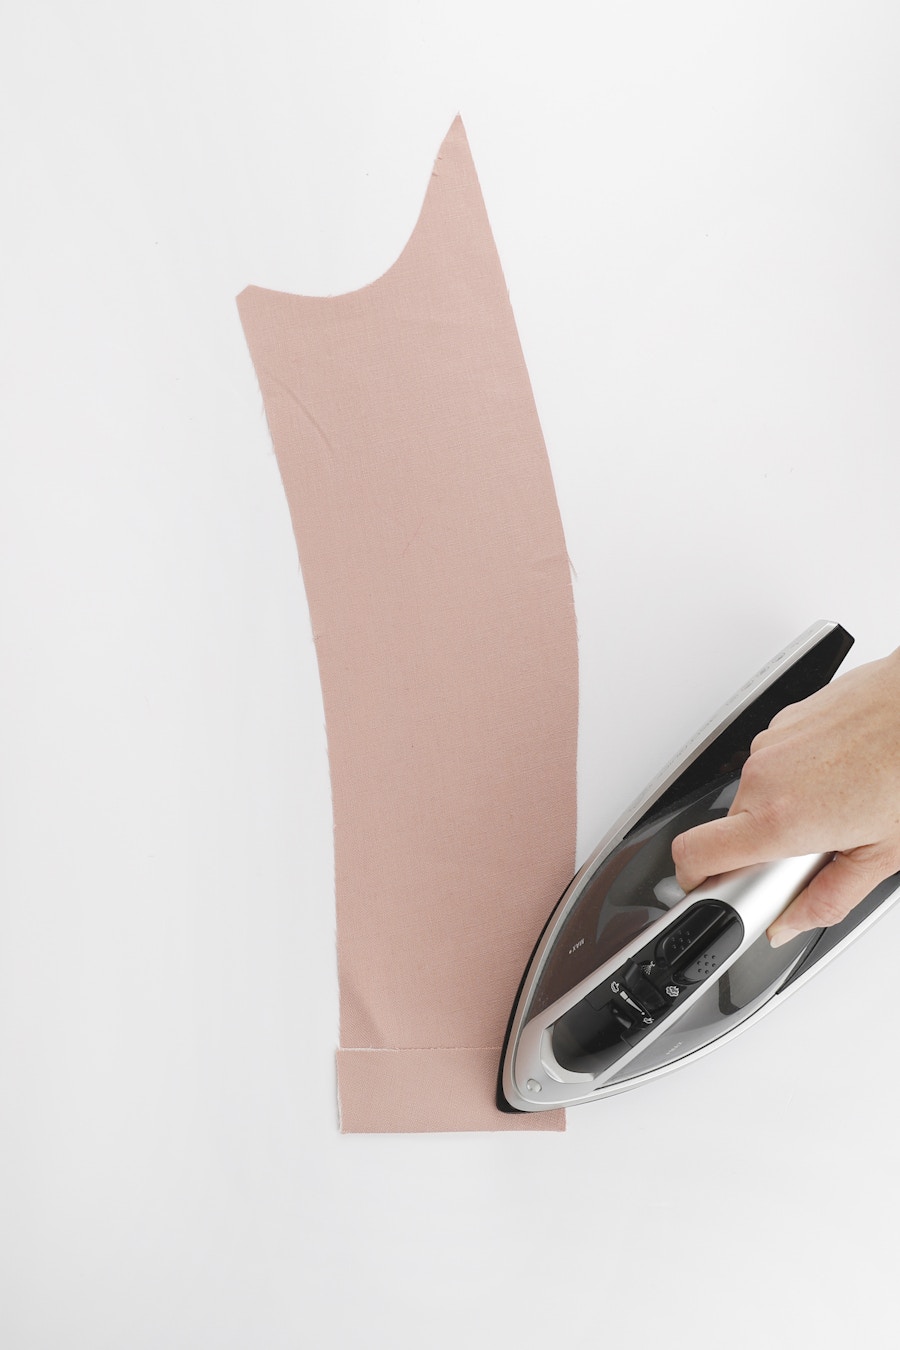
Fold up the cuff on each top sleeve 4cm, with the wrong sides together and press.
Fold up the cuff on each under sleeve 4cm, with the wrong sides together and press.
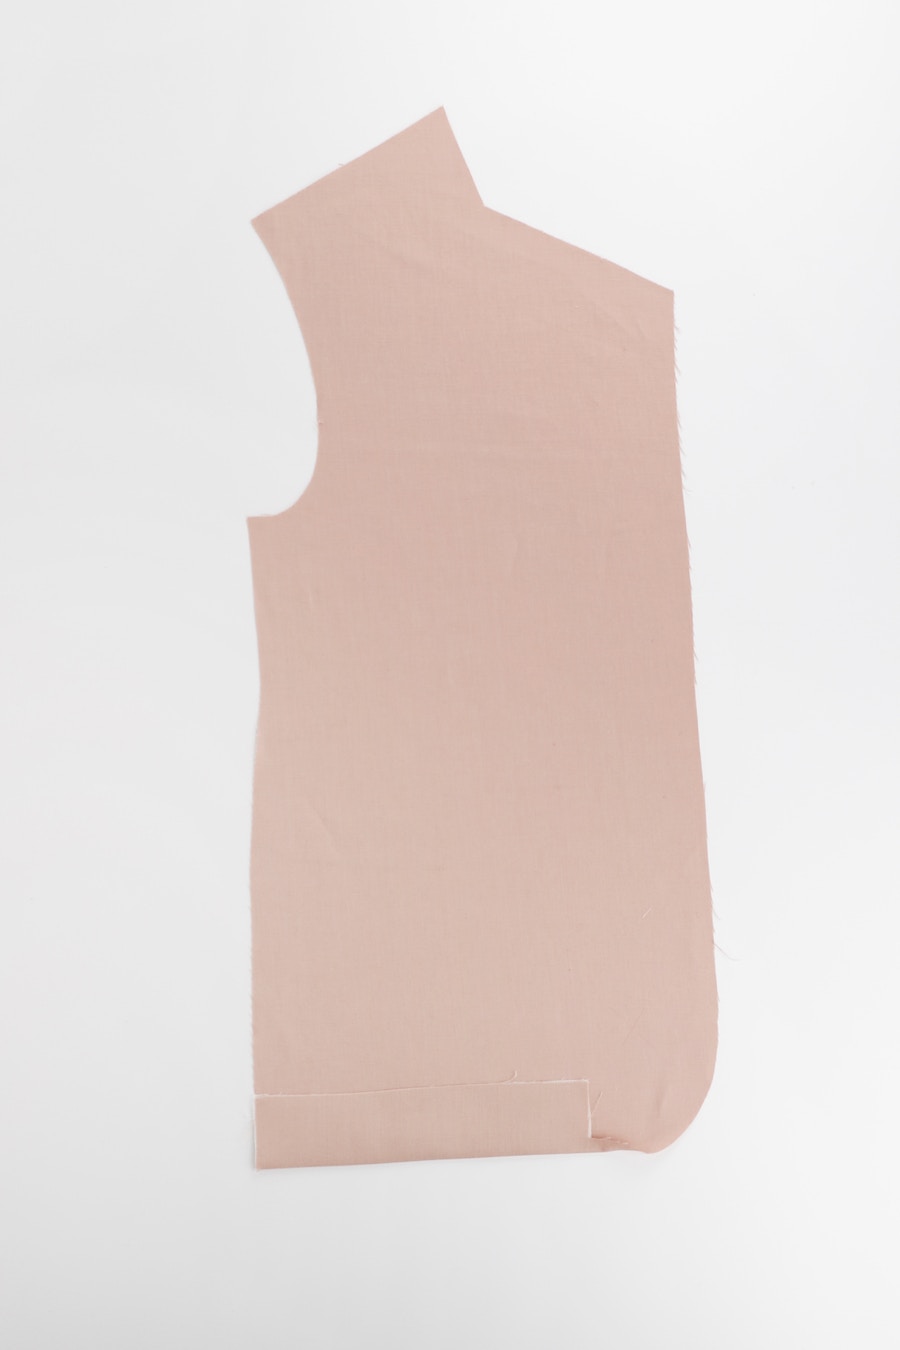
Fold up the hem on each front 5cm, with the wrong sides together and press.
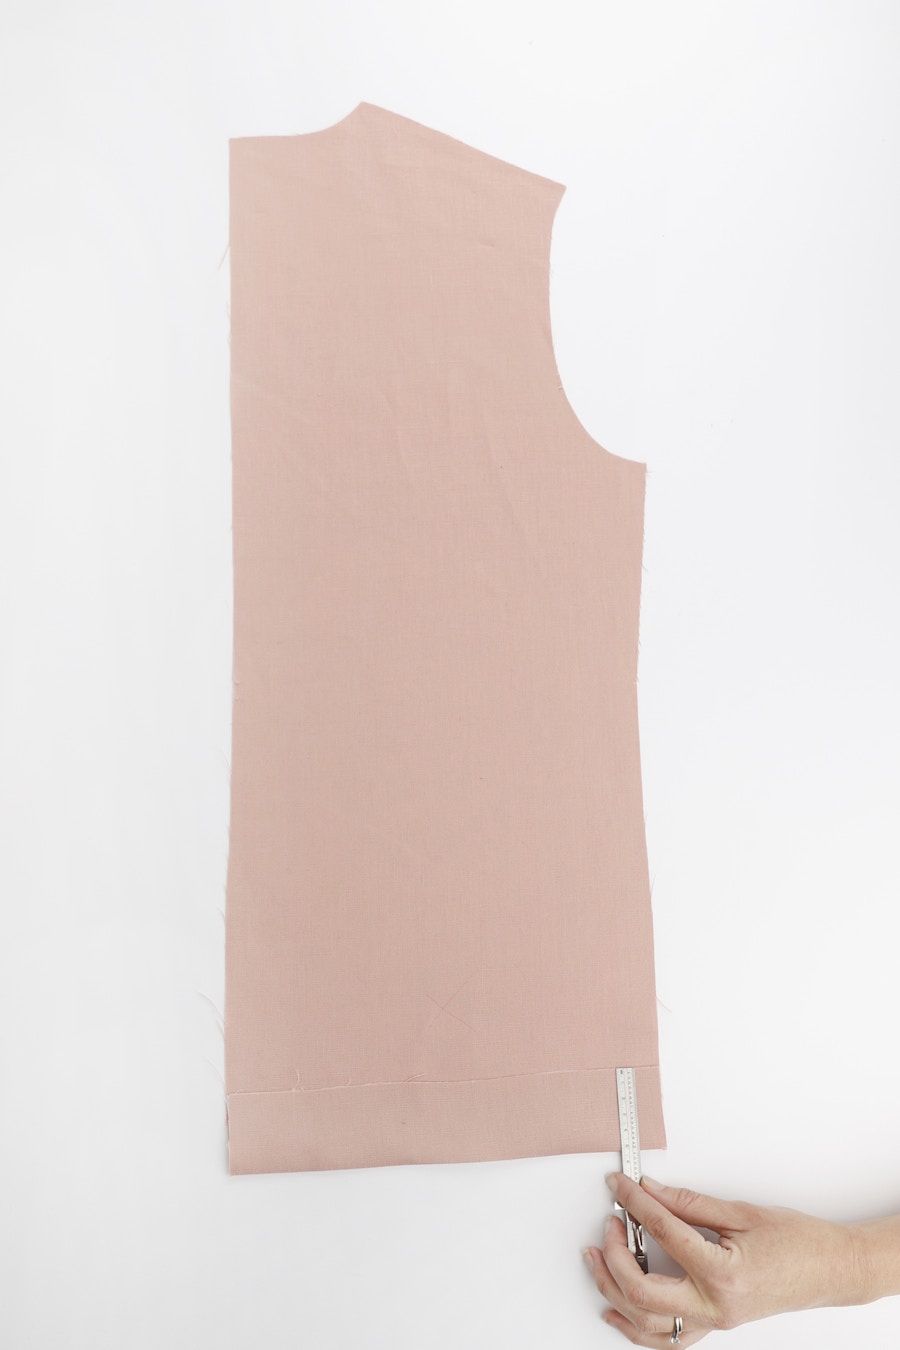
Fold up the hem on each back 5cm, with the wrong sides together and press.
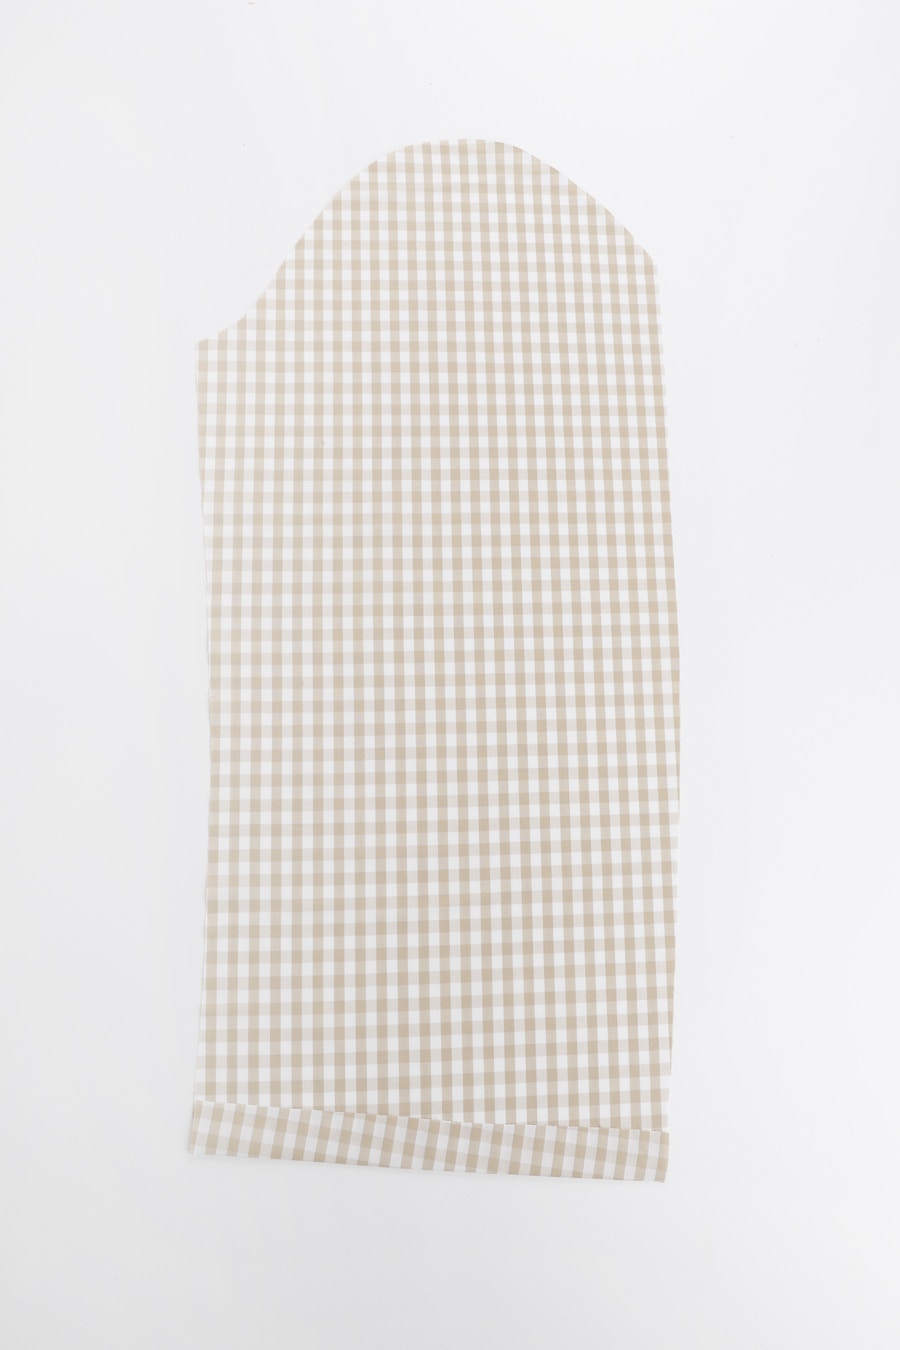
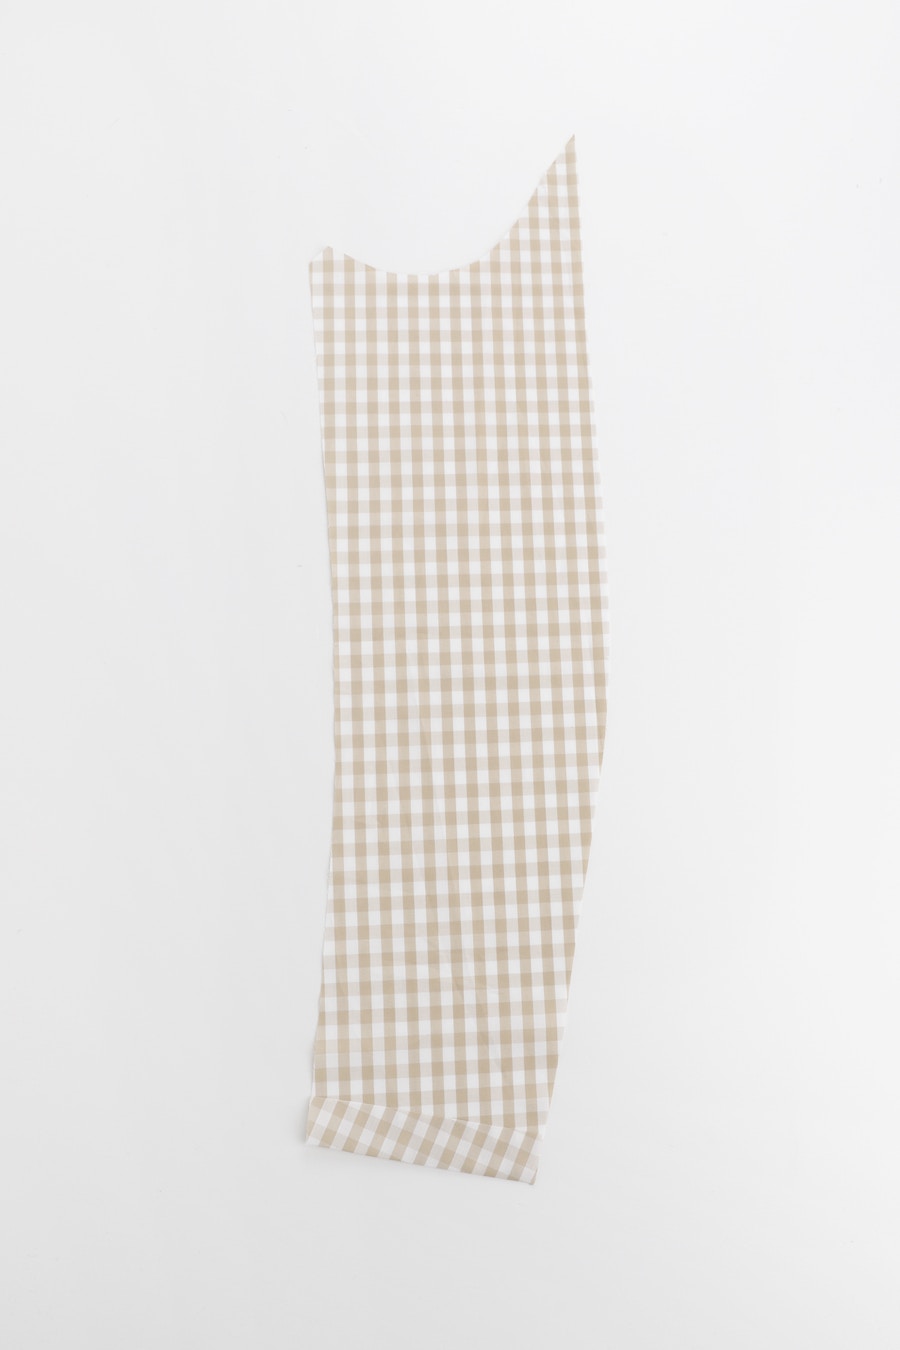
Fold up the cuff on each top sleeve lining 2.5cm, with the wrong sides together and press.
Fold up the cuff on each under sleeve lining 2.5cm, with the wrong sides together and press.
2 — Sewing the Main Body
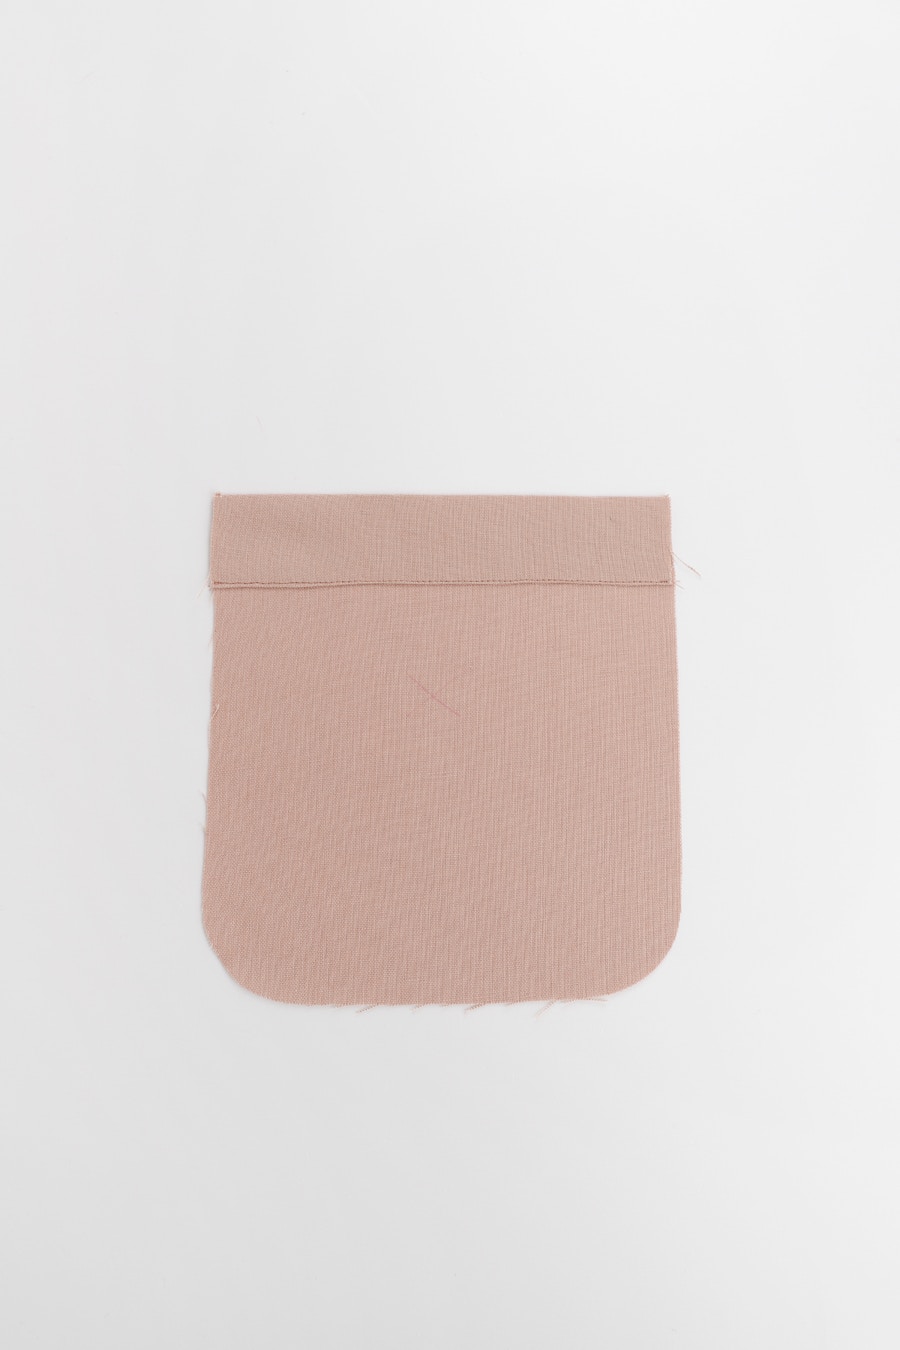
We will start our Leo Blazer by sewing the patch pockets.
Fold the top of the pocket seam allowance 1cm towards the wrong side, then a further 4cm as indicated by the notches. Edge stitch and then press.
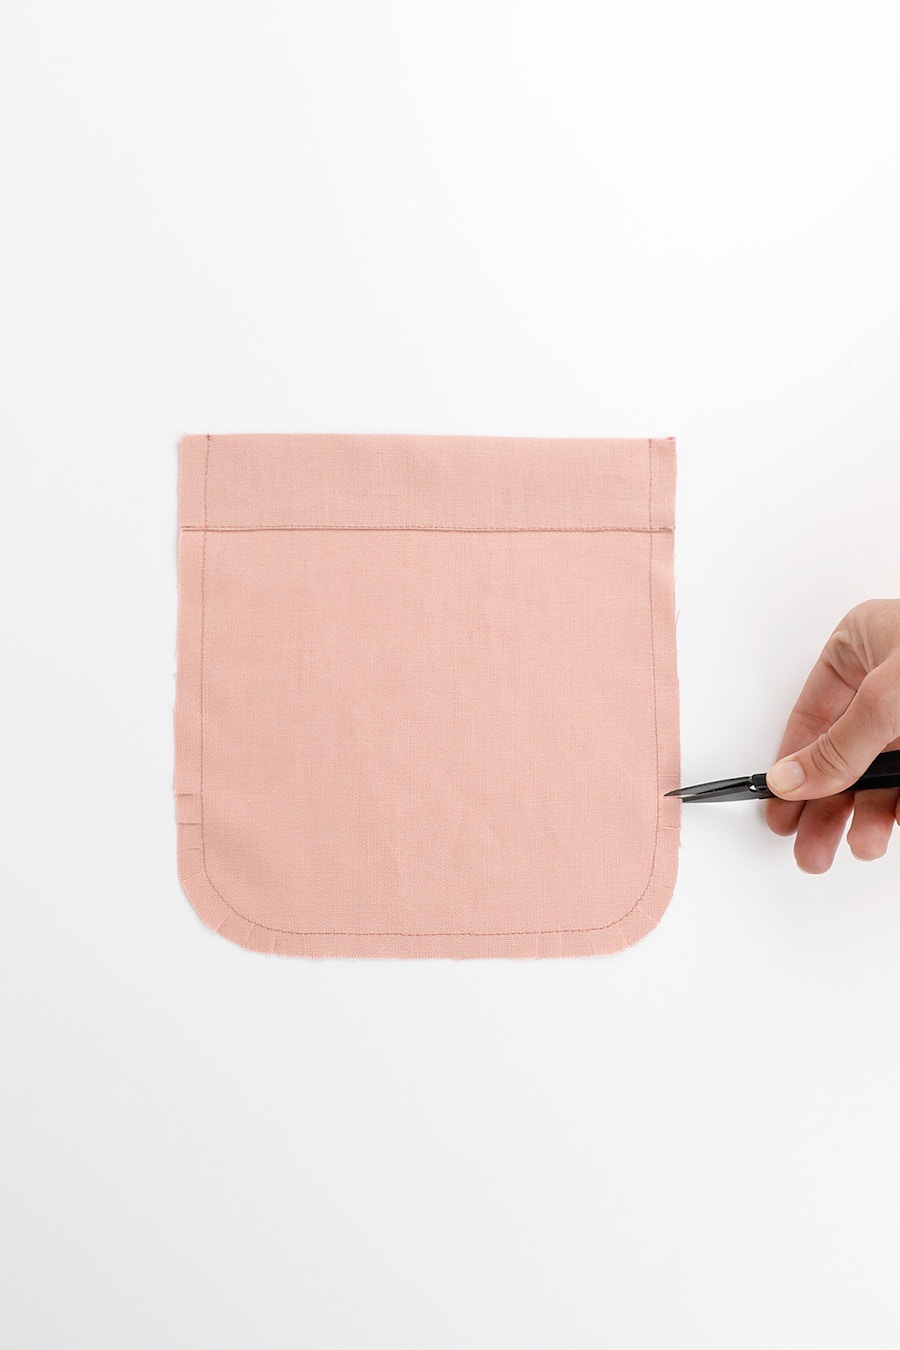
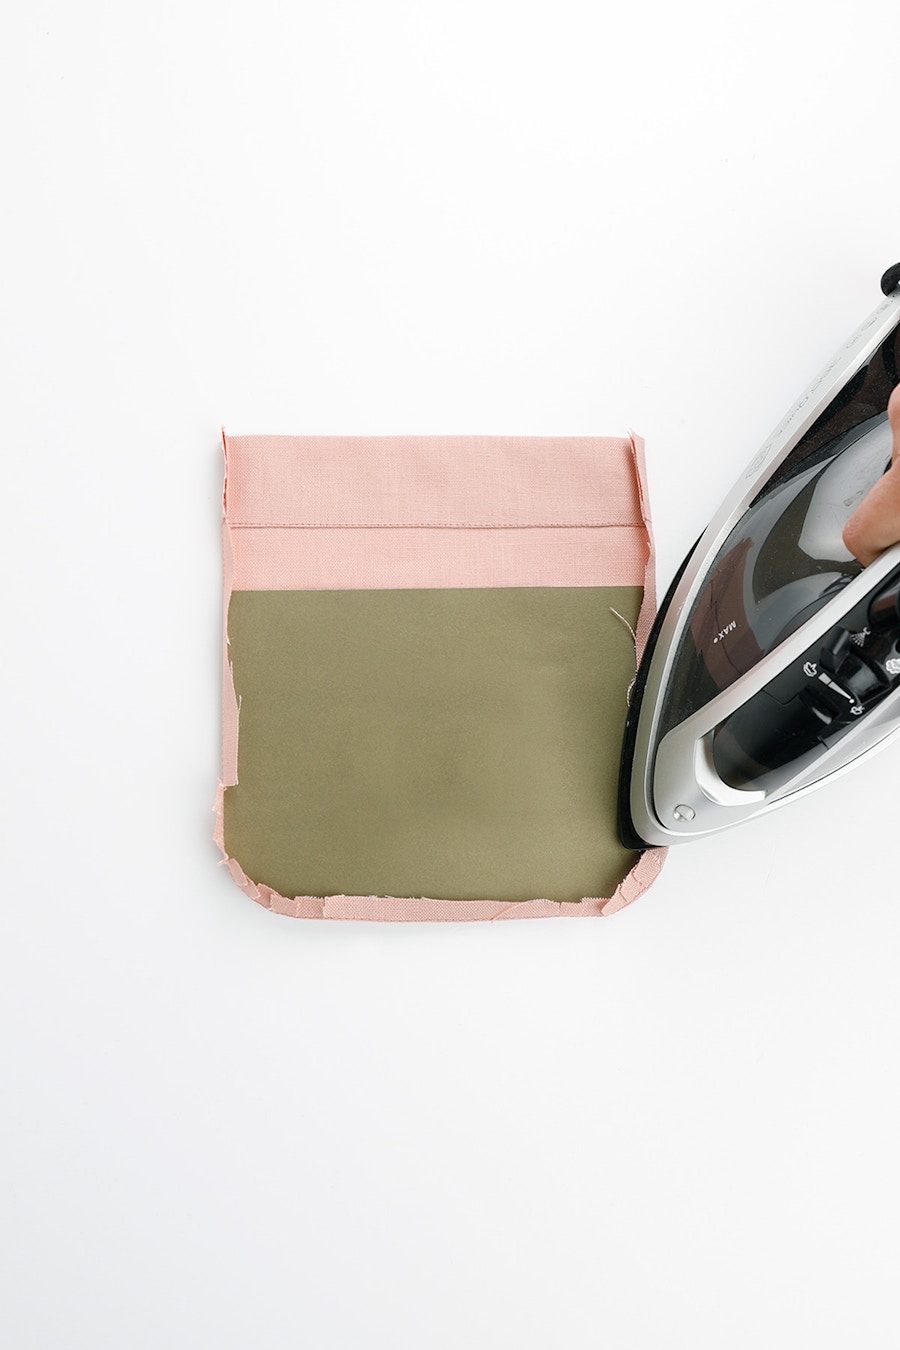
Stitch around the raw edge of the pocket piece at 1 cm. Clip into the seam allowance at the rounded corners. Now, fold back the raw edge 1cm and press using the stitched line to help guide you.
You may want to create a template to help when pressing the rounded bottom edge of the pocket.

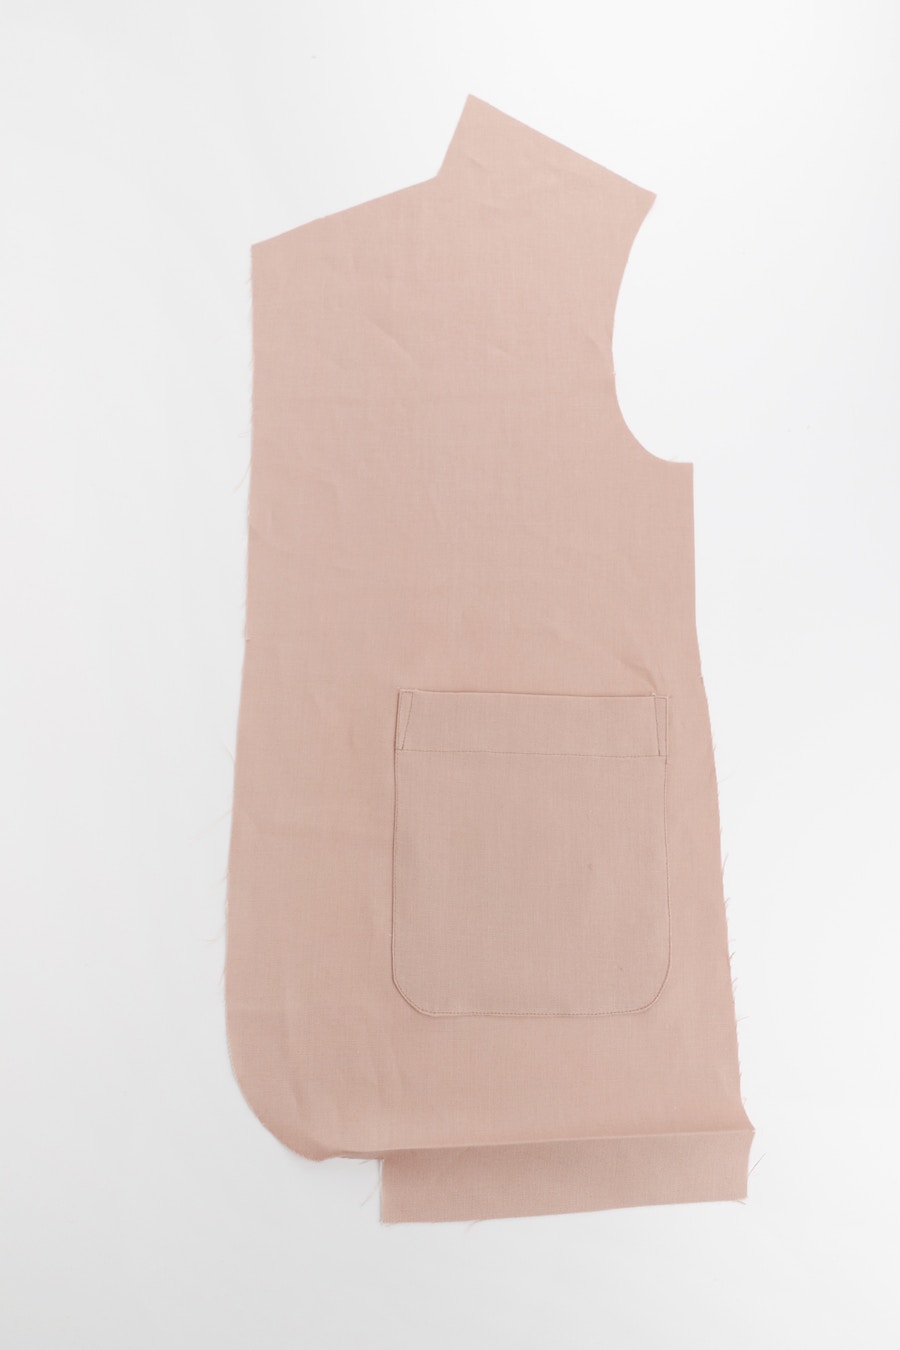
Pin the pocket to the front as indicated by the markings on the pattern with the wrong side of the pocket to the right side of the front.
Edge stitch the pocket into place following the stitching line.
Repeat for the other front pocket.

With the right sides together, pin the backs together at the centre back. Sew the seam at 1cm then press the seam open.


Now we will neaten the centre back seam allowance with bias binding. We have cut our own bias binding for this Leo Blazer.
Cut a length of double folded bias binding the length of the seam you are finishing, plus an extra 4-5cm. Place the right side of the bias binding together with the wrong side of the seam allowance, matching the raw edges. Now sew them together at 6mm, finishing at the notch at the hem. This is to reduce bulk when the hem is turned up.
Press the binding out along the seam you have just sewn.


Fold the free edge of the bias binding so it meets the raw edge of the seam allowance and press. Wrap the bias binding around the raw edge of the seam allowance, making sure the fold is tucked under on the right side. Press and then pin the binding in place.

Wrap the bias binding around the raw edge of the seam allowance, making sure the fold is tucked under on the right side. Press and then pin the binding in place.


With the right sides together, pin the front to the back at the side seams then sew with a 1cm seam. Press the seams open. Neaten the side seam with bias binding, finishing at the notch at the hem, as you did with the centre back.
Repeat for the other side.
Then, with the right sides together, pin the front to the back at the shoulders, then sew each shoulder with a 1cm seam. Press the seams open.
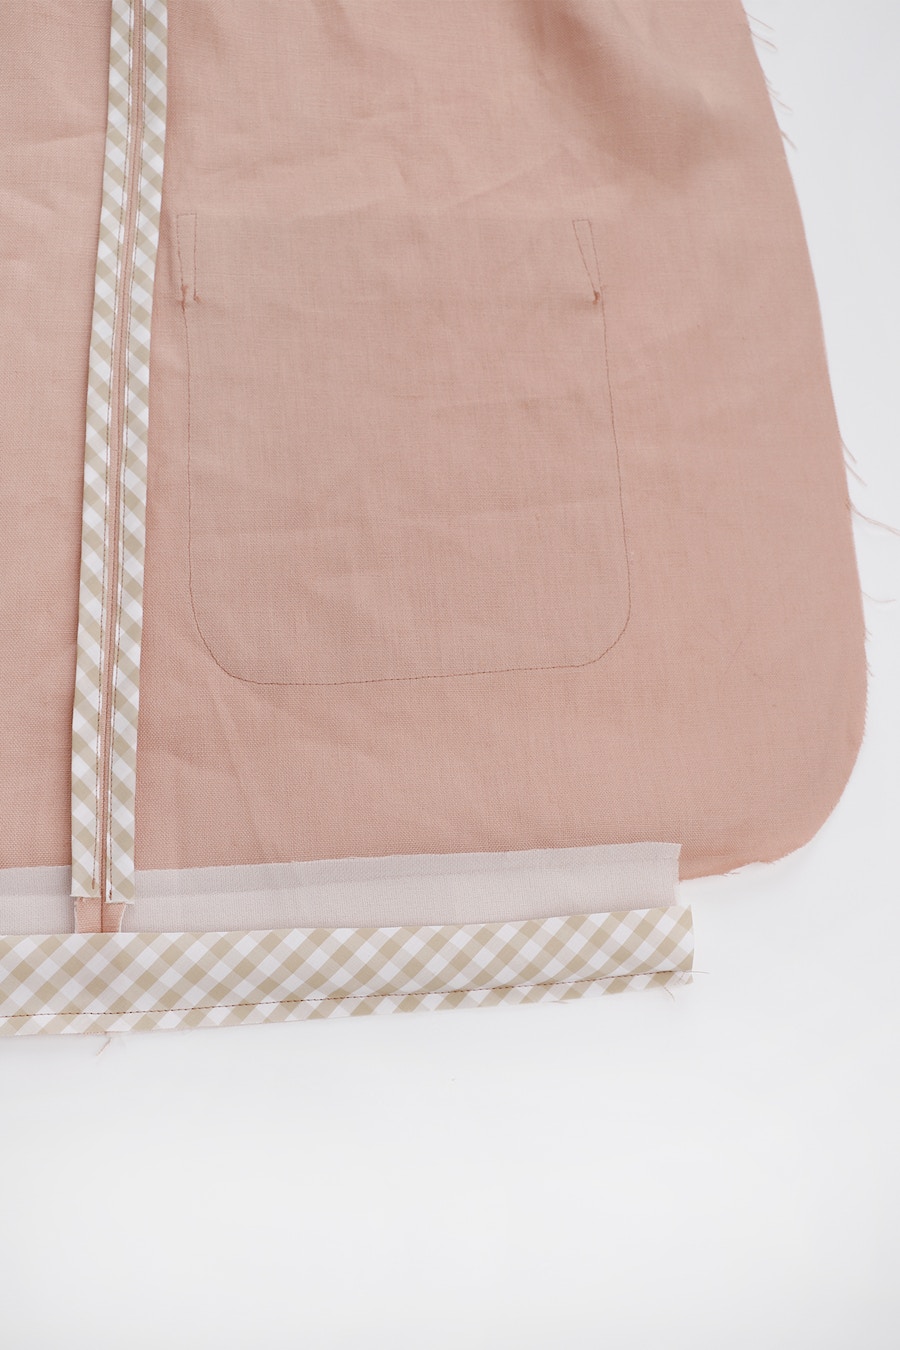
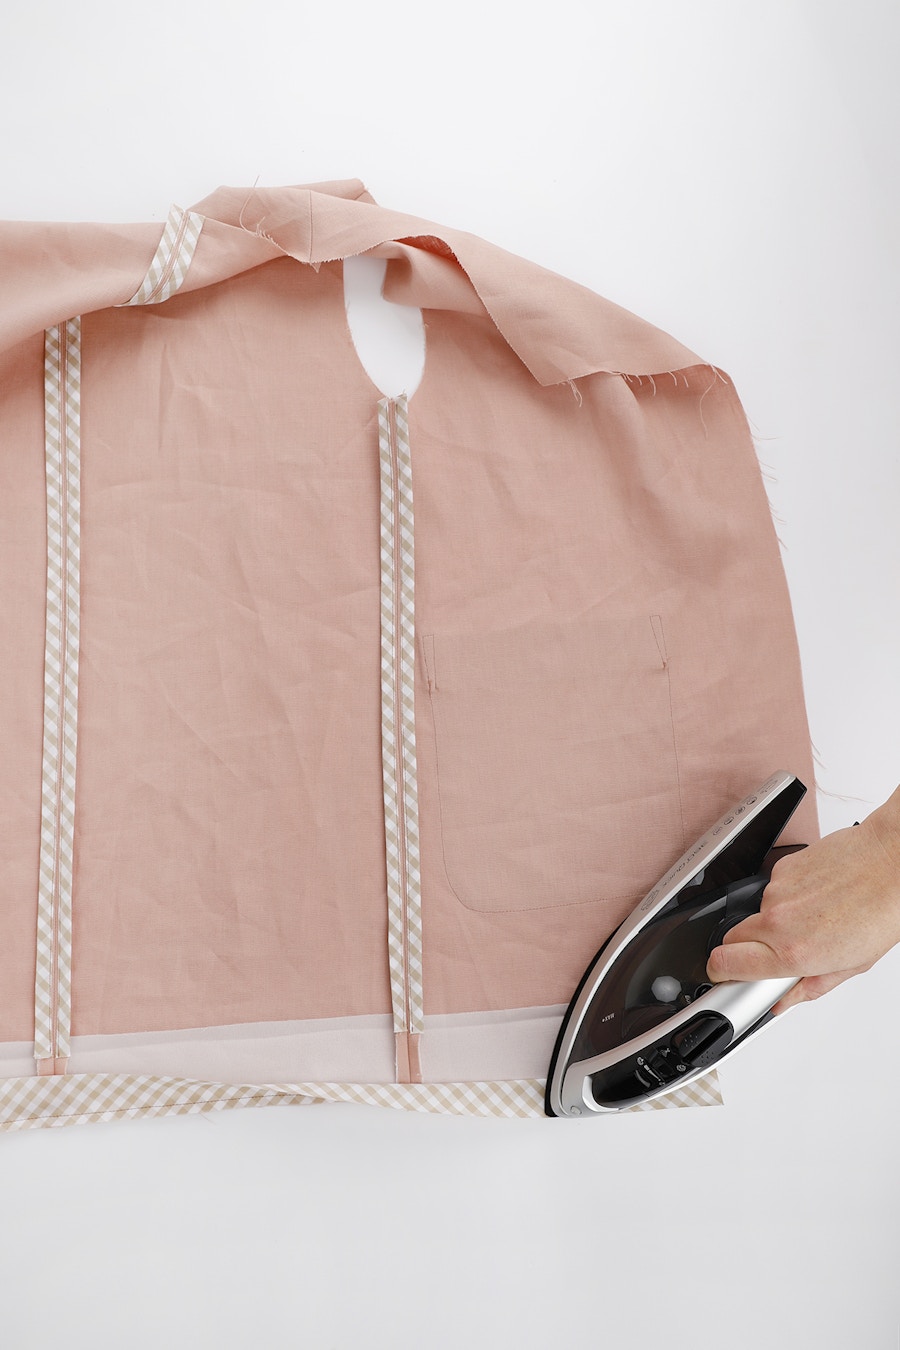
Now, attach bias binding to the hem of the blazer. Place the right side of the binding to the wrong side of the blazer. Pin and then stitch it in place with a 6mm seam. Press the binding down, away from the blazer. Don’t enclose the seam just yet, this will be done later in the construction process when the hem is top stitched in place.
Alternatively, you can leave the hem as is and fold under the seam allowance and top stitch the hem closed when it is time to do the finishing touches.
3 — Under Collar and Sleeves
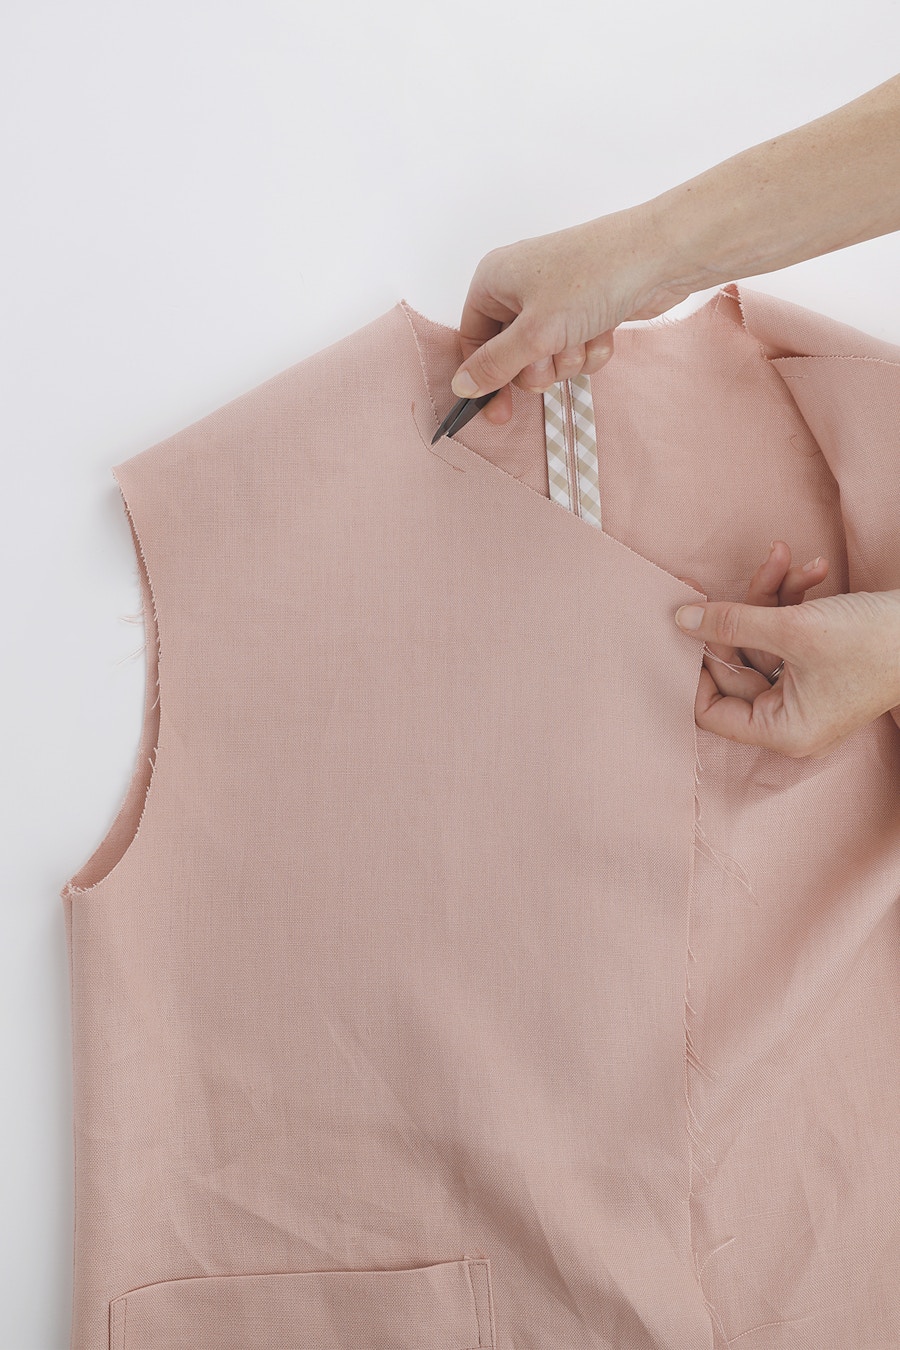
At each corner on the front sew a line of stitching 1cm from the edge to reinforce the corners where the collar turns on the fronts. Clip into the corner to release the seam allowance. This will allow you to manoeuvre the pieces when sewing the under collar.
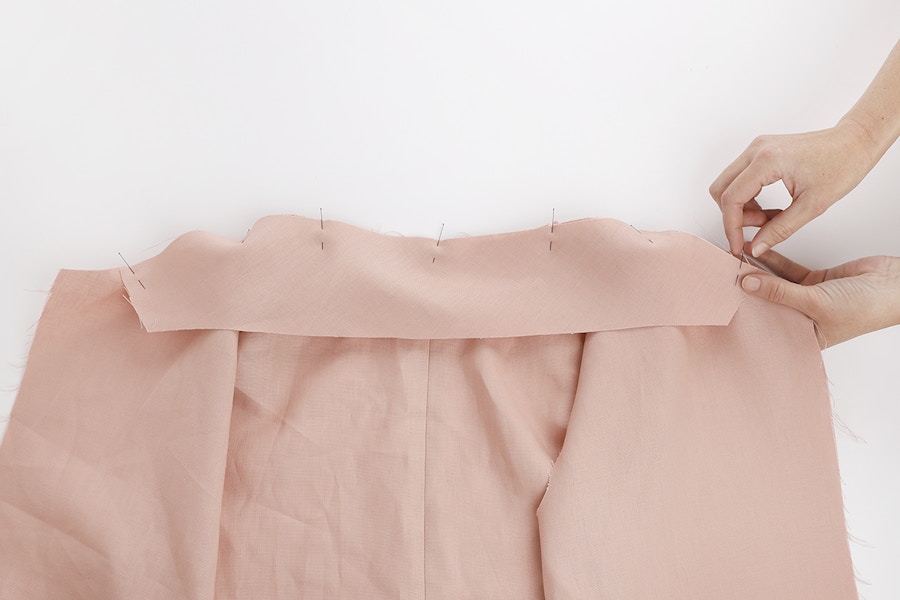
With the right sides together and matching the notches, pin the under collar to the main blazer body. Each end of the under collar extends 1cm past the notch on the front.
Sew the under collar to the body with a 1cm seam starting and finishing at the notches on the front. When you reach a corner, stop with your needle down and raise the presser foot.
Pivot, and rearrange your blazer so that the seam you are going to sew is lying at, then continue sewing to the next corner. Stop with your needle down and rearrange your blazer again. Now continue sewing to the end of the under collar. You can sew with the under collar on top, or on the bottom. Just make sure to catch the front pieces when you stop with your needle down at each corner.
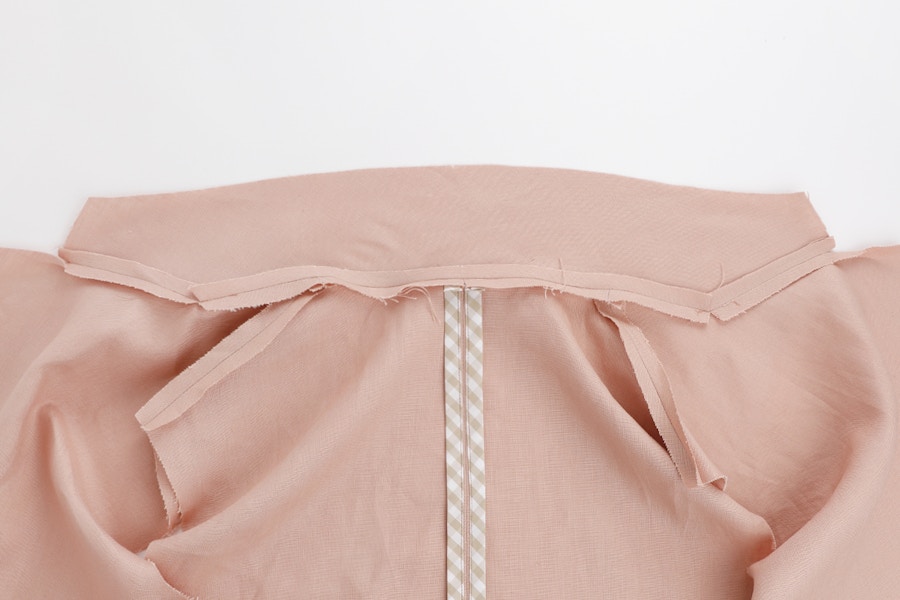
Press the seam open. The corners of the under collar will need to be folded when you press this seam open.
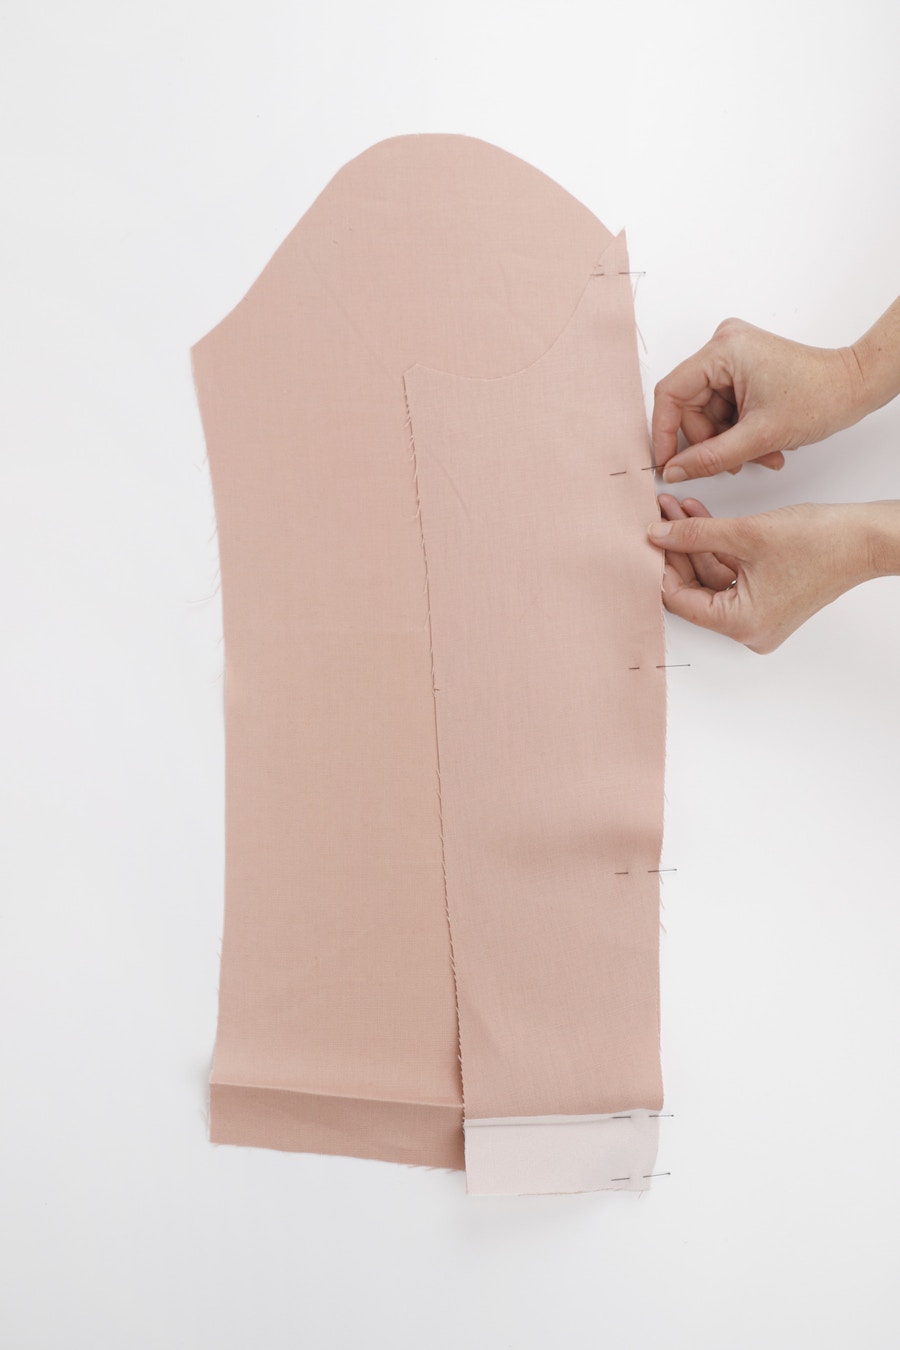

With the right sides together, pin the top sleeve to the under sleeve at both seams. Sew them with a 1cm seam and press open. Repeat for the other sleeve to create a pair of sleeves.
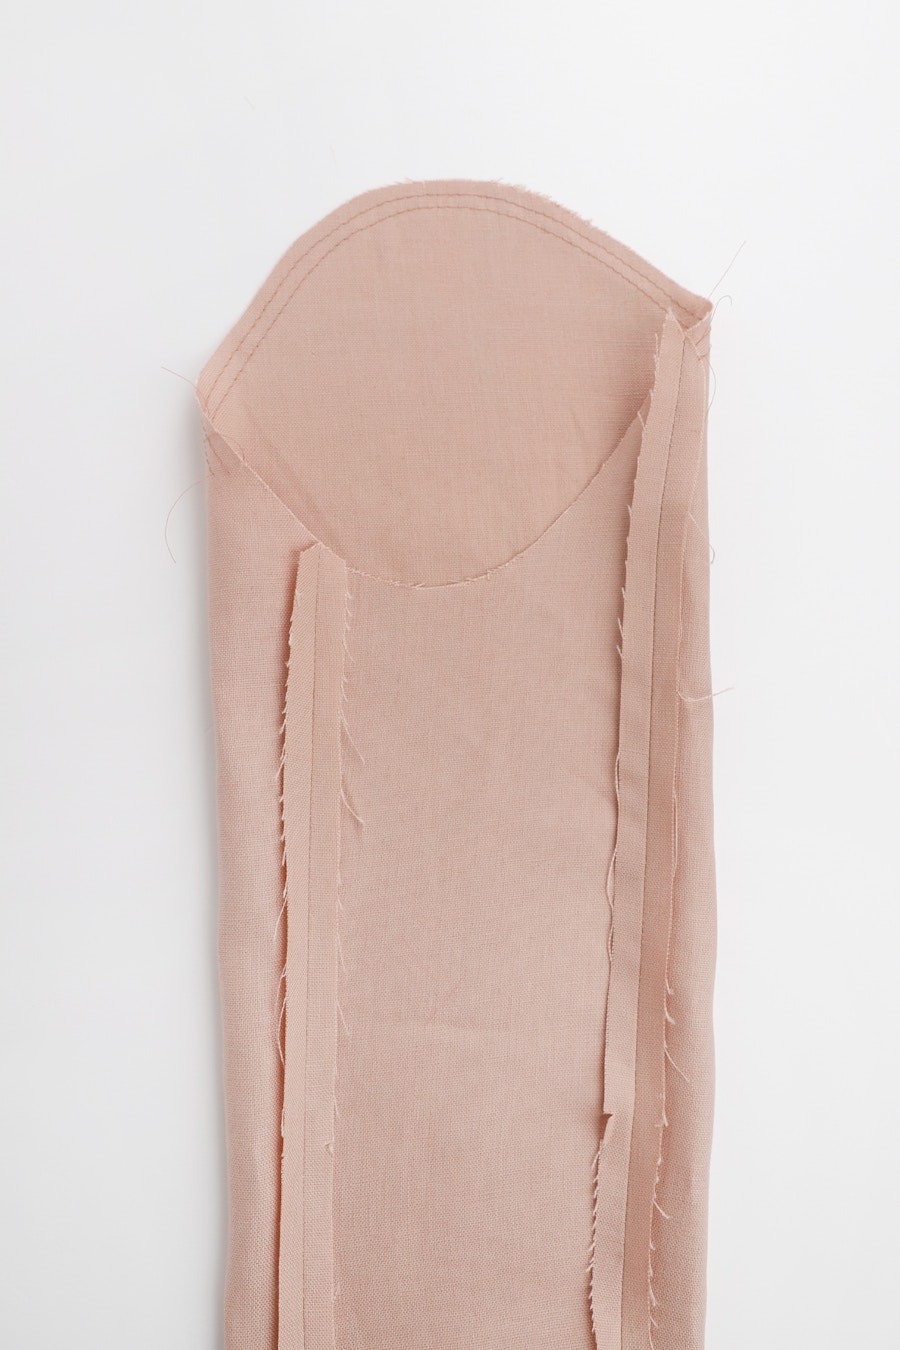
We will now set in the sleeves.
Run two lines of basting stitches 6mm apart over the sleeve head.
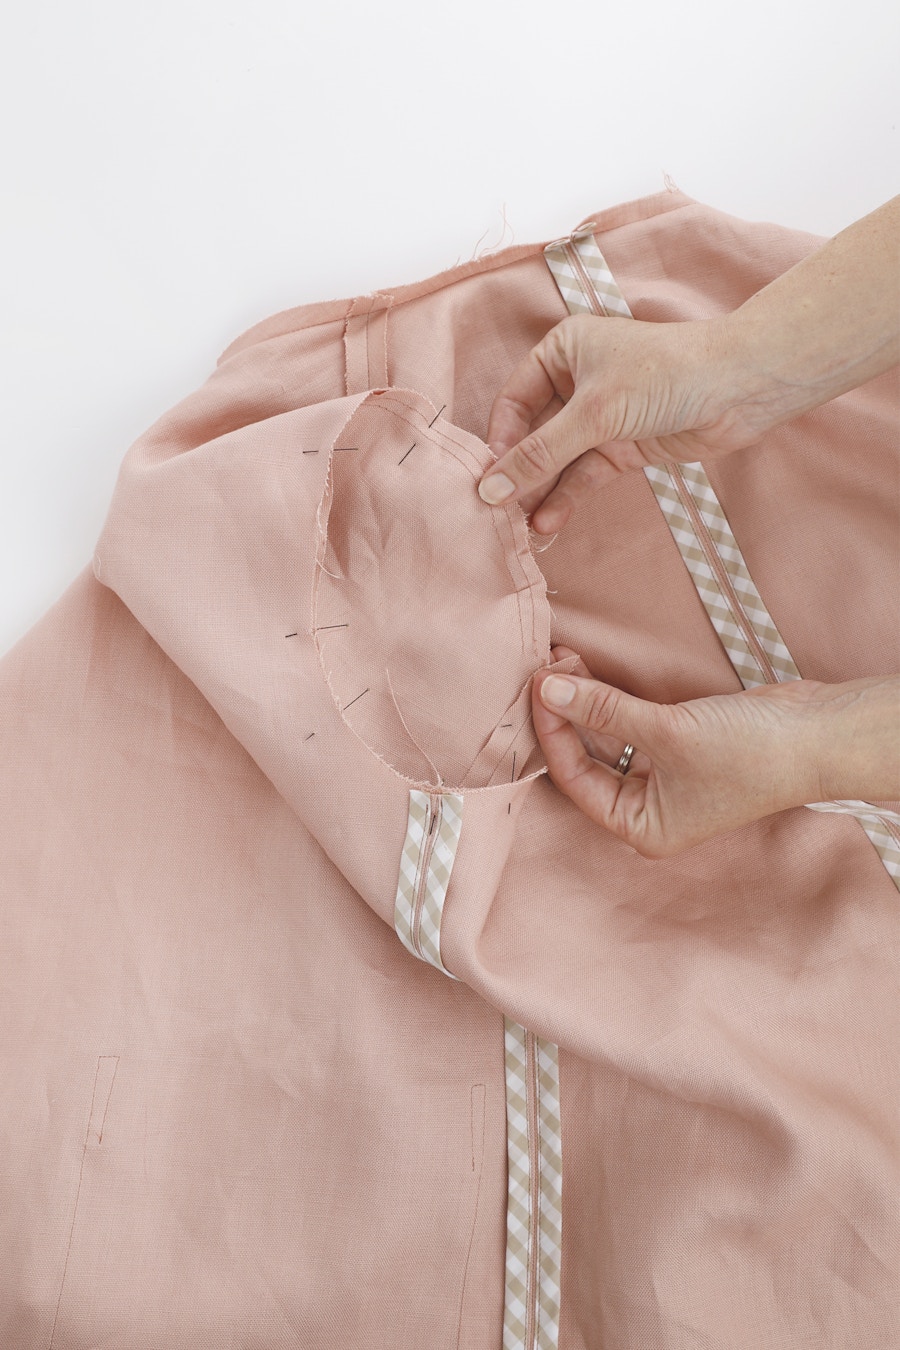
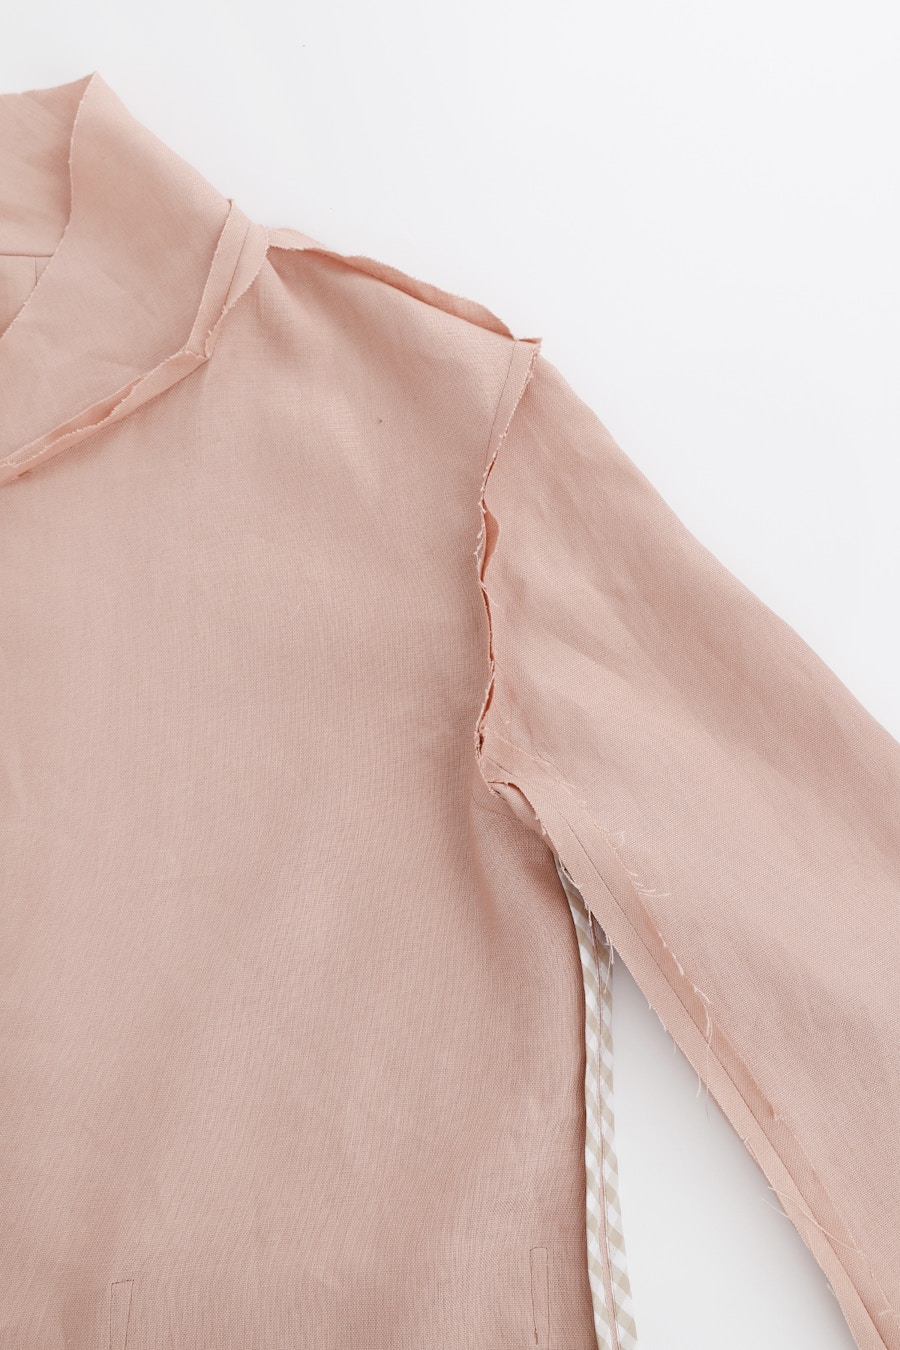
With the right sides together, pin the sleeve to the main body. The single notch on the under sleeve matches to the side seam on the body. Pull the basting threads gently to ease the sleeve head into the armhole opening. Sew the sleeve to the blazer body, adjusting the sleeve head as you sew, and taking care not to create any tucks. Press the seam towards the sleeve.
Repeat for the second sleeve.
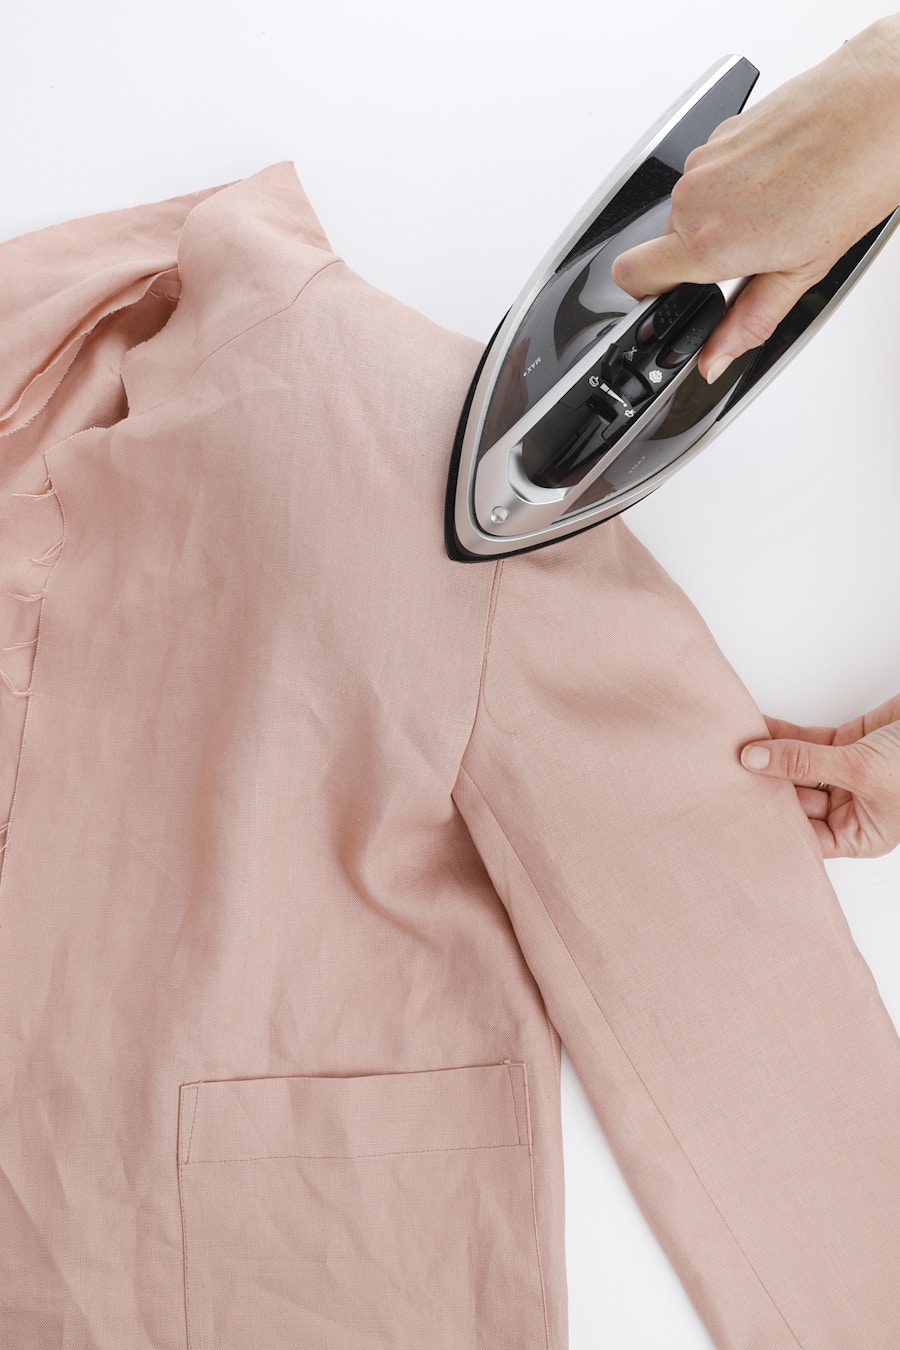
Press the seam towards the sleeve.
Repeat for the second sleeve.
4 — Sew the Lining

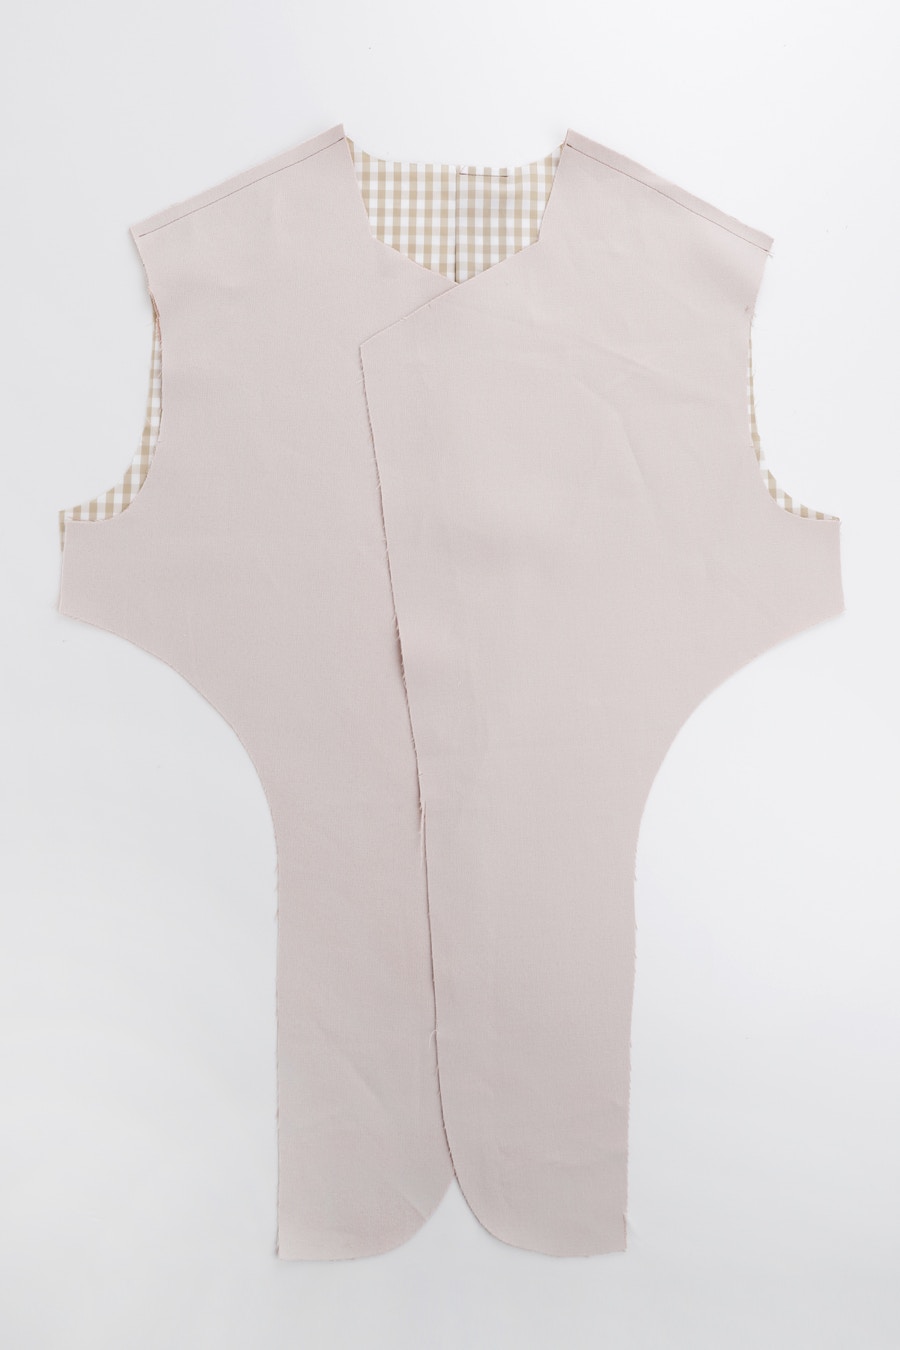
Fold the back lining in half with the right sides together. Sew down 6cm at the centre back to create a pleat. Press the pleat excess to the left side as worn and baste it in place at the neck edge.
With the right sides together pin the front facing to the back lining at the shoulders. Sew each shoulder with a 1cm seam and then press the seam open.
With the right sides together pin the facing to the lining at each side seam. Sew the side seam with a 1cm seam and then press the seams open.

Apply bias binding to the lower edge of the facing and lining using the same steps as you did when applying the bias binding to the internal seams.
Re-press the centre back pleat.
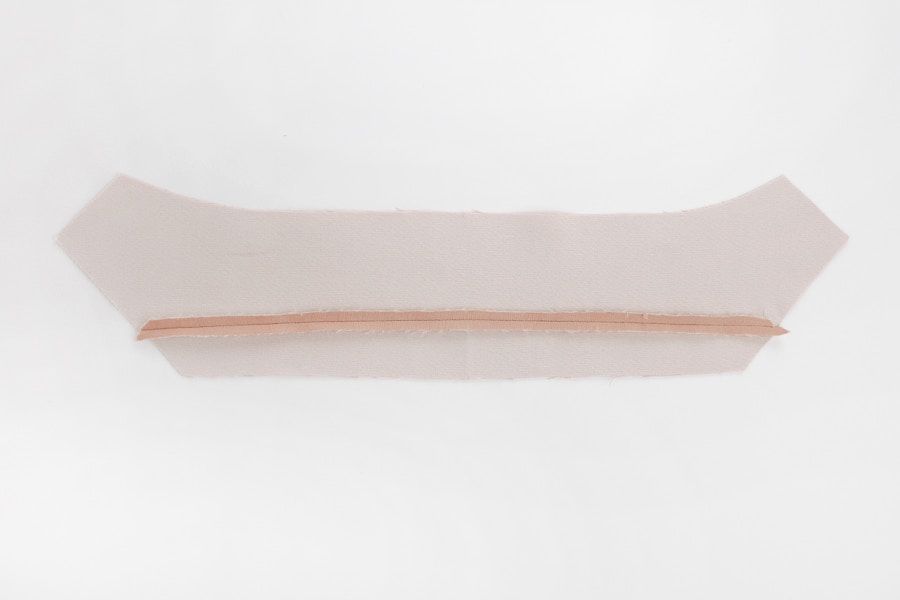

With the right sides together pin the collar to the collar stand, matching the notches. Sew them together at 6mm and press the seam open.
At each corner on the front facing sew a line of stitching 1cm from the edge to reinforce the corners where the collar turns on the front facing. Clip into the corner to release the seam allowance. This will allow you to manoeuvre the pieces when sewing the collar.

With the right sides together and matching the notches, pin the collar to the facing and lining. Each end of the collar extends 1cm past the notch on the facing.
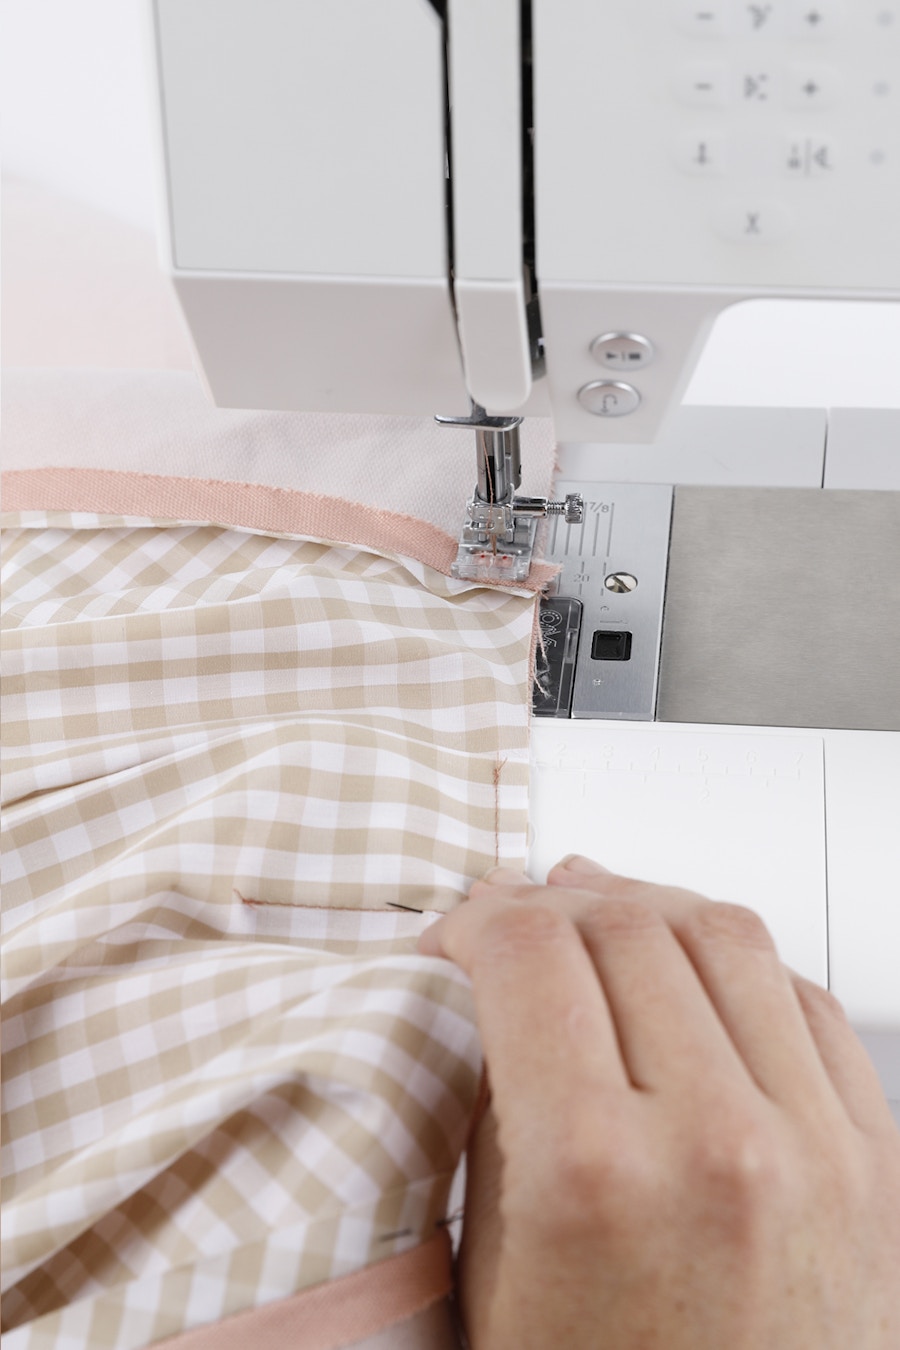

Sew the collar and collar stand to the facing and lining with a 1cm seam, starting and finishing at the notch on the facing. When you reach a corner, stop with your needle down and raise the presser foot. Pivot, and rearrange your blazer so that the seam you are going to sew is lying at, then continue sewing to the next corner. Stop with your needle down and rearrange your blazer again.
Now continue sewing to the end of the collar.
You can sew with the collar on top, or on the bottom. Just make sure to catch the front pieces when you stop with your needle down at each corner.

Press the seam open. The corners of the collar will need to be folded when you press this seam open.


Now we will sew the sleeve linings.
With the right sides together, pin the top sleeve lining to the under sleeve lining at both seams. Sew them with a 1cm seam and press open. Repeat for the other sleeve to create a pair of sleeve linings.

To set in the sleeve linings, run two lines of basting stitches 6mm apart over the sleeve head.

With the right sides together, pin the sleeve lining to the lining and facing, matching the notches. Pull the basting thread gently to ease the sleeve head into the armhole opening, as you did with the main sleeve.
Sew the sleeve to the lining and facings, adjusting the sleeve head as you sew and taking care not to create any tucks. Press the seam towards the sleeve lining.
Repeat for the second sleeve lining.

Give your lining a press.

