1 — Pre-Pressing
Time to start sewing your Sparrow Pant or Short! We are making the pant in this sew along, but the steps are the same if you are sewing the short.
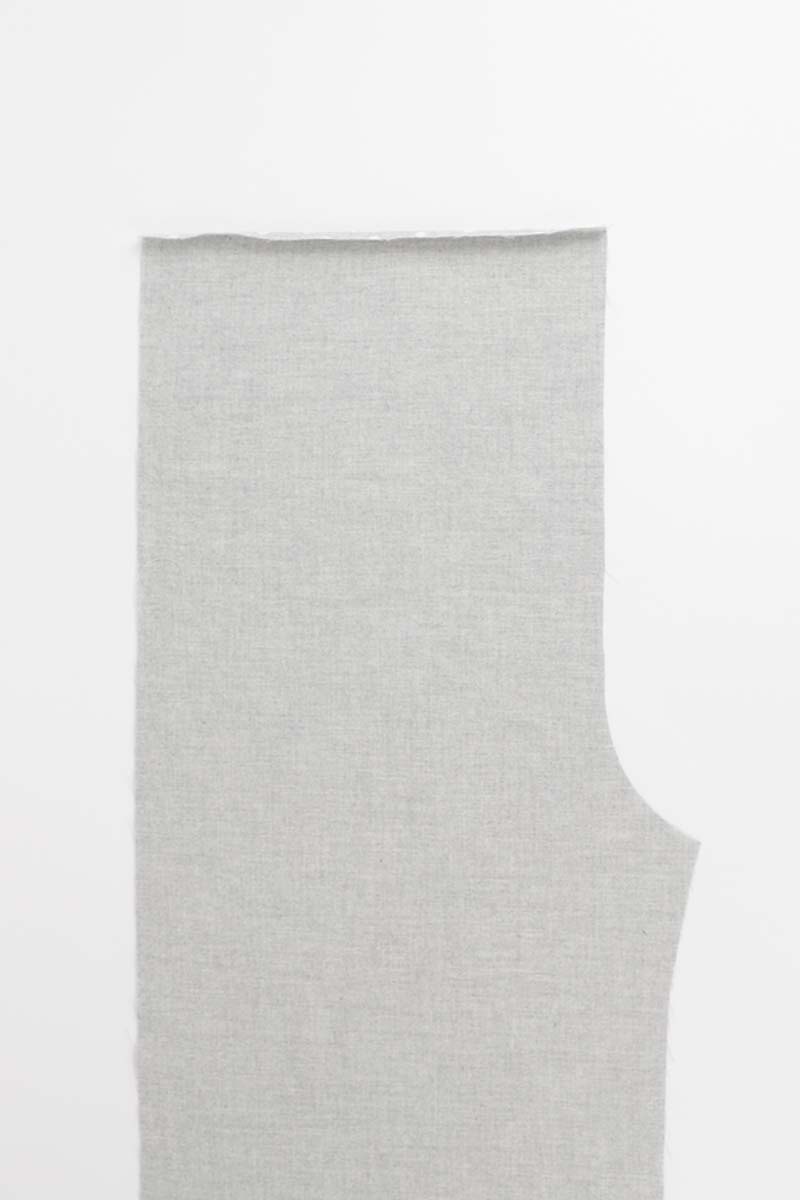
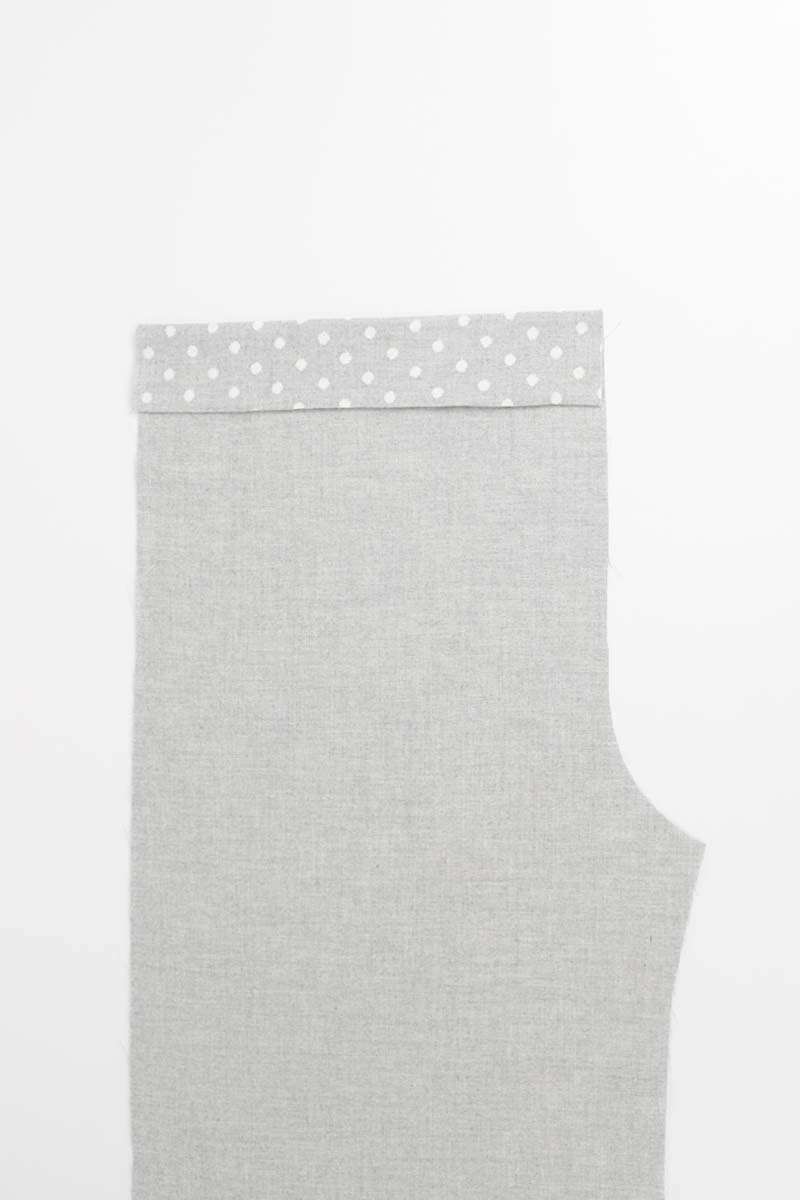
First, take the front pieces and fold the waist edge over 1cm to the wrong side, and press. Fold the waist edge over another 5cm to the wrong side as indicated by the notches, and press. The finished waist depth is 5cm.
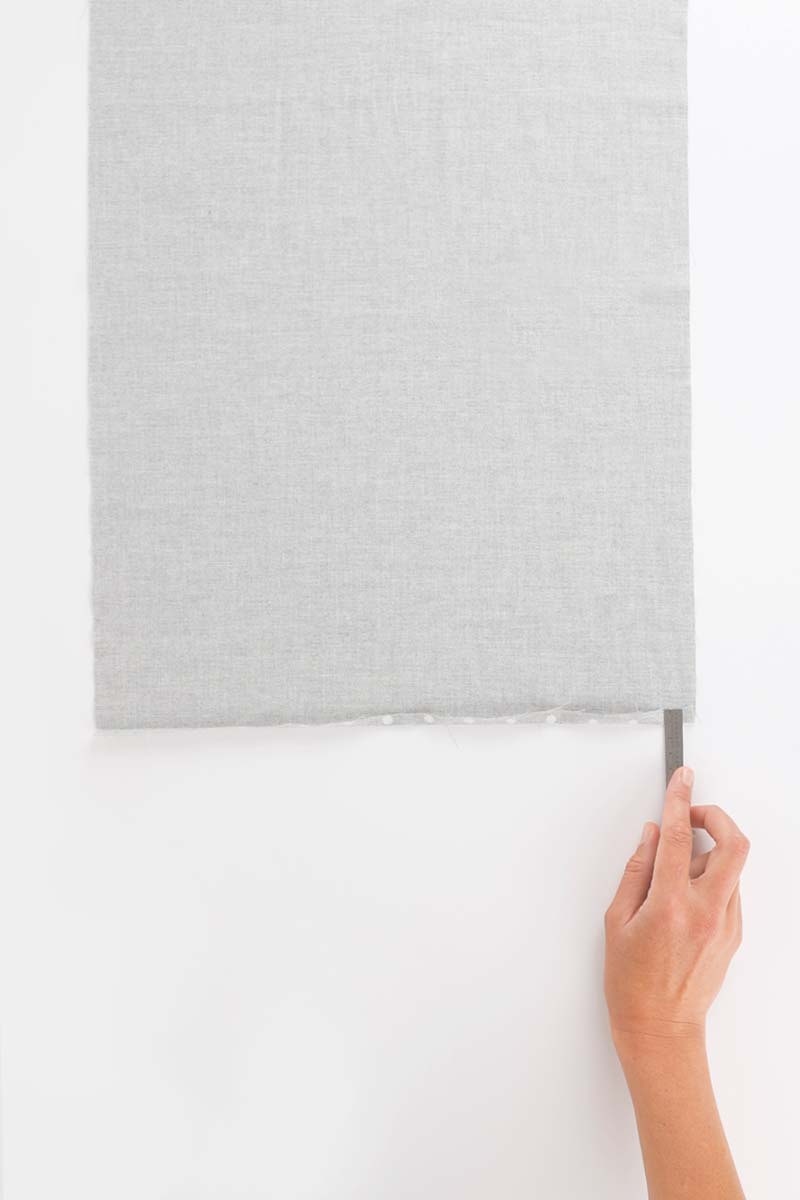
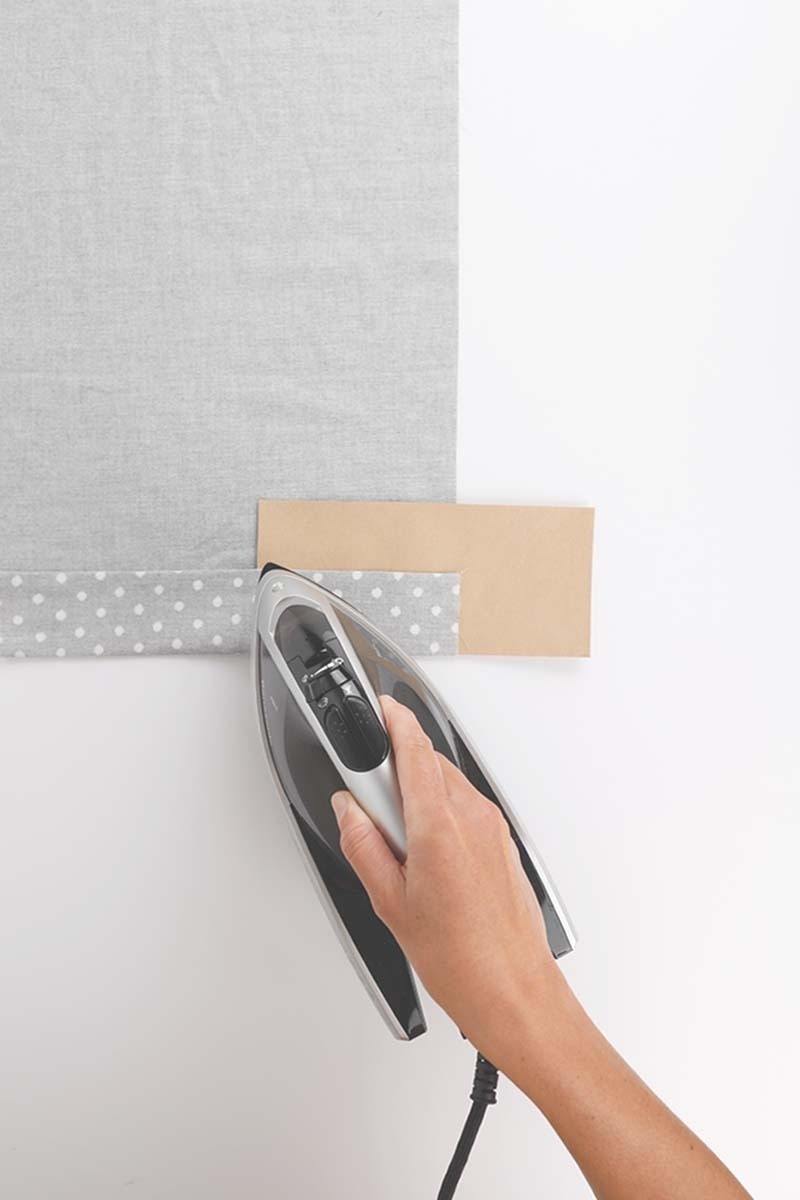
Fold the bottom hem of each front over 1cm to the wrong side and press. Then, as indicated by the notches, fold the hem up another 6cm to the wrong side and press. The finished hem depth is 6cm.
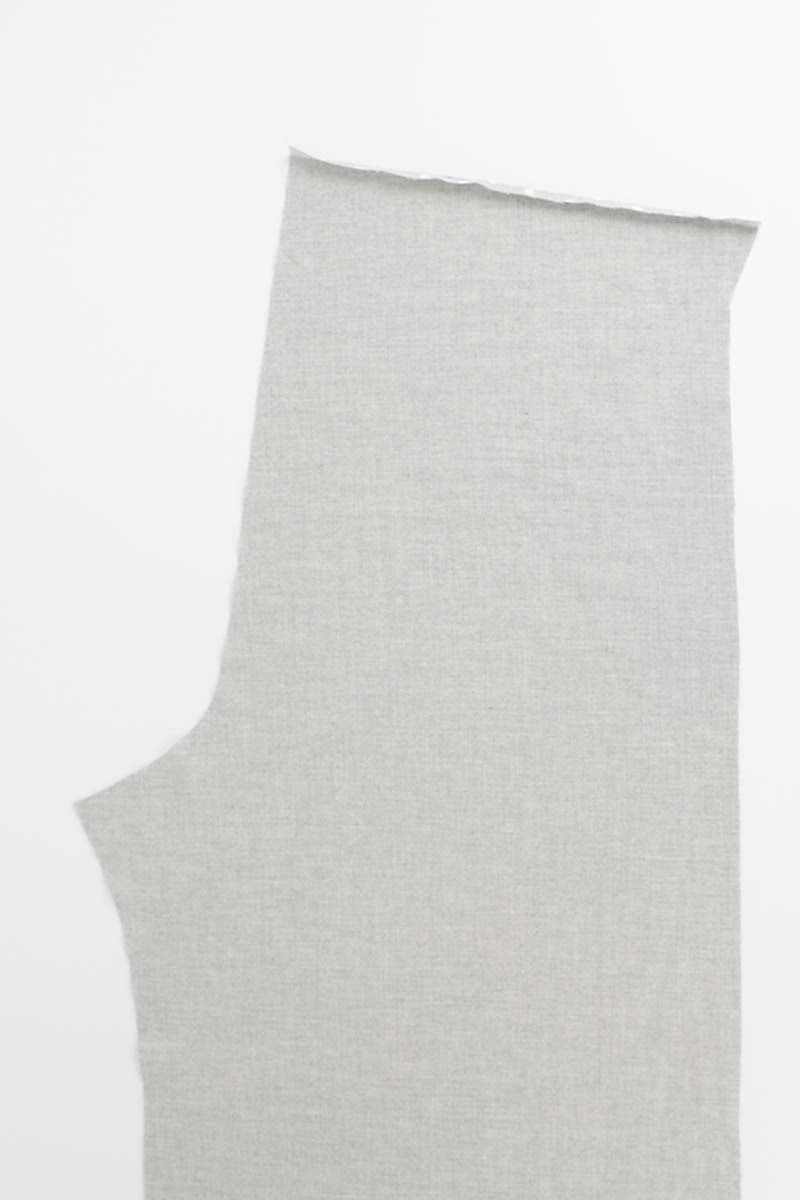
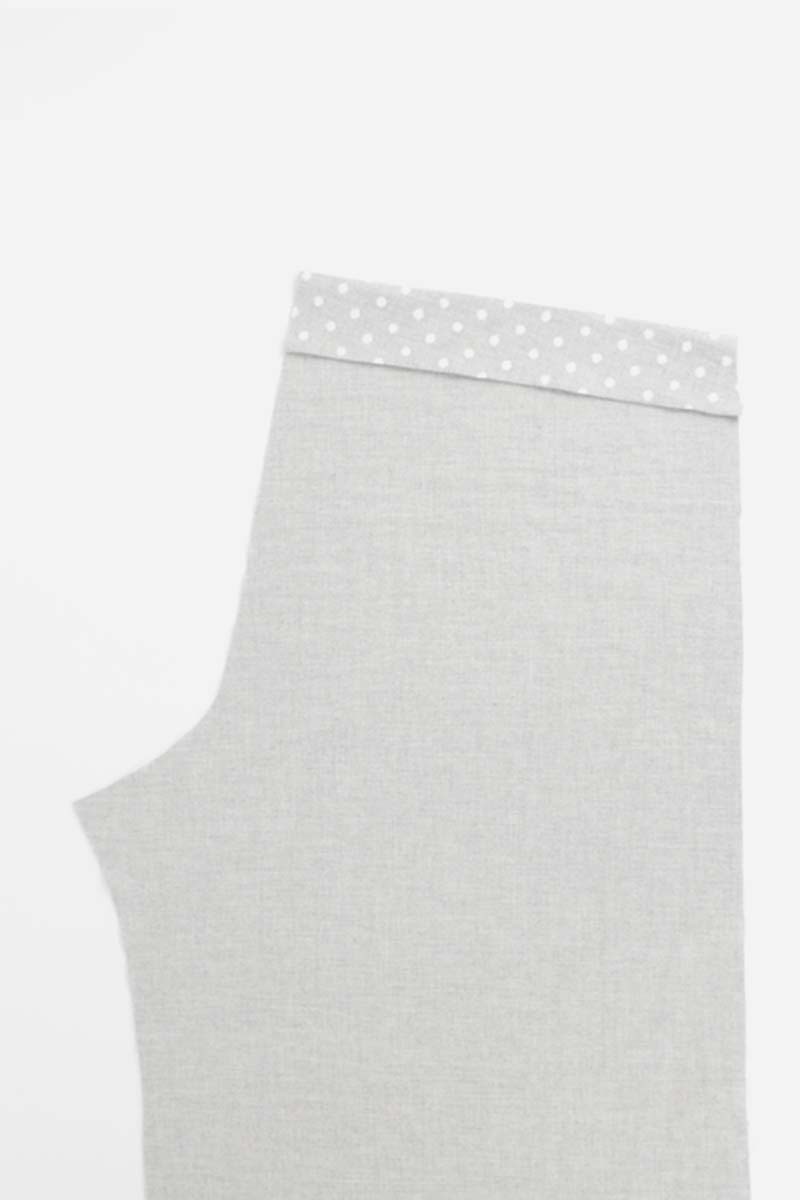
Next, take the back pieces and fold the waist edge over 1cm to the wrong side, and press. Fold the waist edge over another 5cm to the wrong side as indicated by the notches, and press. The finished waist depth is 5cm.
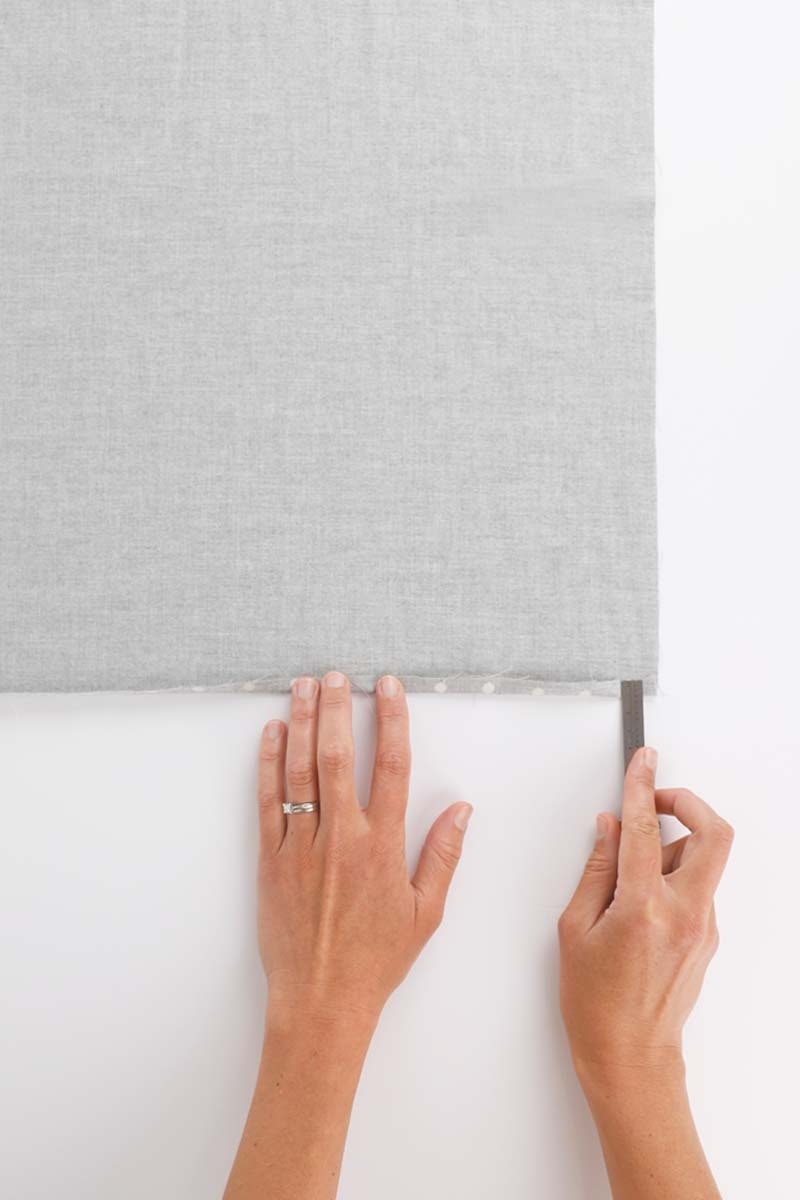
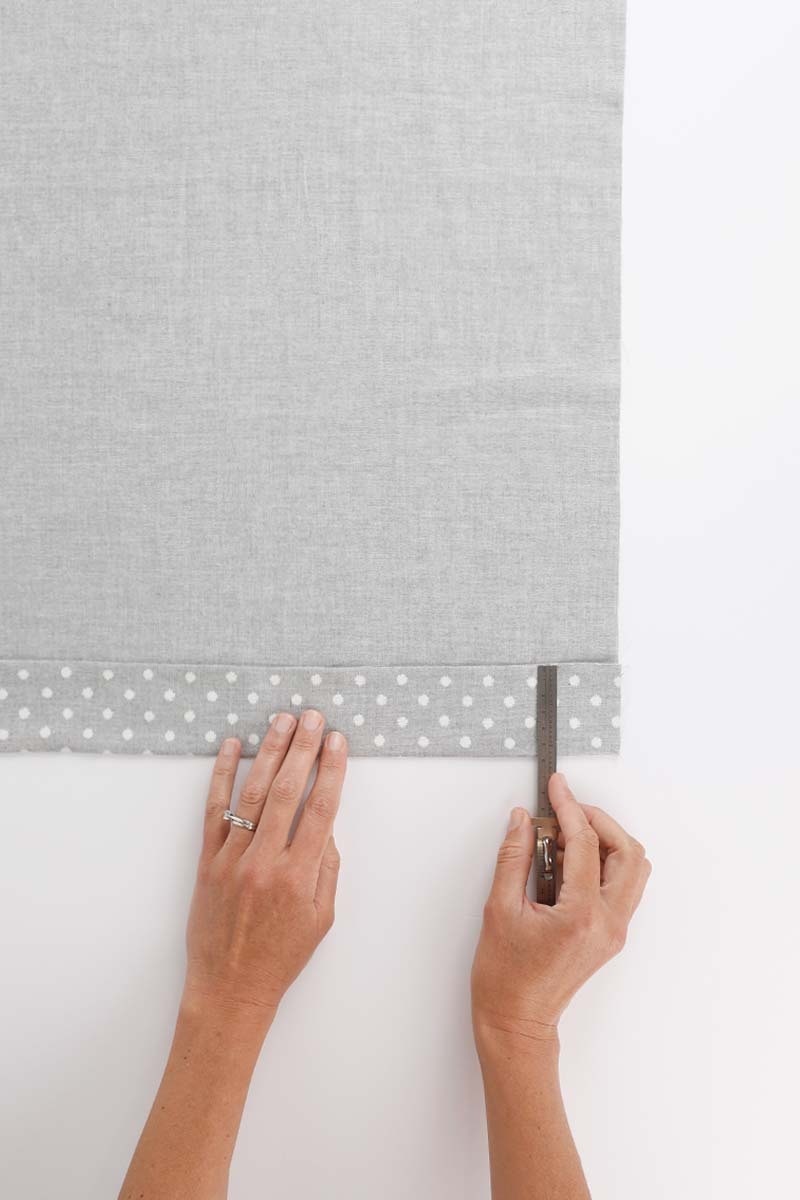
Fold the bottom hem of each back over 1cm to the wrong side and press. Then, as indicated by the notches, fold the hem up another 6cm to the wrong side and press. The finished hem depth is 6cm.
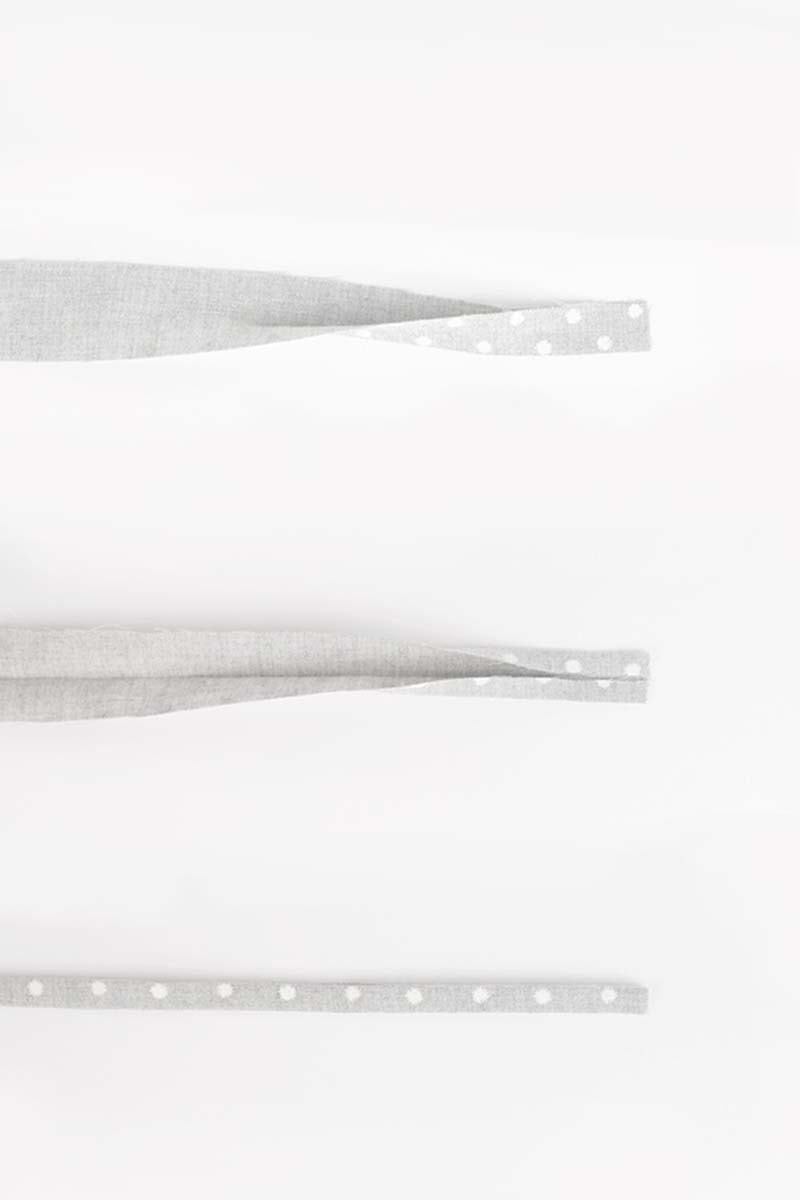
We will now press your drawstring pieces. Fold the pieces in half lengthways with the wrong sides together and press. Unfold and then fold the outer edges in 1cm in meeting at the centre crease line. Press. Fold your drawstring in half lengthways and press again. Your finished piece will measure 1cm in width.
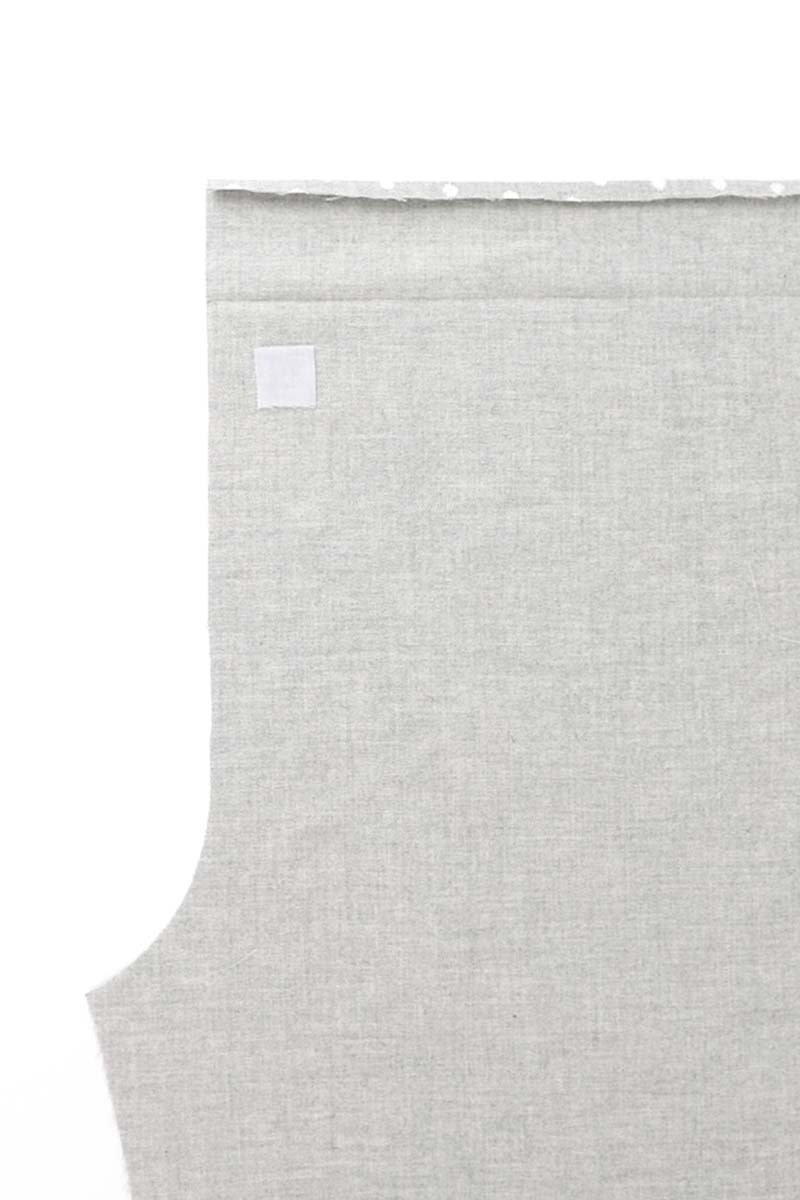
If you are adding a drawstring to your pants, you may want to apply fusible interfacing at the buttonholes. Adding interfacing will add stability and strength to the buttonhole area.
On each front, fuse a 2.5cm x 2.5cm piece of interfacing to the wrong side where the buttonholes are located. There is a Buttonhole Template included with your pattern to guide you.
2 — Drawstring and Pockets
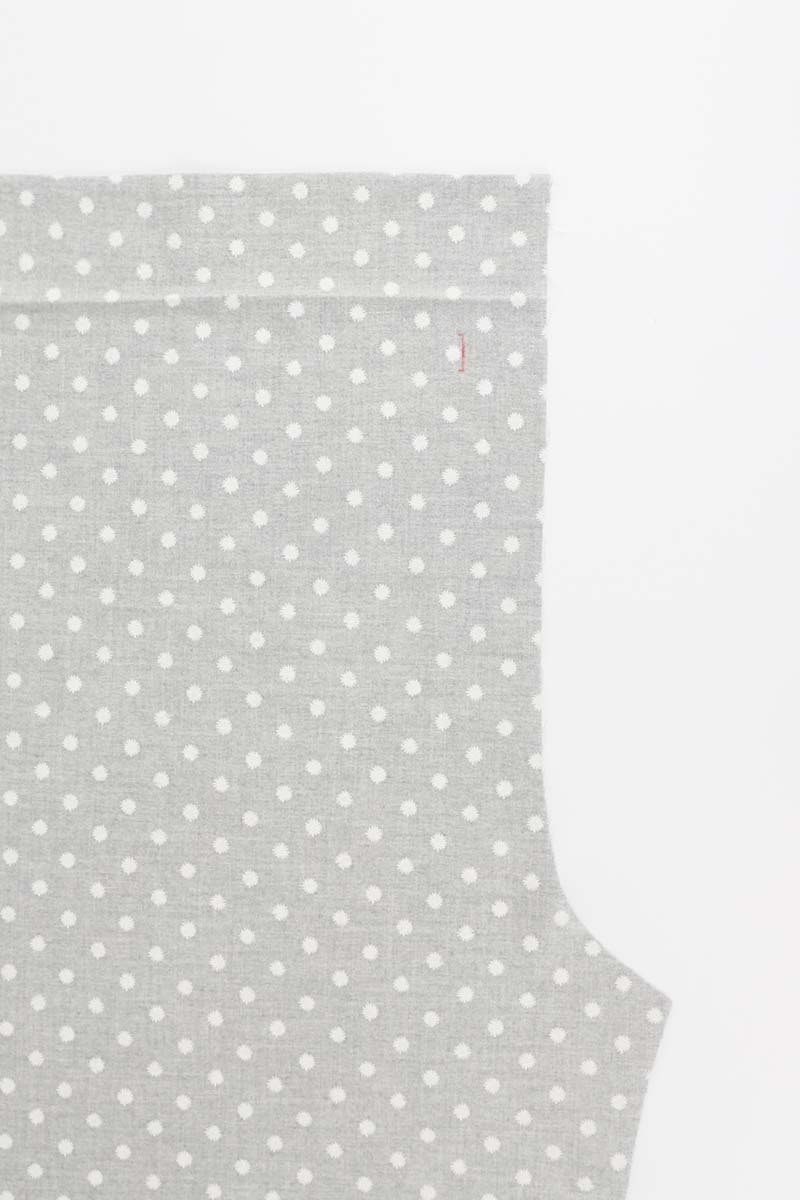
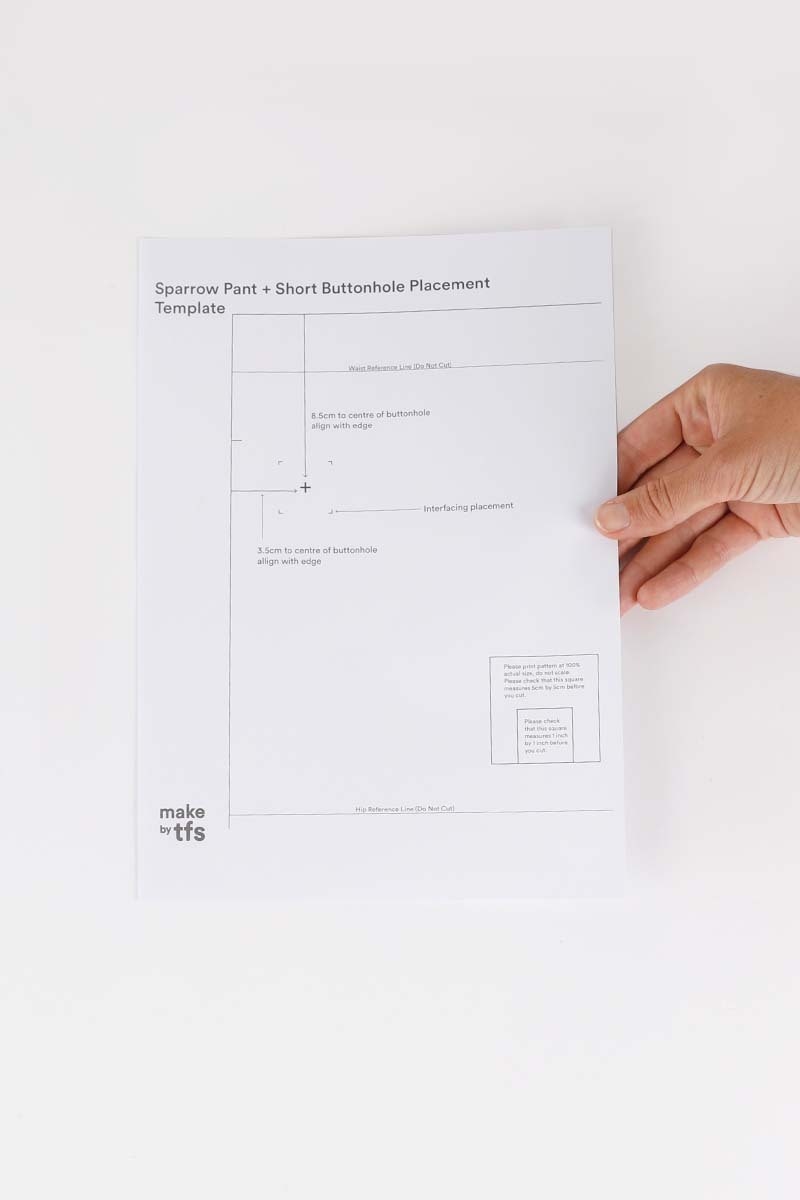
On each front, mark the buttonhole at the centre front, using the pattern piece as a guide.
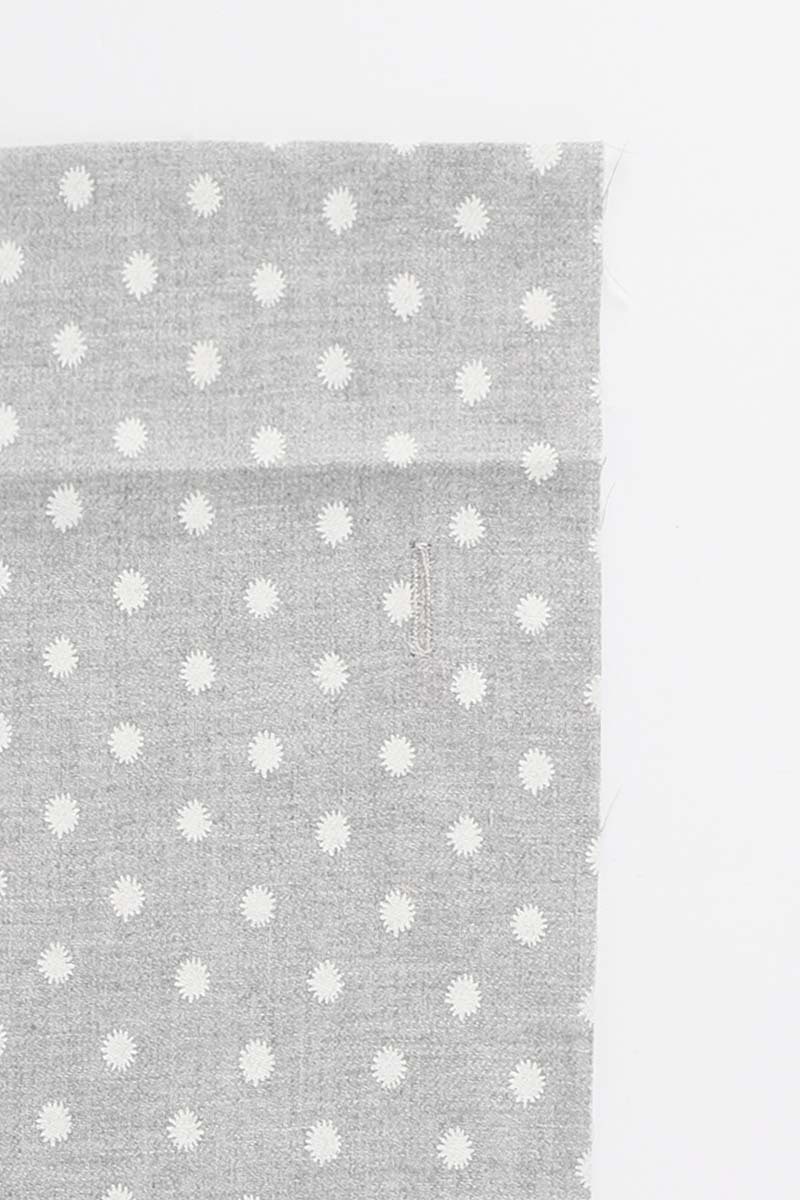
Sew each 1.5cm buttonhole as per your sewing machine’s manual.
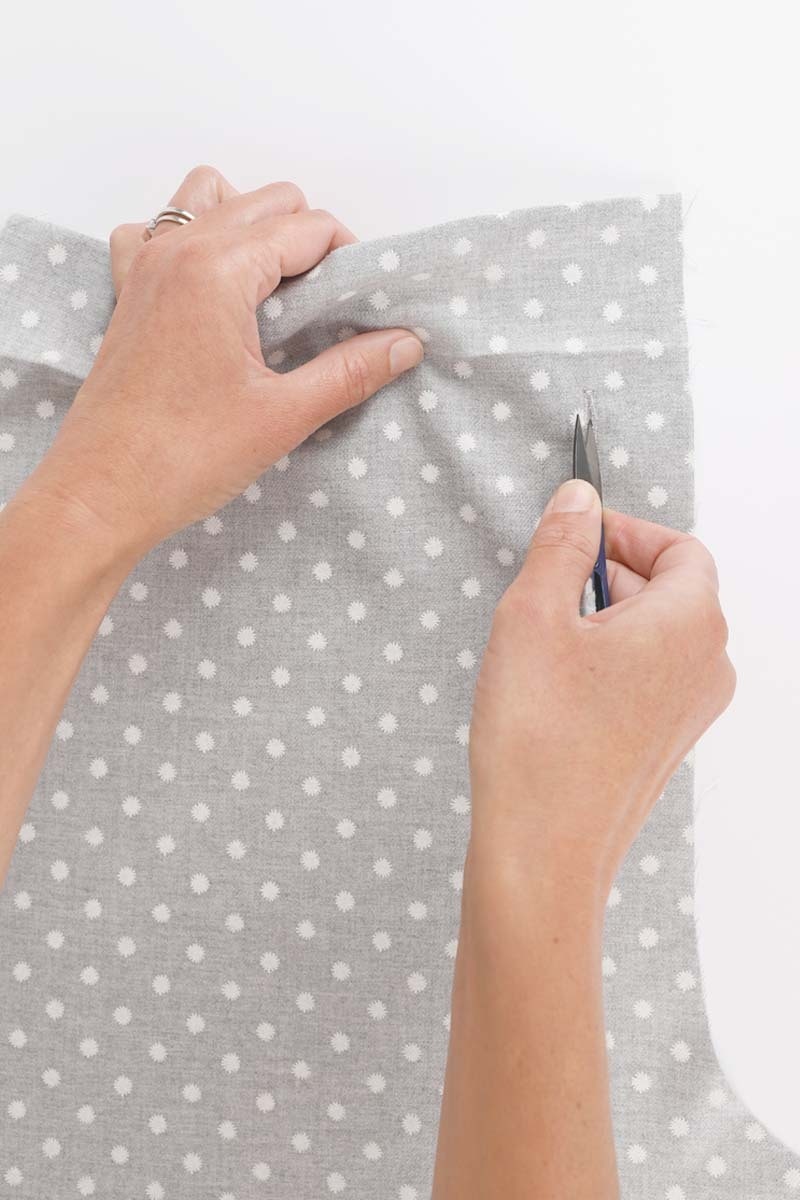
Now, carefully cut each buttonhole open.

With the right sides together, pin the drawstring pieces together at the short end. Sew with a 1cm seam and press open.
If your drawstring is in more than two pieces, repeat this step to join them all together.
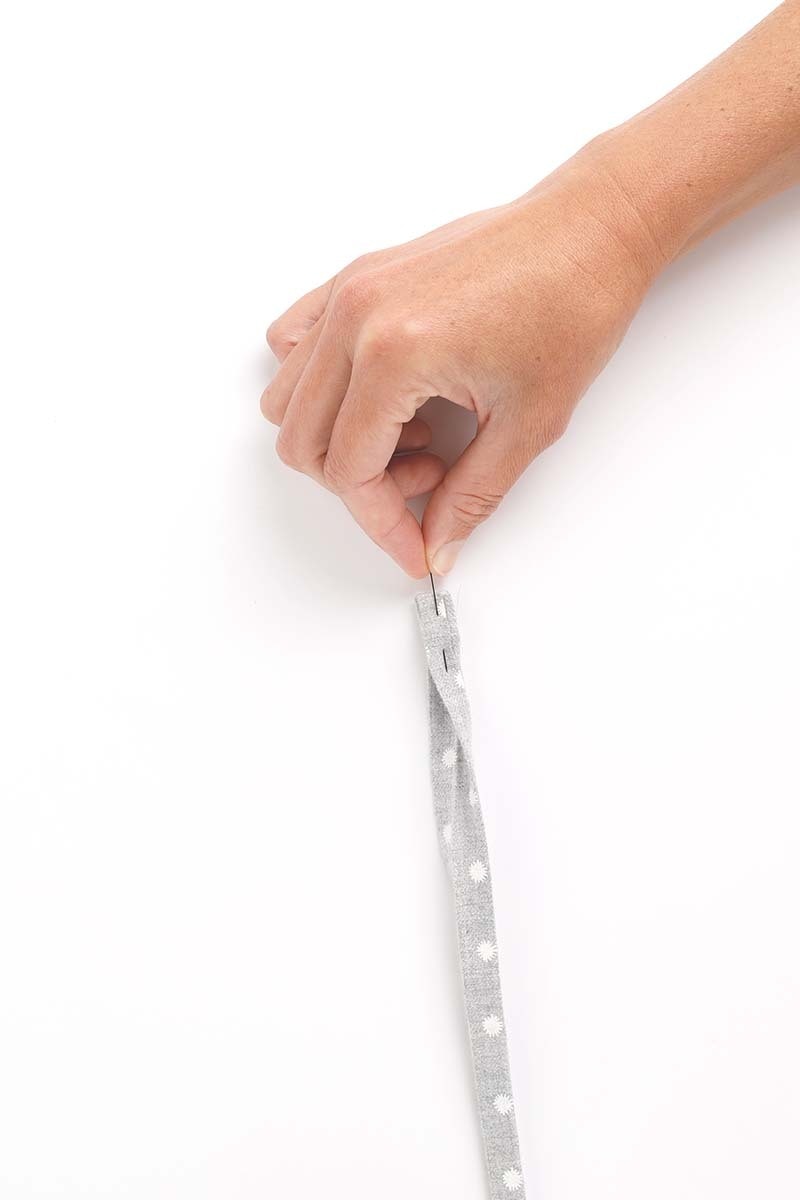
Fold the long outer edges of the drawstring in 1cm to meet in the centre, wrong sides together.
Next, fold the drawstring in half with the right sides together. This is the opposite to your pre-pressing at the beginning, and the raw edges will be visible. Pin the end to hold it in place.
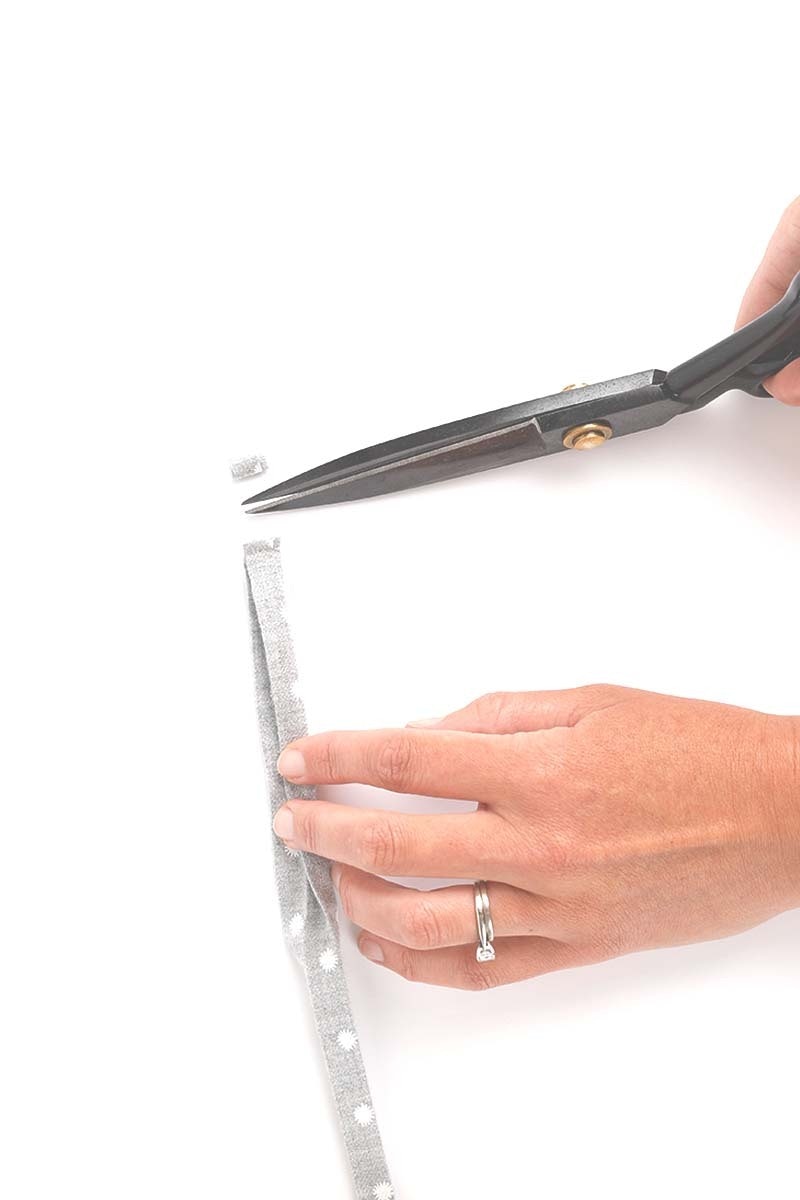
Stitch each end closed at 1cm and then trim the seam to 5mm.
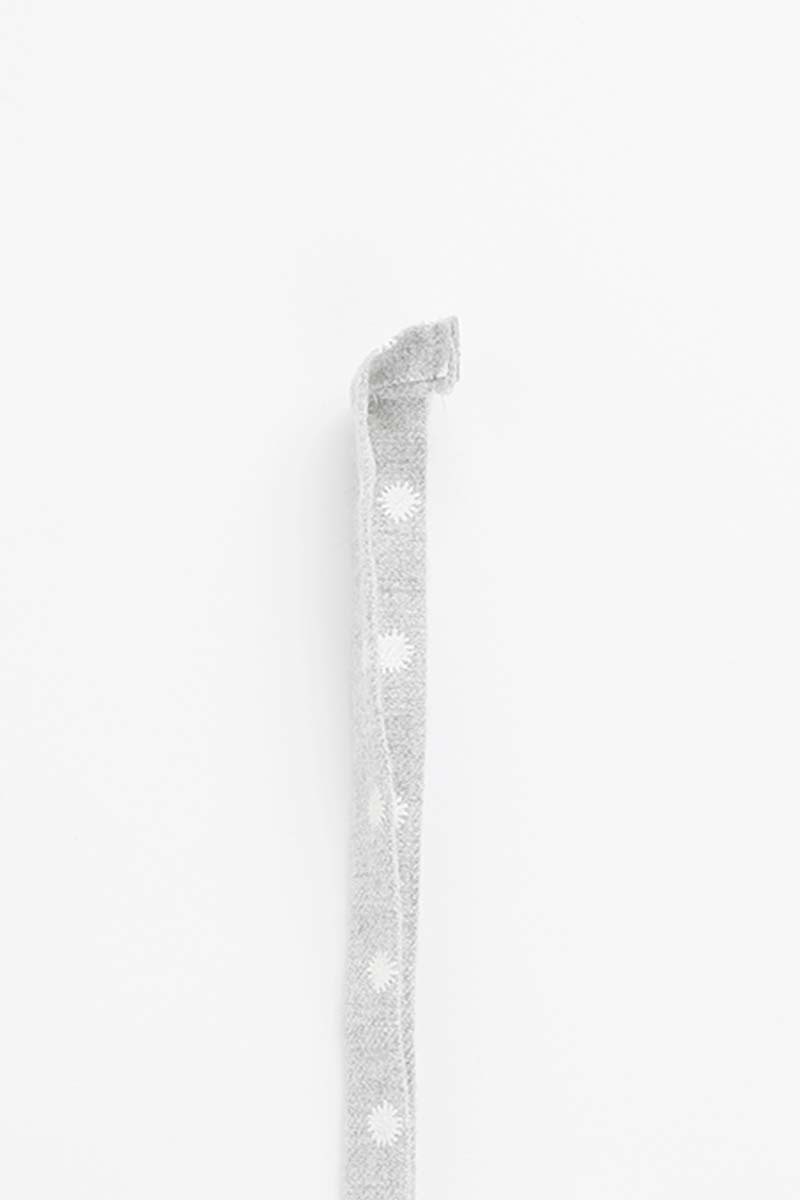
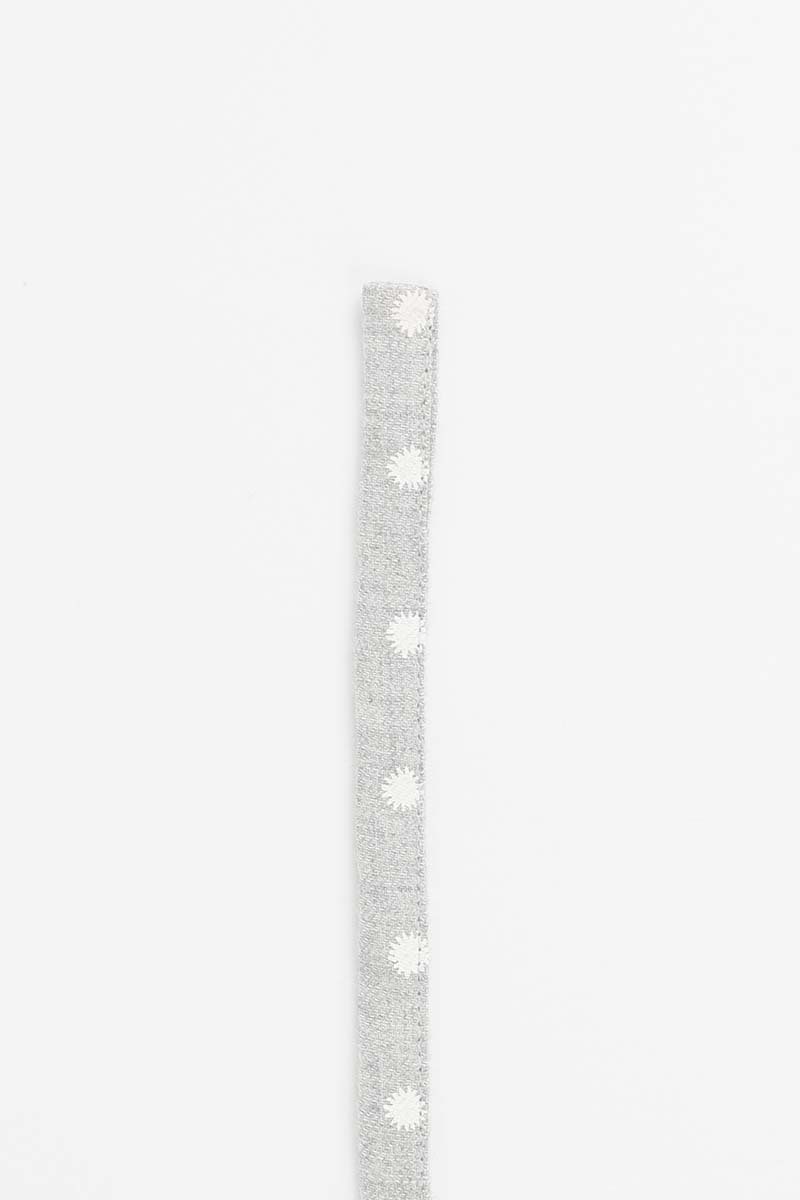
Turn the drawstring right side out so the raw edges are enclosed.
Edge stitch the drawstring closed along the entire length.
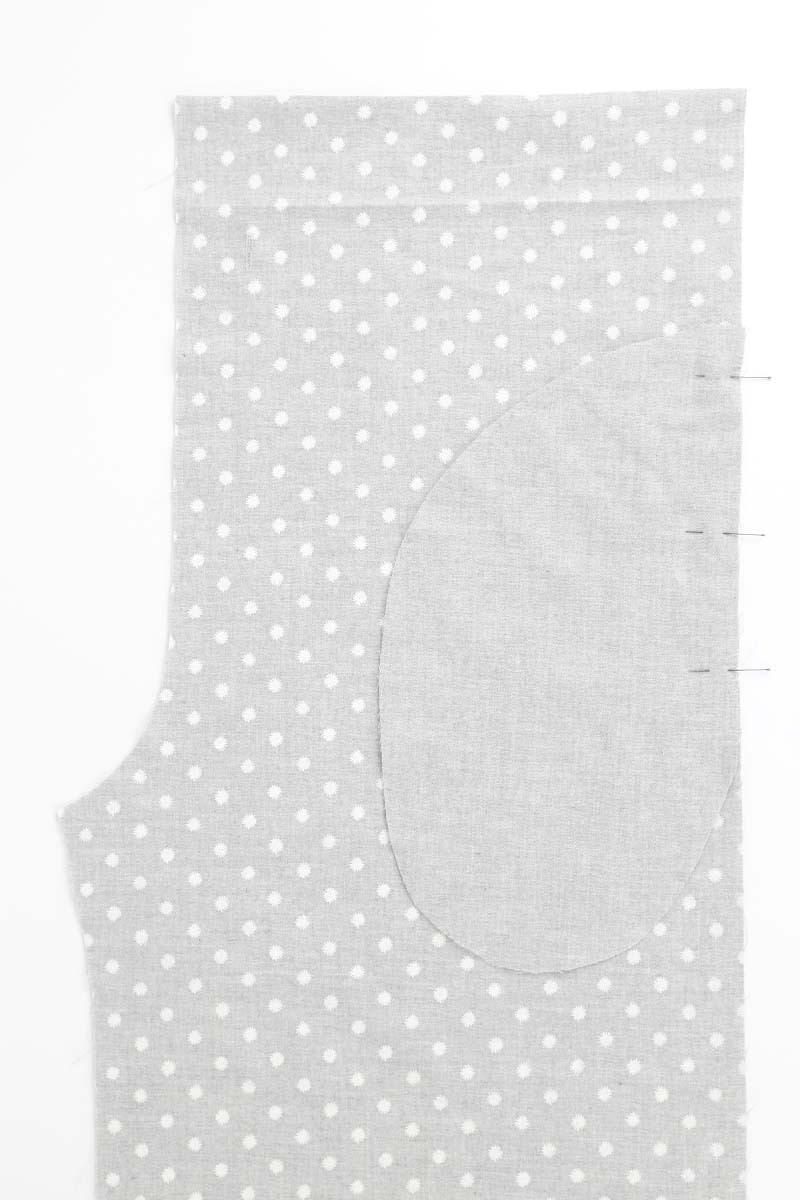
Now we will sew the pockets.
Place one pocket bag onto the front with the right sides together and pin together at notches marked ‘pocket opening’.
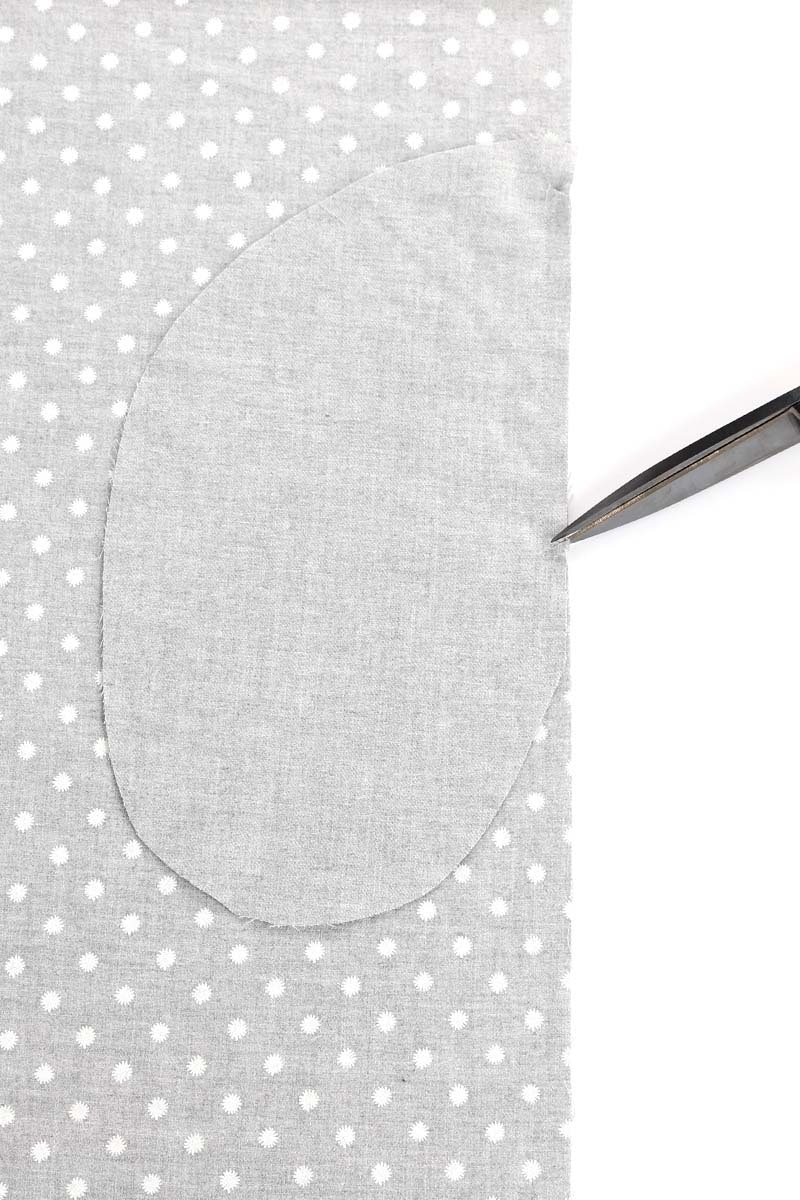
Stitch a box with your sewing machine from notch to notch. Starting at one of the notches, stitch in 1cm. With the needle down, turn 90 degrees and continue stitching at 1cm, parallel to the edge. When you reach the next notch, stop with your needle down and turn 90 degrees and sew to the edge. You will have created a stitched box along the pocket opening.
Next, you need to mitre into the upper and lower corners of the box. Do this by snipping into each corner at a 45-degree angle, using very sharp scissors and taking care not to cut into your stitch line.
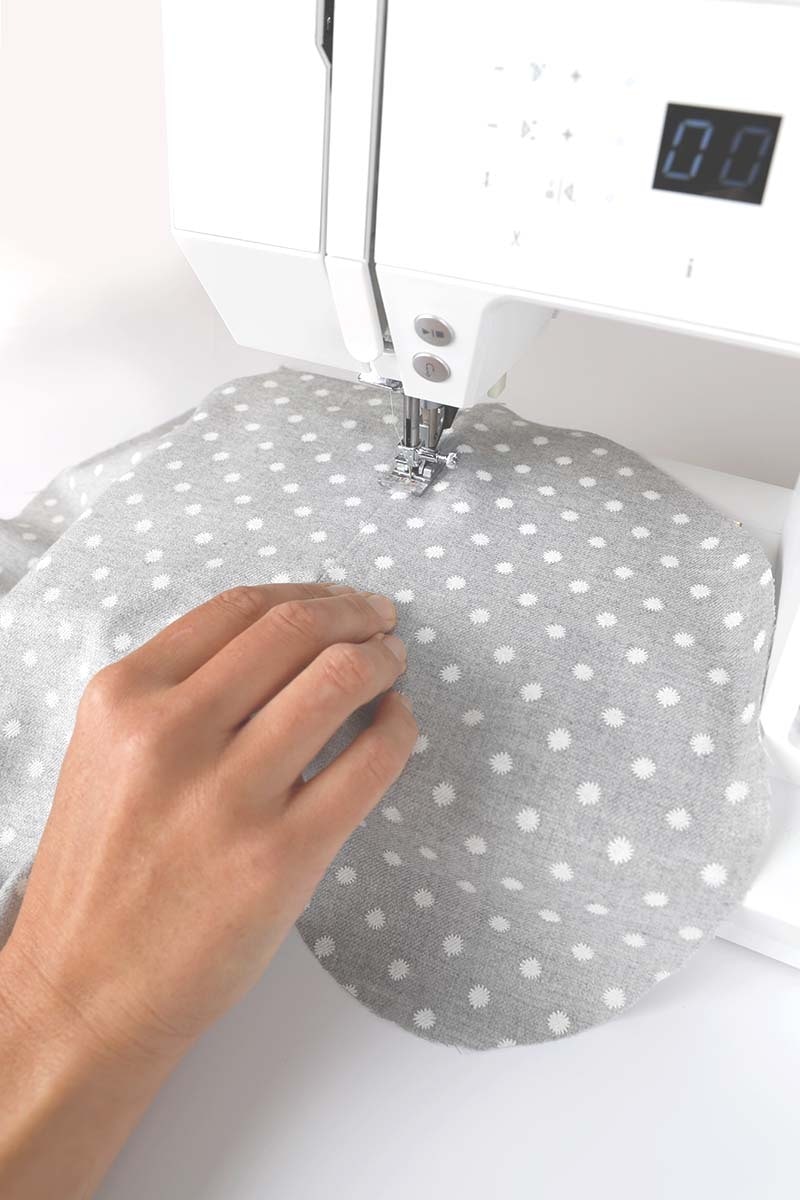
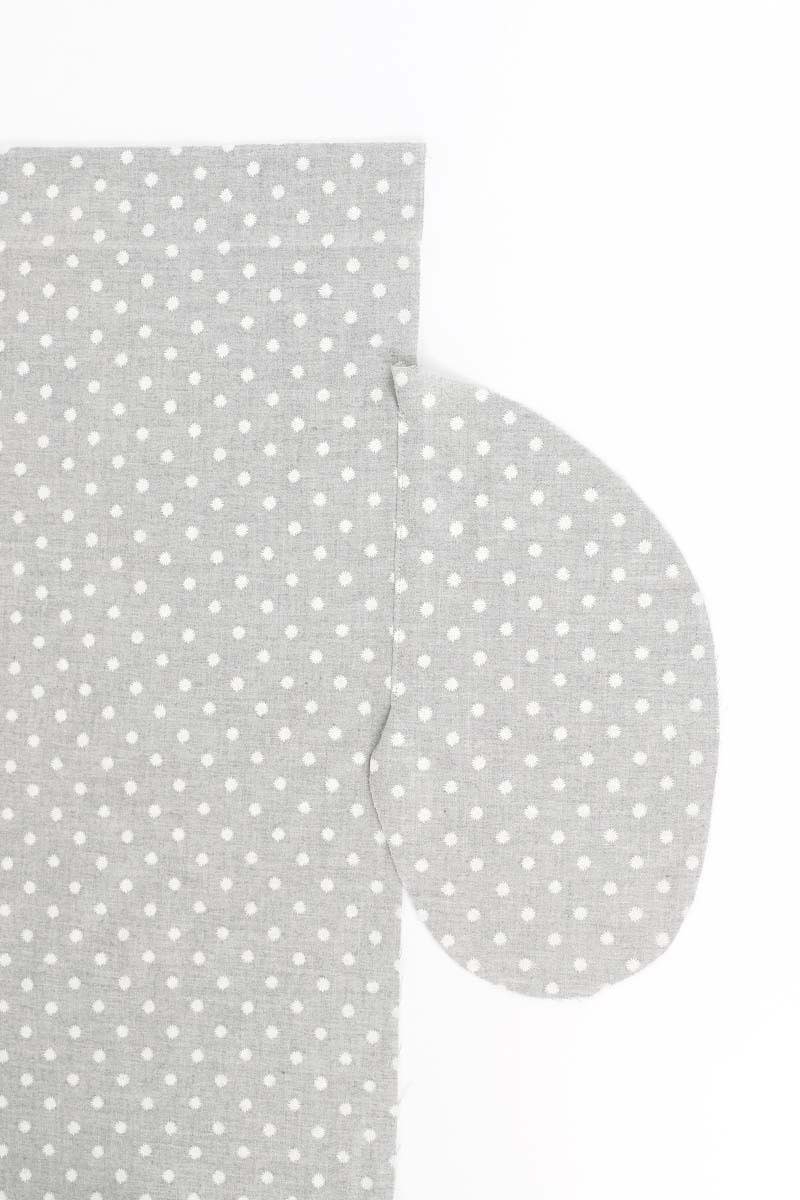
Fold the entire pocket bag over towards the wrong side of the fabric and press along the edge of the pocket opening. Under stitch the pocket opening from corner to corner and press again.
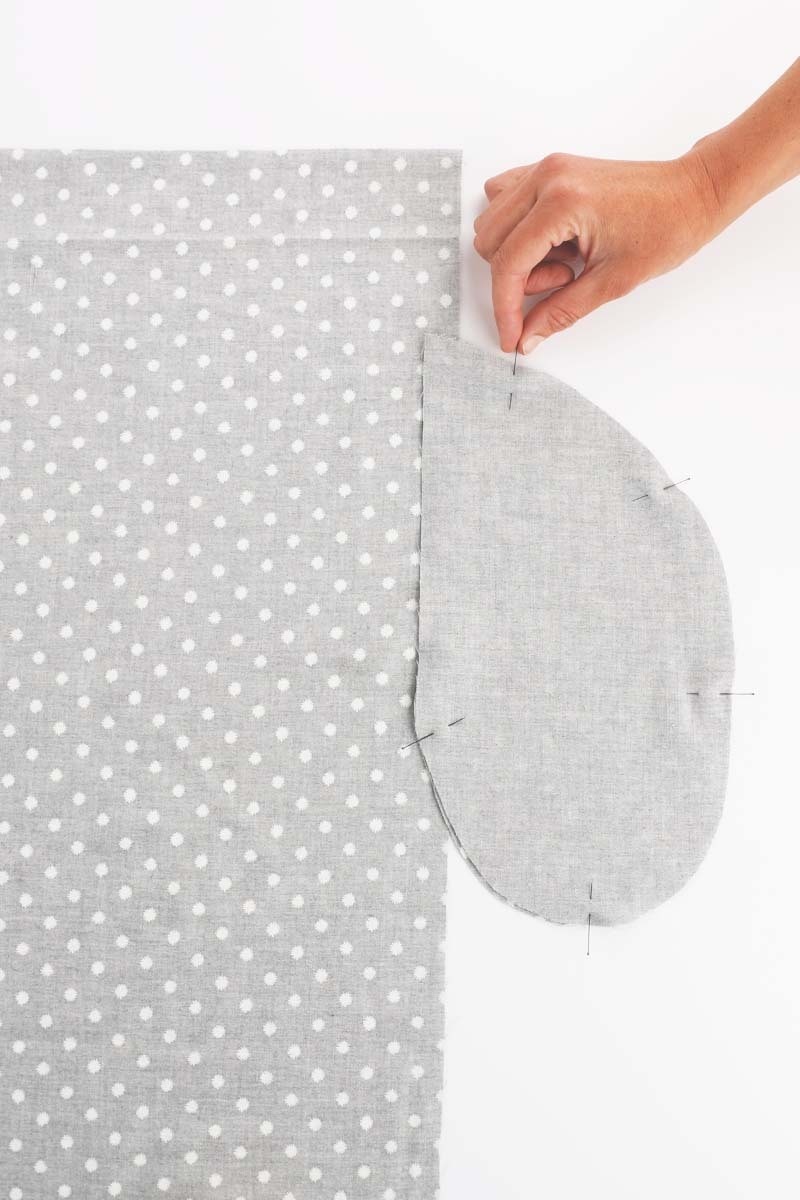
Lay the other pocket piece on top, right sides together and matching the notches. Pin it in place.

Sew the pocket bags together around the long, curved edge with a 1cm seam.
Neaten this curved edge.
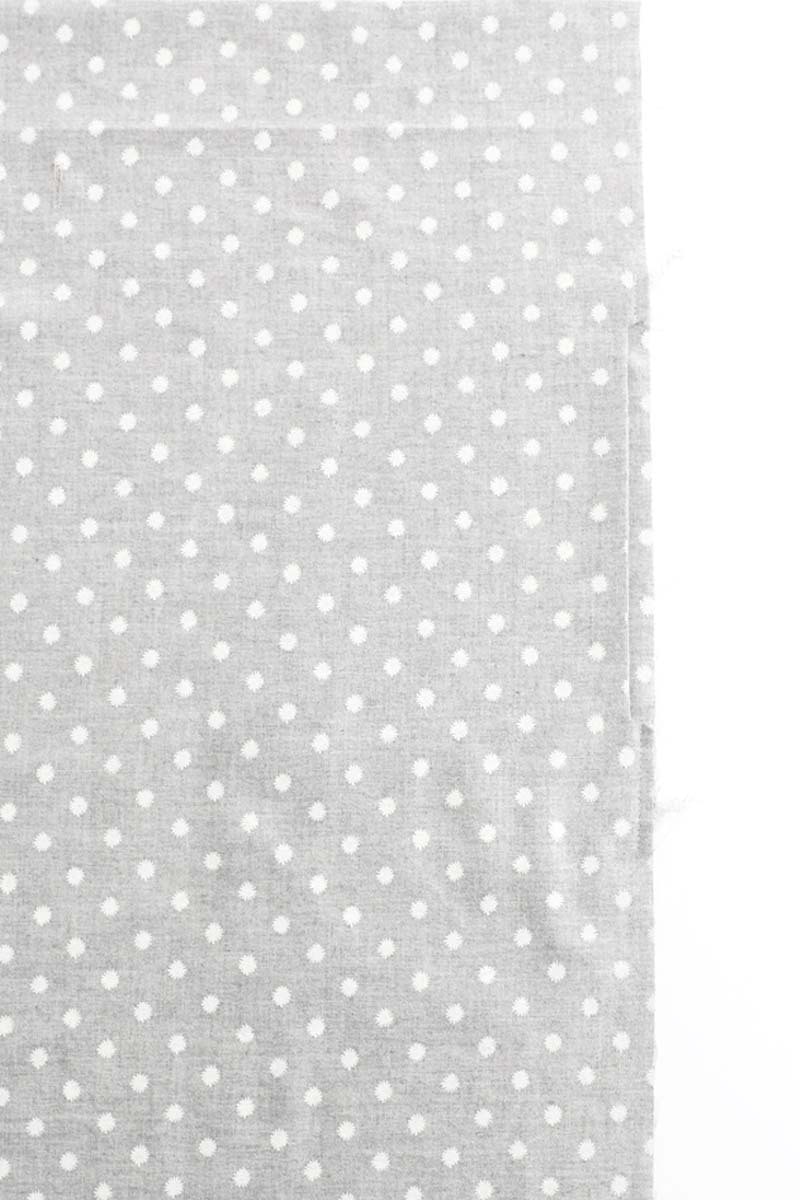
Baste the pocket bag to the front, either side of the pocket opening.
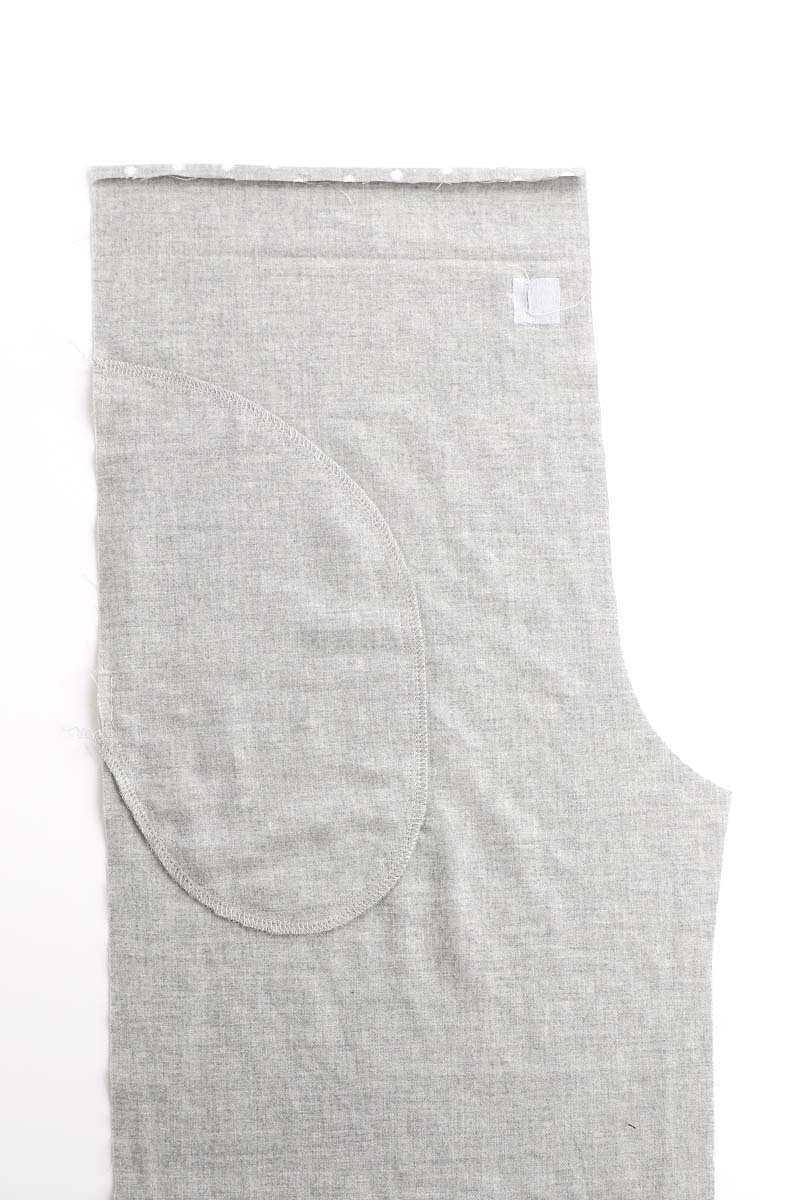
Your finished pocket will look like this from the wrong side.
Repeat for the pocket on the other side.
3 — Assemble Leg and Finishing Touches
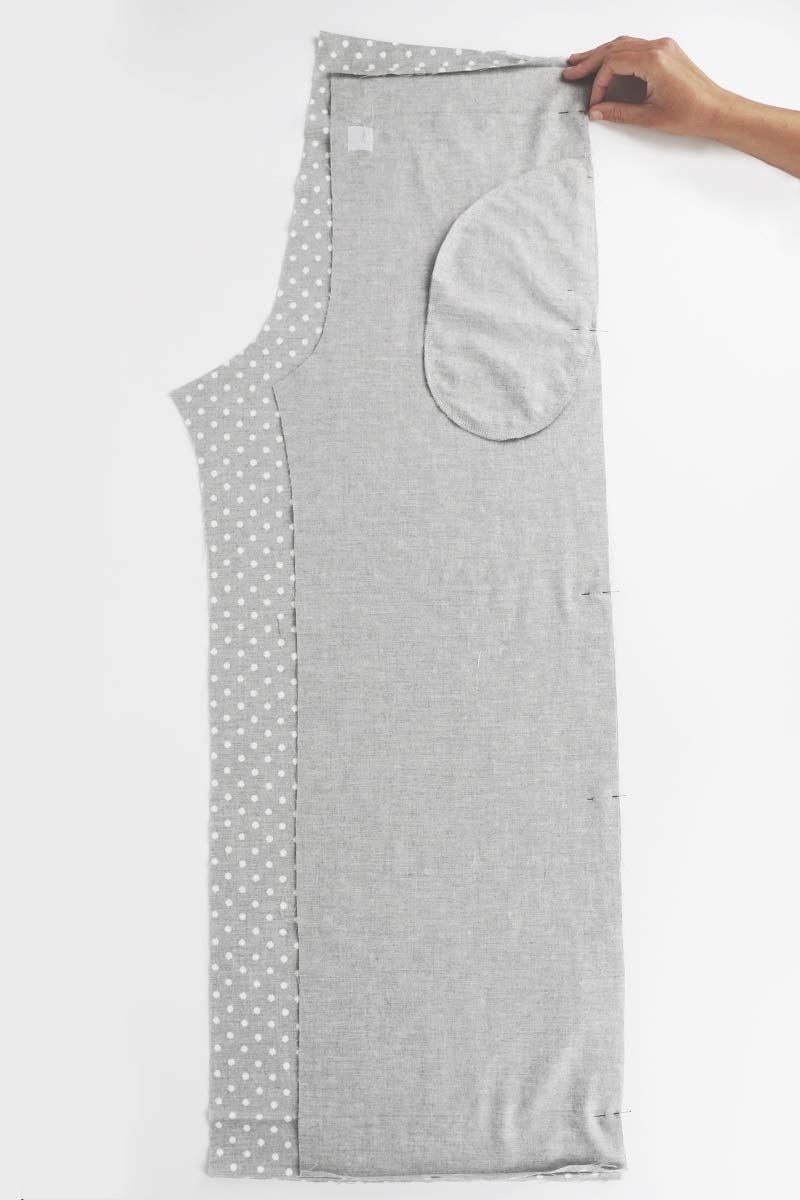
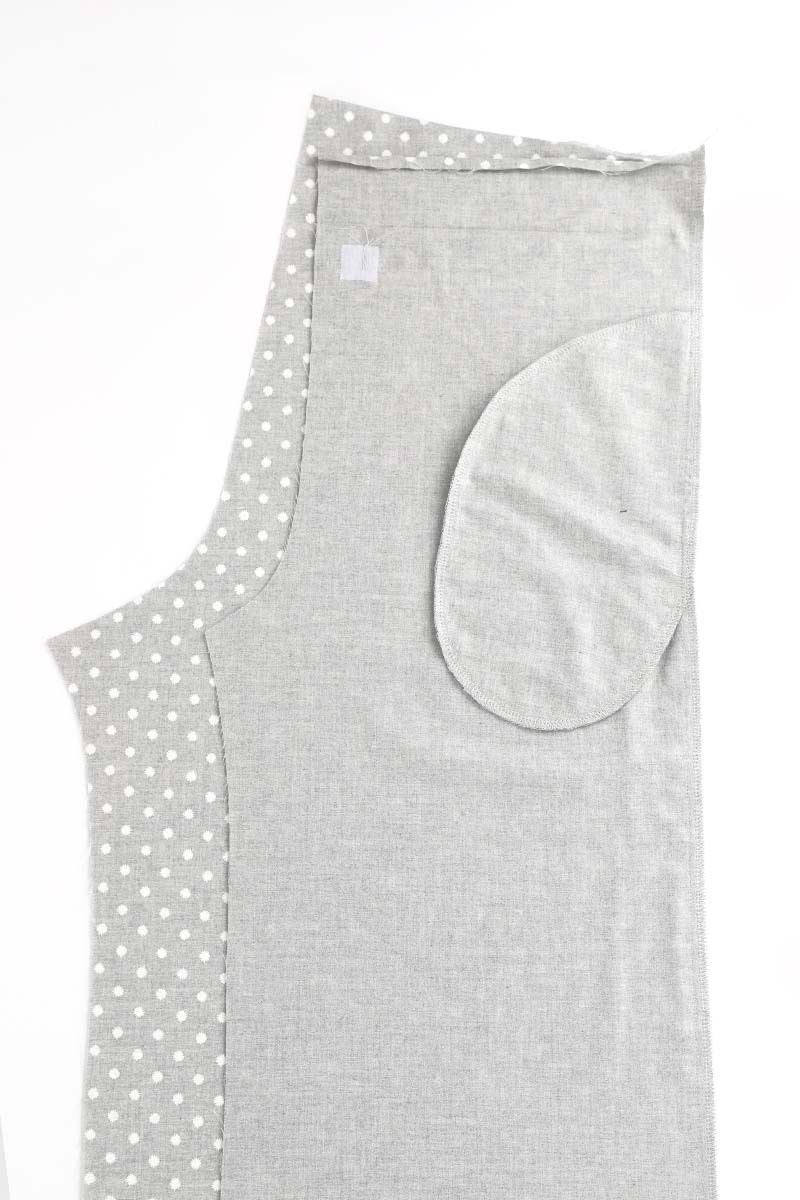
With the right sides together, pin the front to the back at the side seam. Sew the side seam with a 1cm seam. Take care near the pocket edge not to accidently catch the pocket opening in this seam. You can either pin it back a little, or tuck it under as you get close to it. Neaten the seam and then repeat for the other side.
Press the seams towards the back.
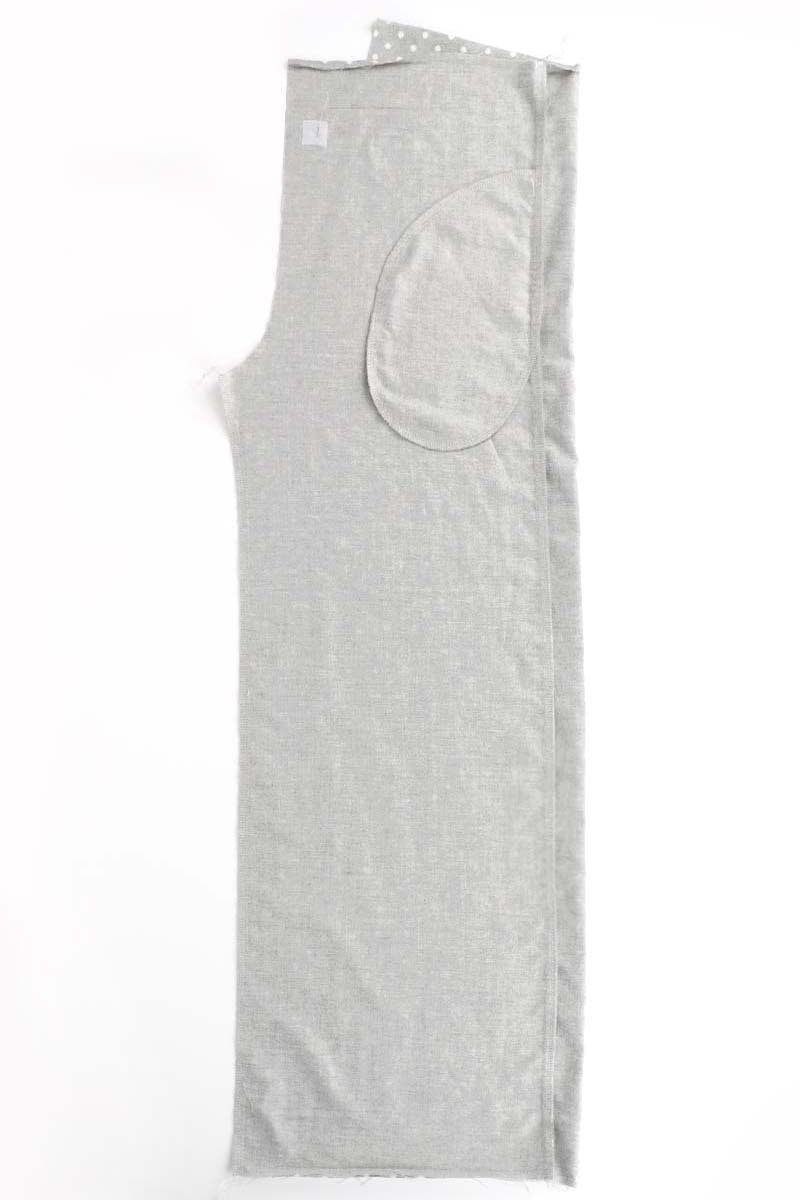
With the right sides together, pin the front to the back at the inner leg. Sew with a 1cm seam then neaten.
Repeat for the other leg.
Press seams towards the back.
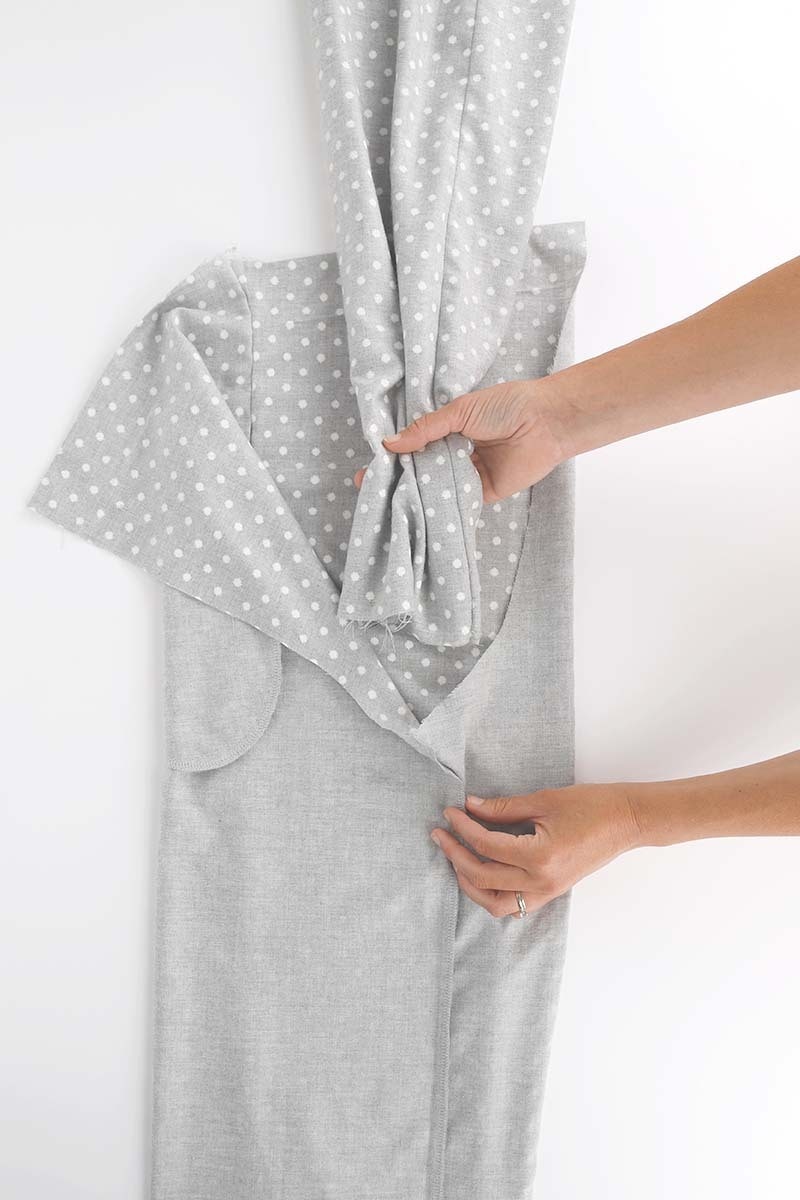
We will now join the two legs together.
With one leg inside out, place the other leg, right side out, inside the first leg so the right sides are together.
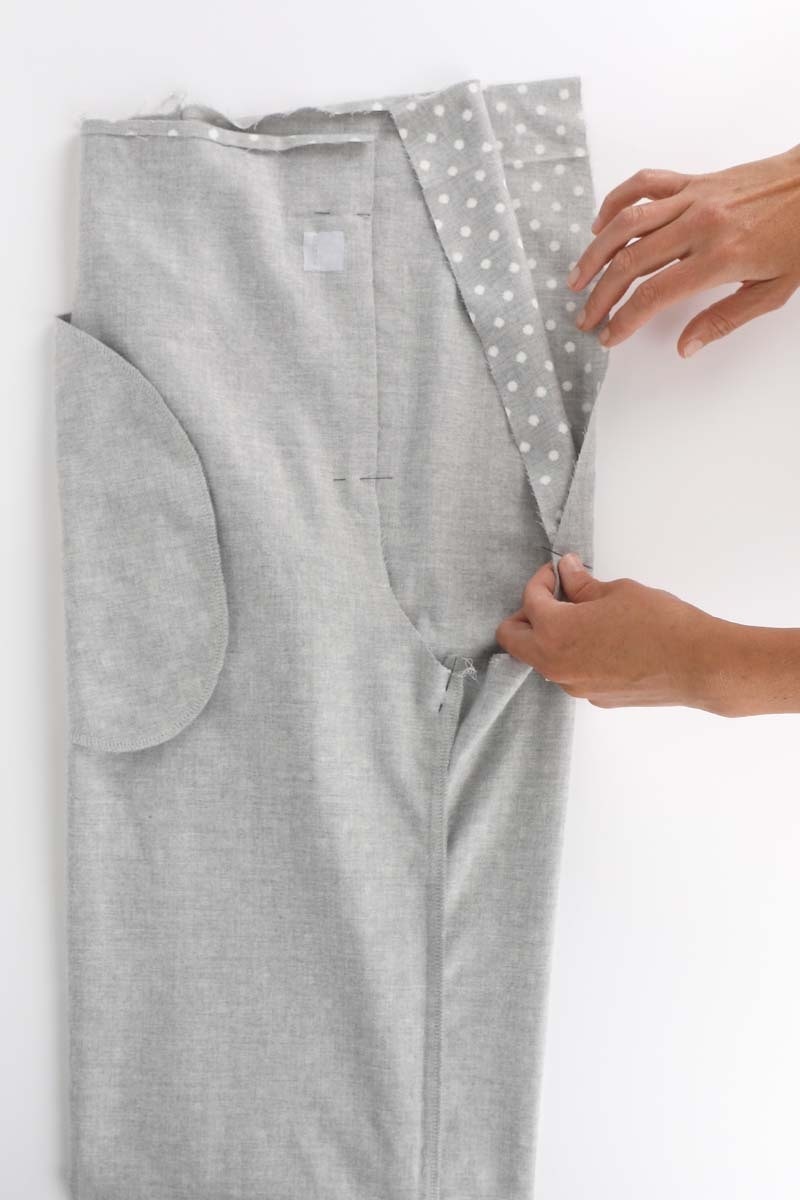
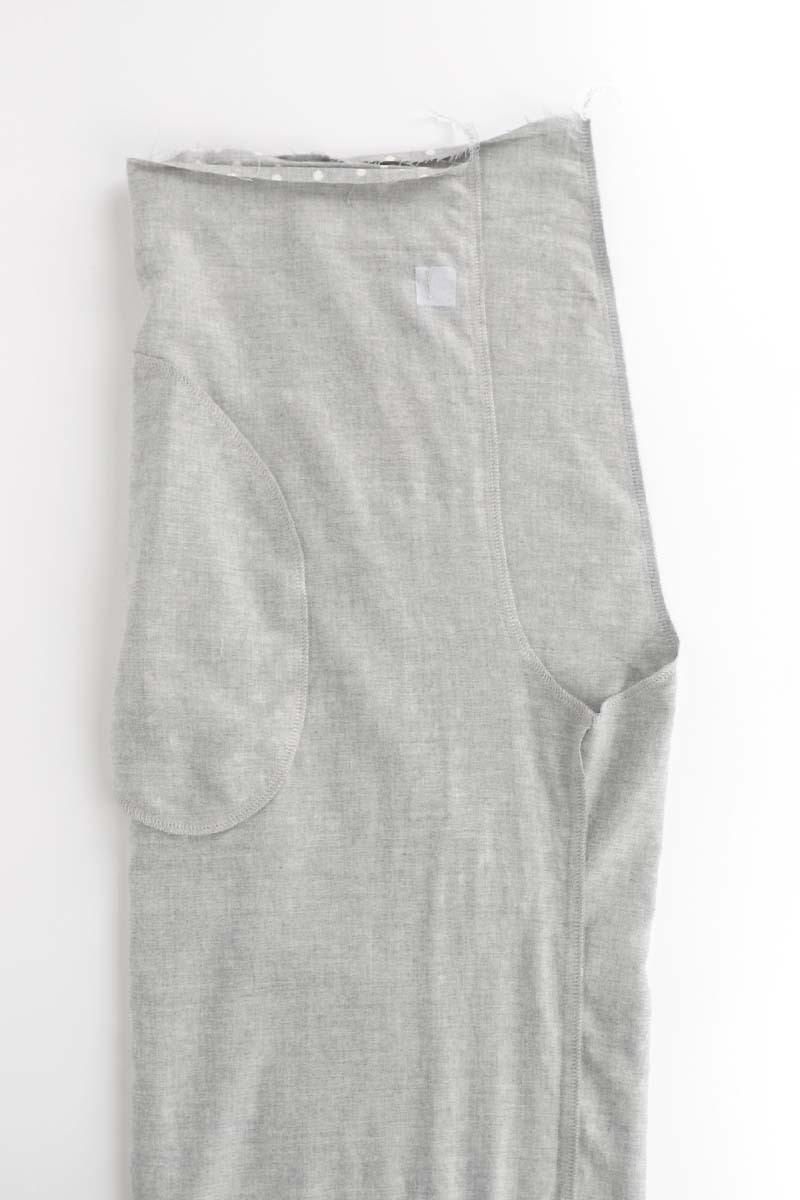
Pin the two legs together through the crotch seam, matching the seams and notches. Sew together with a 1cm seam. Neaten the seam and then press it to one side.

Next, we will create the casing for the waist elastic.
Fold the waist edge over 1cm, then over another 5cm as per your pressing at the beginning. Pin it in place.

Edge stitch the casing closed, leaving a 5cm opening at centre back.
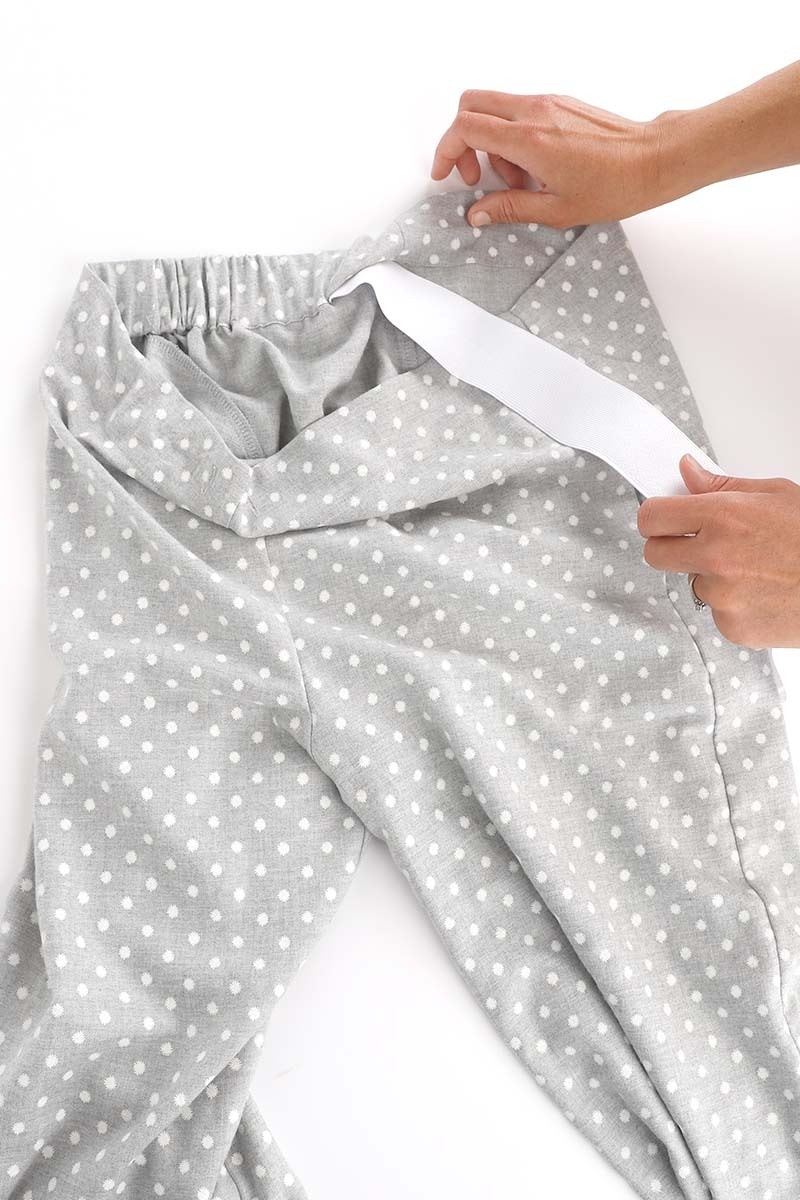
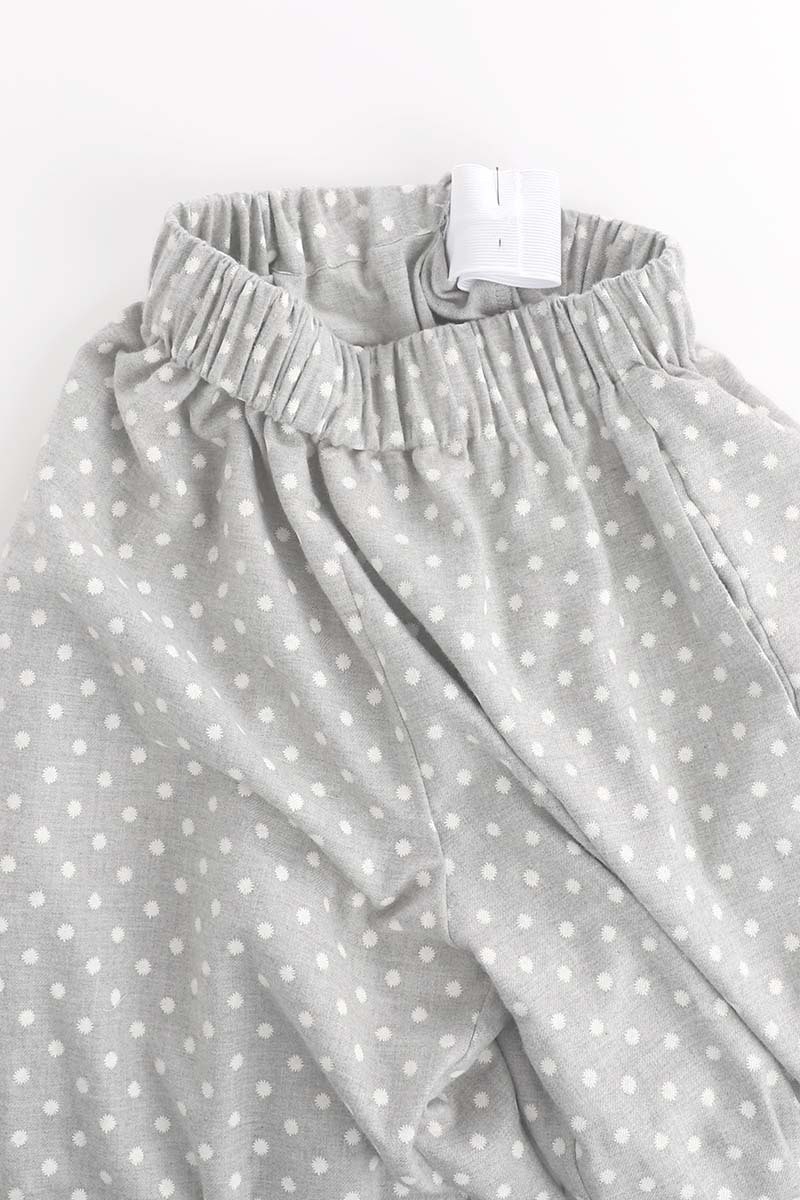
Using a safety pin or bodkin, thread the elastic through the casing. Pin the ends together securely with a 2cm overlap. Now try them on to check they are sitting comfortably and adjust the elastic as needed.
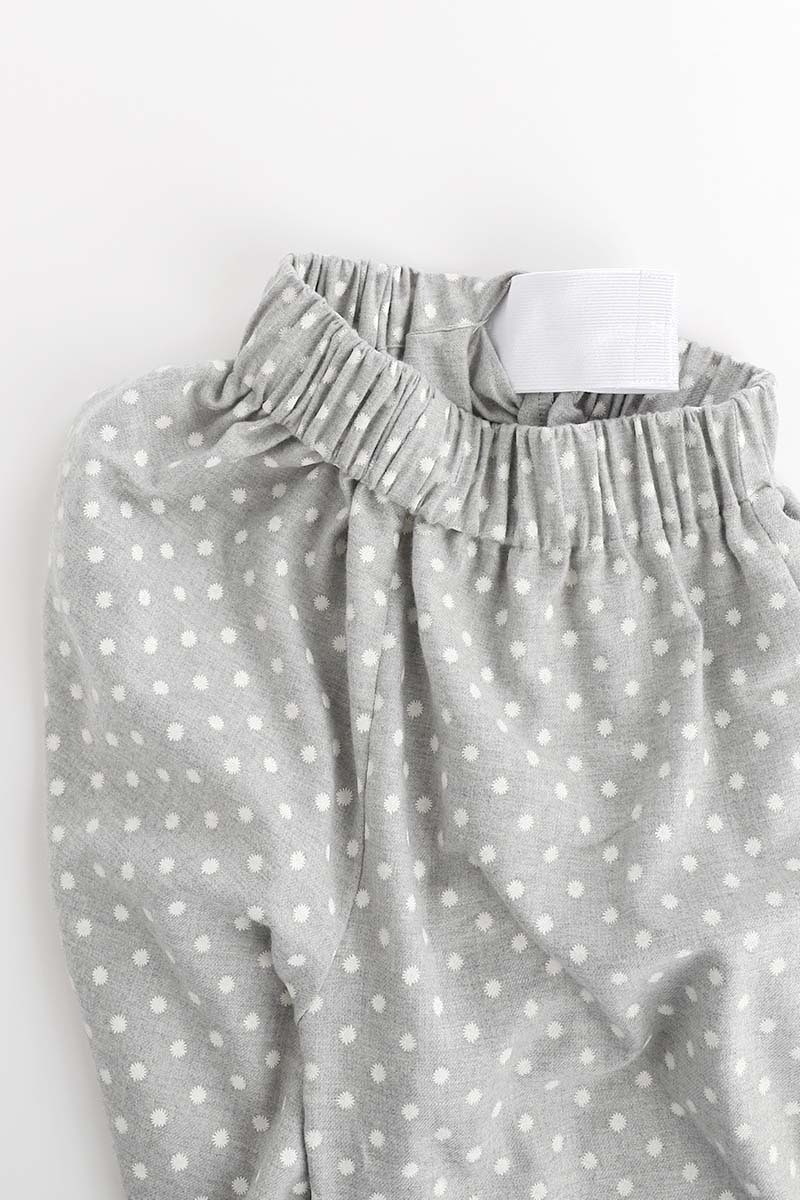
Once everything is comfortable, double-check that the elastic is not twisted, then sew the ends of the elastic together with a 2cm overlap.
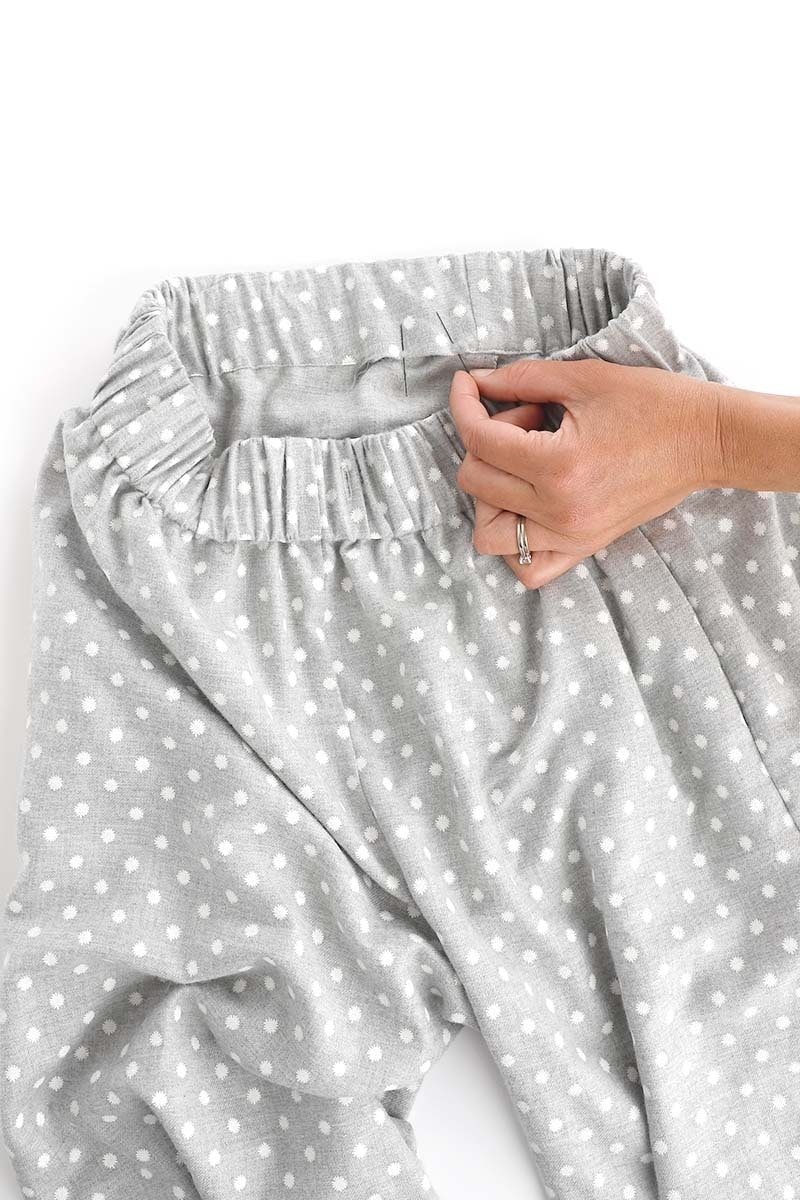
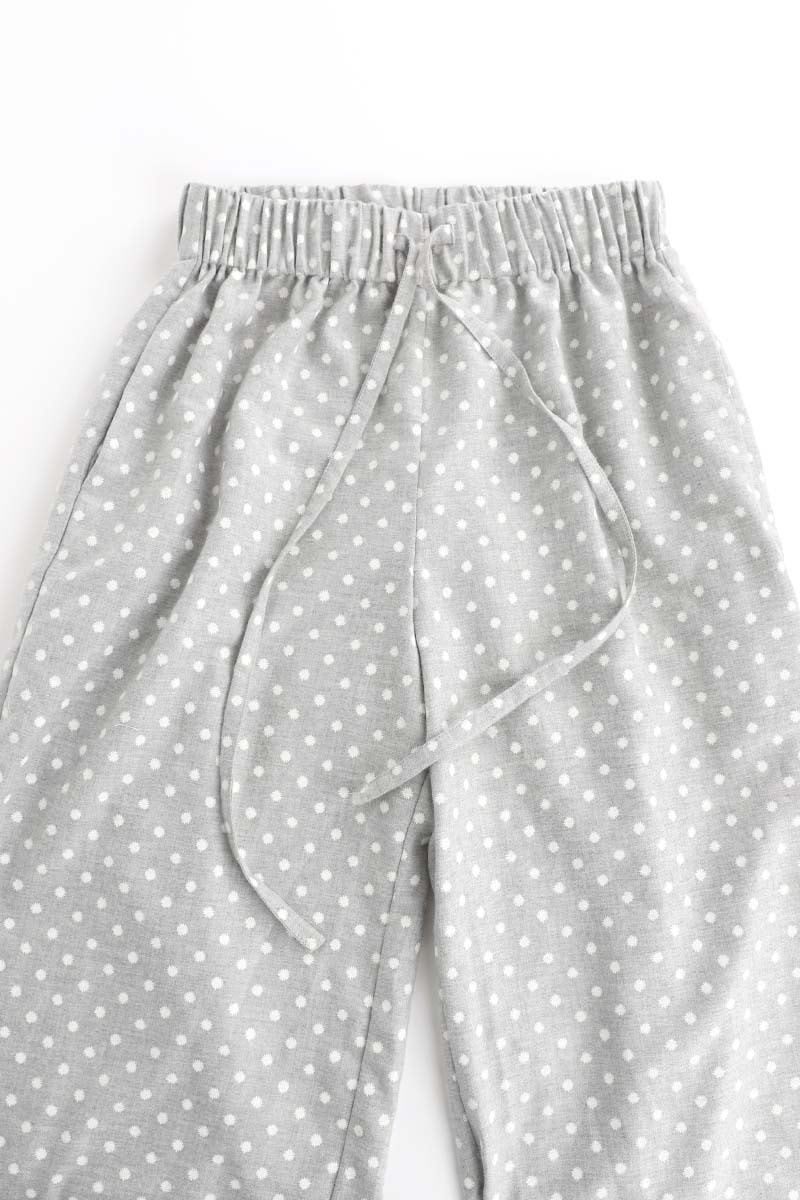
Pin the opening closed, and then edge stitch.
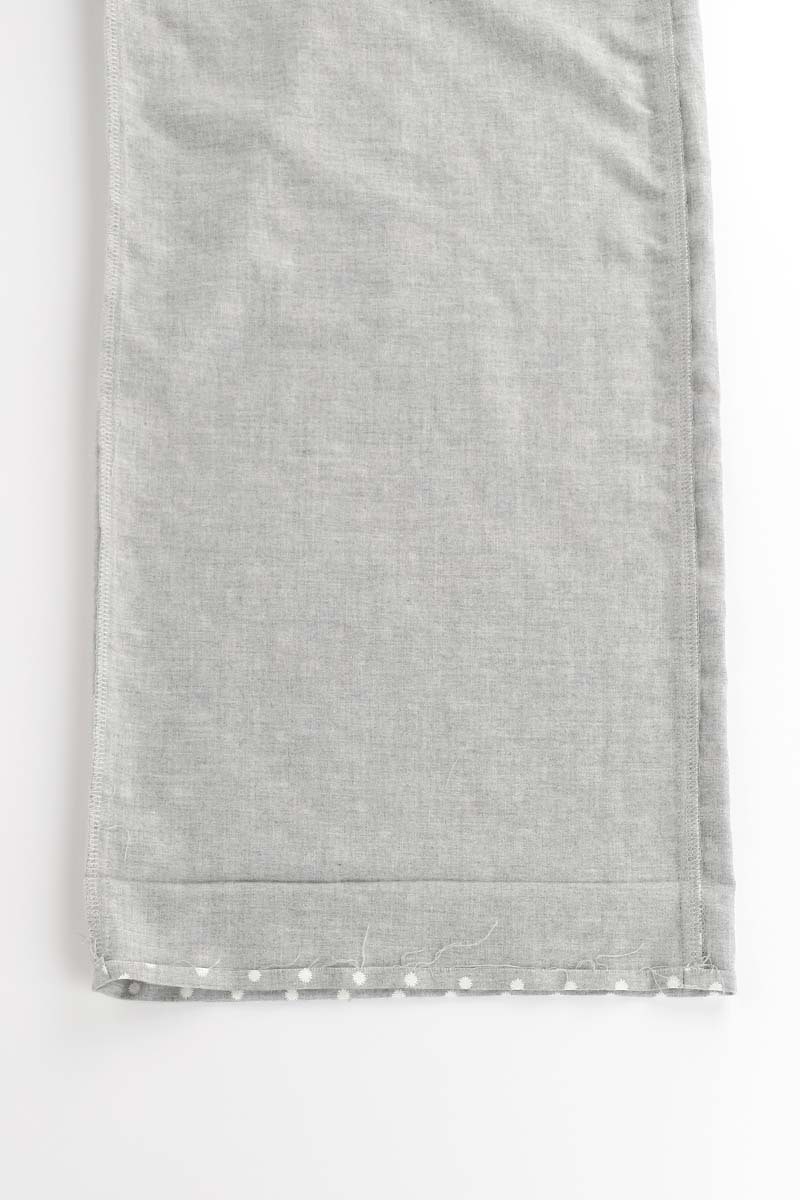
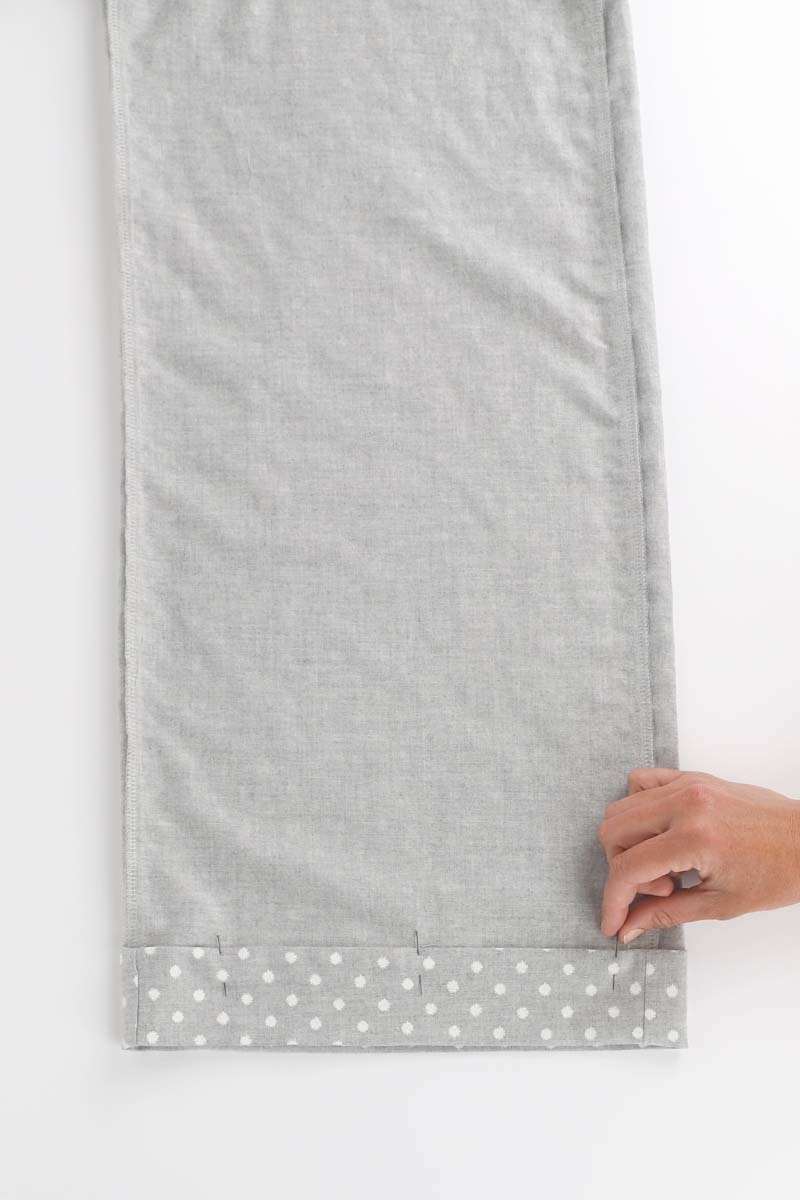
Fold back the hem 1cm, and then a further 6cm at the notches, as per your pressing at the beginning.
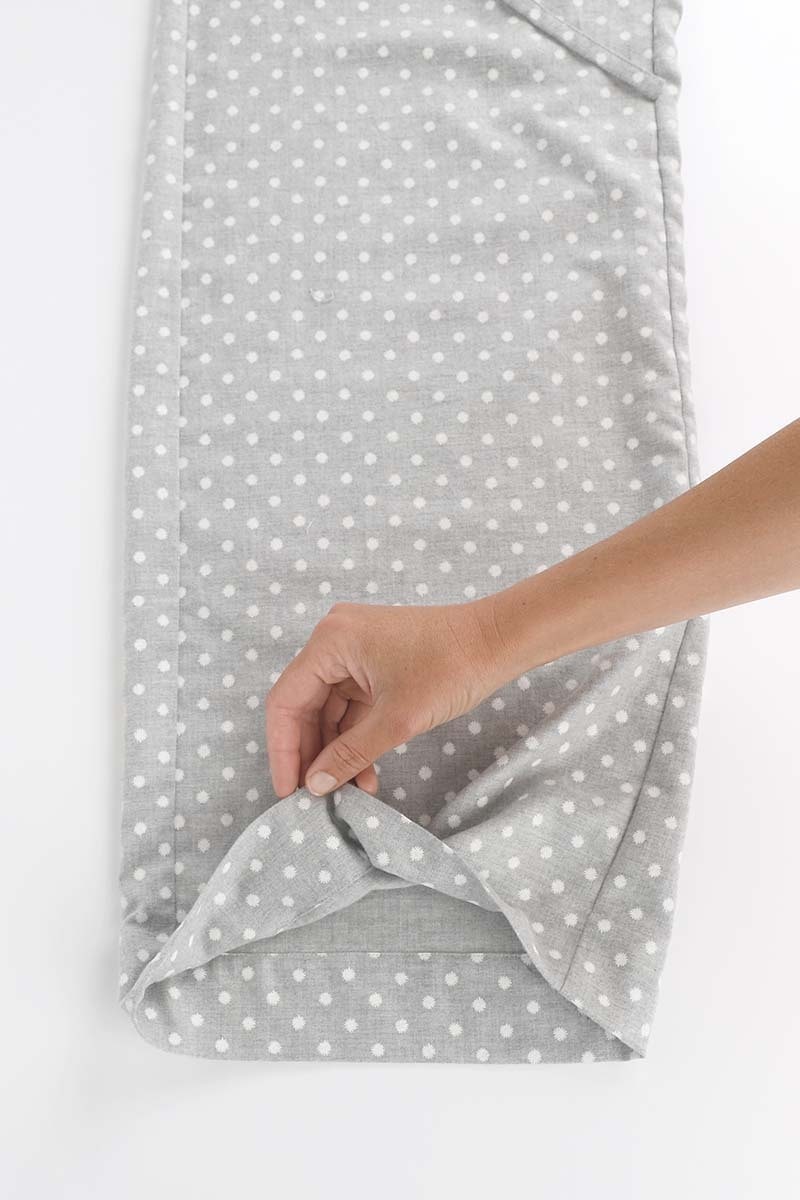
Pin in place then edge stitch to close.
Repeat for both legs.
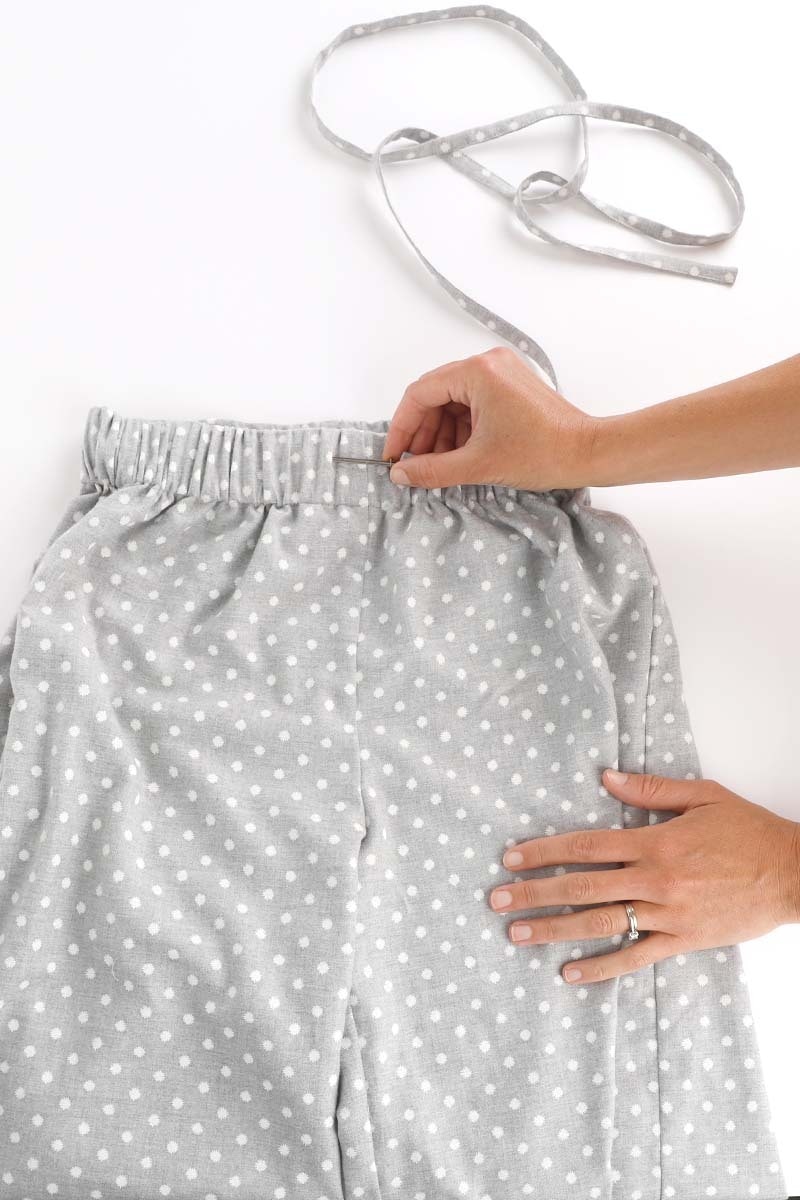
Thread the drawstring through with a safety pin or bodkin. Make sure the tie is sitting flat in the waistband and the ends are even.
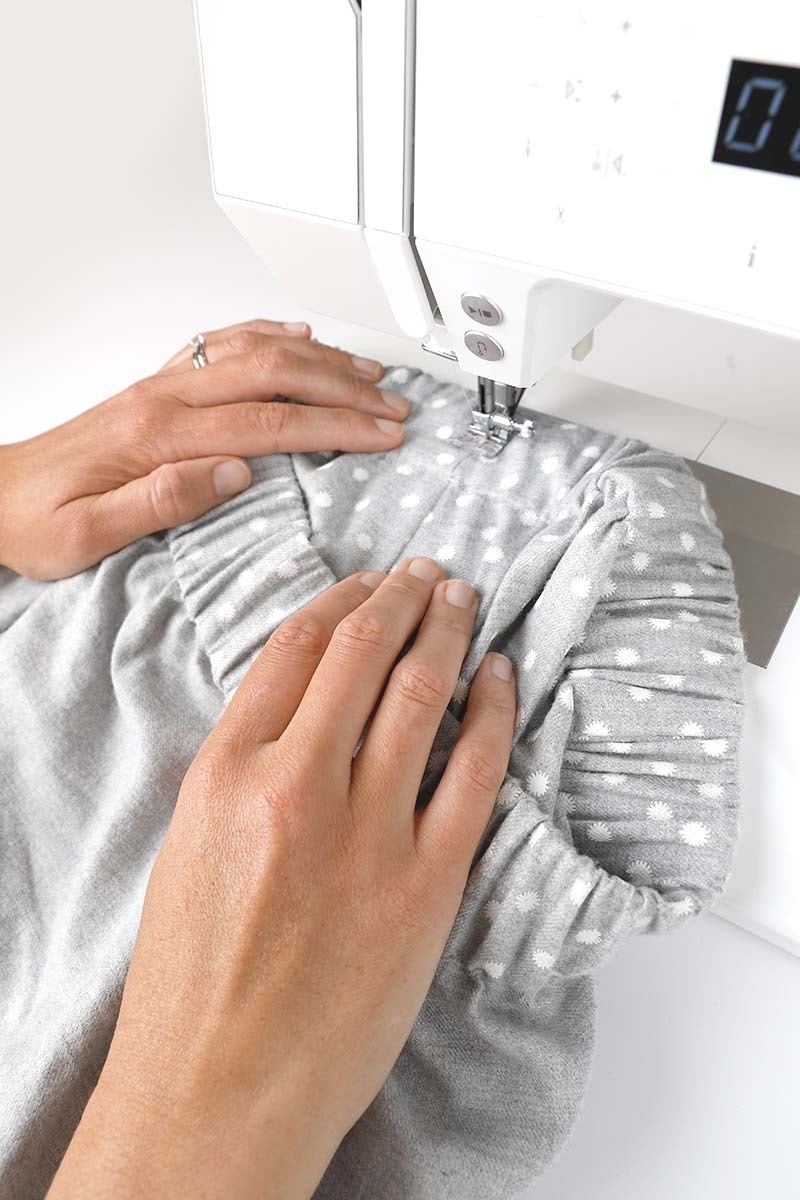
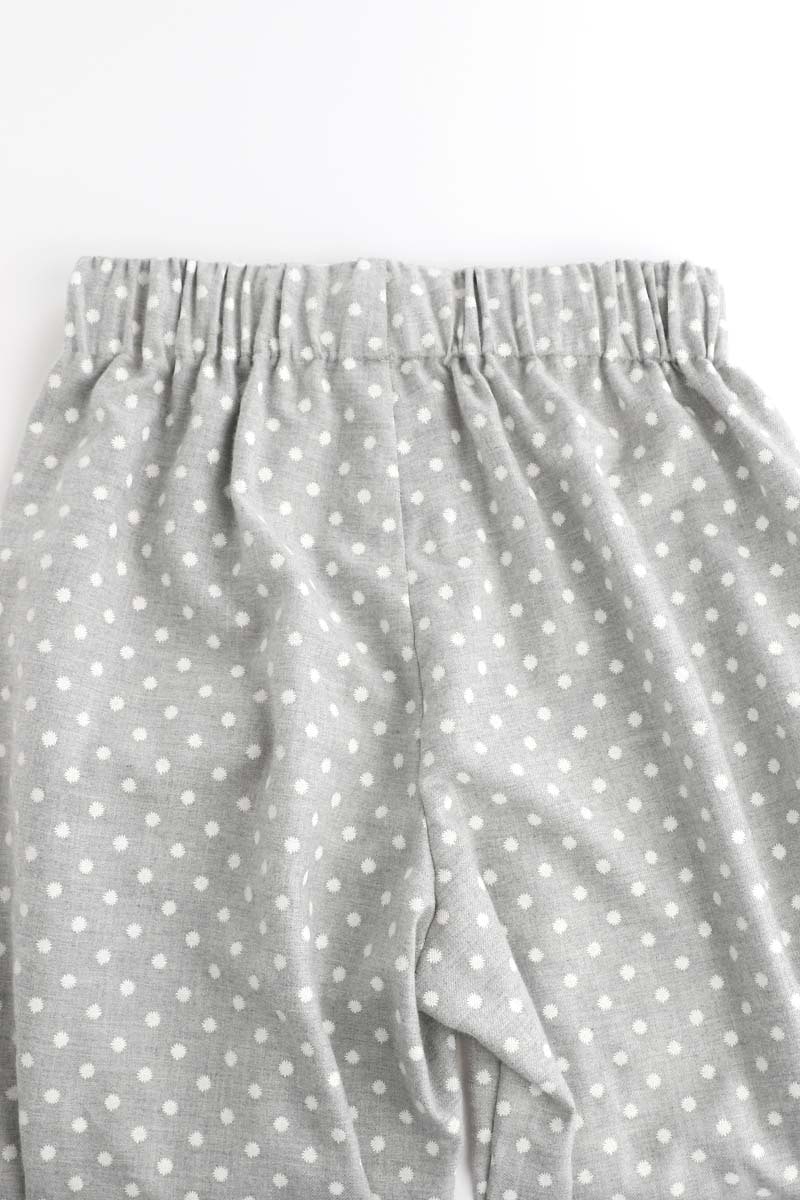
Ditch stitch at the centre back in the waist seam to secure the drawstring.
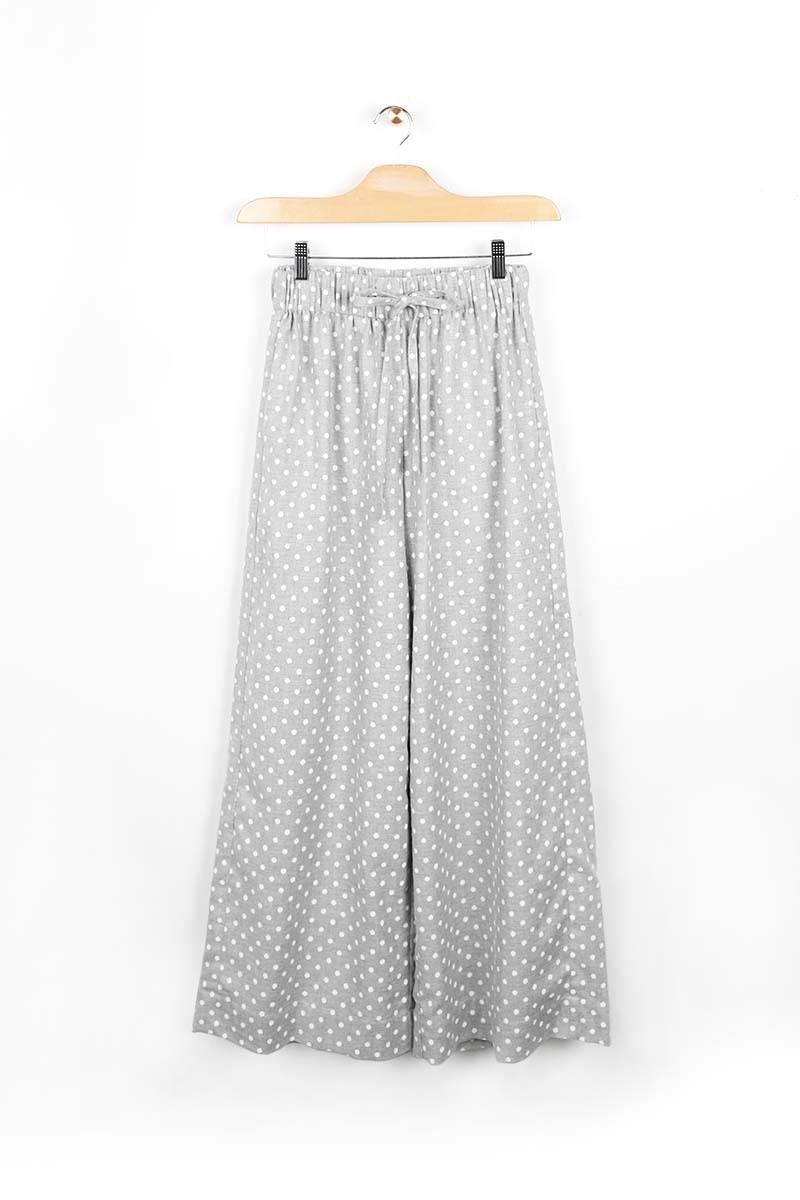
Trim any loose threads and give your pant or short a press!
Your Sparrow Pant or Short is complete!
Check out the Sparrow Pant + Short pattern in our Online Store here. We also have the Sparrow Shirt pattern so you can sew the Sparrow Set!
Don't forget you can always email us via patterns@thefabricstore.co.nz if you need advice!
Sparrow makes from our wonderful community are also popping up over on Instagram, follow @makebytfs and use #TFSSparrowPant or #TFSSparrowShort so others can check out your creations!

