1 — Cutting, Interfacing and Pre-Pressing
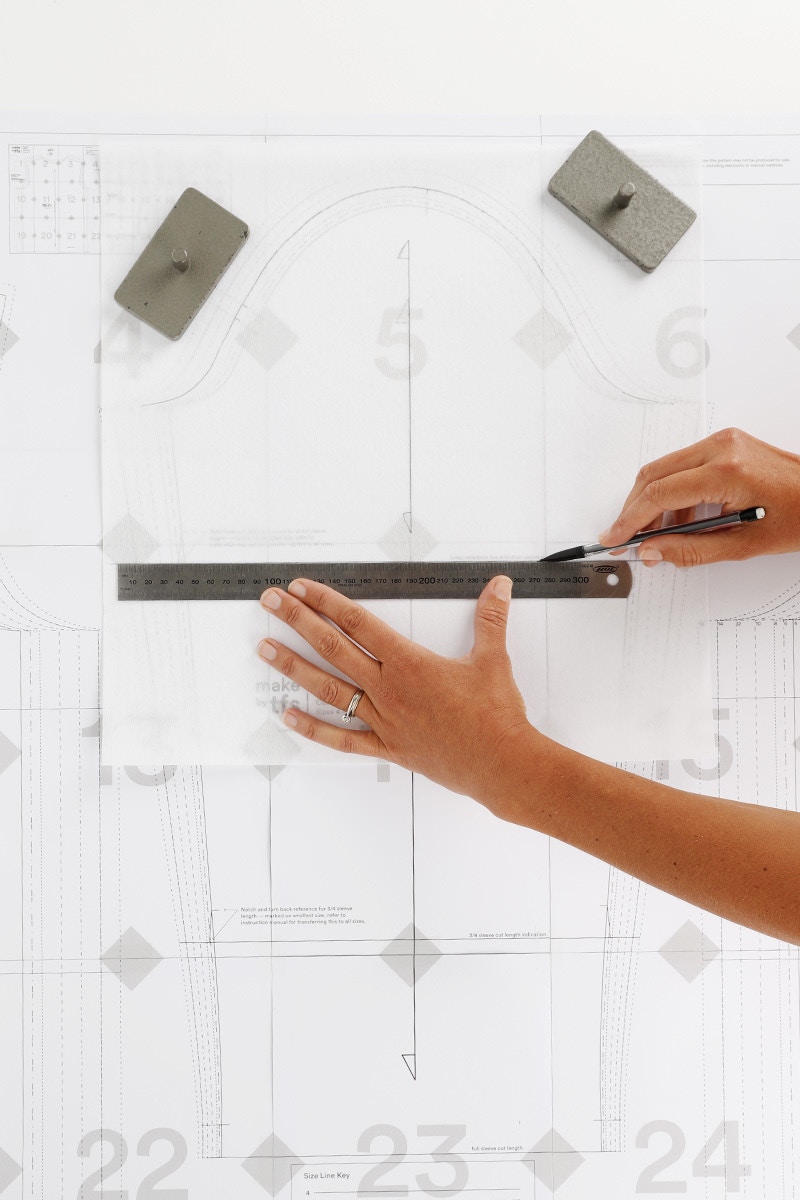
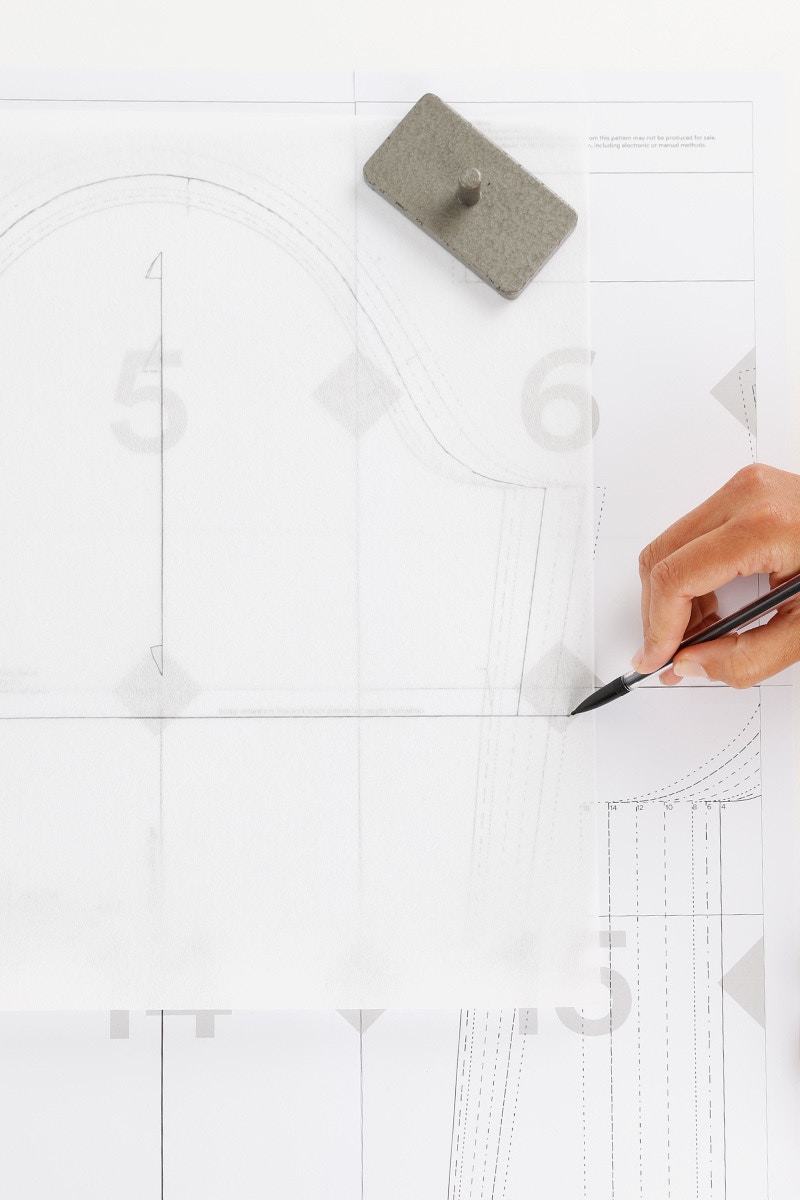
If you are sewing a short or three-quarter sleeve length Fog Tee you may need to transfer the turnback markings for your size. We are showing you the process for the short sleeve length, but the process is the same for the three-quarter length sleeve.
Start by tracing the sleeve head and arm to the cut length indication line for the sleeve length you want to make. Then mark the cut length line, extending it about 2cm at each end.

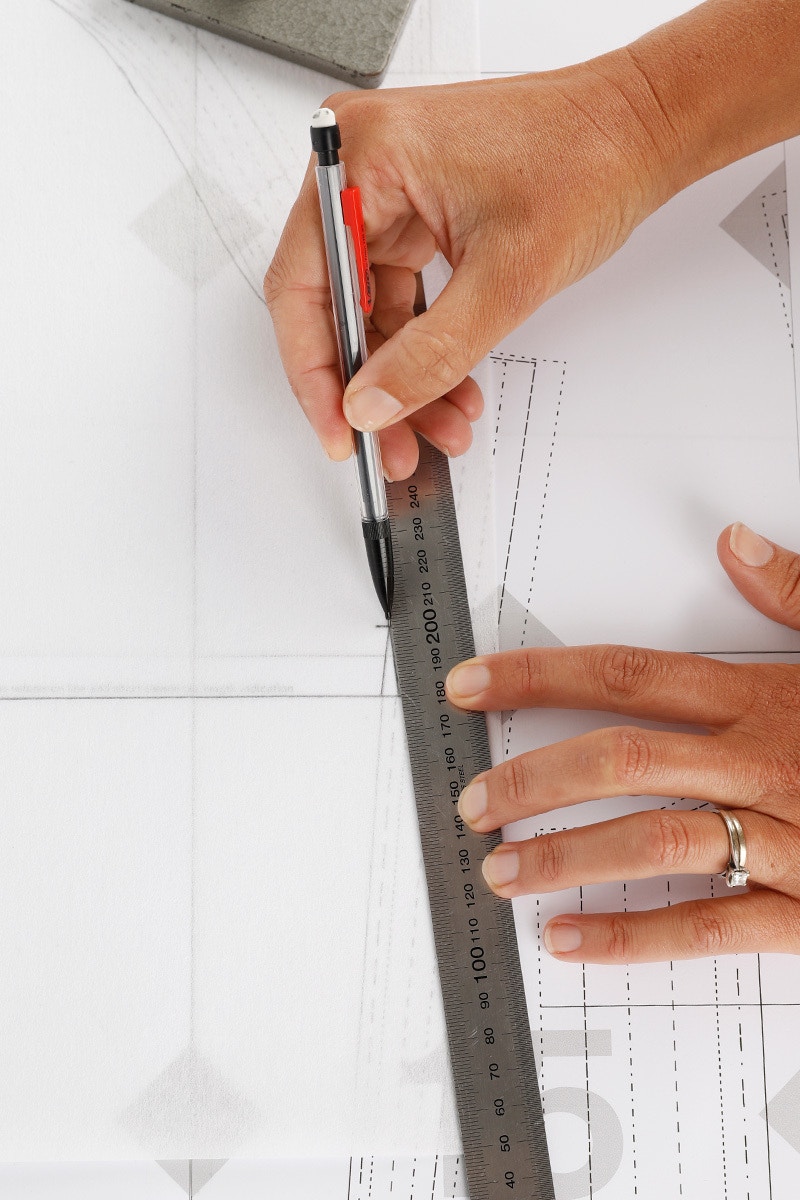
Slide your pattern tracing across to the smallest size where the notch and turnback reference notation is. Match the sleeve and hem lines, then trace the notch and turn back to your pattern. Now repeat for the other side.
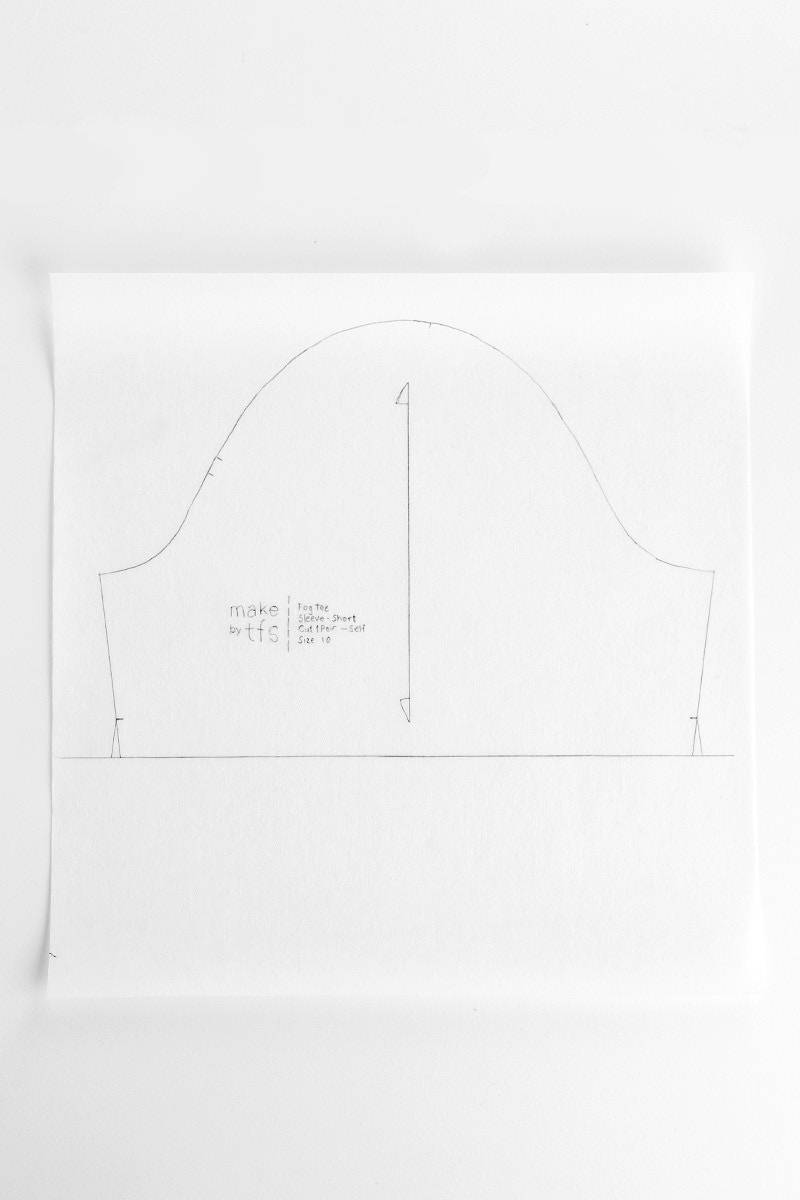
Your pattern piece is now ready for cutting!
Once you have cut out all your pattern pieces you will apply the interfacing (if you choose to) and pre-press your pieces.
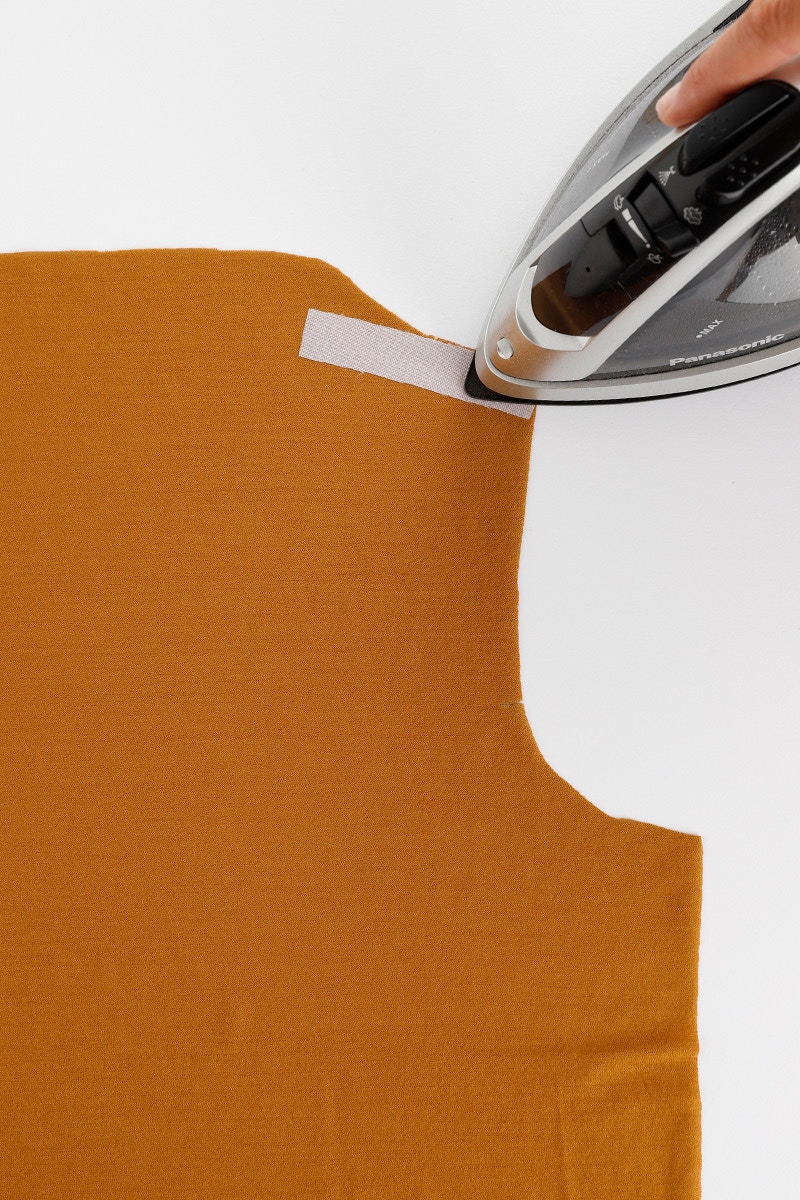
If you are sewing the Boatneck view you may wish to apply a strip of lightweight fusible interfacing at the shoulders, this can help provide stability for lighter weight knits. The interfacing strips should be 2cm wide. To get the length, measure the distance from the shoulder edge to the + on the pattern, then add 1cm. You will need four of these strips in total, one for each shoulder on both the front and back pieces.
Once you have applied the interfacing, mark the + point at the end of each shoulder seam, as indicated on the pattern.
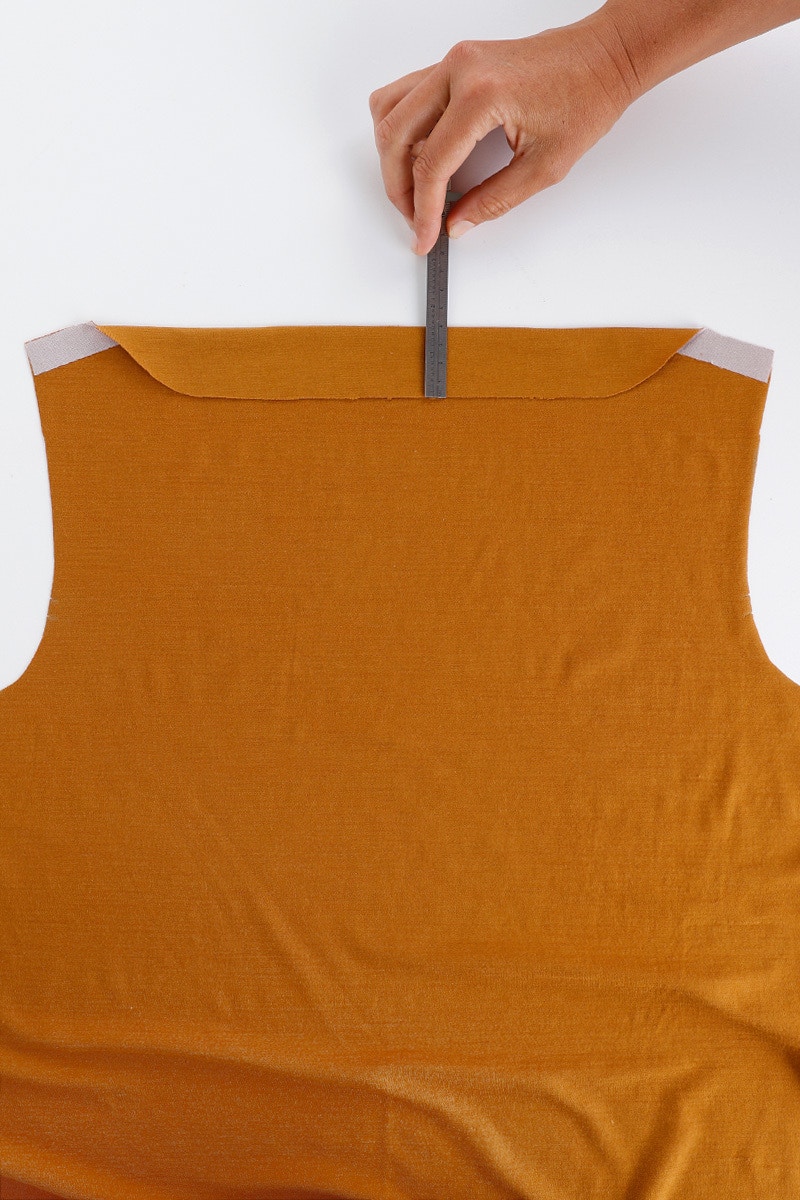
If you are sewing the Boatneck view, press the 4cm neck facing to the wrong side. This fold line will run through the + that indicates the end of the shoulder seam. Do this for both the front and back pieces.
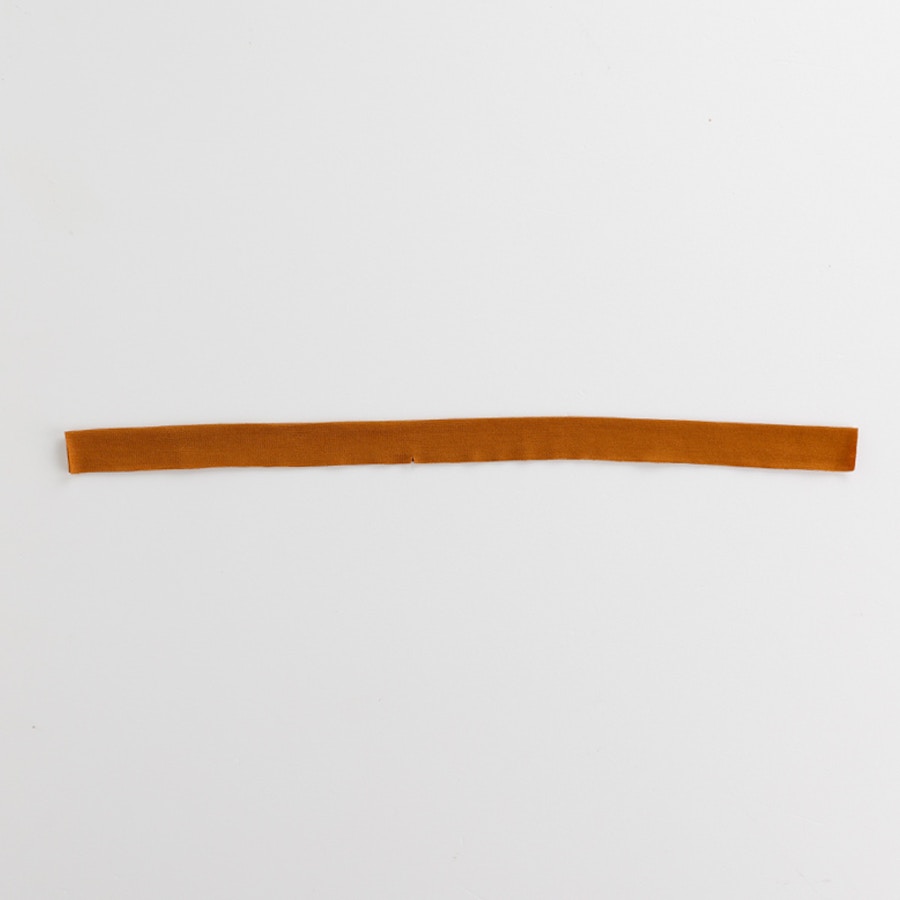
If you are sewing the crewneck version, fold the neckband in half lengthwise with right sides together and press.
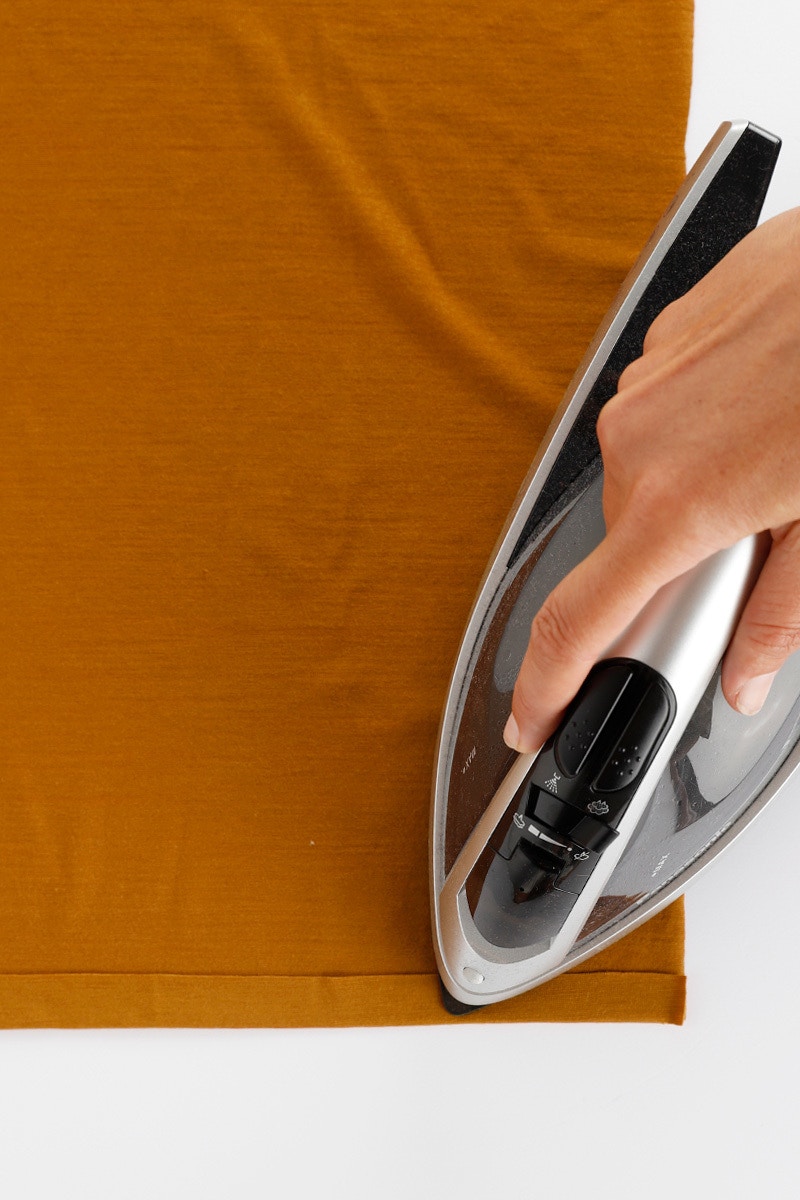
Now we will fold back and press the 2cm hem to the wrong side on the front and back pieces. This step applies to both the Boatneck and Crewneck views.

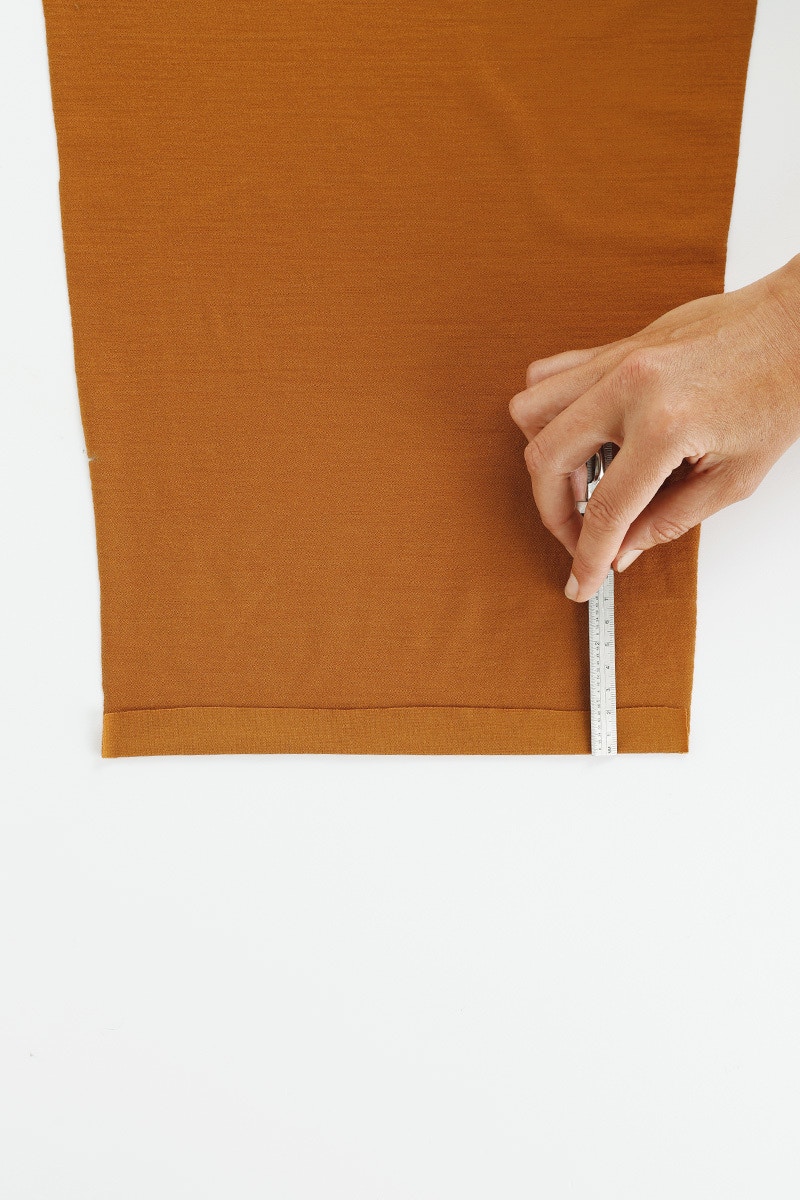
Fold back and press the 2cm sleeve hem to the wrong side. This will look slightly different depending on whether you are sewing the short sleeve, 3/4 sleeve or, long-sleeve version.
2 — Neck and Shoulders
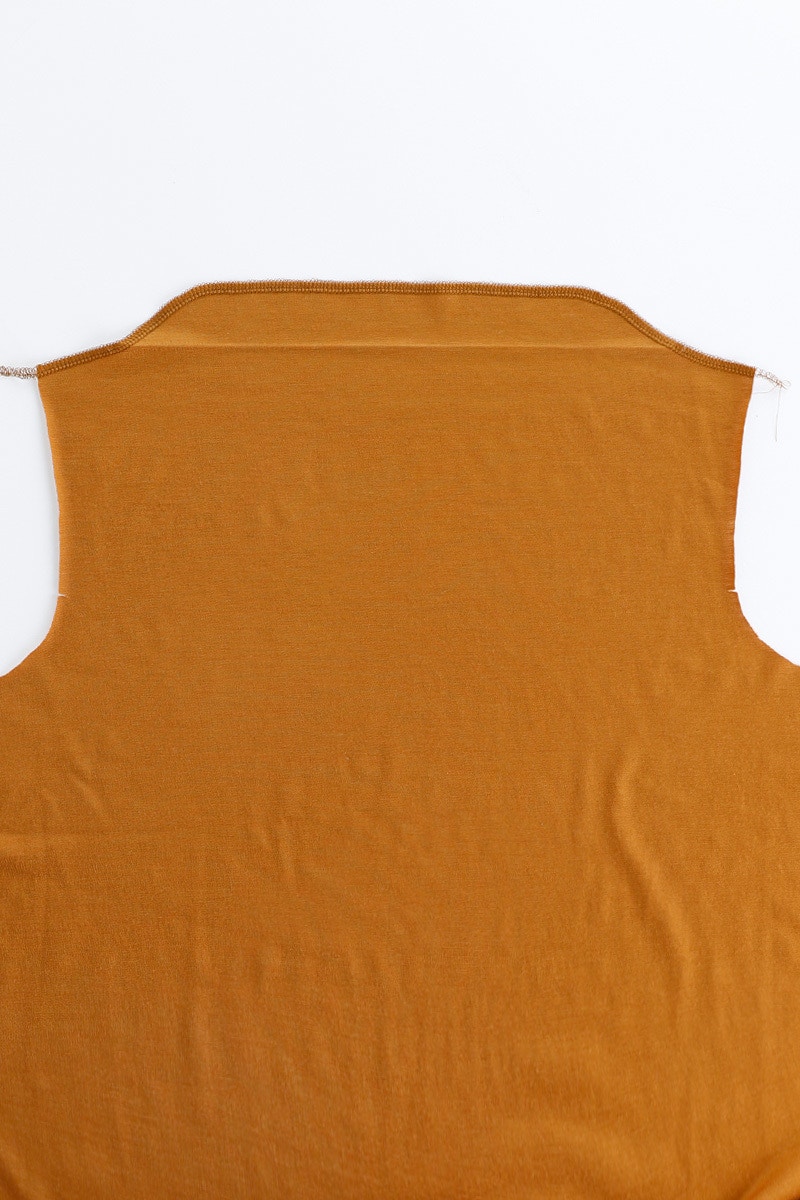
If you are sewing the Boatneck view, neaten the neck and shoulder edge of the front and back pieces separately. We have used an overlocker, but you could also use a zig-zag stitch on your sewing machine.
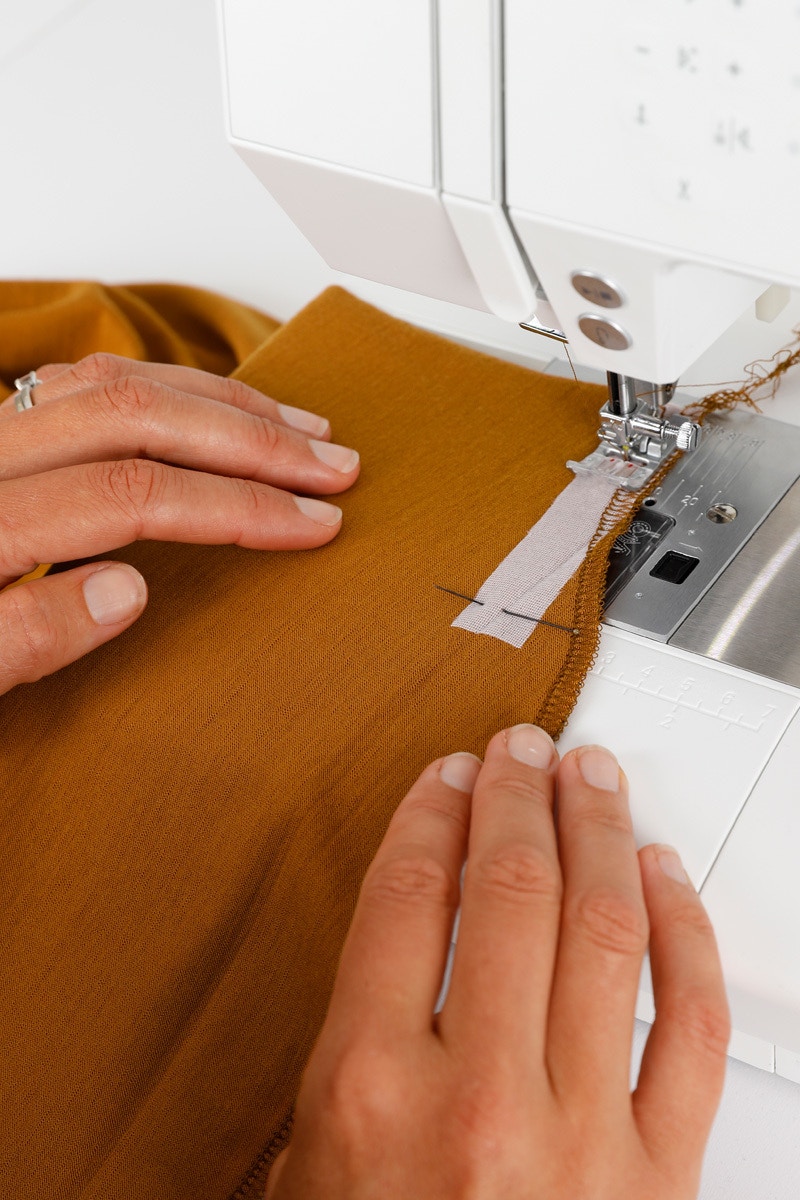
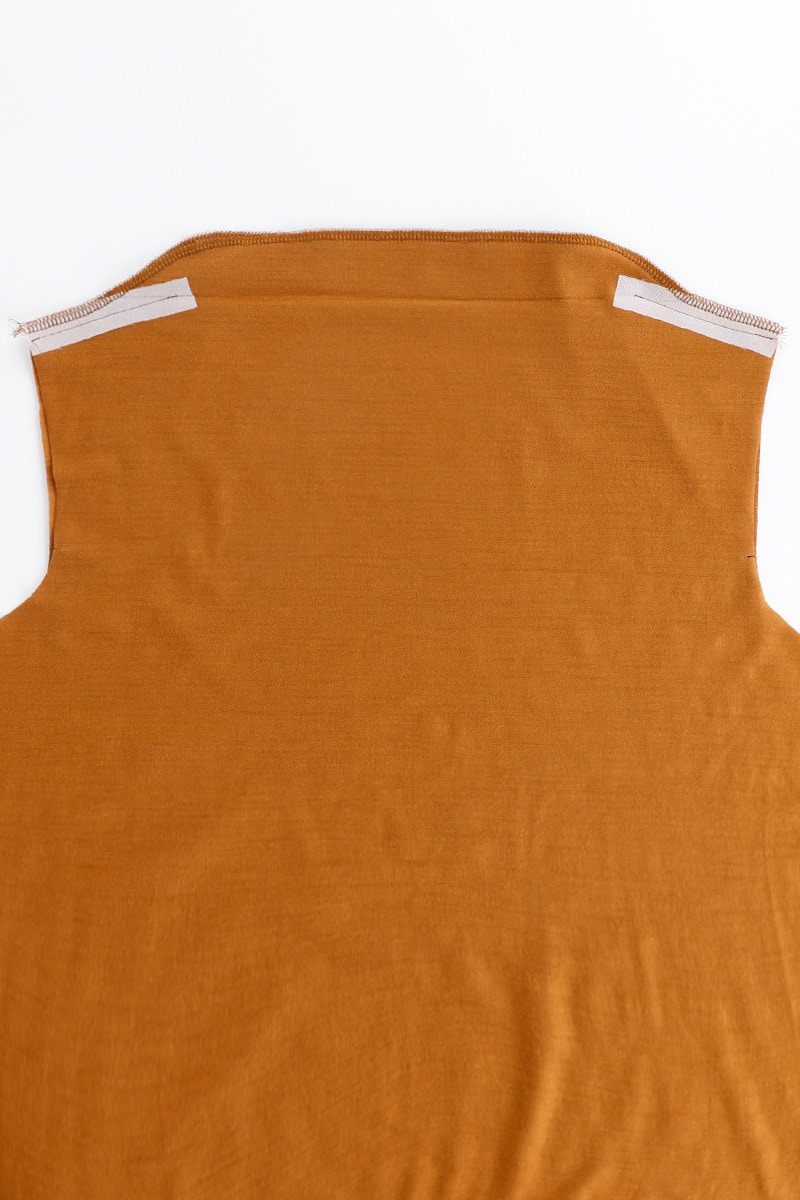
With the right sides together, pin the front piece to the back pieces at the shoulders. Match the + and shoulder notches. Using a straight or stretch stitch (if your sewing machine has the capability), sew the shoulder seam from the armhole to the +. Repeat for both shoulders.
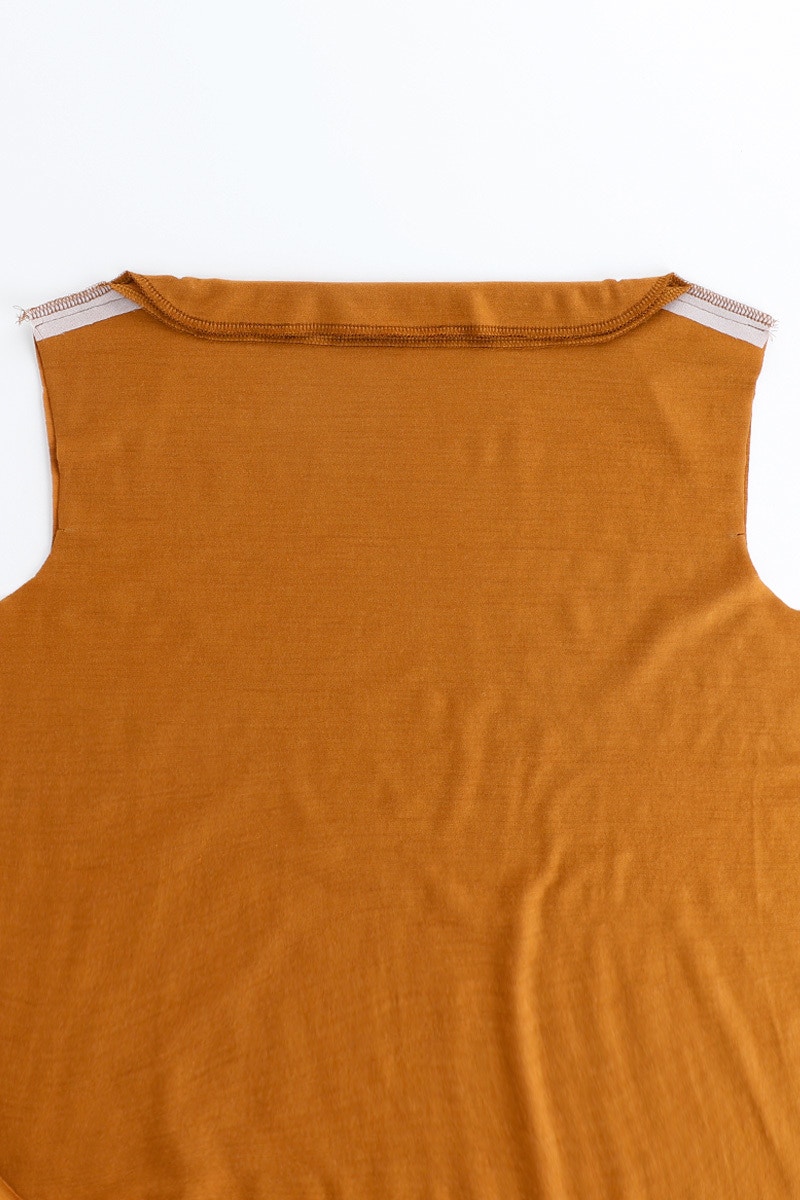
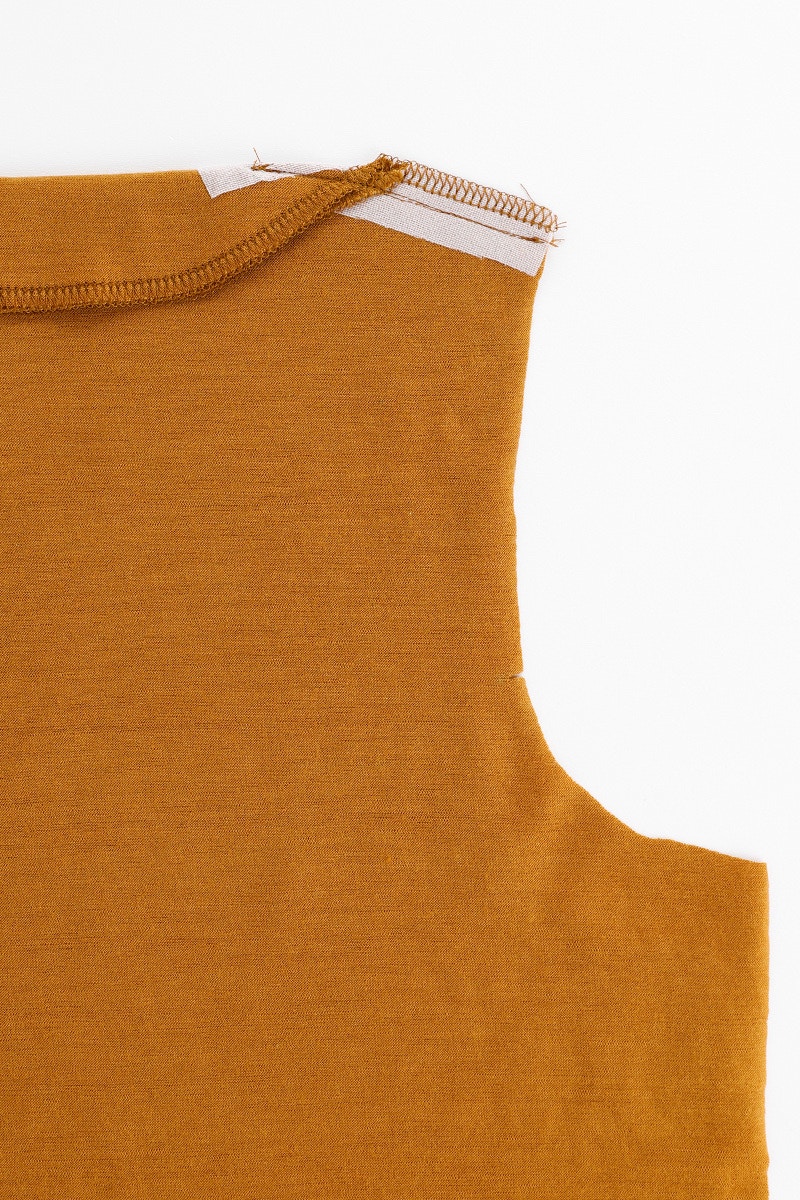
Next, we will finish the neck opening. Lay your tee down, inside out, with the front piece on top. Fold the back facing over the neck opening so both the facings are on the front. Pin the facing in place along the shoulders. Now bag out the neck facing by resewing over the shoulder seam, following the stitching from the previous step, catching the facing as you go.

Fold the back facing over to the back again so the neck opening is visible. Now press the shoulder seams towards the back.
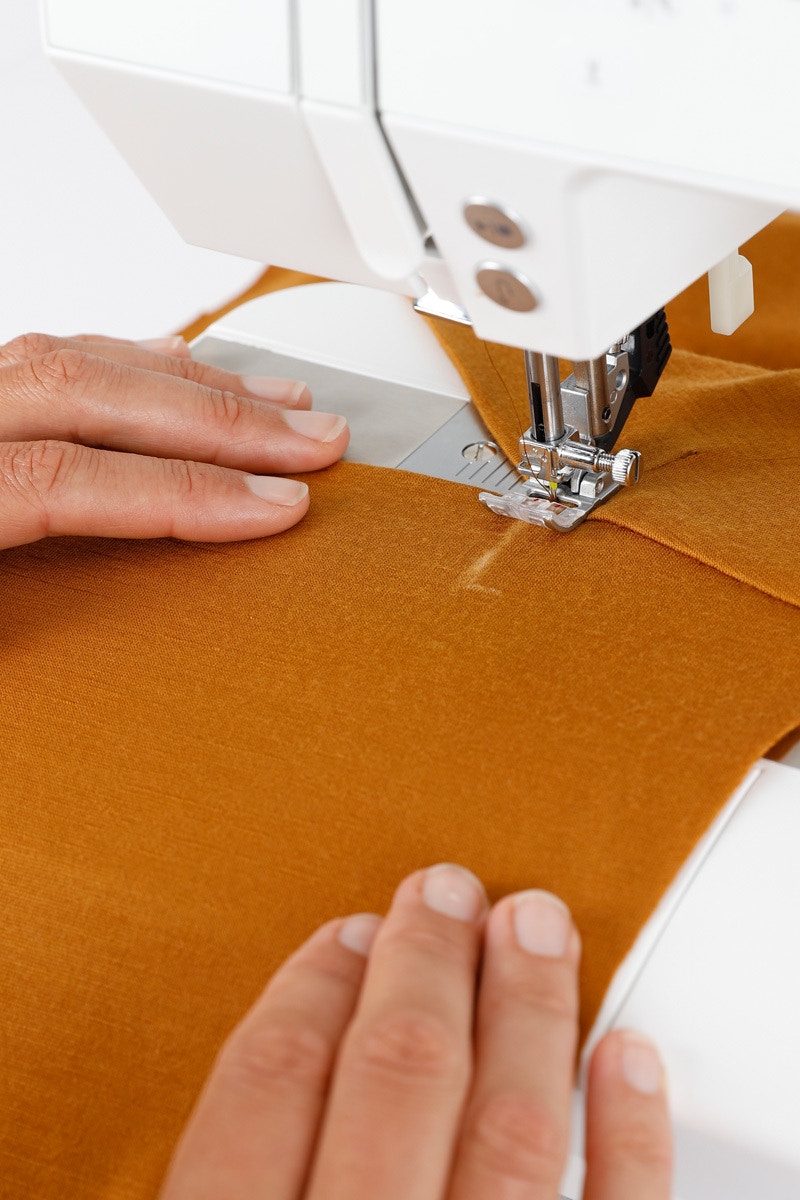
You will now secure the facings with some top stitching. Sew your stitching at a right angle to the neck opening and extend it the entire width of the facings. Repeat the top stitching at each end of the neck opening.
Now move on to assembling the body.
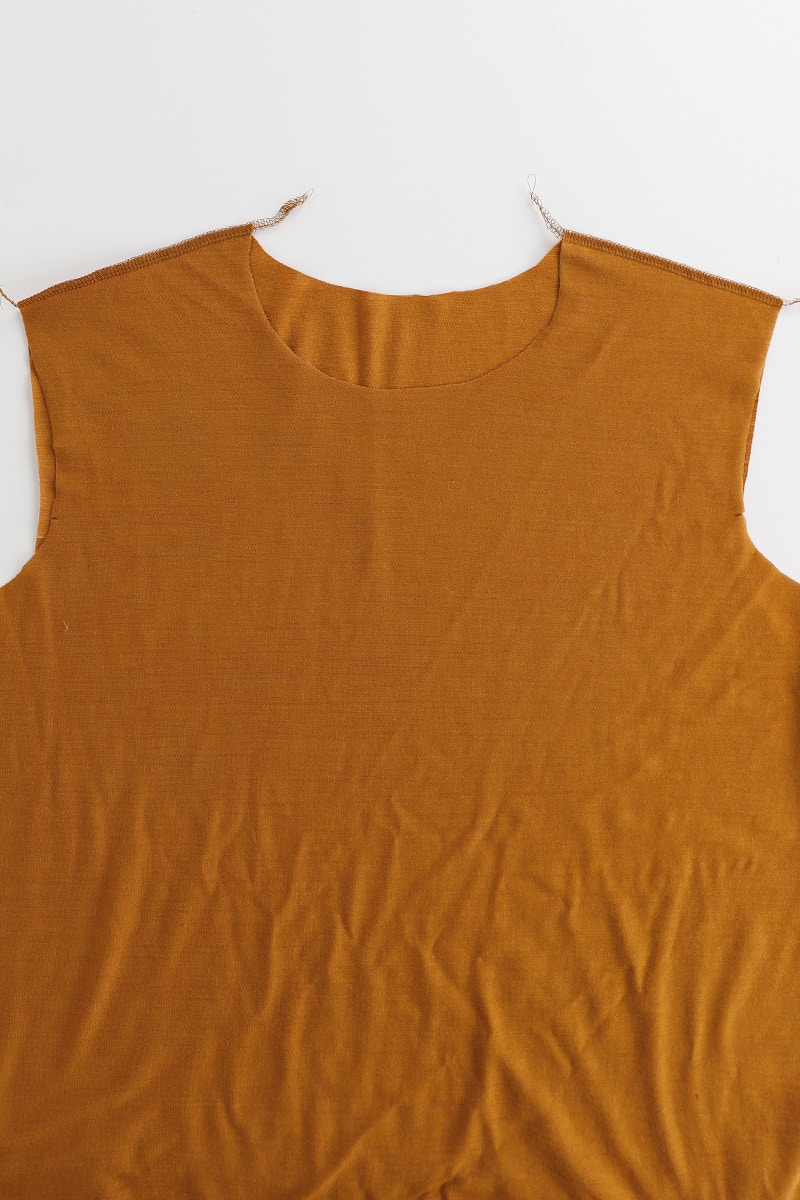
Attach your front and back pieces at the shoulders with the right sides together and press the seams towards the back.
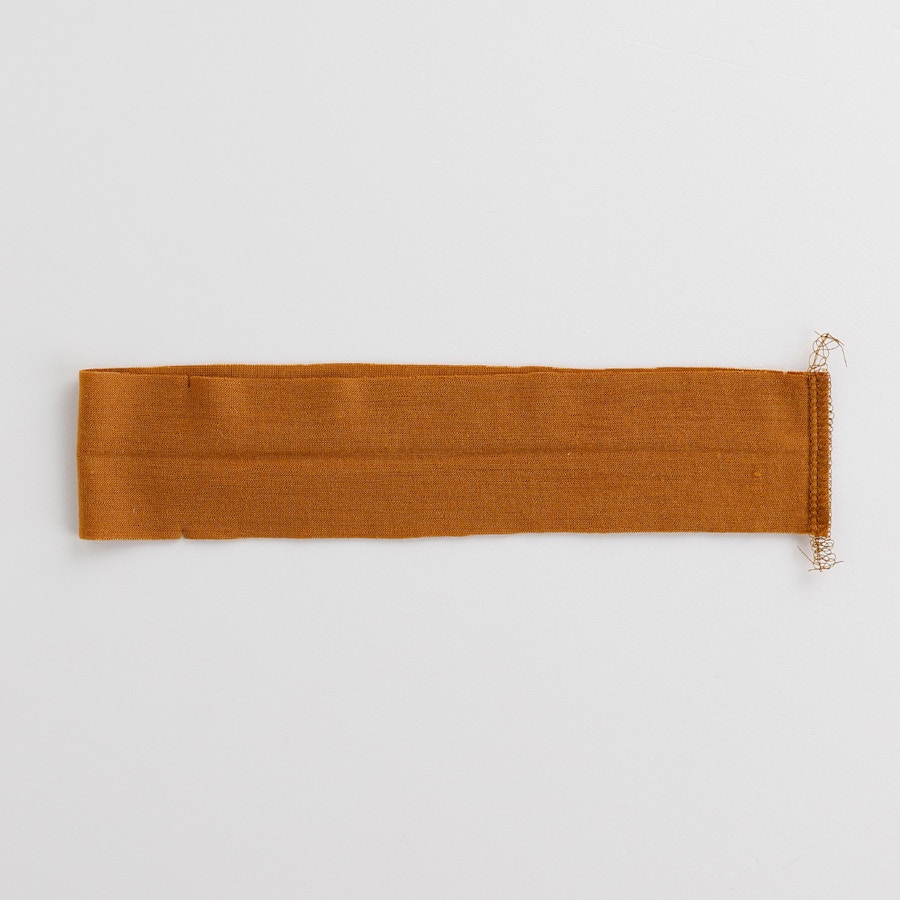
With the right sides together, overlock the short ends of the neckband together to create a circle.
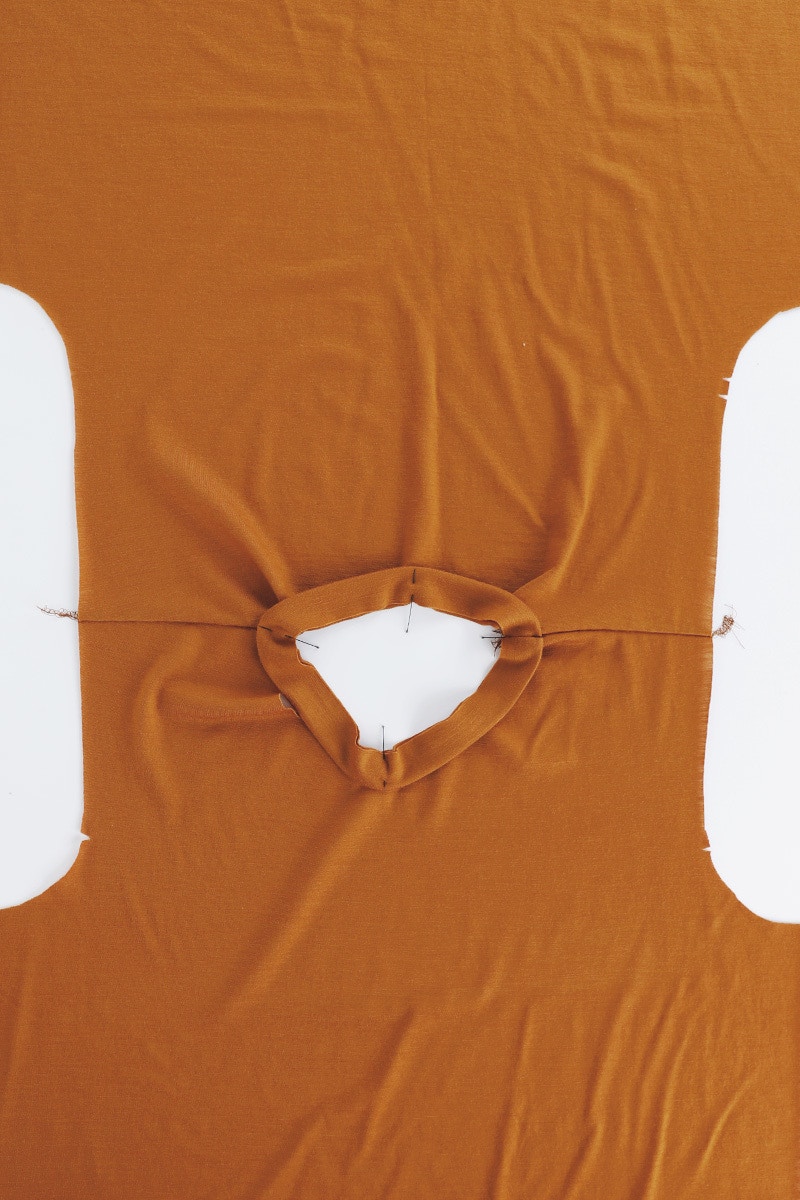
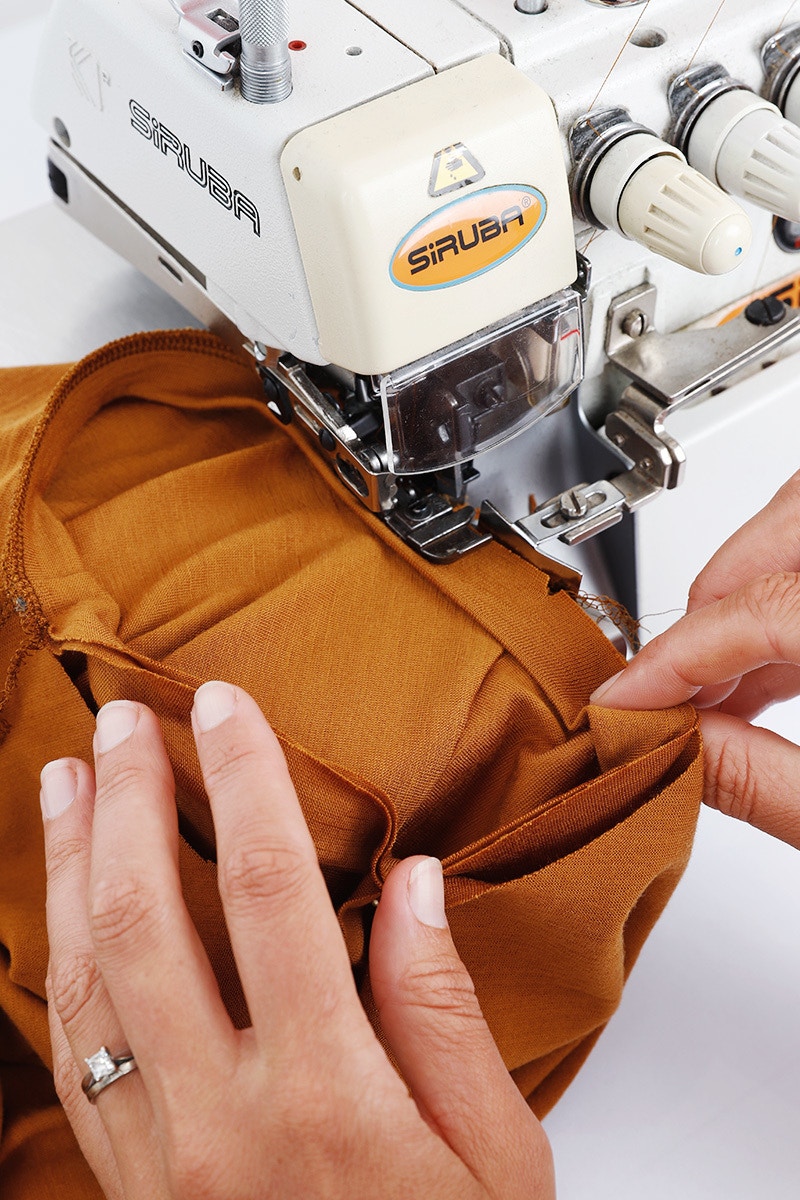
Fold the neckband in half lengthwise with the wrong sides together and pin it to the right side of your tee. The neckband seam will sit at the left shoulder (as worn), and the notch will be on the right side. The neckband is slightly smaller than the neck opening on the body. This is to help the neckband sit flat against your body. You may find it helpful to mark the midway points between the seam and the notch on the neckband, and the centre front and centre back at the neck edge of your tee to help distribute the neckband evenly around the neck opening.
Overlock your neckband to the body, matching the seams and notches as you go. You will need to stretch the neckband slightly as you sew.
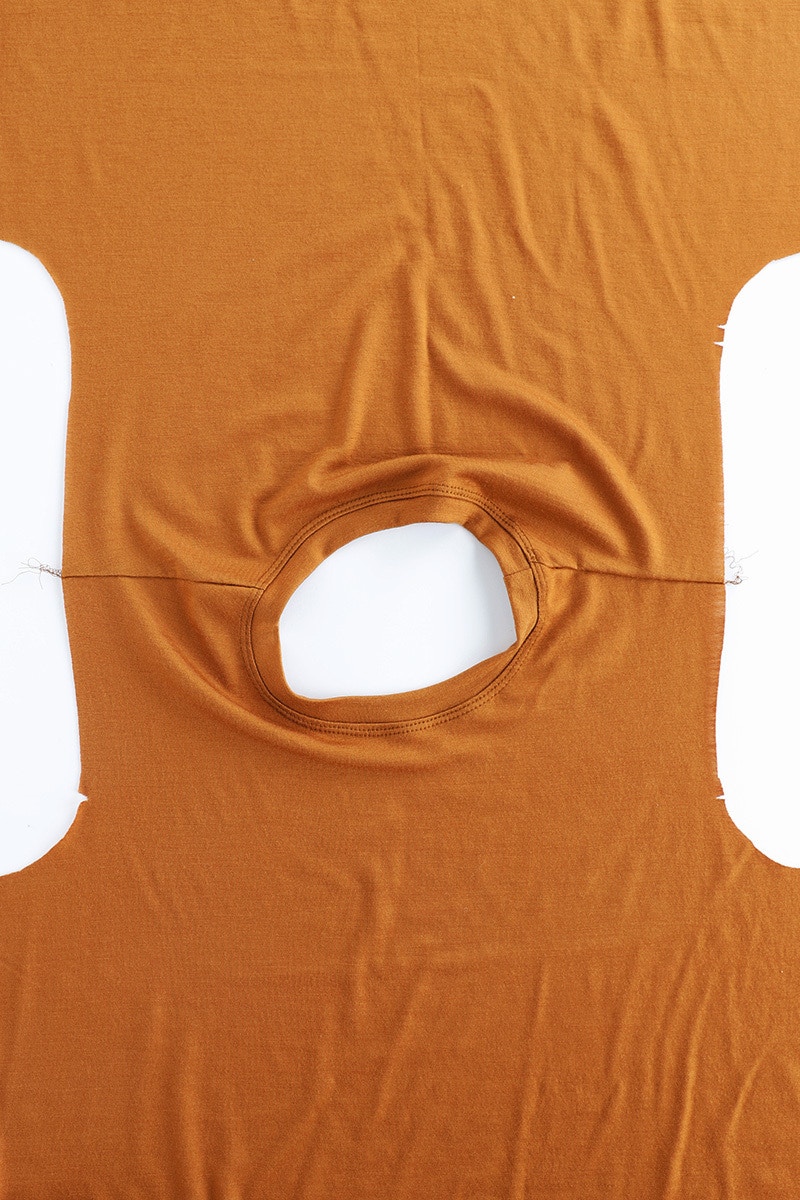
Now it is time to complete your neckband by topstitching the seam allowance to the body using a twin needle or your preferred finishing stitch.
3 — Assemble the Body
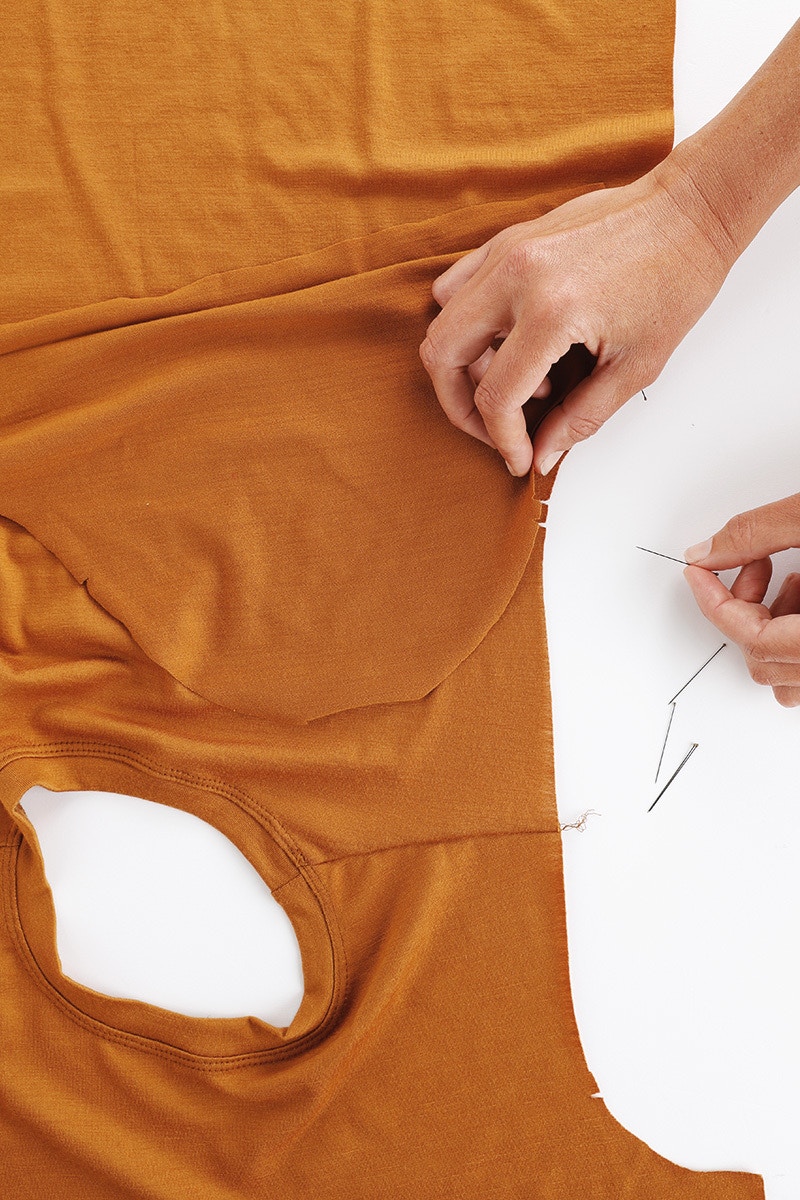
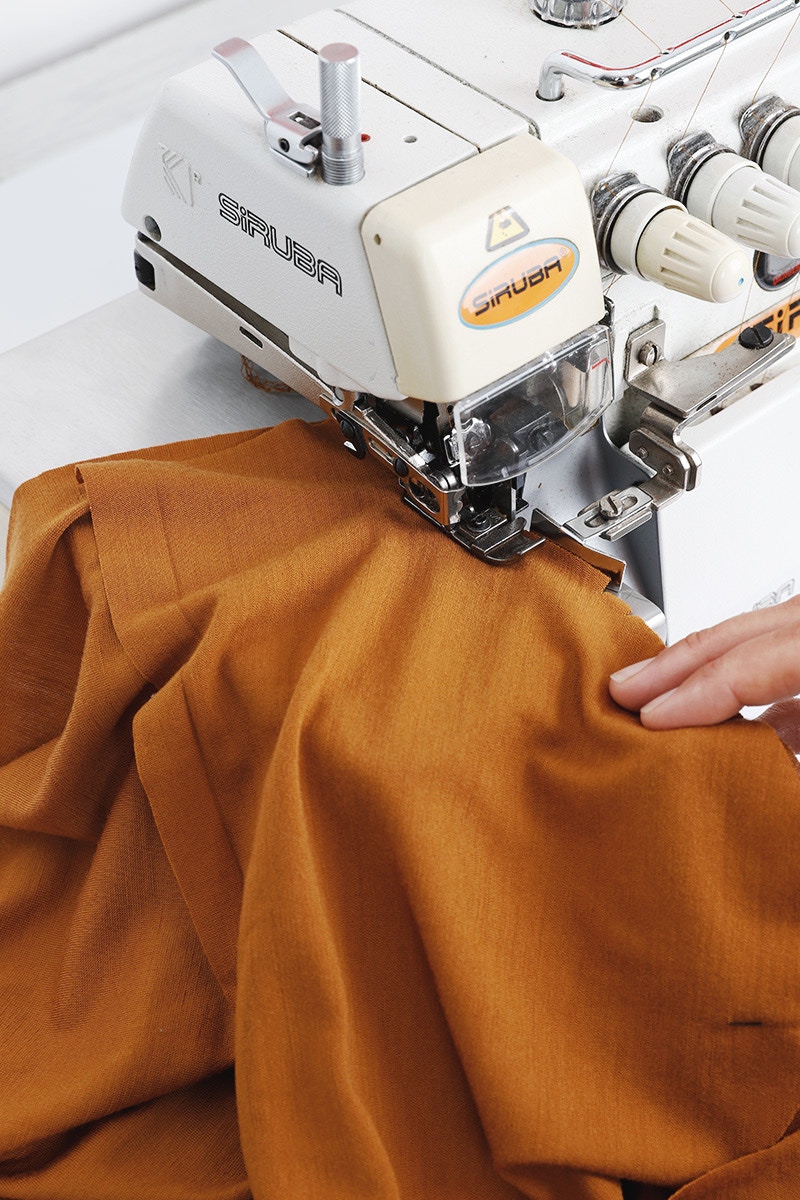
Pin your sleeve to the body of your Fog Tee, matching the notches and shoulder seam. Overlock this seam and repeat for the second sleeve. Press these seams to the body of your tee.
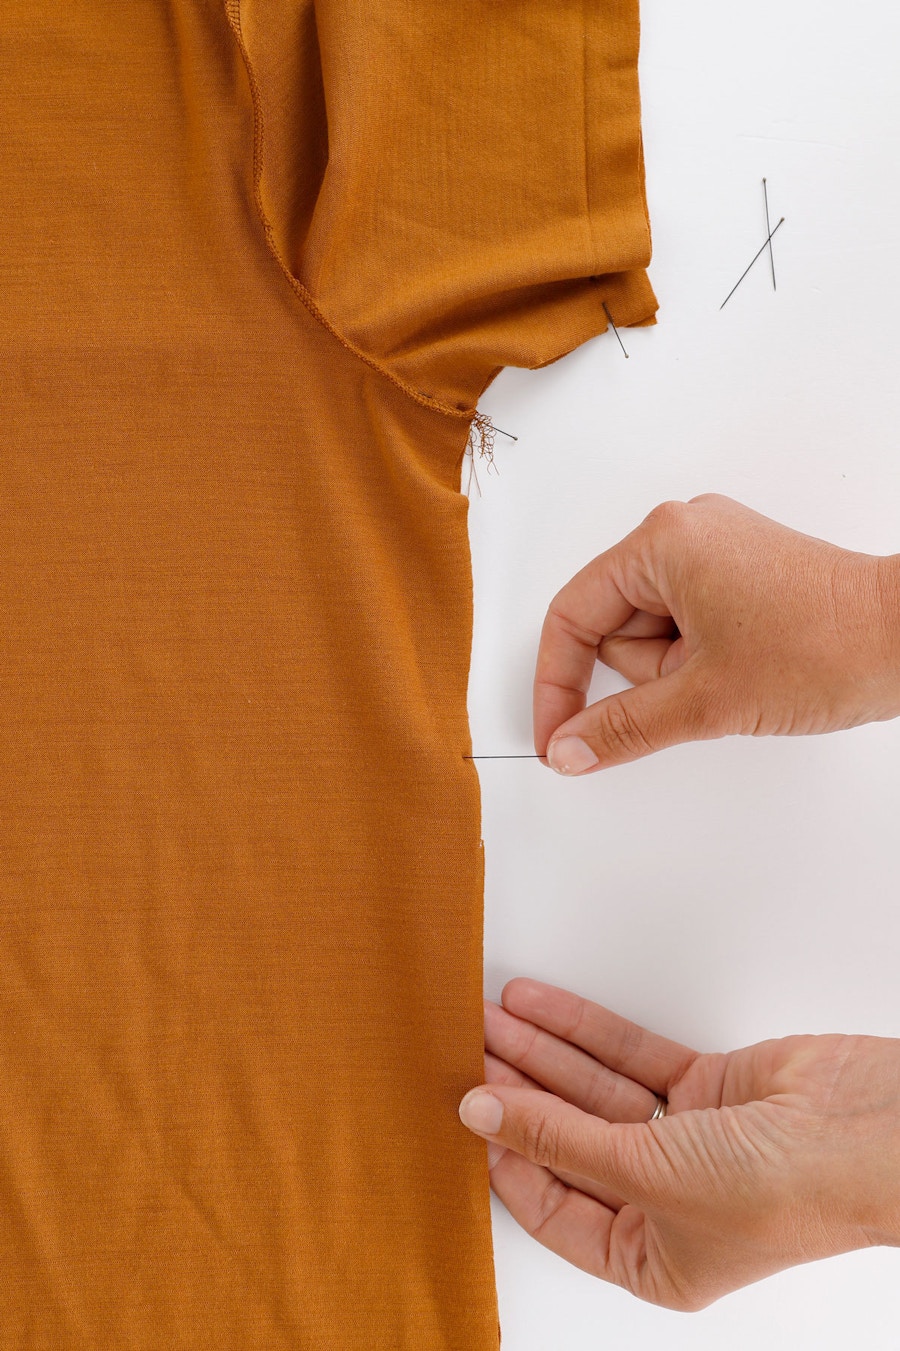
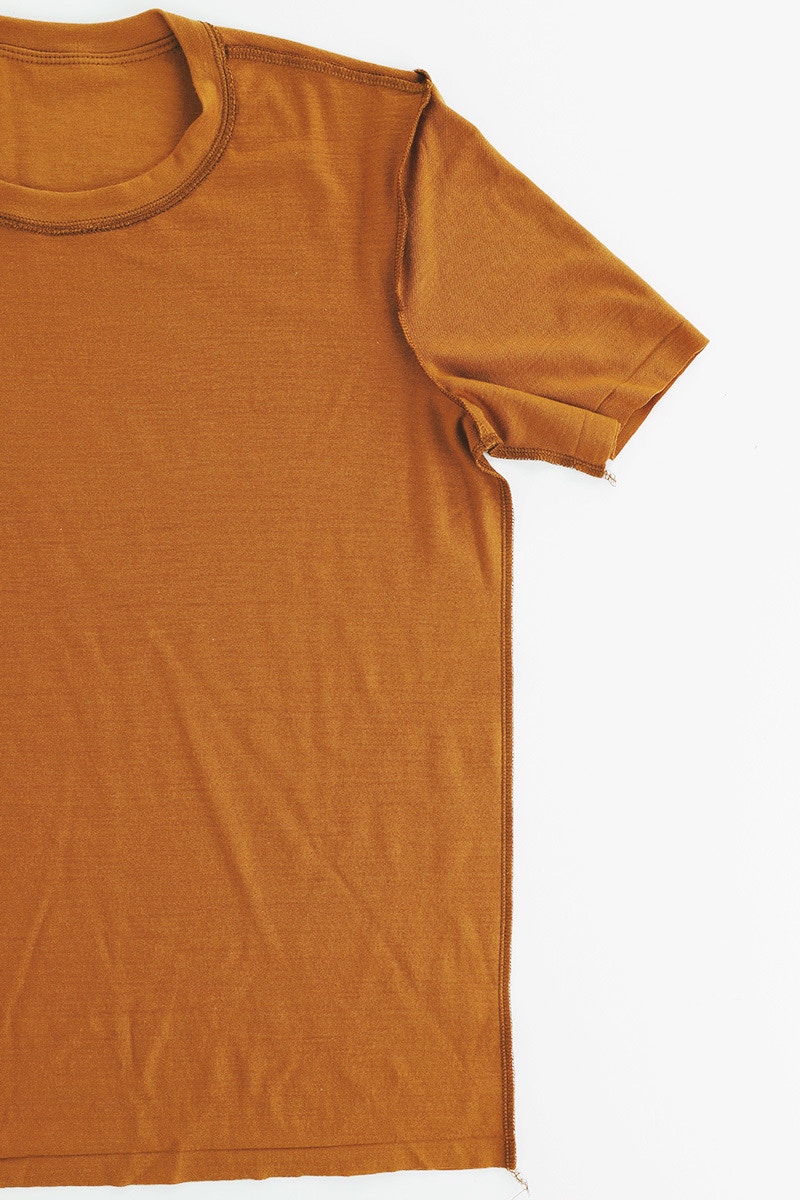
With the right sides of your tee together, pin the side seams. It can help to start by matching the underarms, then pin out to the body and sleeve hem. Overlock this seam and repeat for the other side. Press the side seams to the back.
4 — Sewing the Hems and Finishing!
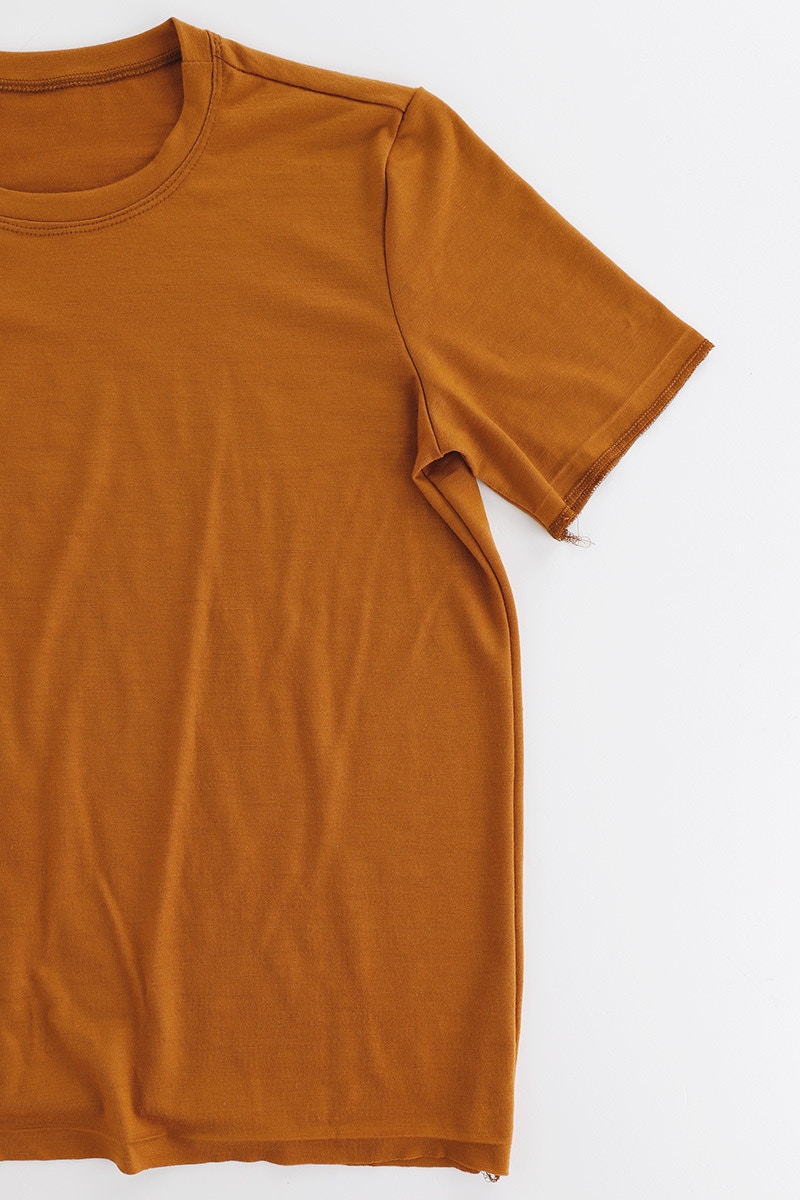
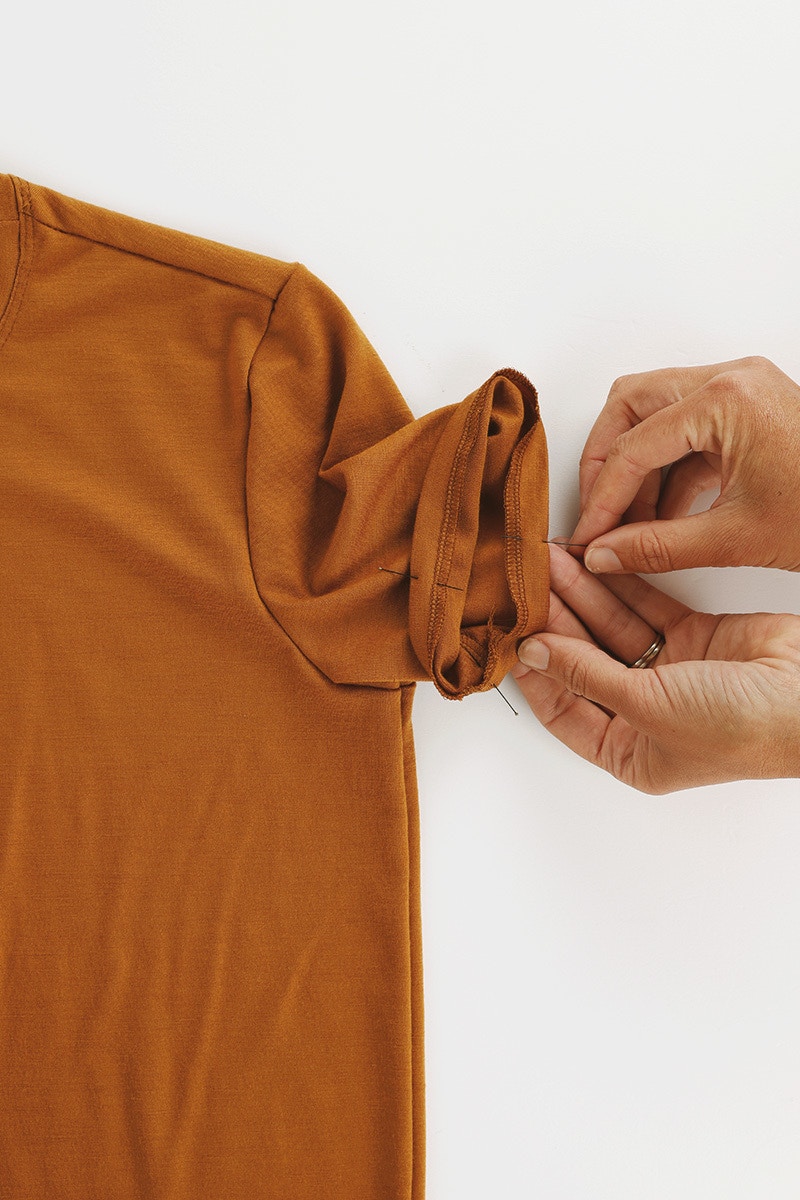
Neaten the raw edge of the sleeve hem. Then turn back and pin the 2cm hem to the wrong side, as indicated by the notch. The pre-pressing you did at the beginning will help with this.
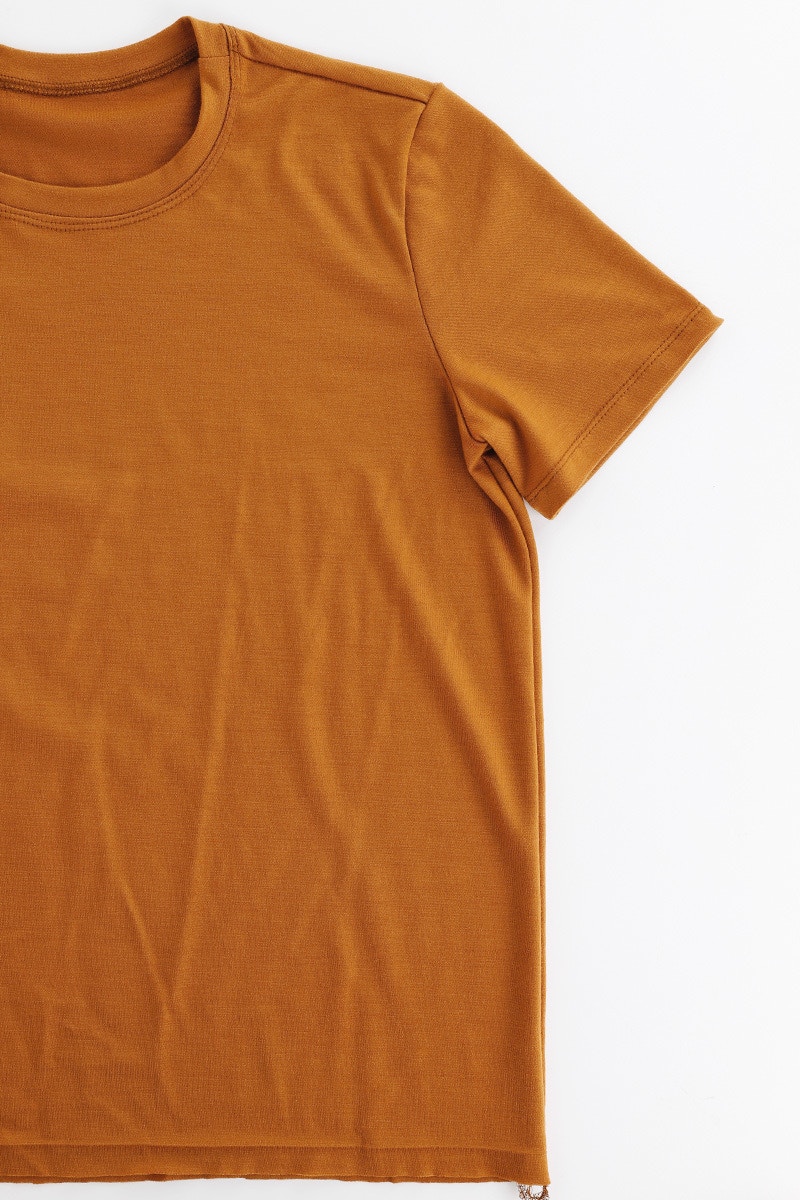
Using a twin needle, or your preferred finishing stitch, sew the sleeve hem at 2cm. Repeat for the second sleeve.
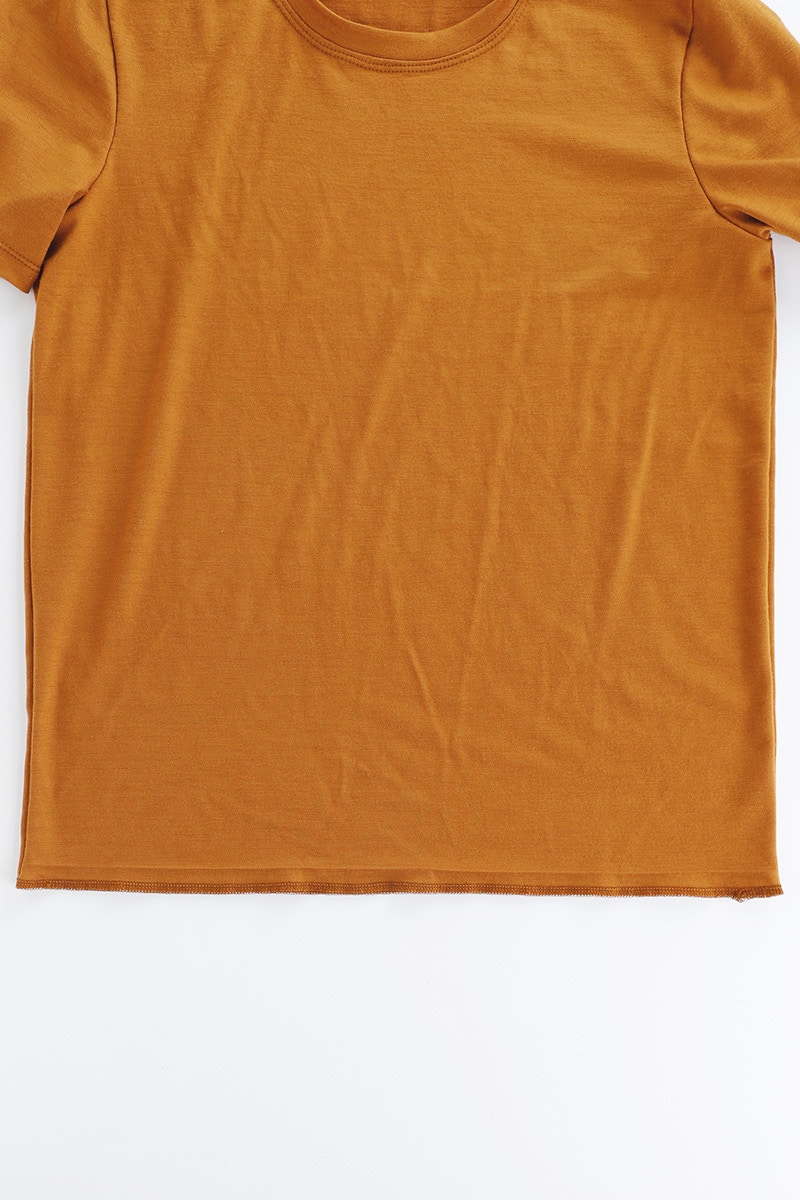
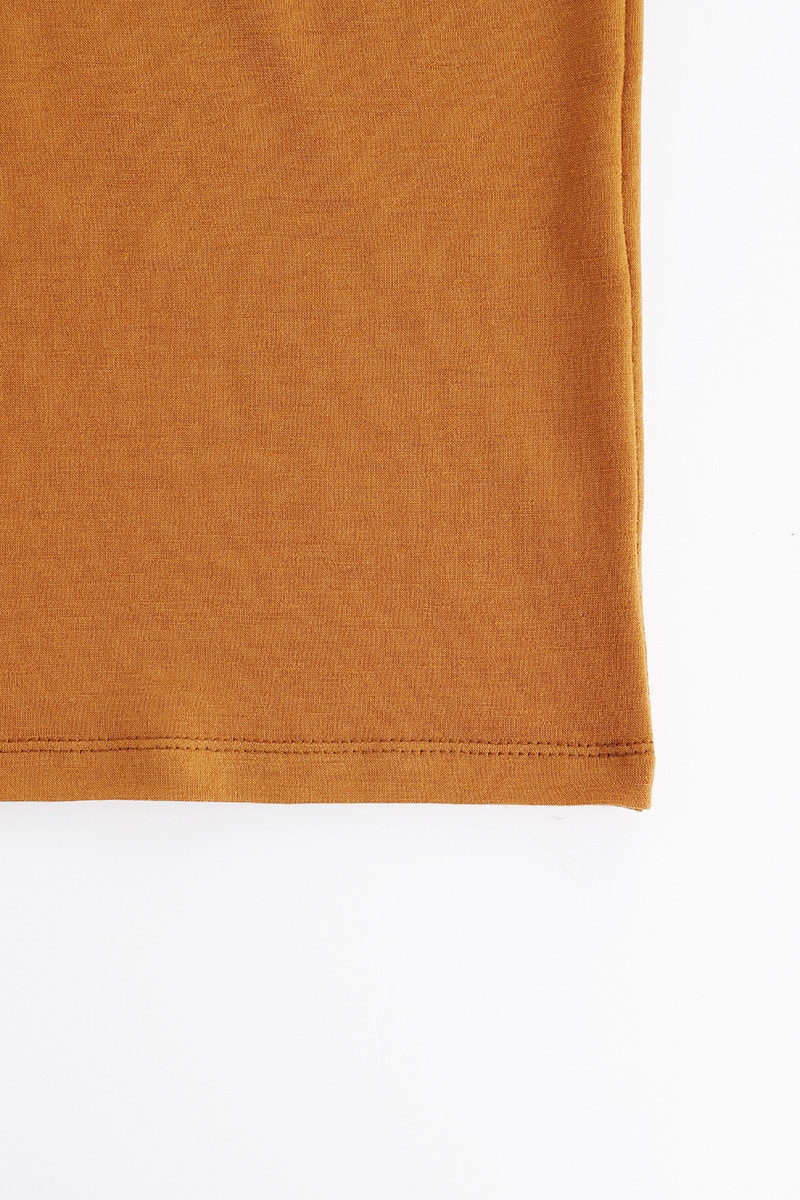
Neaten the raw edge of your body hem then fold back the 2cm hem wrong sides together and pin in place. Sew the hem with a 2cm hem using a twin needle or your preferred finishing stitch. Sew on the right side of your fabric, starting and finishing at one of the side seams.
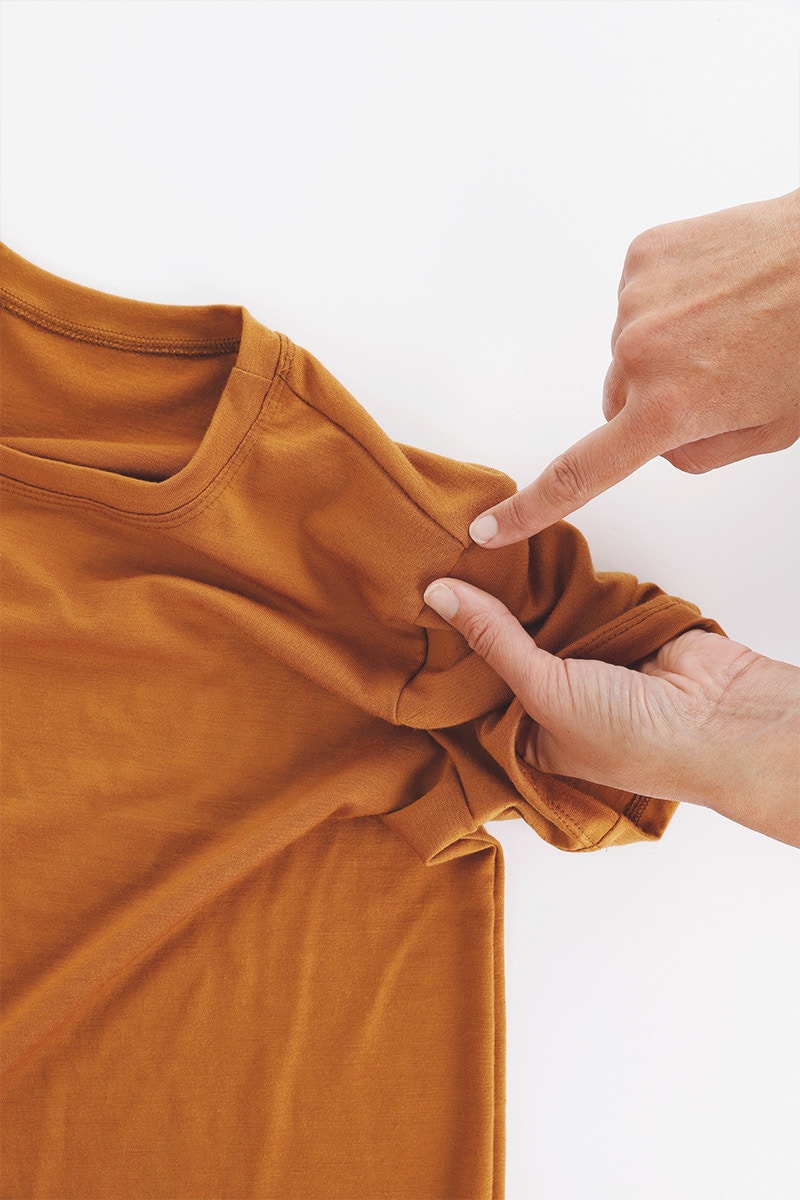

Now for the finishing touches!
To keep your seam allowances in place, back tack in the ditch 2-3 stitches in the shoulder seam at the sleeve head. Then, back tack for another 2-3 stitches in the sleeve seam at the underarm. Repeat for both sides
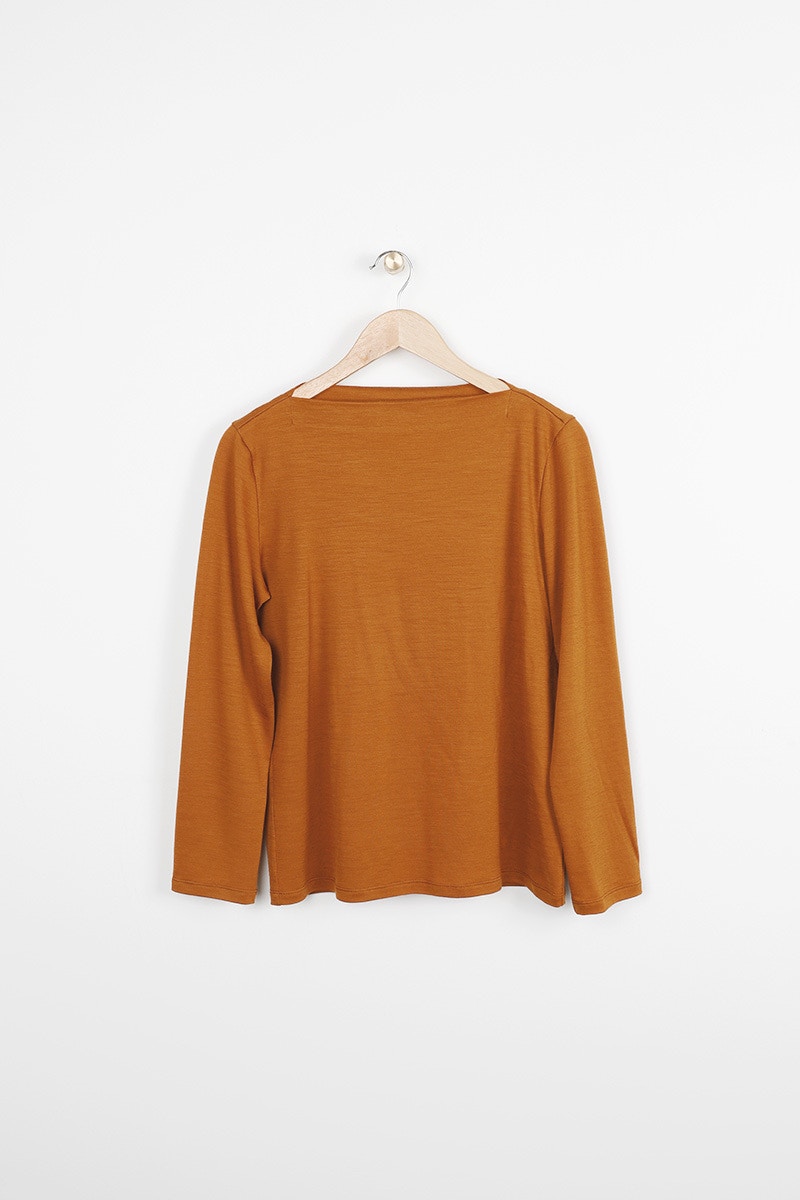
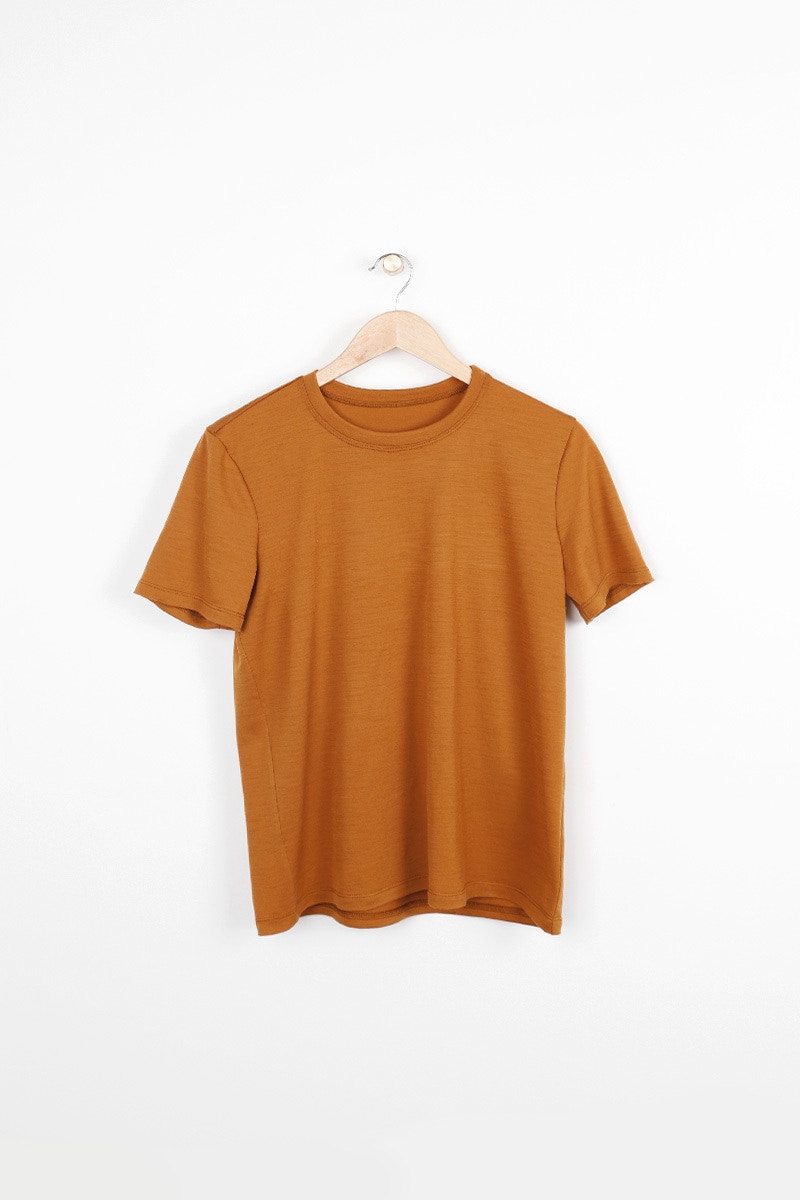
Clip any loose threads and give your Fog Tee a final press — you're all finished!
Check out the Fog Tee pattern in our Online Store here. Don't forget you can always email us via patterns@thefabricstore.co.nz if you need advice!
Fog makes from our wonderful community are also popping up over on Instagram, follow @makebytfs and use #TFSFogTee so others can check out your creations!
