1 — Pre-Pressing
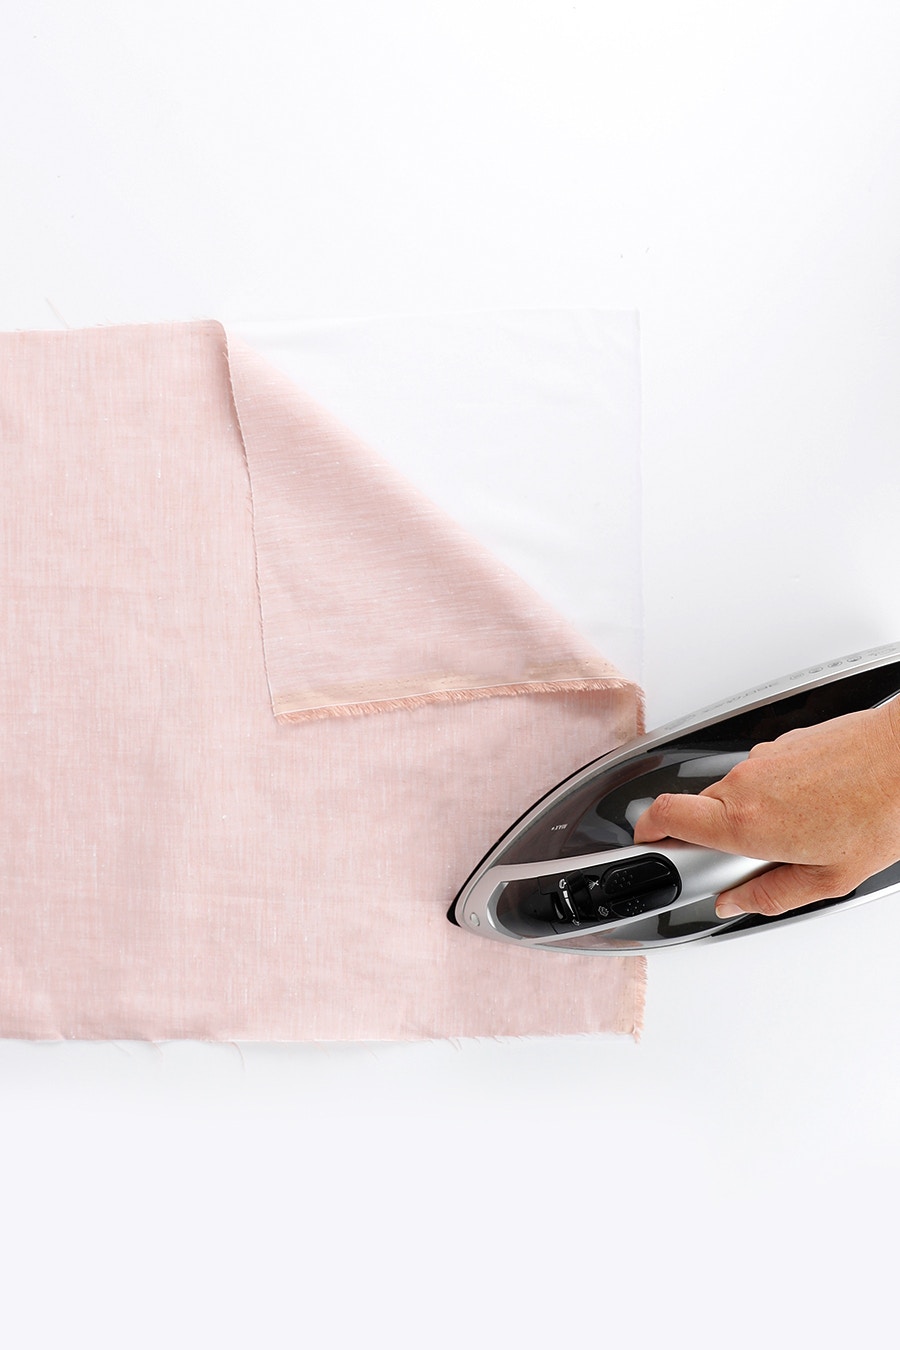
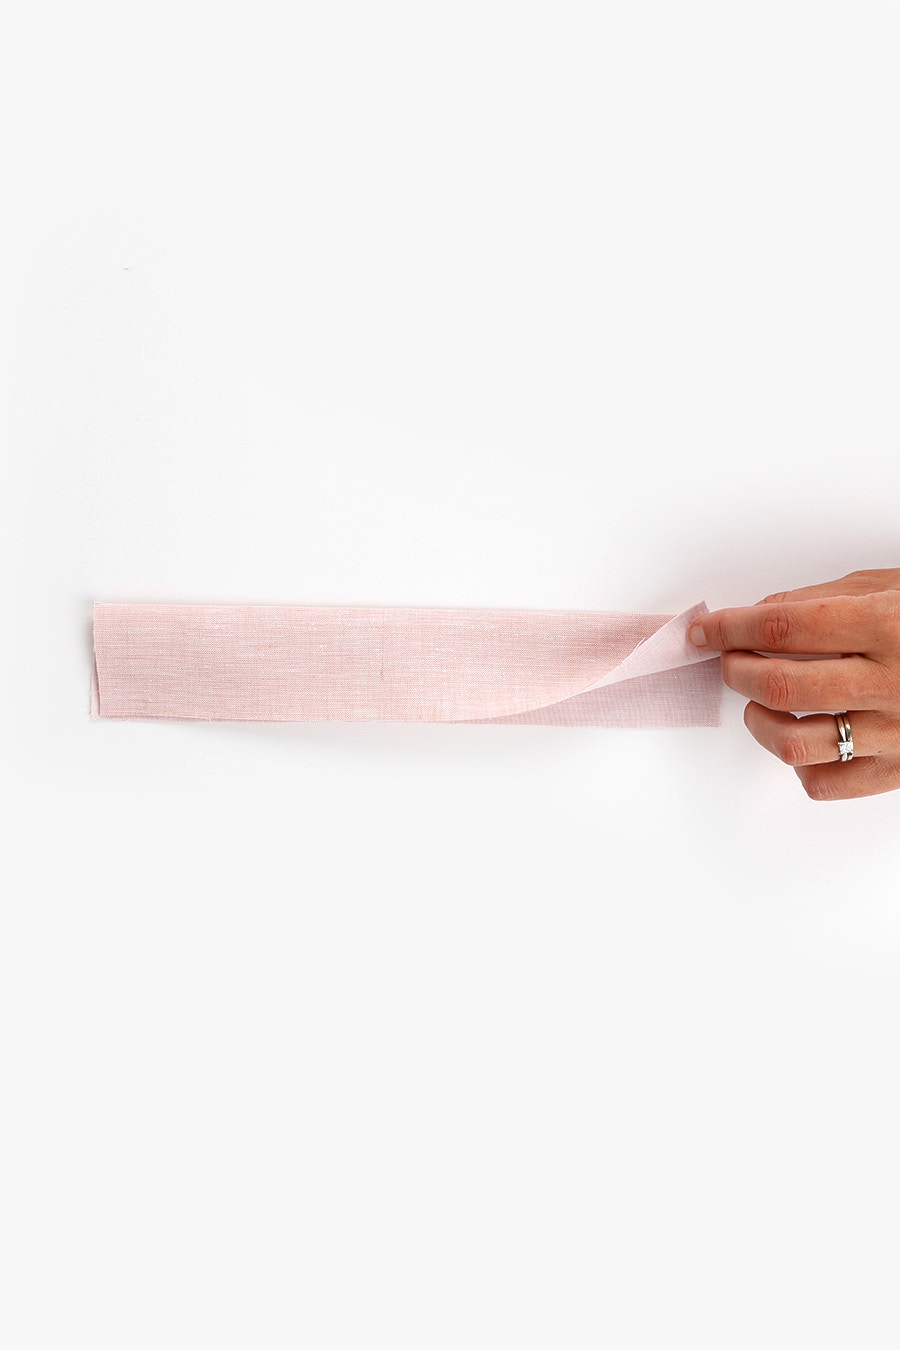
If you are sewing the long sleeve option, you may want to interface your cuff pieces depending on the weight of your fabric. This will help provide strength and stability for the button and buttonholes. This can be done by block fusing or piece fusing. Block fusing is a fusing technique whereby you apply your interfacing to a section of fabric prior to cutting out the pattern pieces. It helps avoid interfacing slippage and stops your pattern pieces from stretching out of shape, and therefore ensures accuracy. It also means you only need to cut your pieces out once. Block fusing does require you to group all the pattern pieces requiring interfacing together when you cut out your pattern however, so you may require additional fabric.
If you do not wish to block fuse, you can piece fuse these pattern pieces. This means cutting out each pattern piece in both interfacing and your main fabric and then applying the interfacing to each piece separately. If you choose to piece fuse keep your pattern pieces close by for reference and make sure they don’t stretch out of shape.
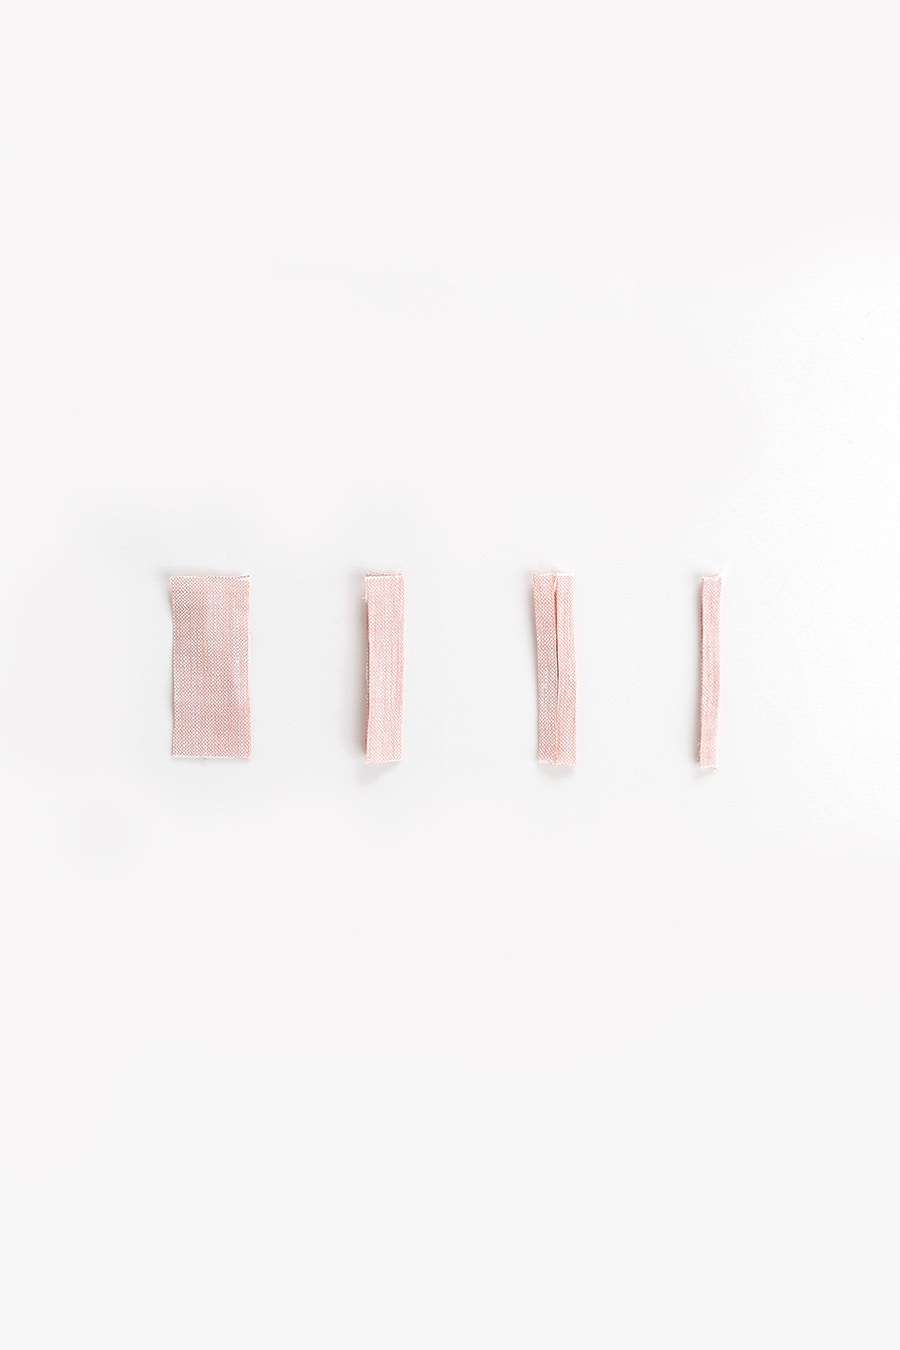
We strongly recommend that you use an iron to press some areas of your pieces before you begin sewing. This will help to ensure accuracy as you sew, as well as aid in giving your Paint Dress or Top a neat and tidy finish. These pressing guidelines apply to both the Dress and the Top views.
Press the button loop in half lengthways, wrong sides together. Open out, then fold the outer edges to meet at the centre crease line. Fold in half lengthways and press again. Your finished pressed piece will measure 5mm in width.
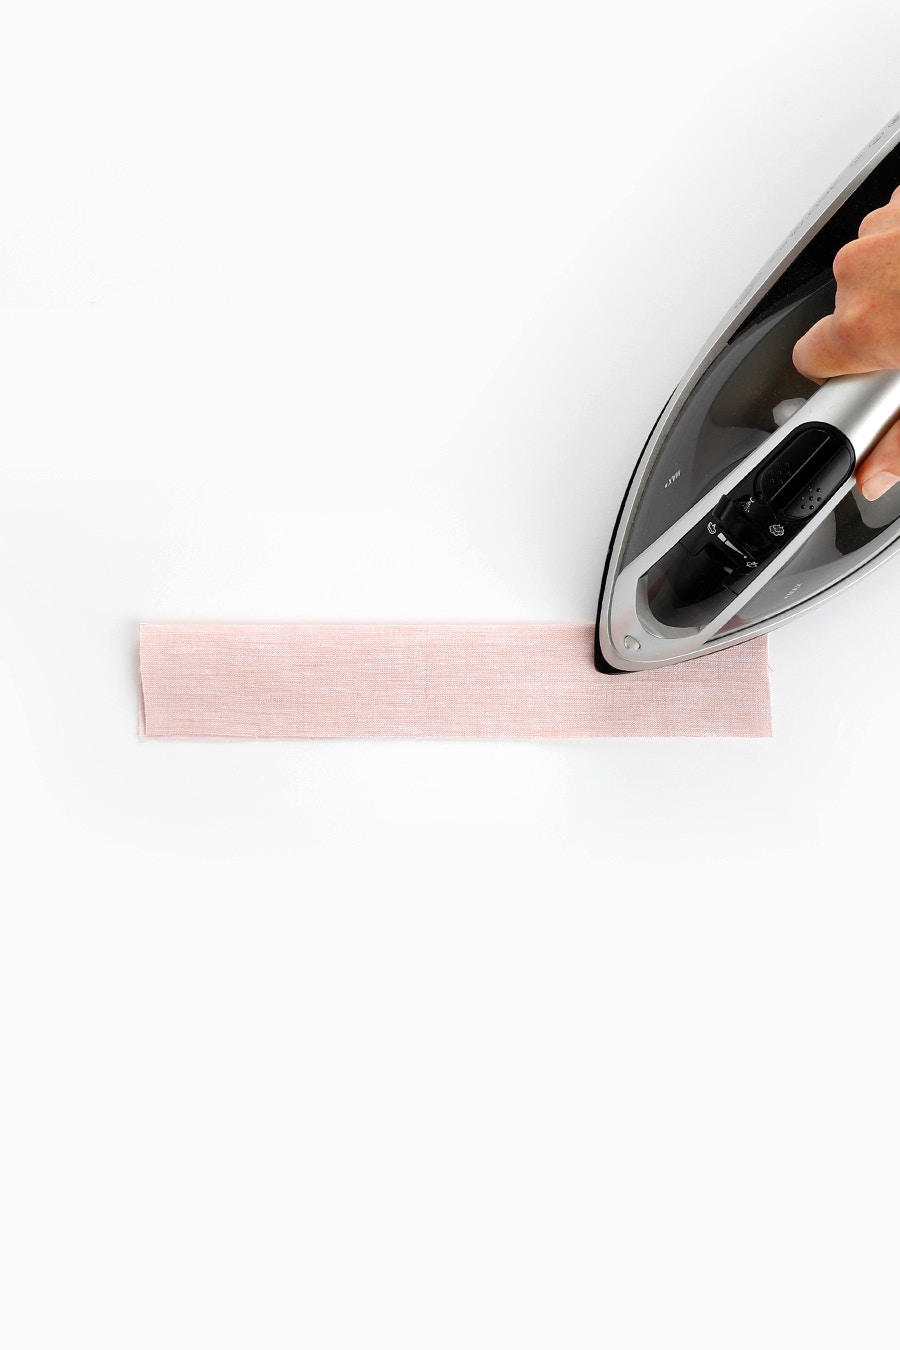
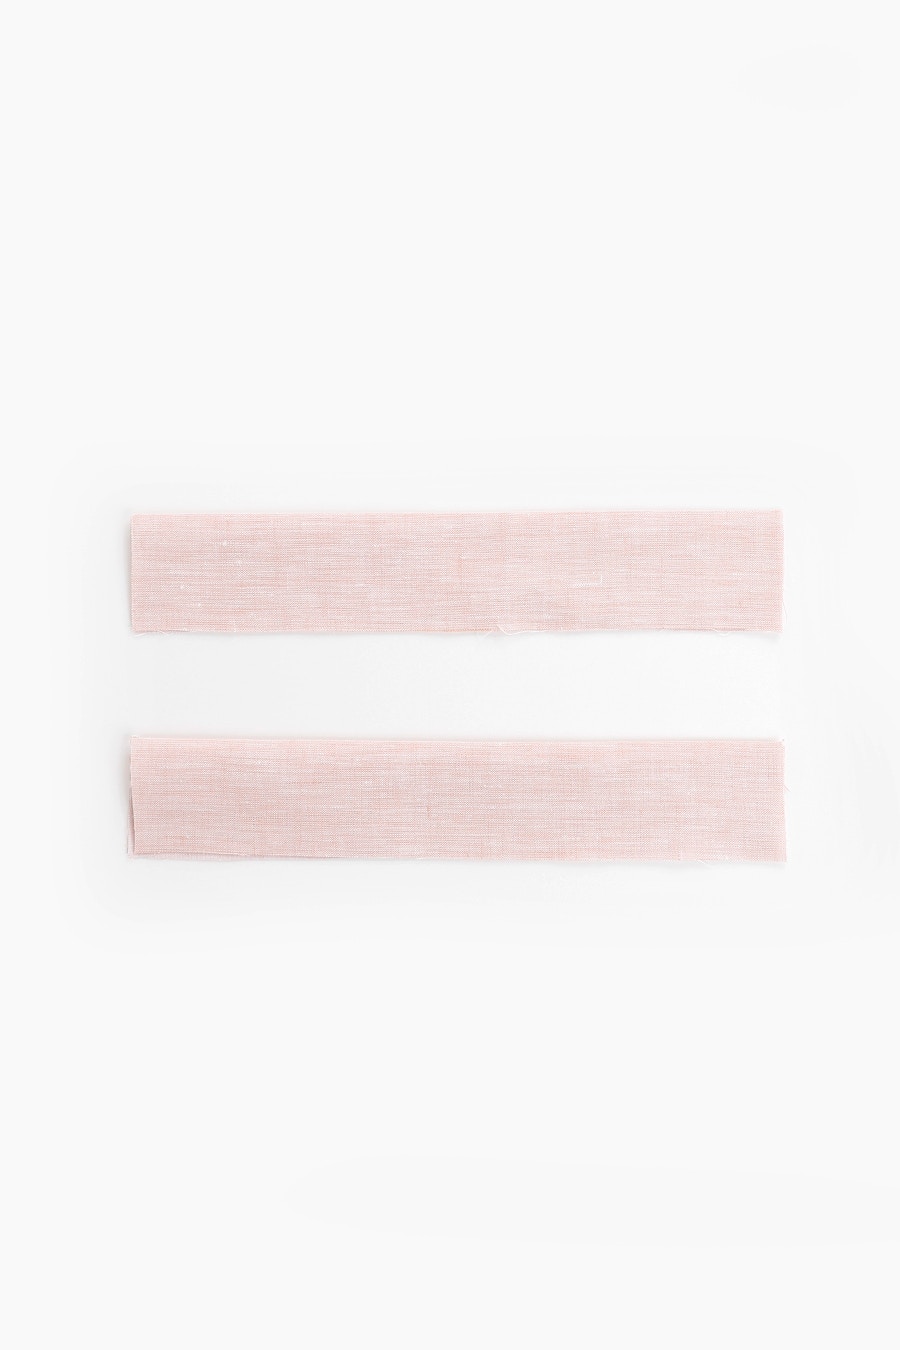
If you are sewing the long sleeve option, fold the cuffs in half lengthways with the wrong sides together and press.
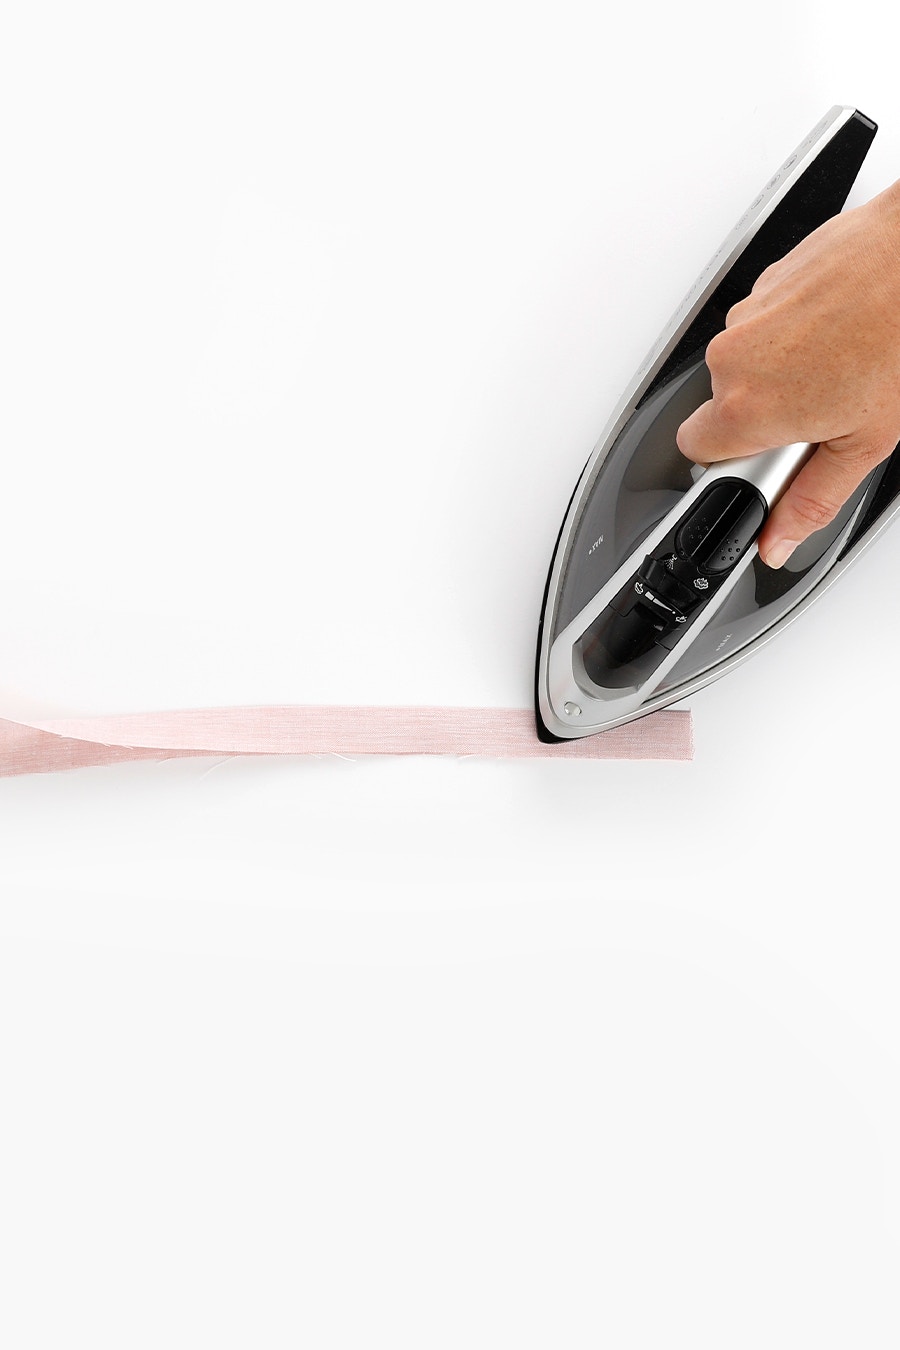
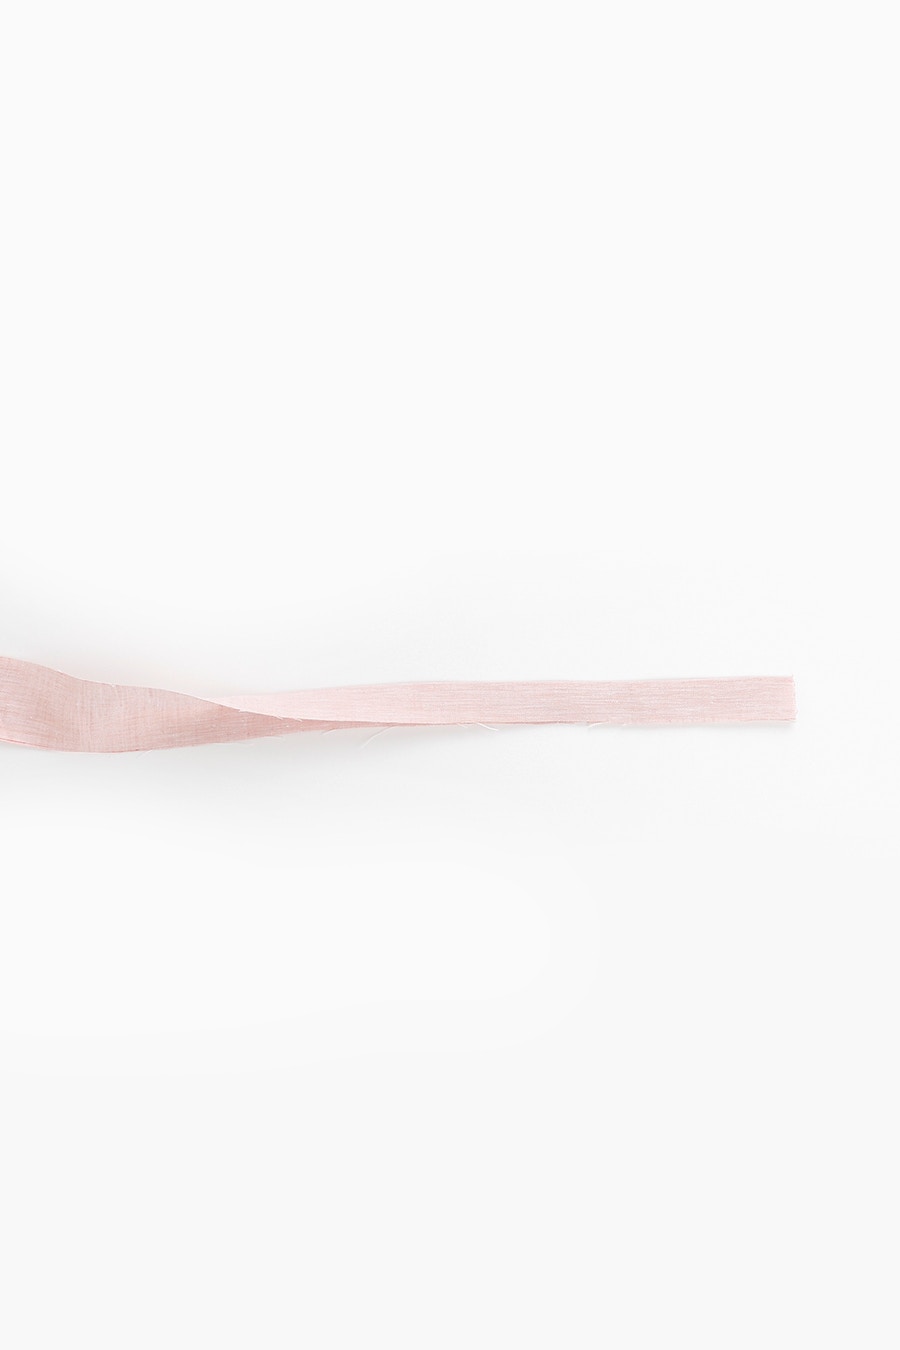
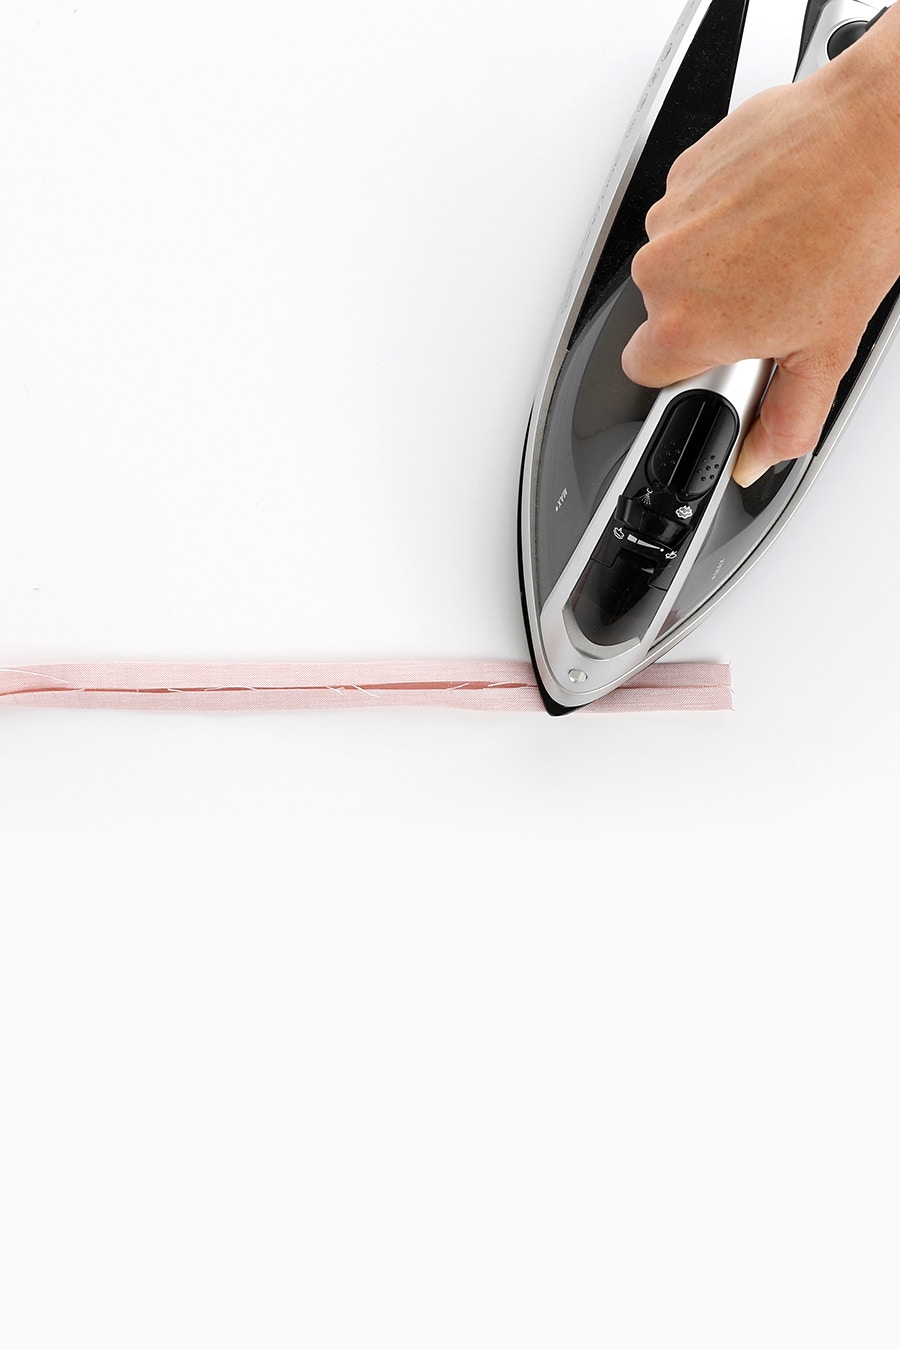

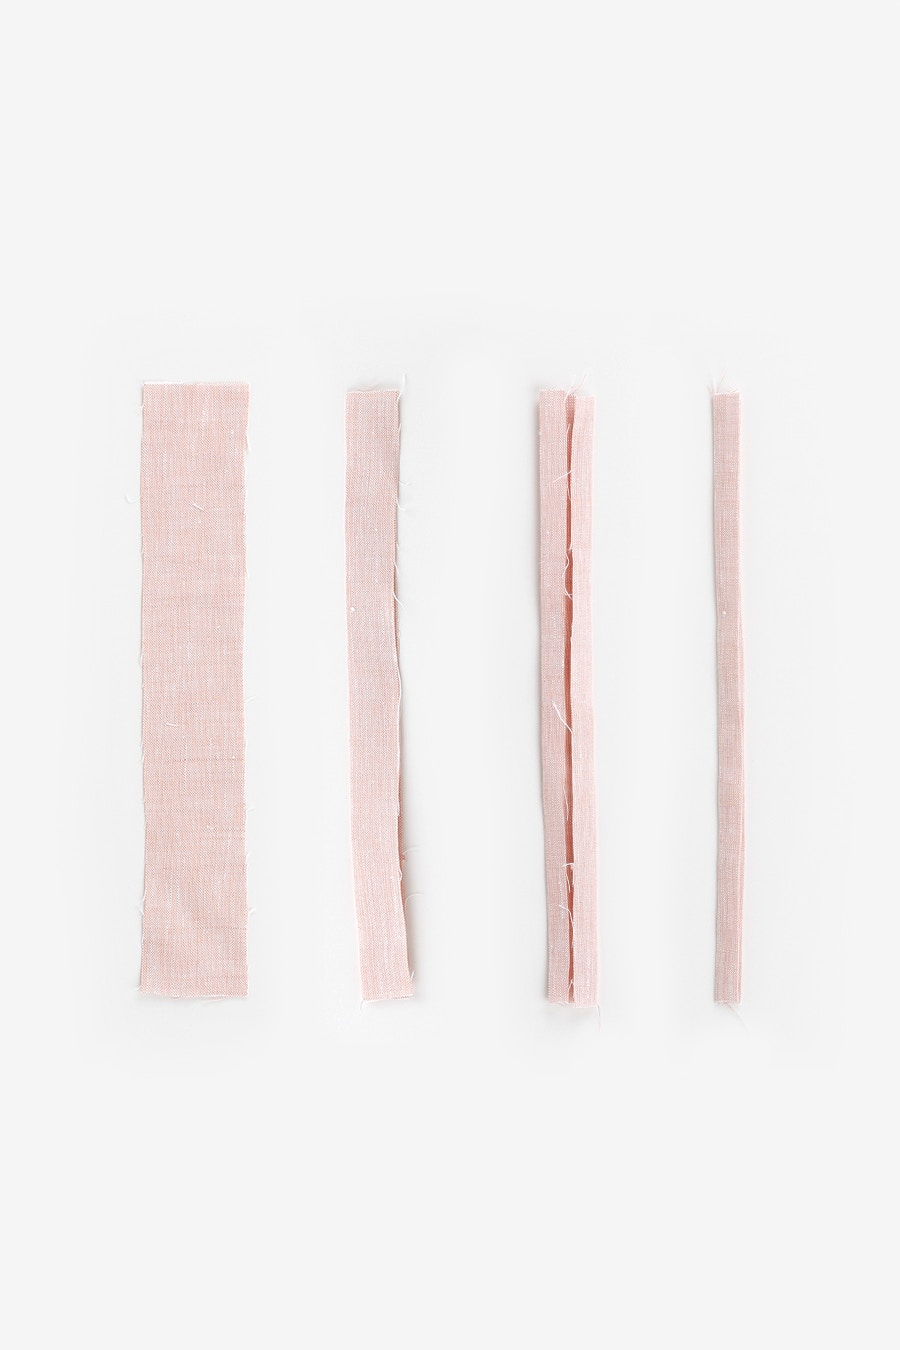
If you are sewing the long sleeve option, fold the sleeve placket binding pieces in half, press wrong sides together and press. Open out, then fold the outer edges to meet at the centre crease line. Fold in half lengthways and press again. Your finished pressed piece will measure 1cm in width.
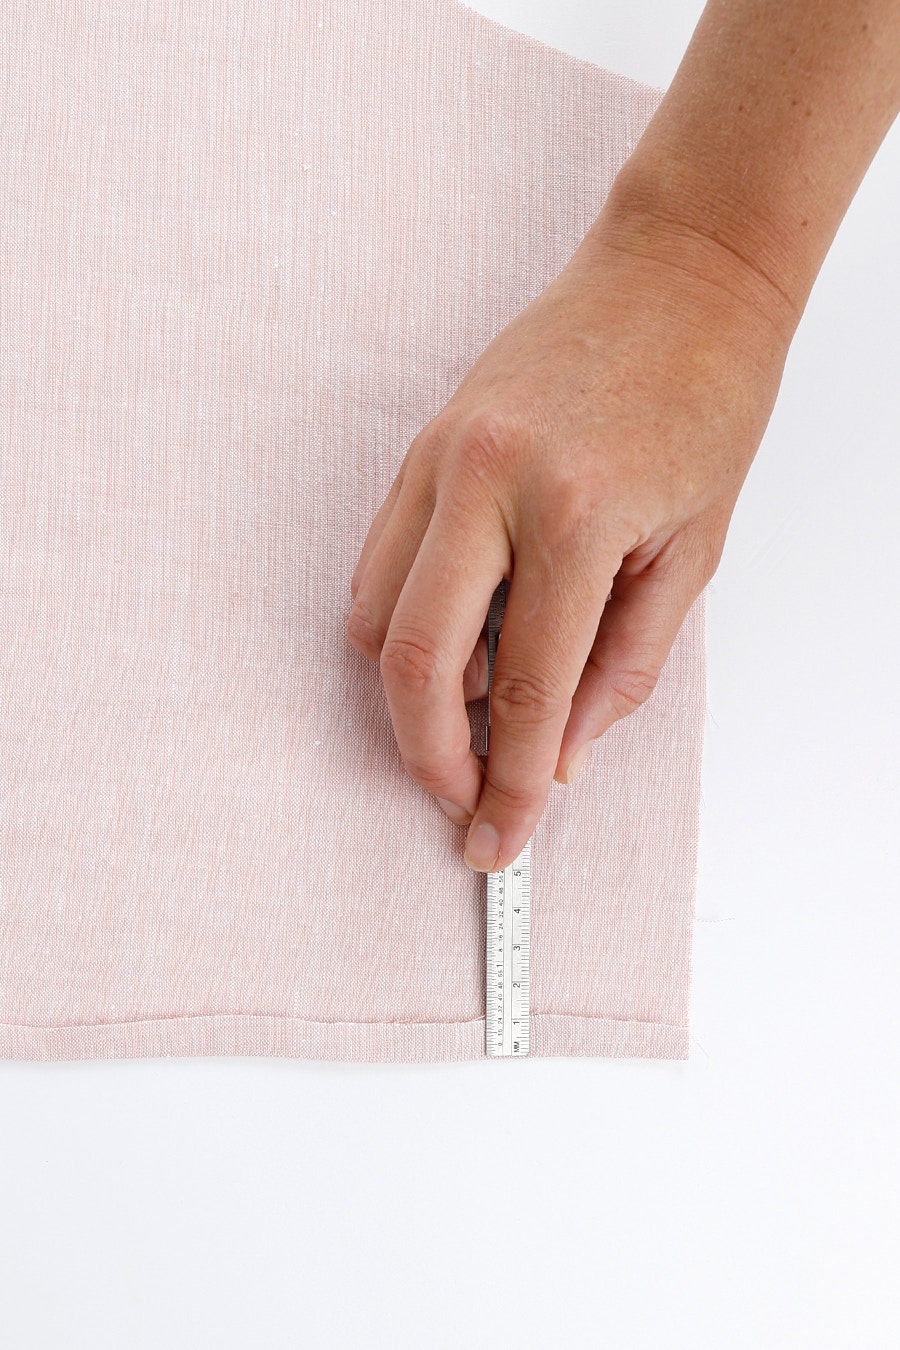
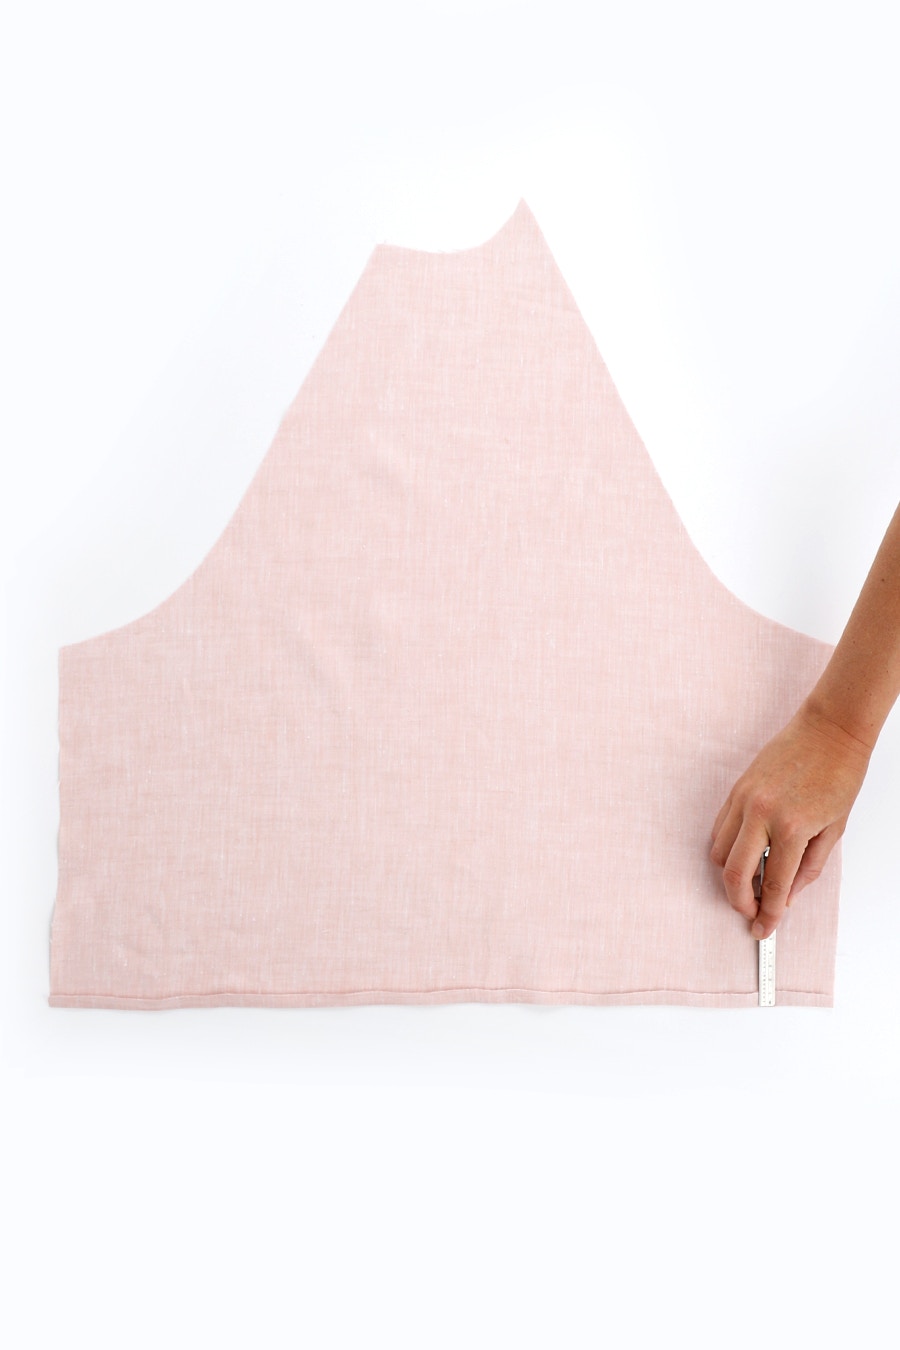
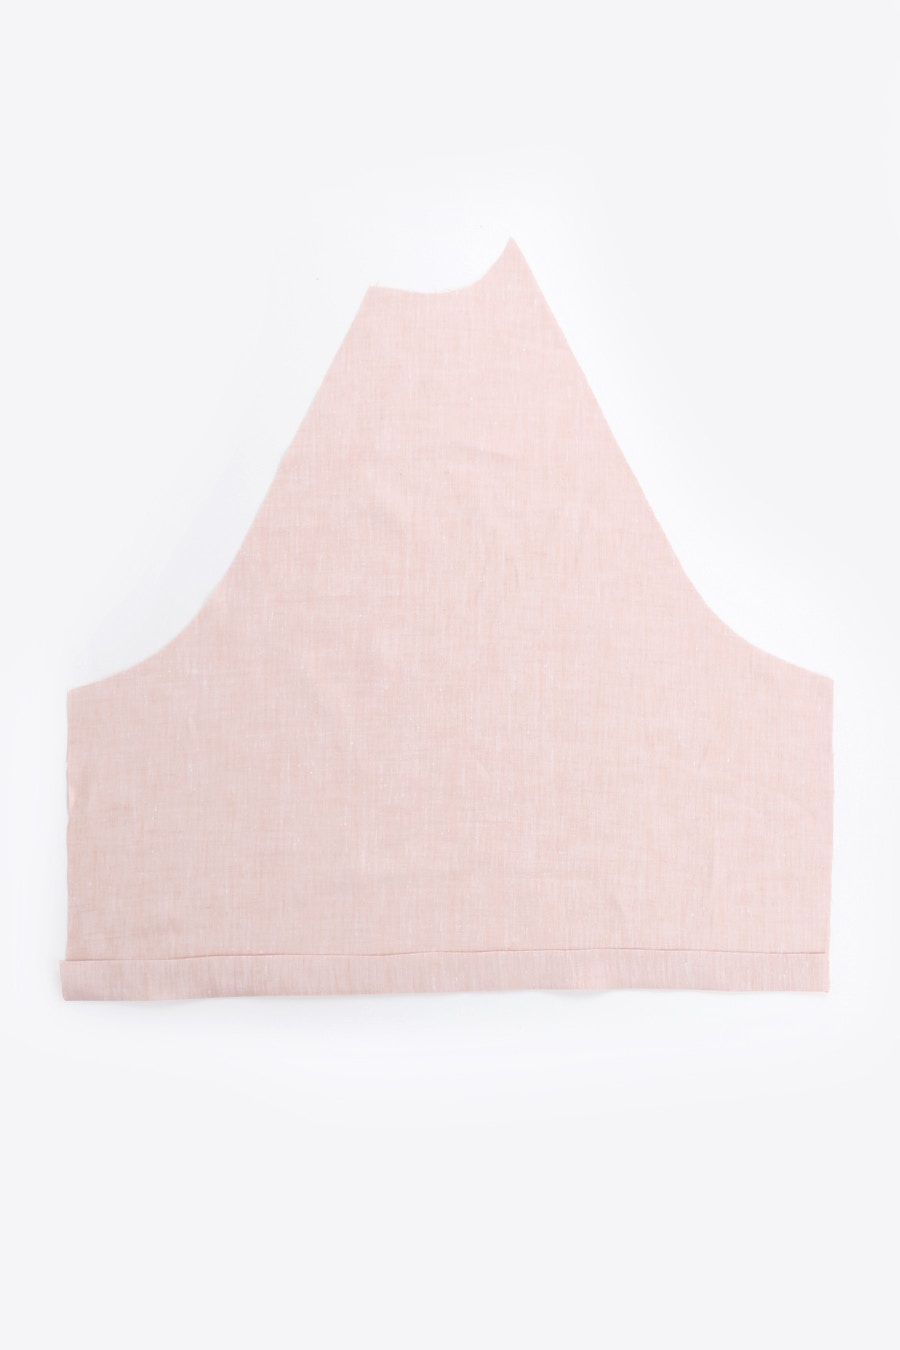
If you are sewing the short sleeve option, fold the seam allowance back 1cm to the wrong side at the hem and press. Fold the hem back again at the notches and press.
If you are sewing a waist tie, take the waist tie pieces and fold them in half lengthways with the wrong sides together, and press. Unfold and fold the outer edges 1cm in meeting at the centre crease line. Press. Fold your waist tie in half lengthways and press again. Your finished piece will measure 1cm in width.
2 — Sew Front + Pockets
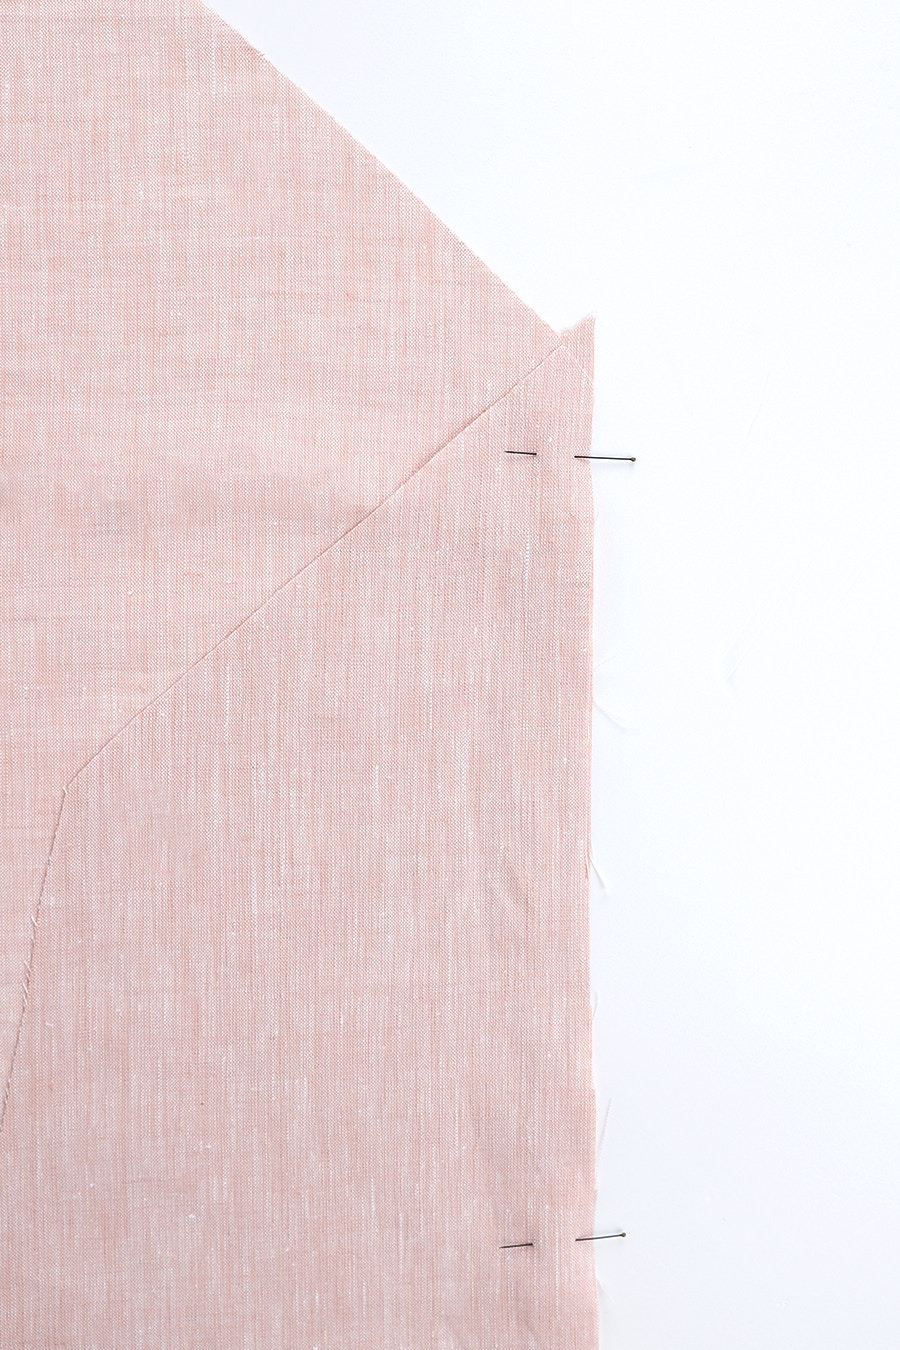
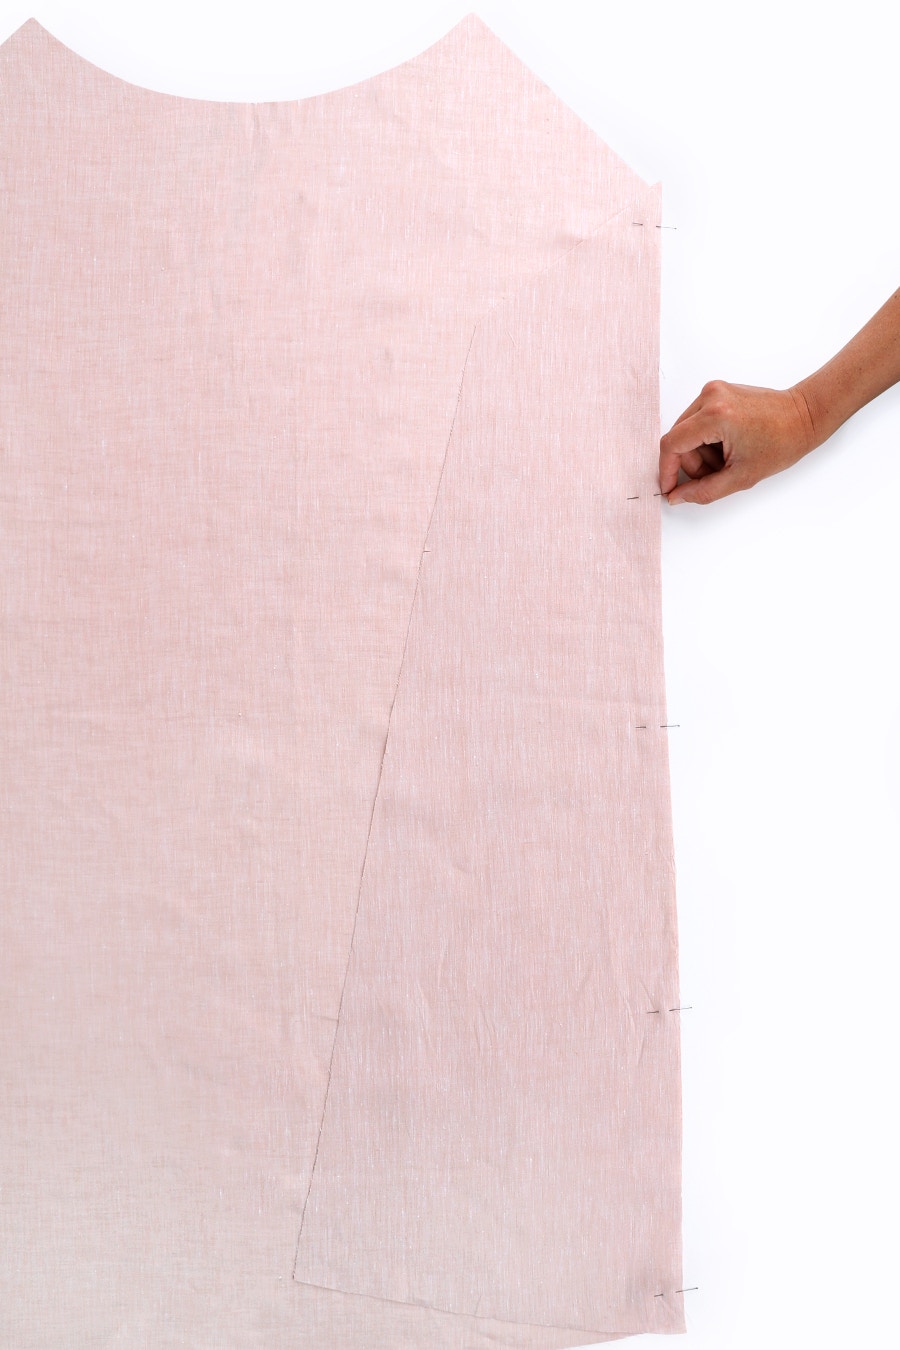

With the right sides of your fabric together, pin the left side front panel to the left side of the centre front piece, matching the notches. Sew them together and then neaten the seam. Press the seam towards the side panel.
Repeat for the other side.
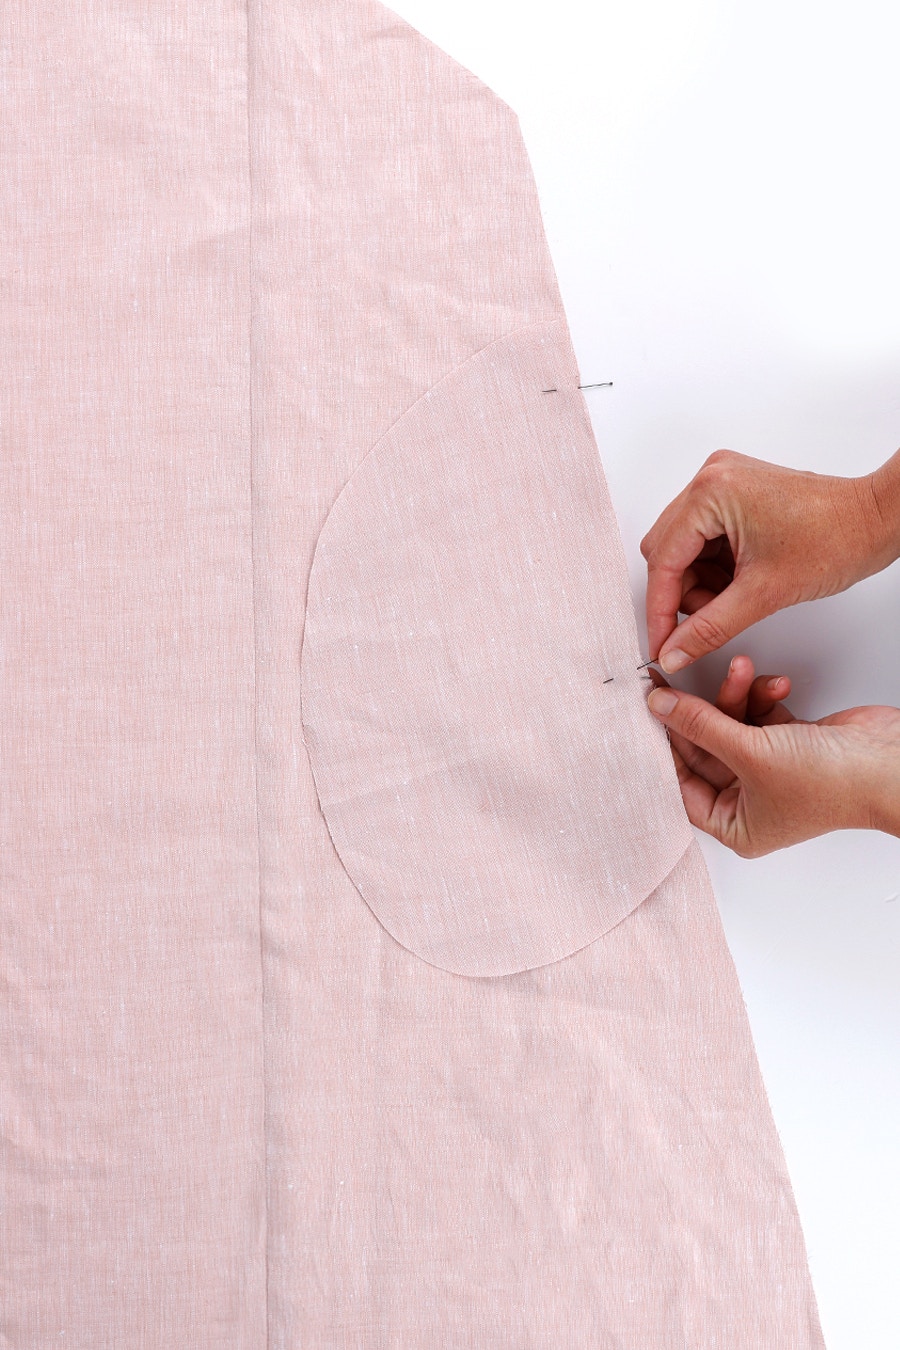
If you are sewing the dress and would like to add pockets, continue here, otherwise move on to the next blog post.
Place one pocket bag onto the front with the right sides together and pin together at notches marked ‘pocket opening’.
Stitch a box with your sewing machine, from notch to notch, from the outside edge in, towards the pocket bag 1cm. With your needle down, turn 90 degrees and continue stitching at 1cm, parallel to the edge. Stitch down to line up with the lower notch, turn back towards the outside, and stitch towards the edge. You will have created a stitched box along the pocket opening.
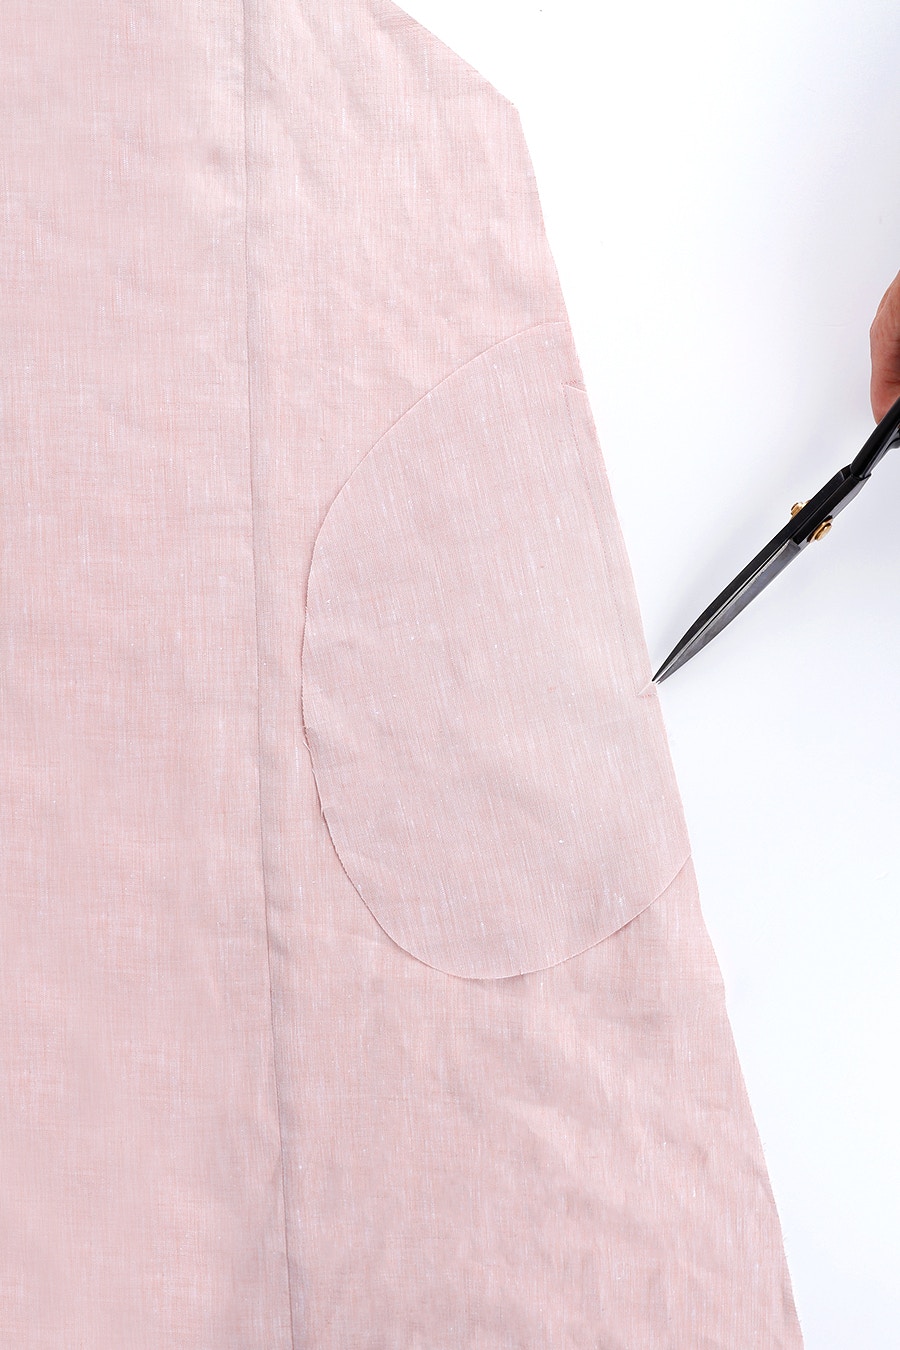
Next, you need to mitre into the upper and lower corners of the box. Do this by snipping into each corner at a 45-degree angle. Use very sharp scissors and take care not to cut into your stitch line!
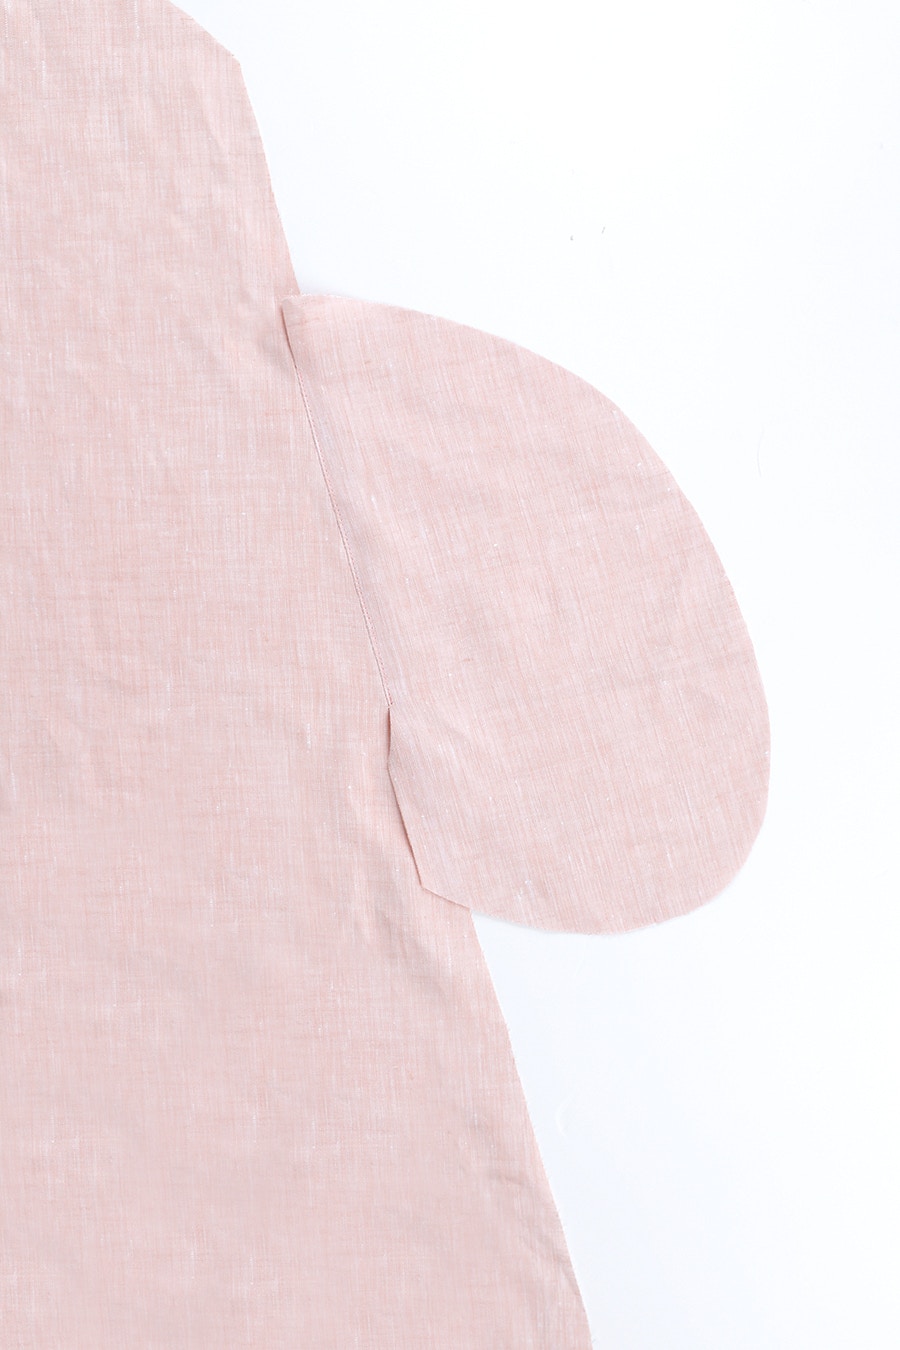
Fold the pocket bag out and press along the edge of the pocket opening. Under stitch the pocket opening from corner to corner.
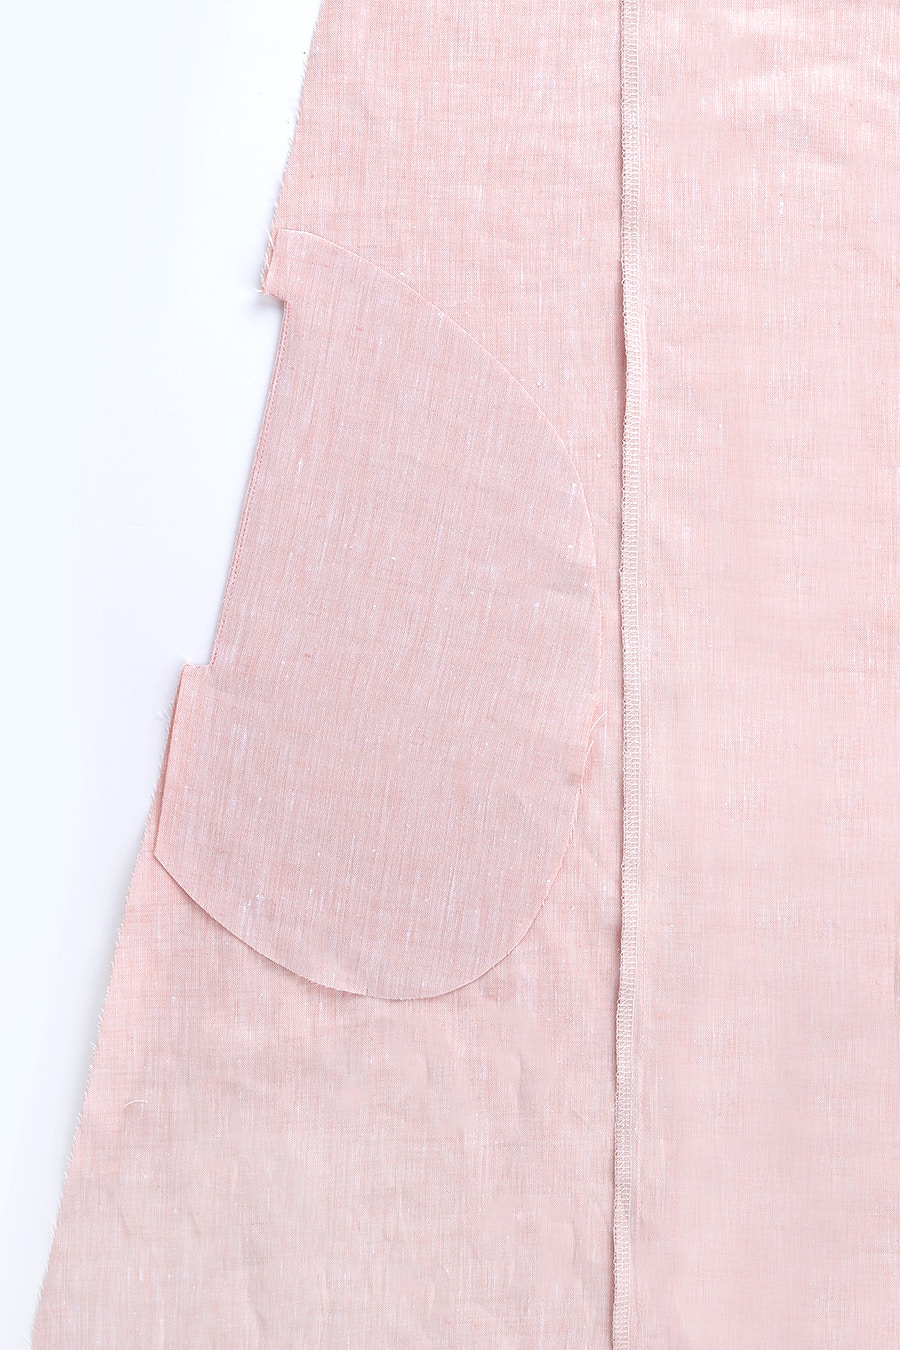
Press the pocket bag to the wrong side, ensuring that the seam allowance either side of the opening is fully turned out.
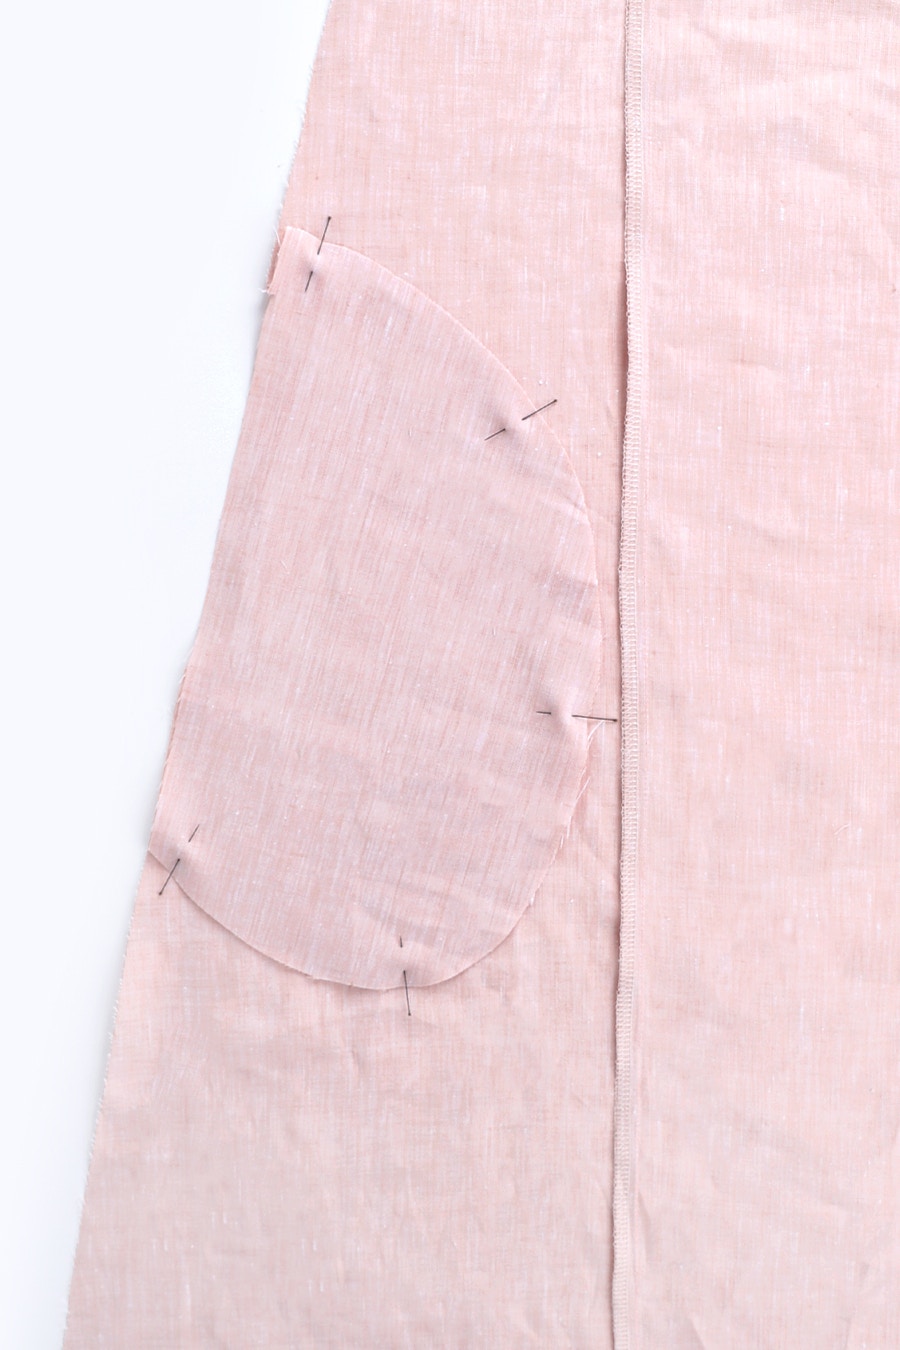
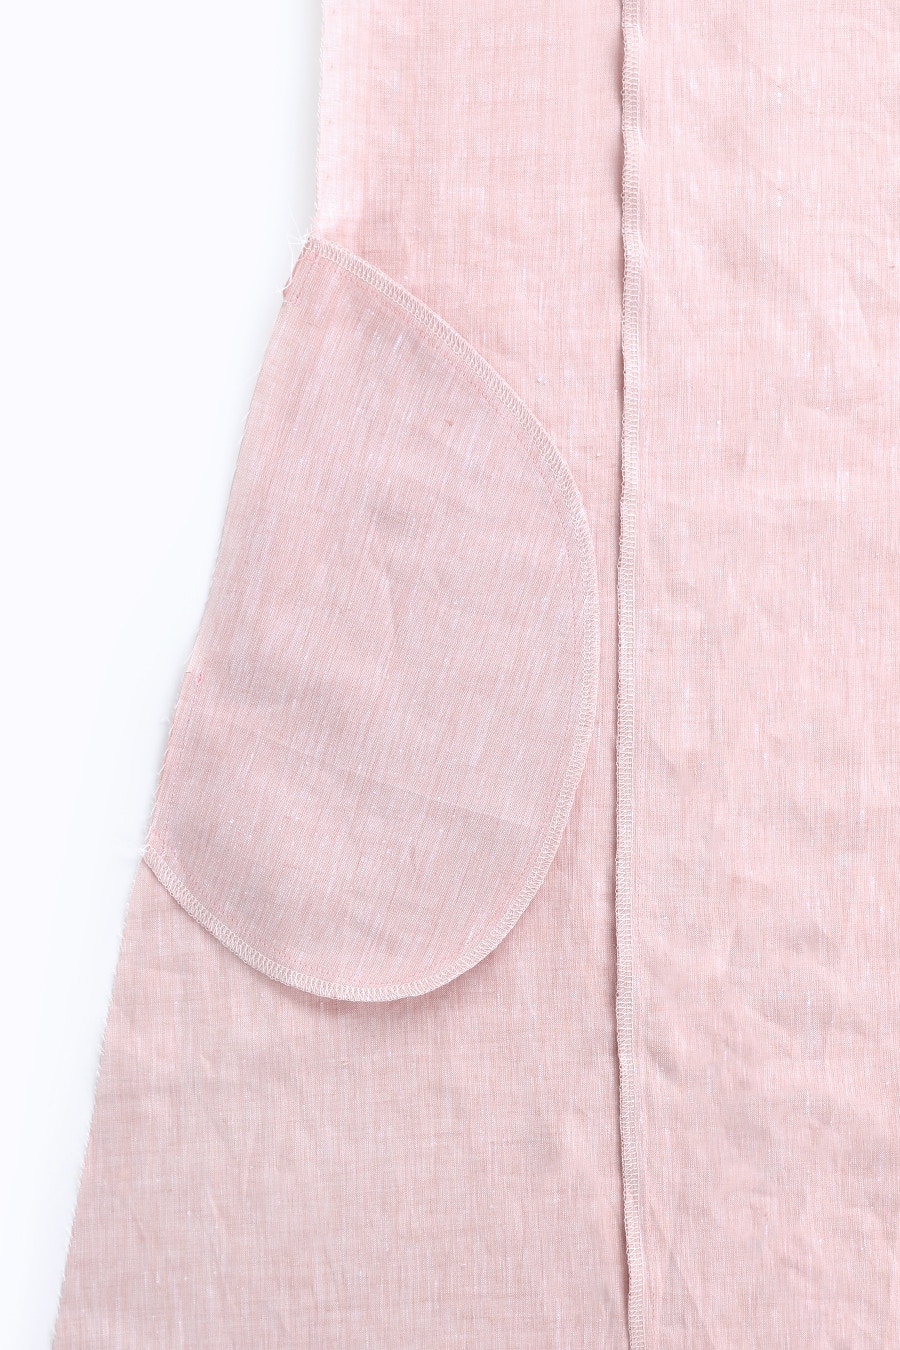
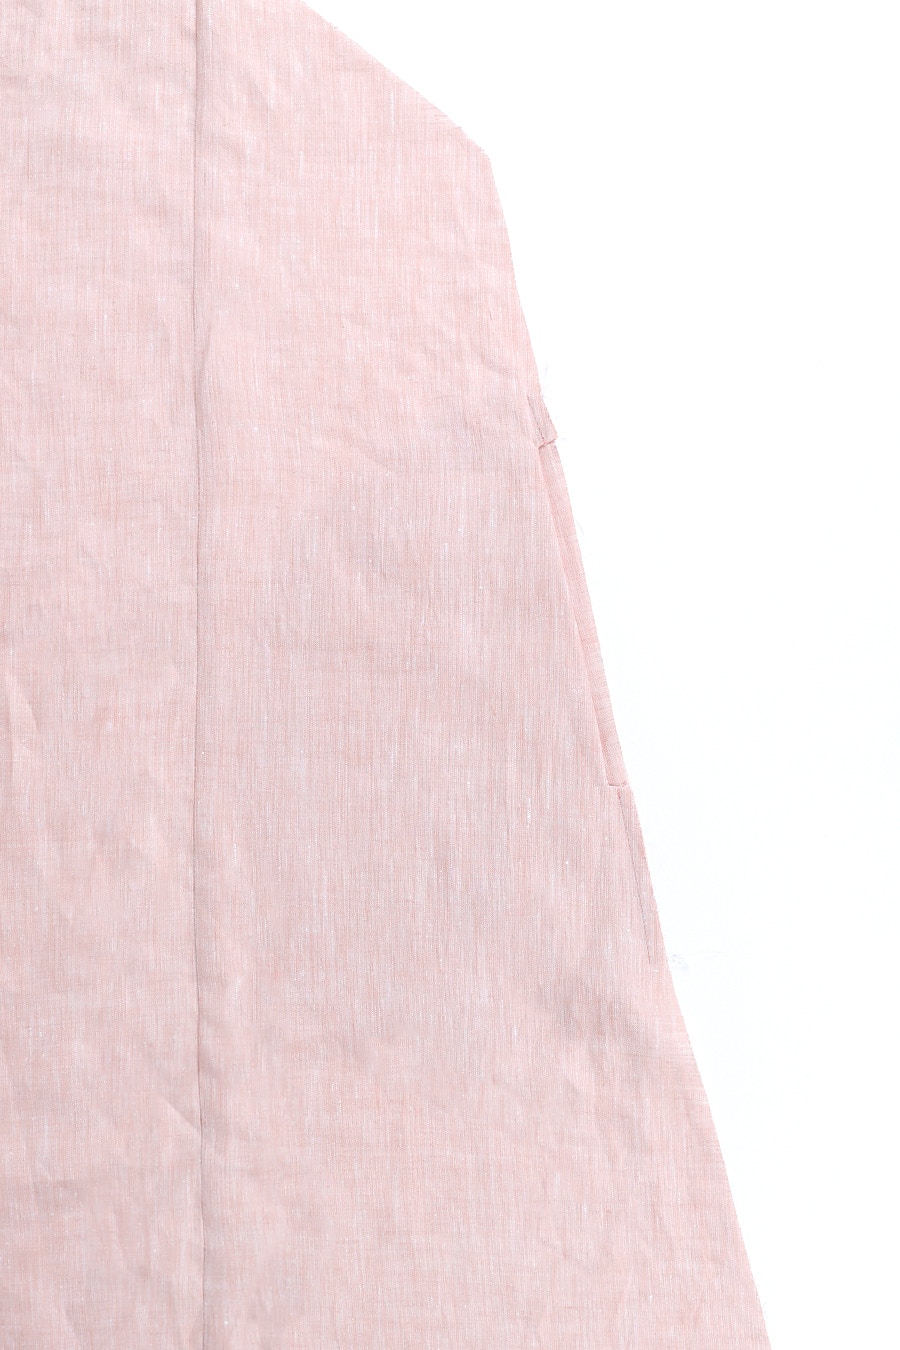
Lay the other pocket piece on top, right sides together and matching the notches. Pin it in place then sew the pocket bags together around the long, curved edge, then neaten.
Baste the pocket bag to the front either side of the pocket opening. Repeat this process for the pocket on the other side.
3 — Sew Back and Attach Sleeves
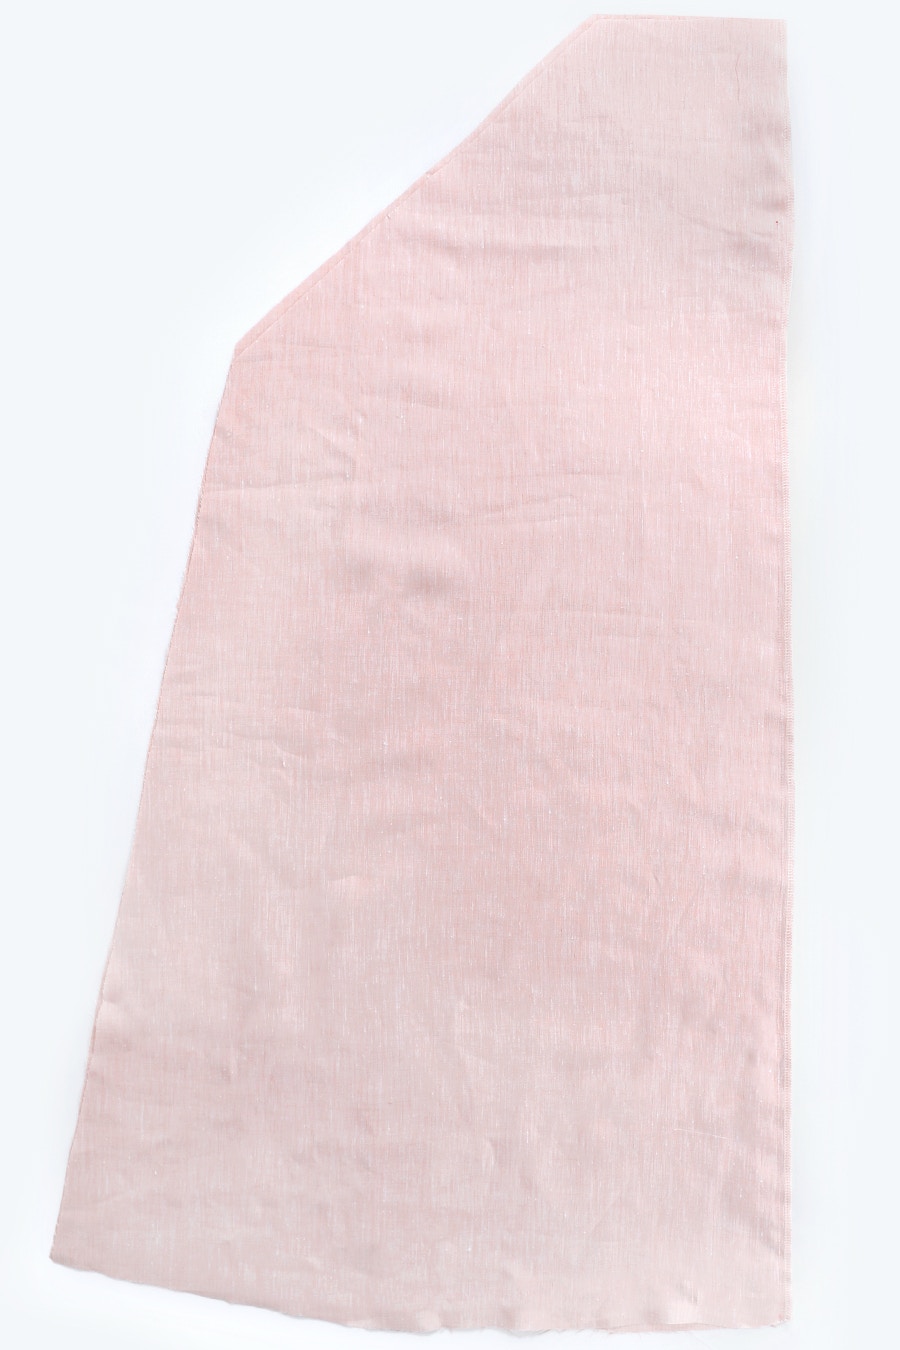
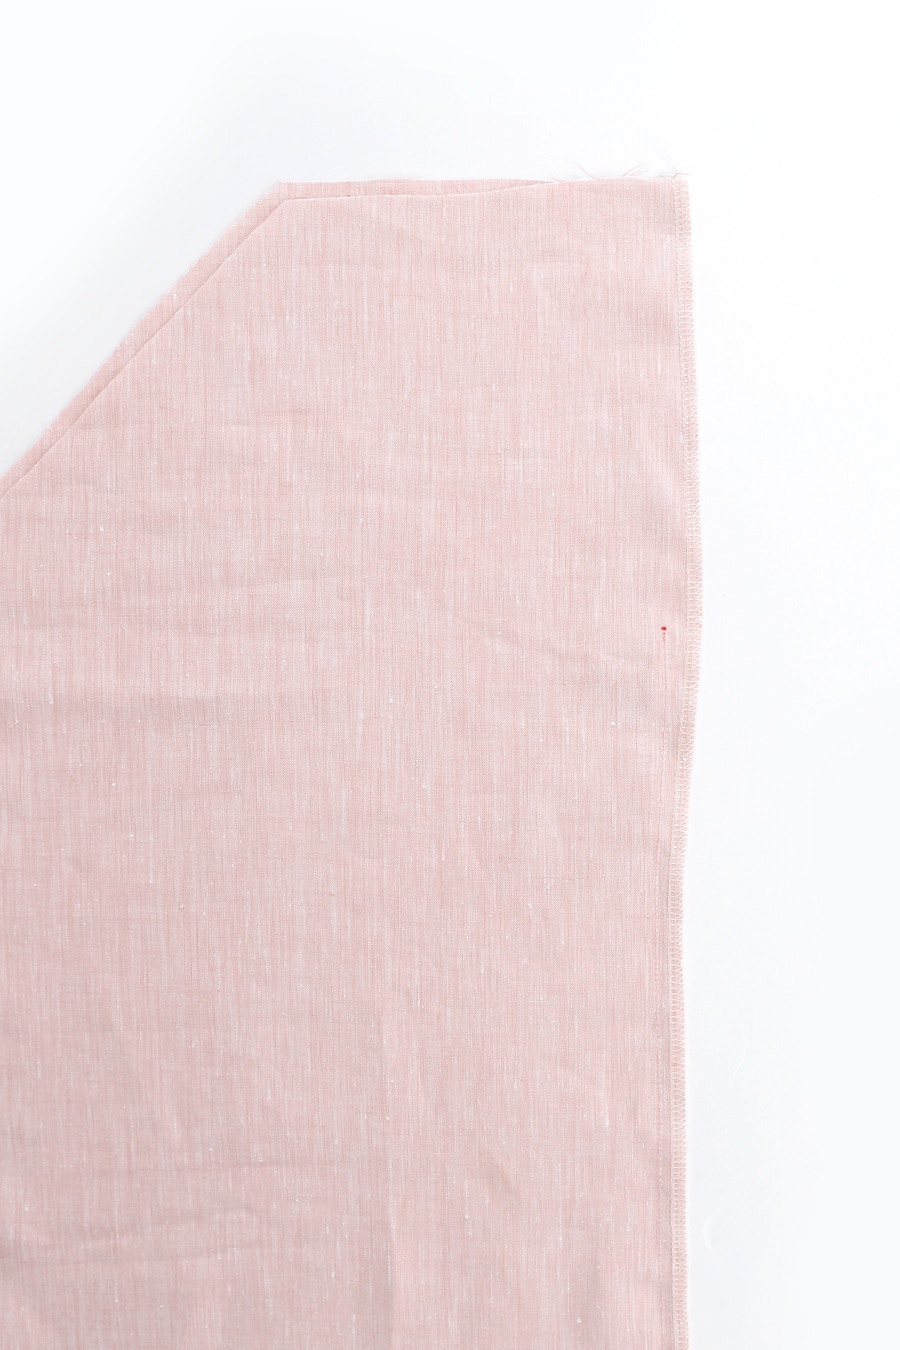
Start by neatening the centre back edge of each back piece separately.
With the right sides together pin the two back pieces together at the centre back. The seam allowance on the centre back widens to 1.5cm at the top to allow for a facing at the back neck opening.
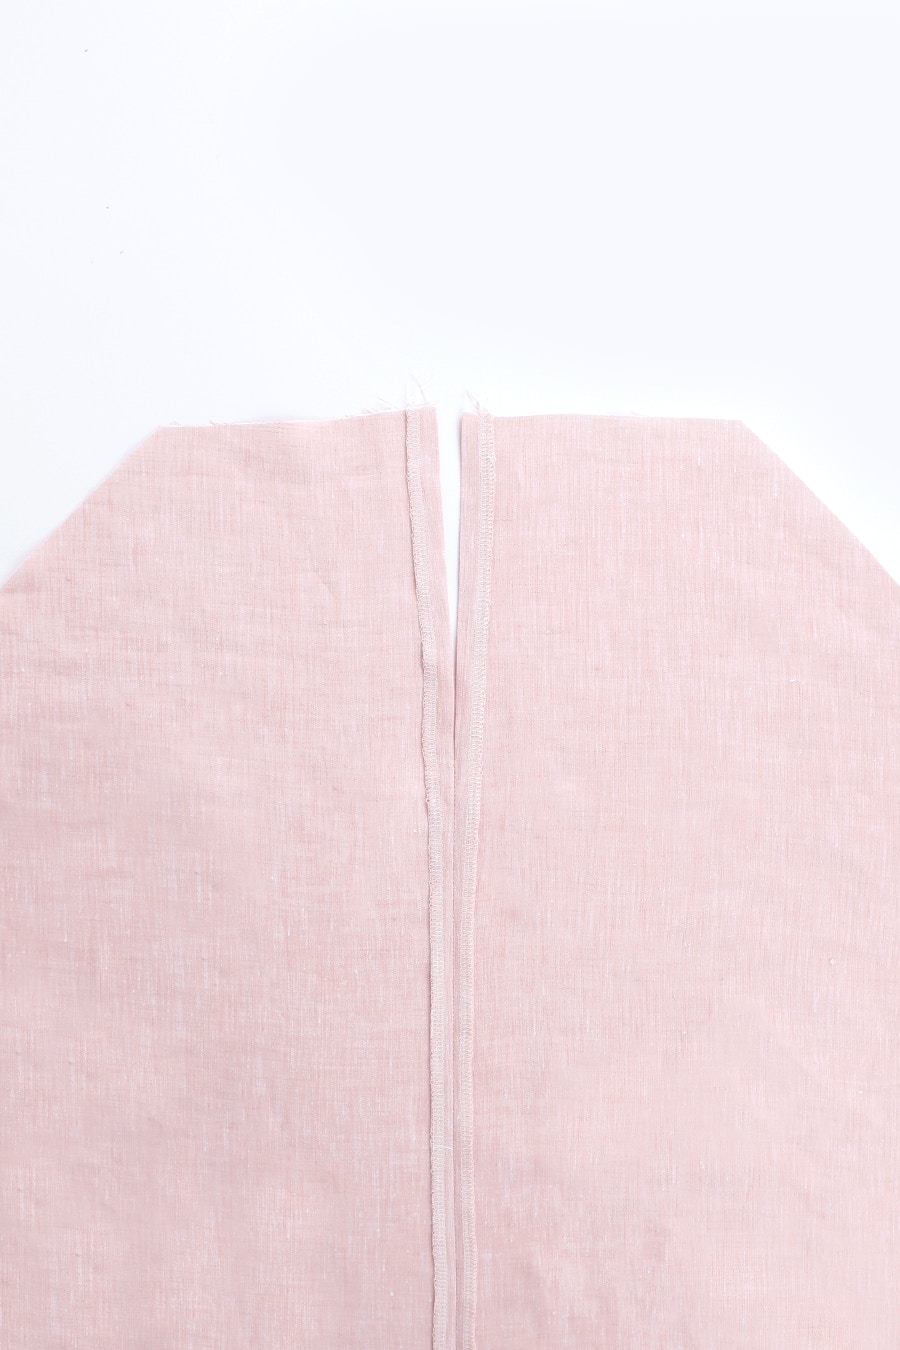
Sew the centre back seam, finishing at the + point that indicates the bottom of the neck opening.
Press the seam open, folding back and pressing the edges of the neck opening 1.5cm at the same time.
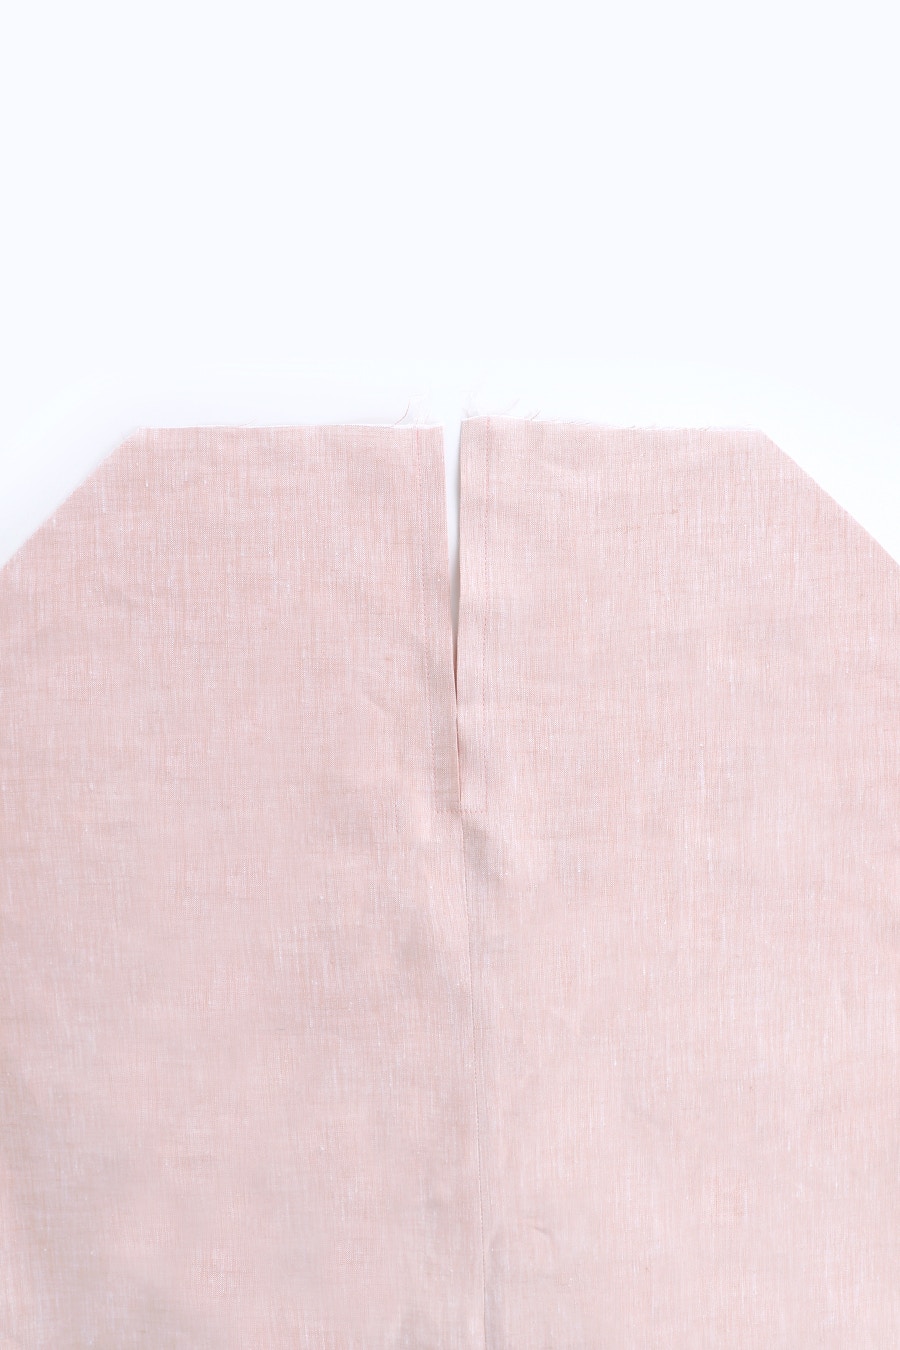
We will now finish the back neck opening with some top stitching.
Starting at the neck edge, stitch down towards the bottom of the opening, 1cm from the folded edge. Continue stitching 5mm past the end of the opening. Stop with your needle down, pivot 90 degrees and continue stitching 2cm across the bottom of the opening. Pivot 90 degrees again and continue sewing up to the neck edge again, 1cm from the folded centre back edge.
If you are sewing the long sleeve option, continue here to sew your sleeve plackets. If you are sewing the short sleeve option, scroll down to attaching the sleeves.
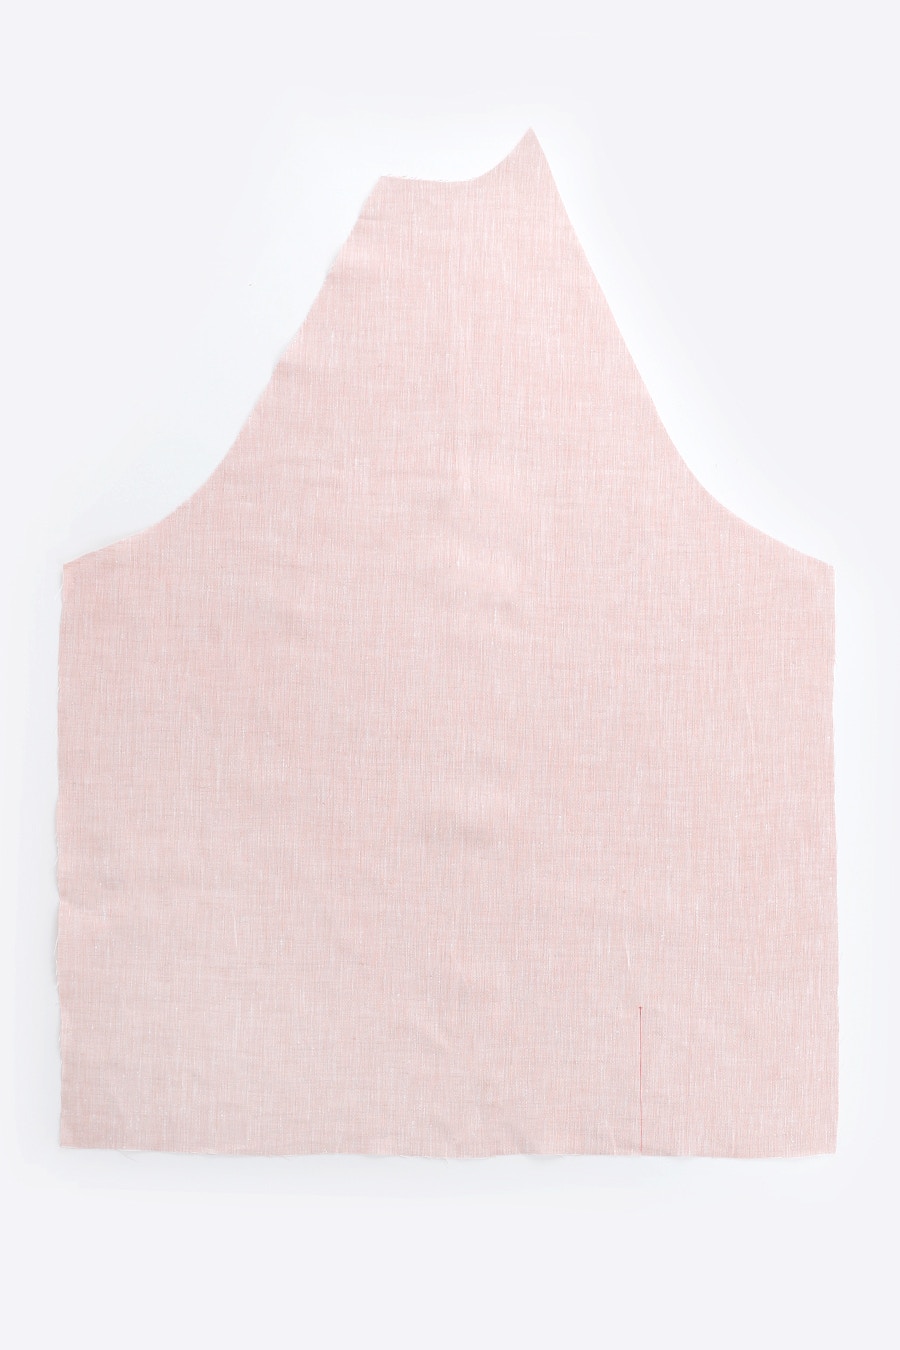
Using a ruler and tailor’s chalk or a fabric pen, mark your slash line from the notch at the wrist to the X mark.
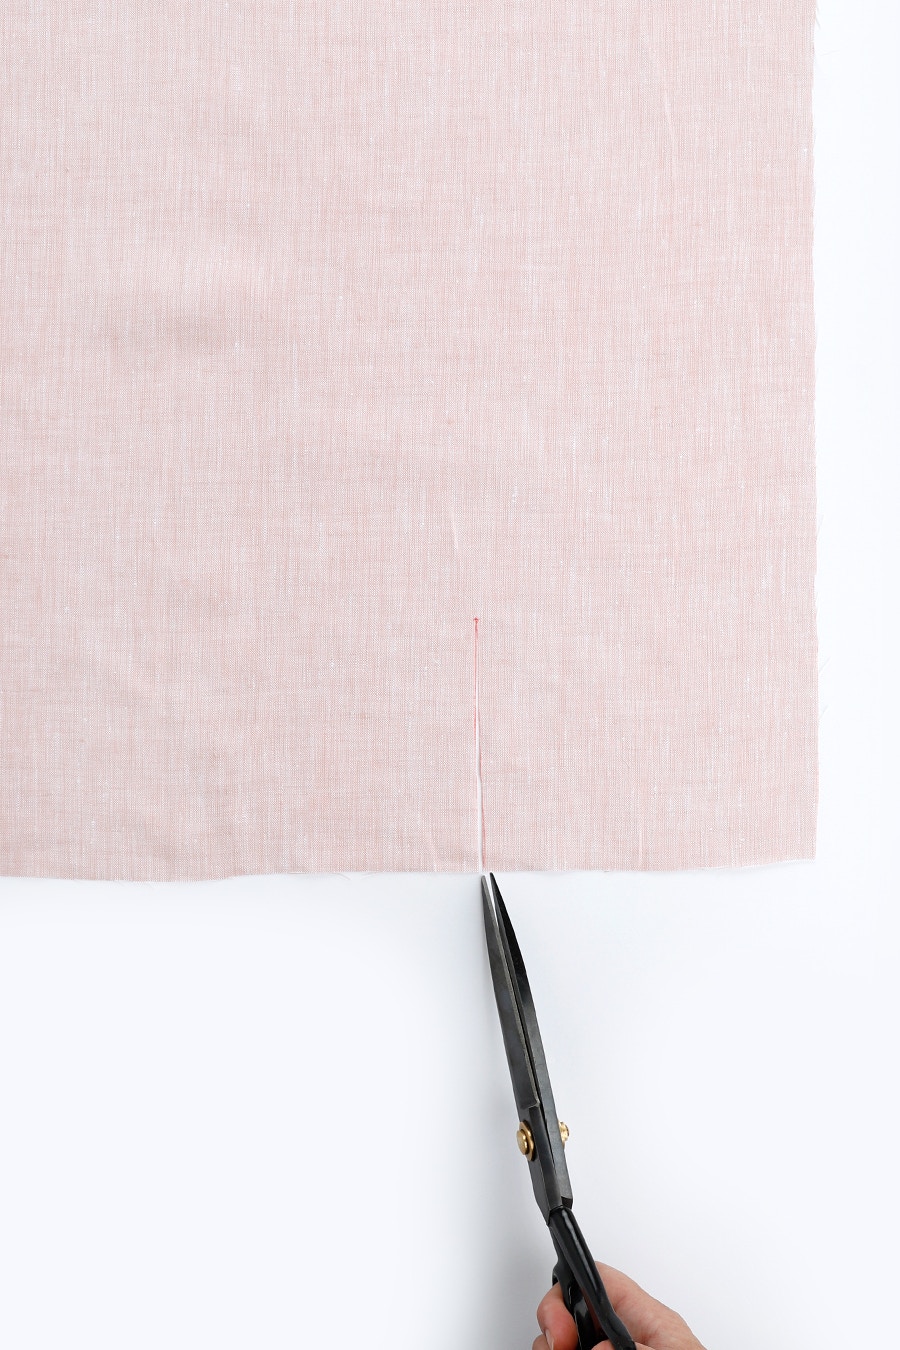
Cut up the slash line to the X mark. Do not cut past the centre of the X or your opening will be too long for the sleeve placket binding.
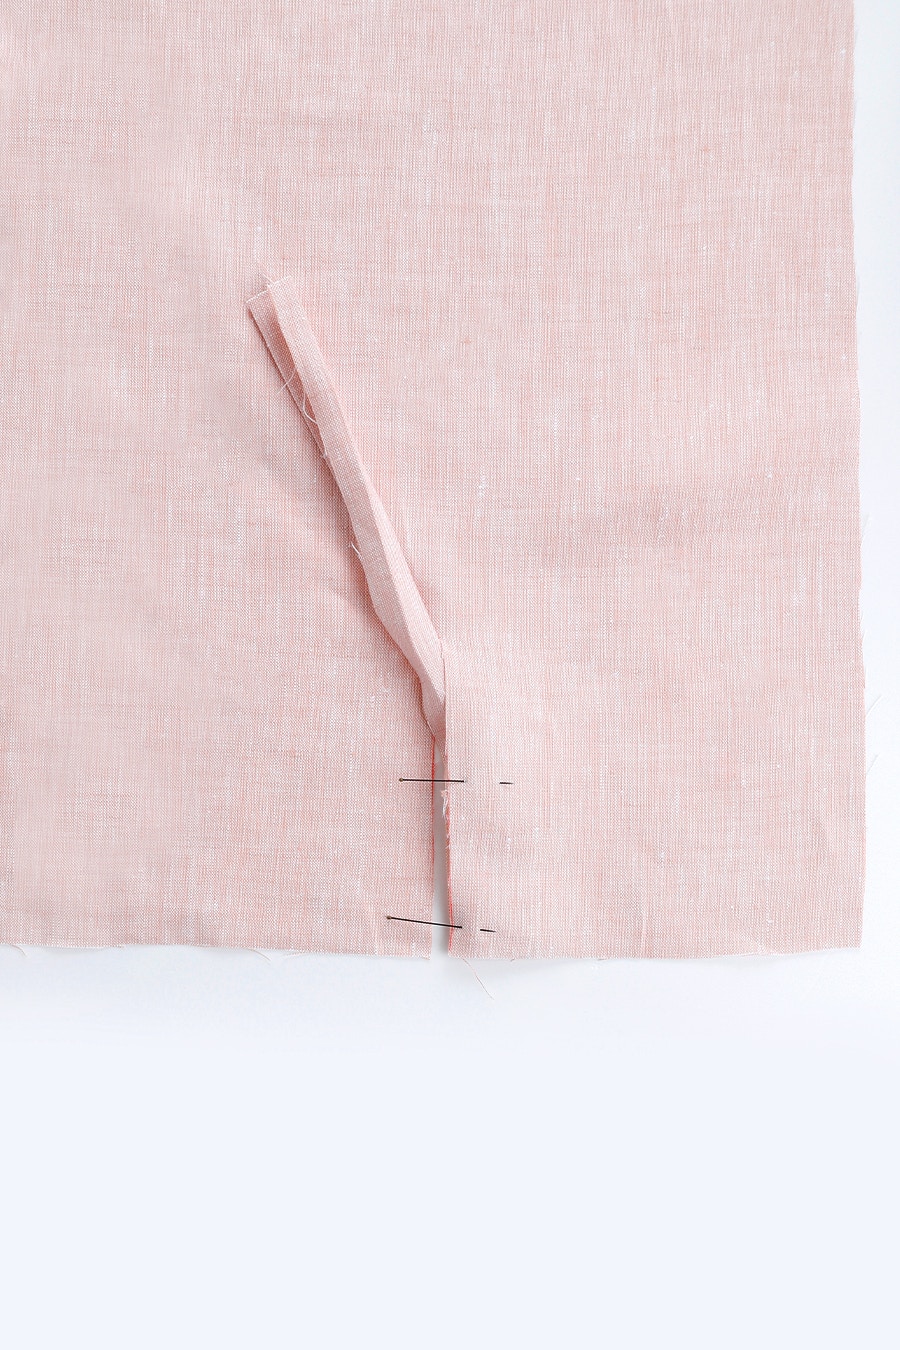
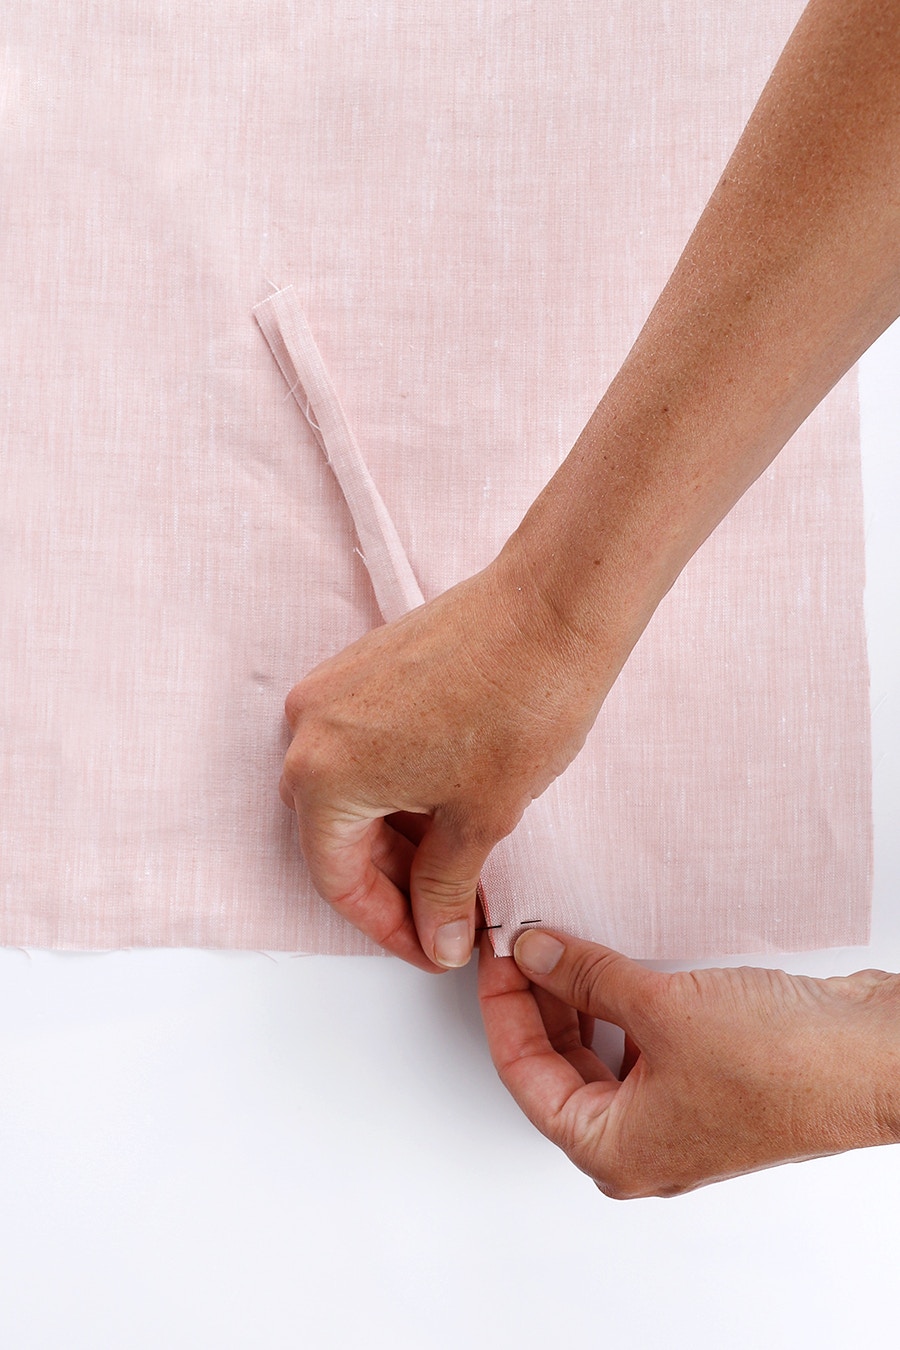
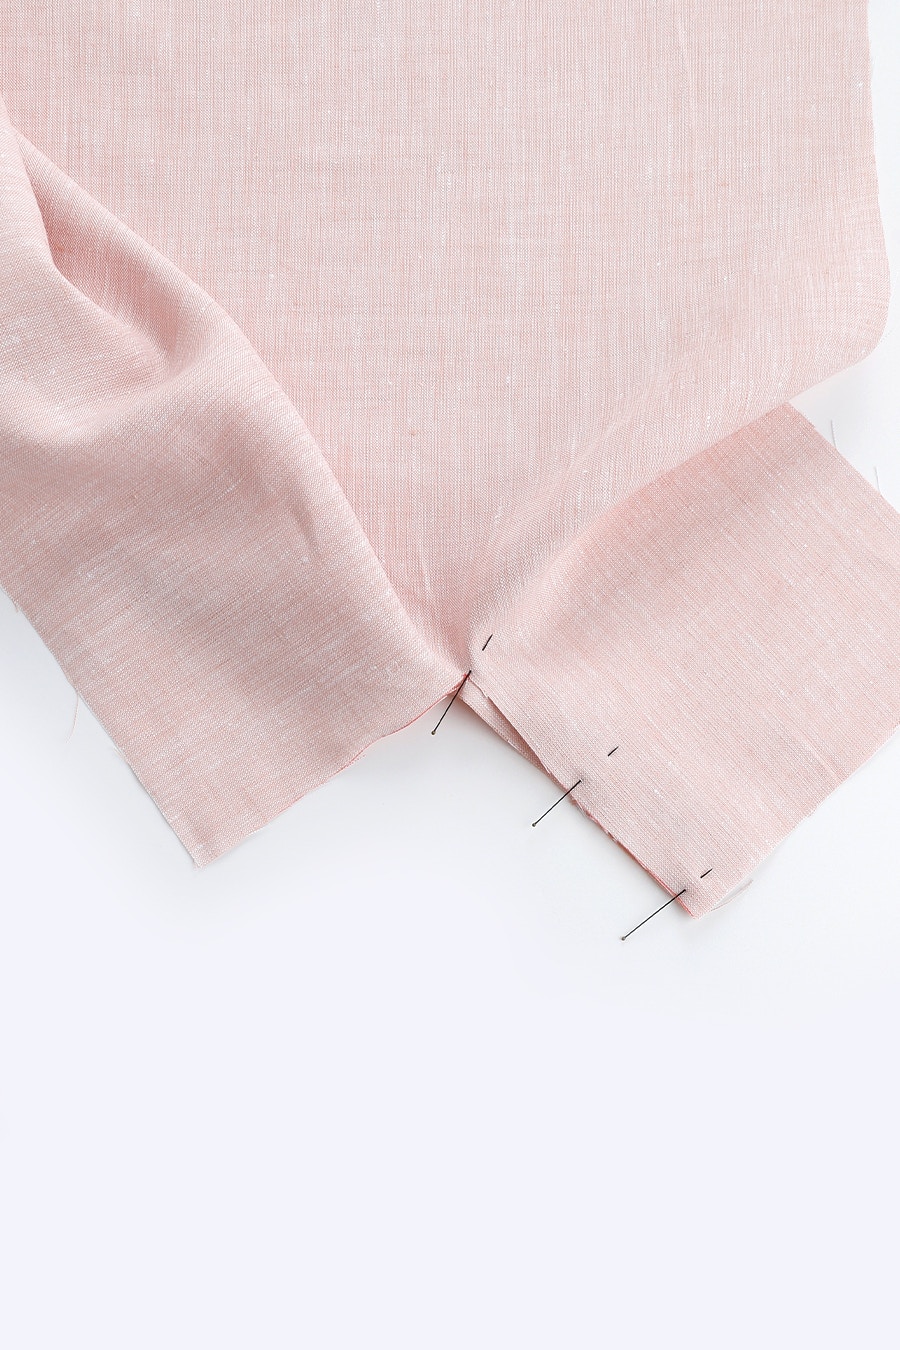
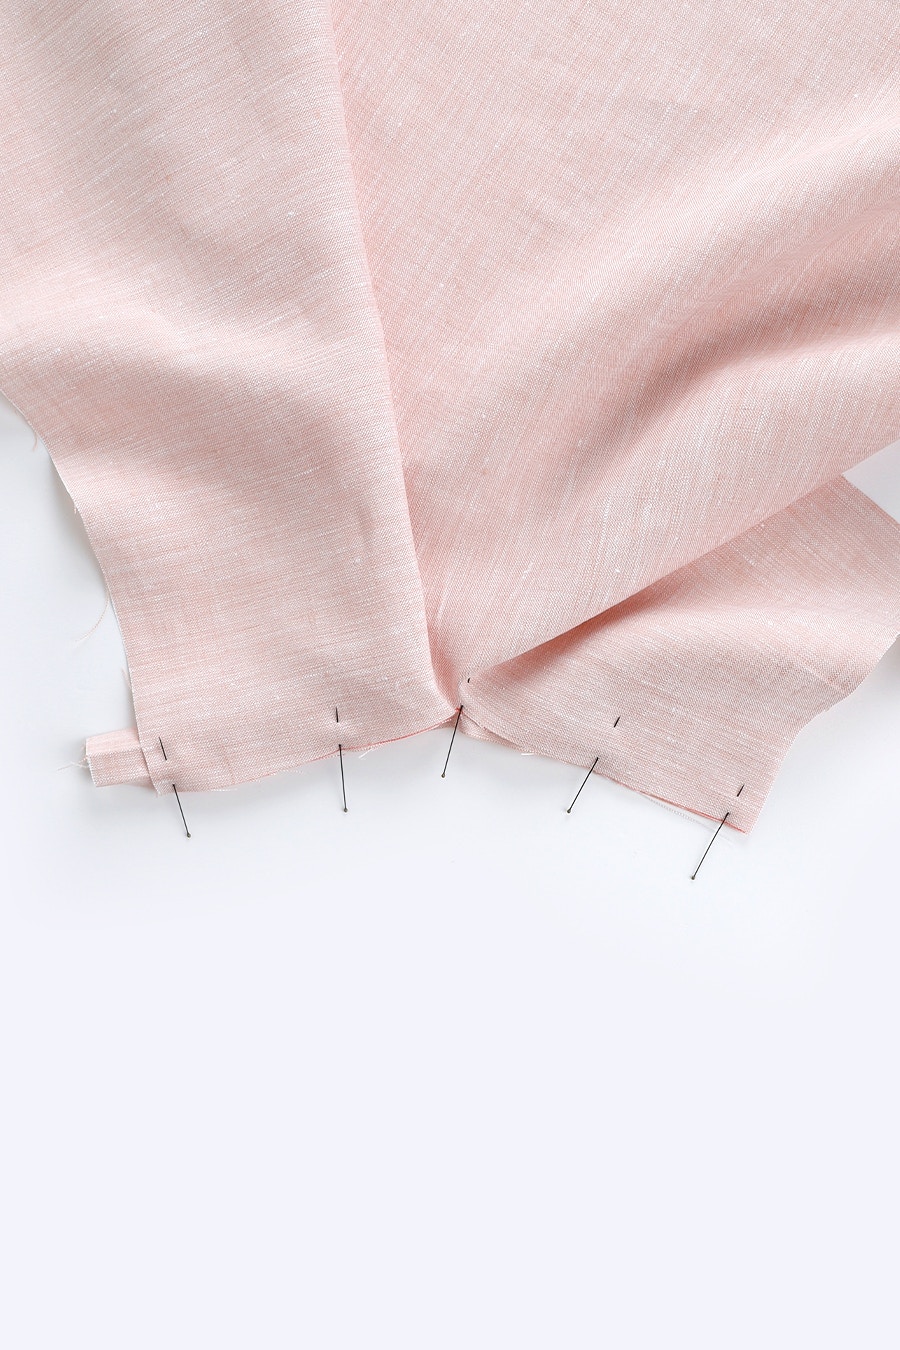
Lay the sleeve placket binding right side up, then place the sleeve on top, also right side up. The cut edge of the sleeve split aligns with the long edge of the sleeve placket binding at each end. The top of the split is set back 8mm from the binding edge.
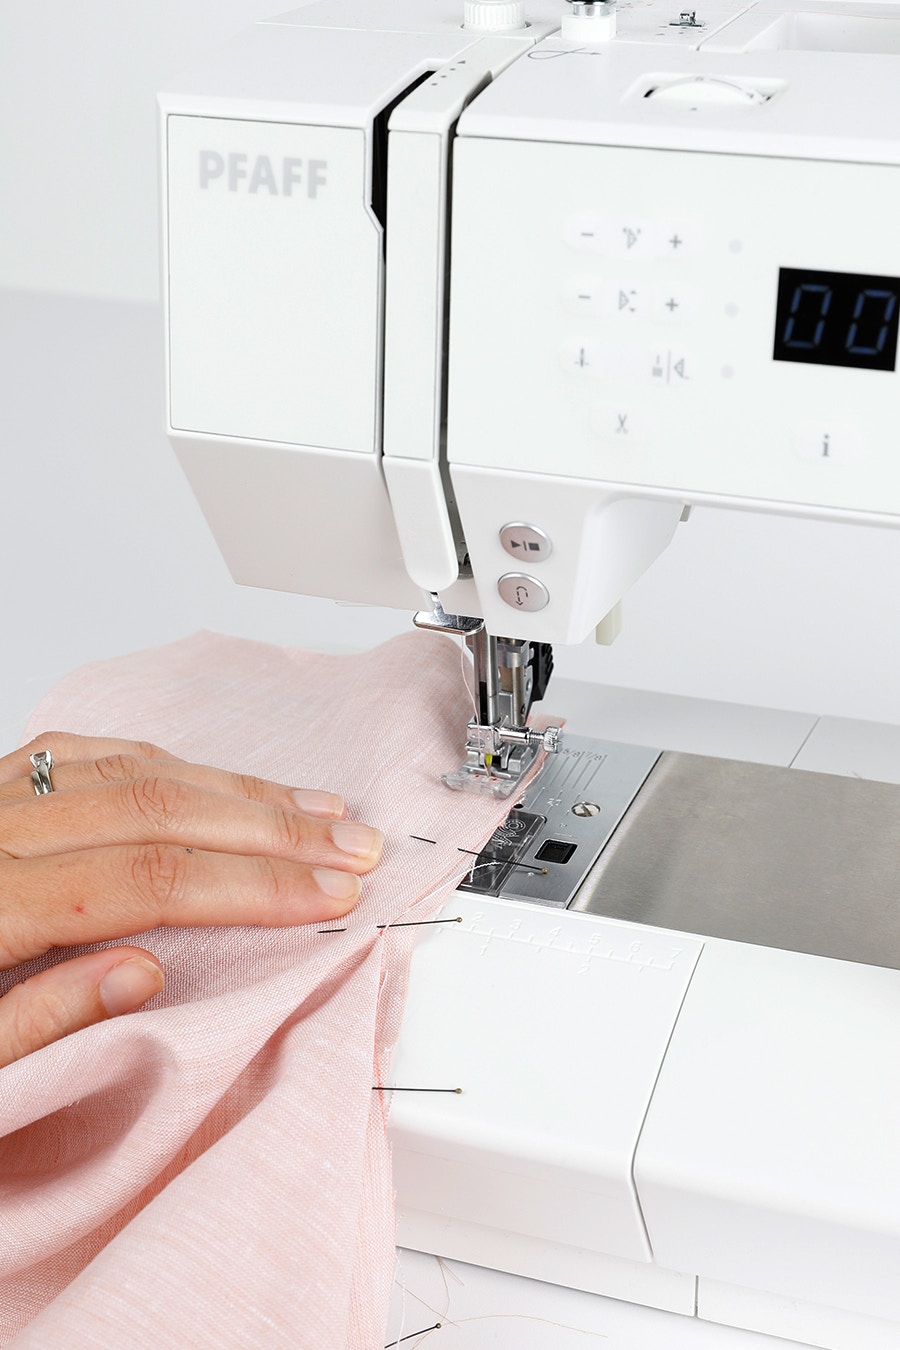
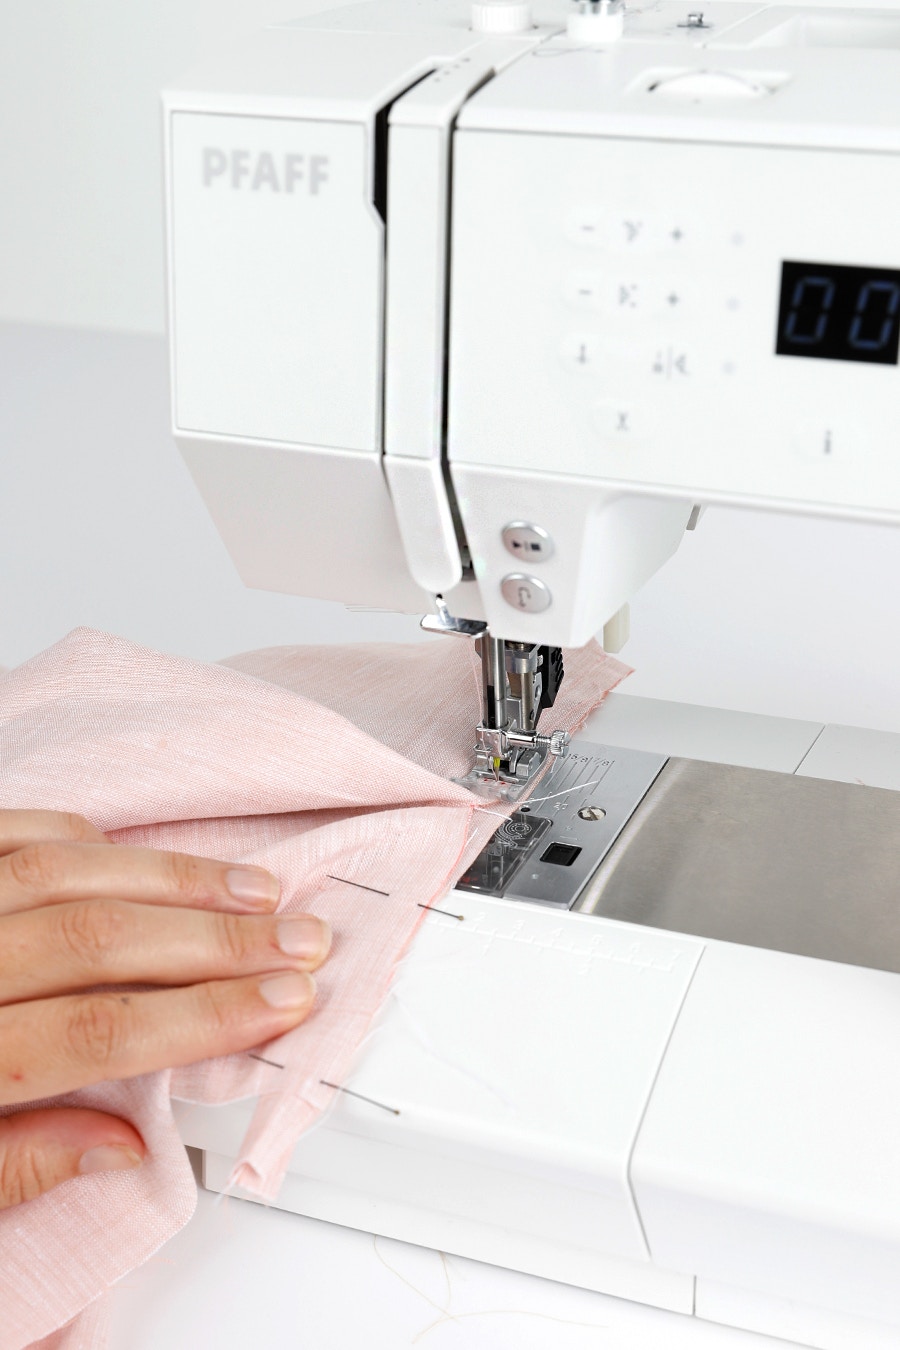
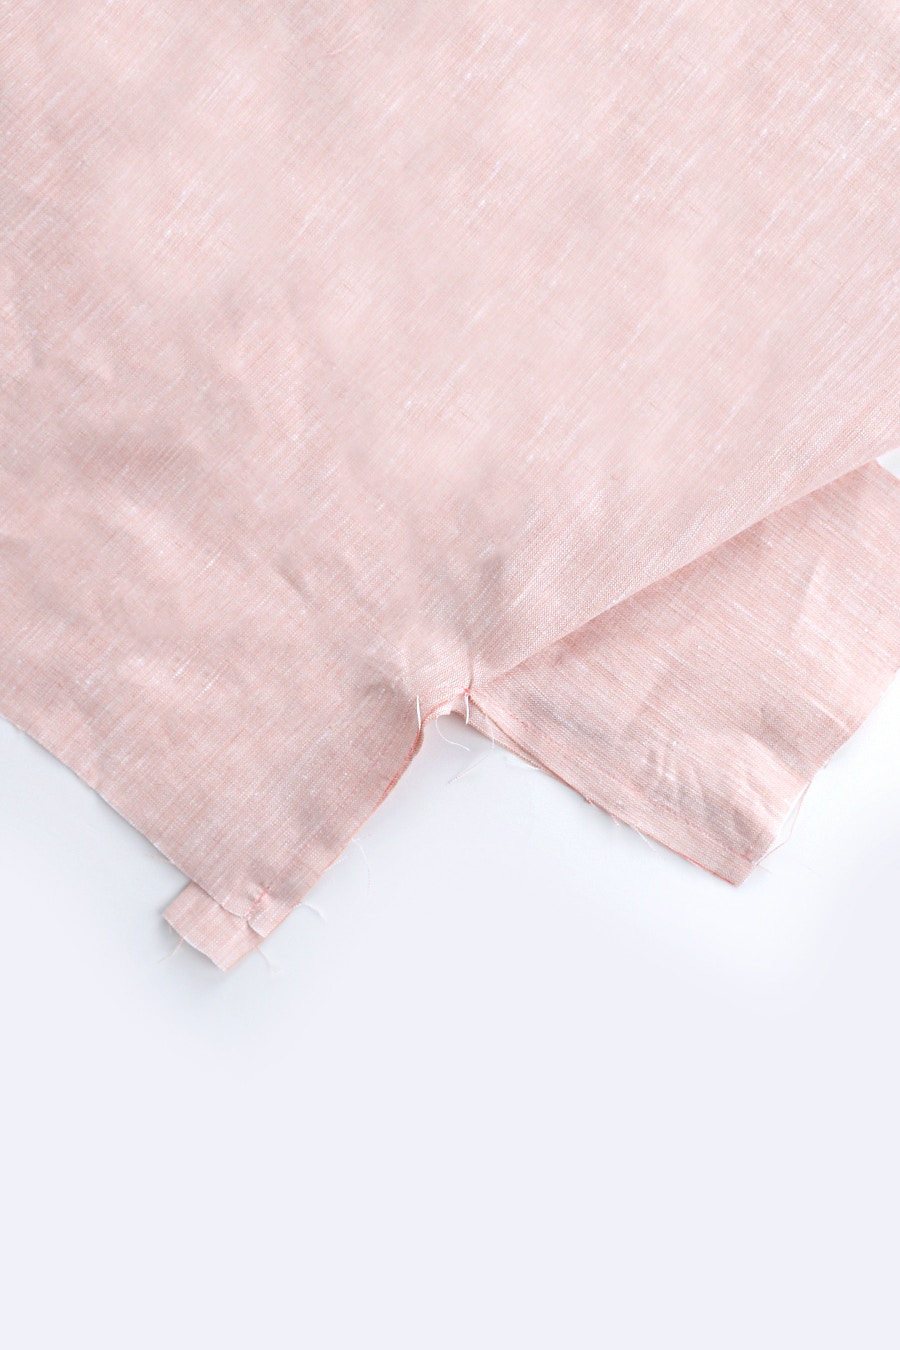
Sew a seam 1cm from the edge of the sleeve placket binding, until you reach the top of the split. The seam allowance on the sleeve starts at 1cm and reduces to 2mm at the top of the split. Stop with your needle down at the top of the split, adjust your fabric, and then continue sewing to the other end.
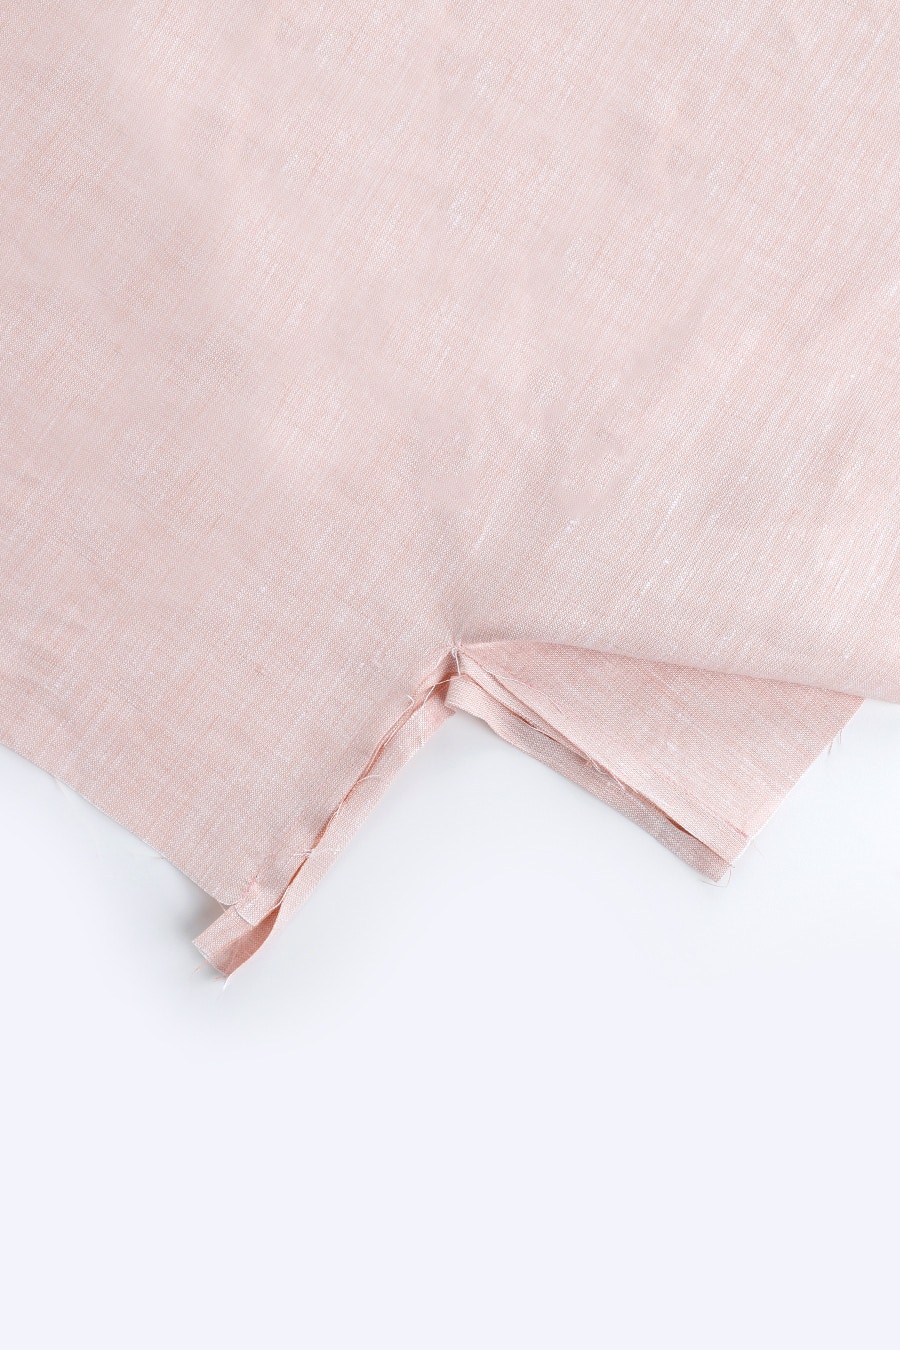
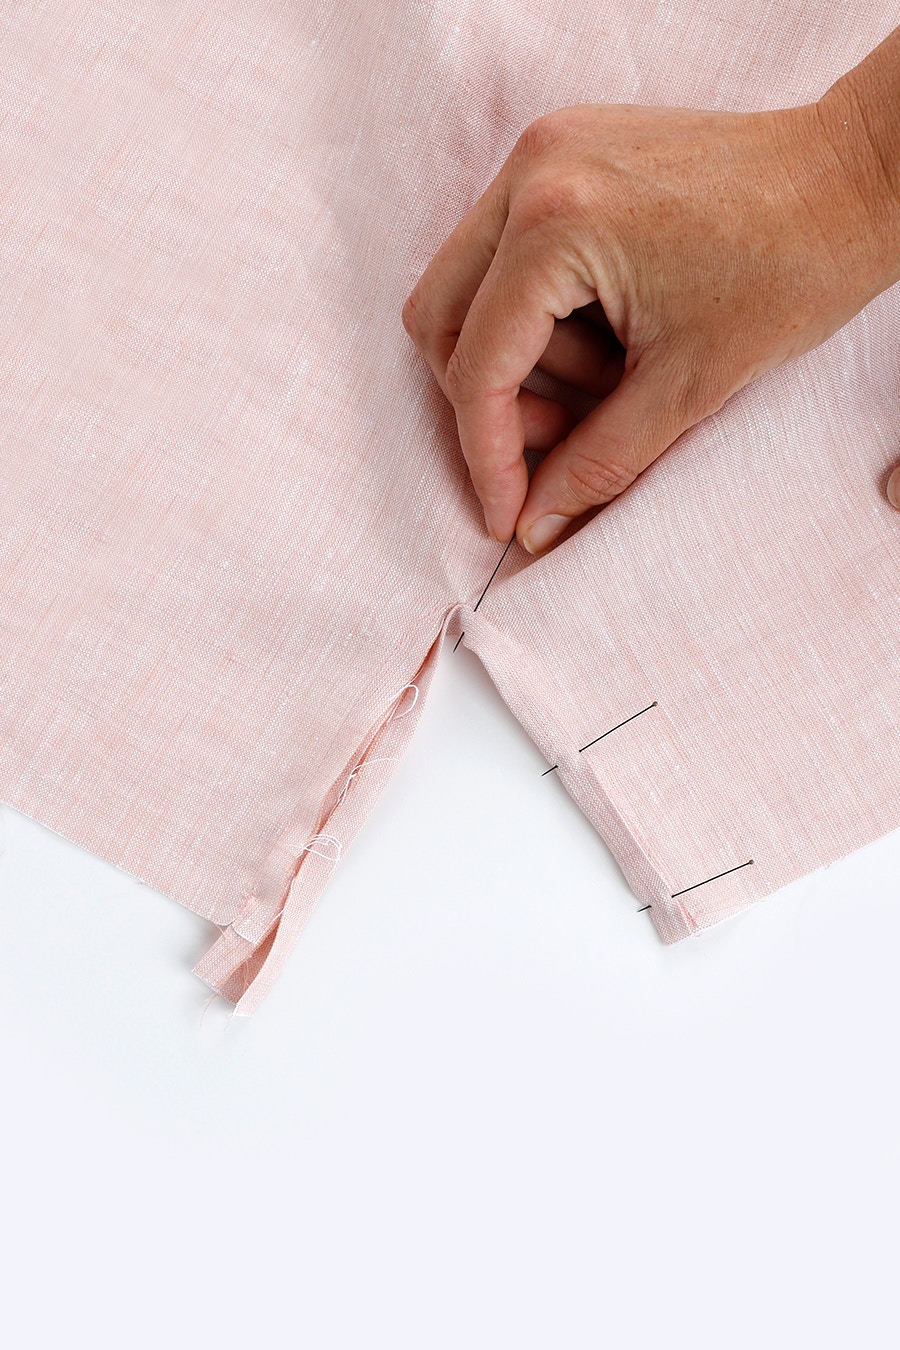
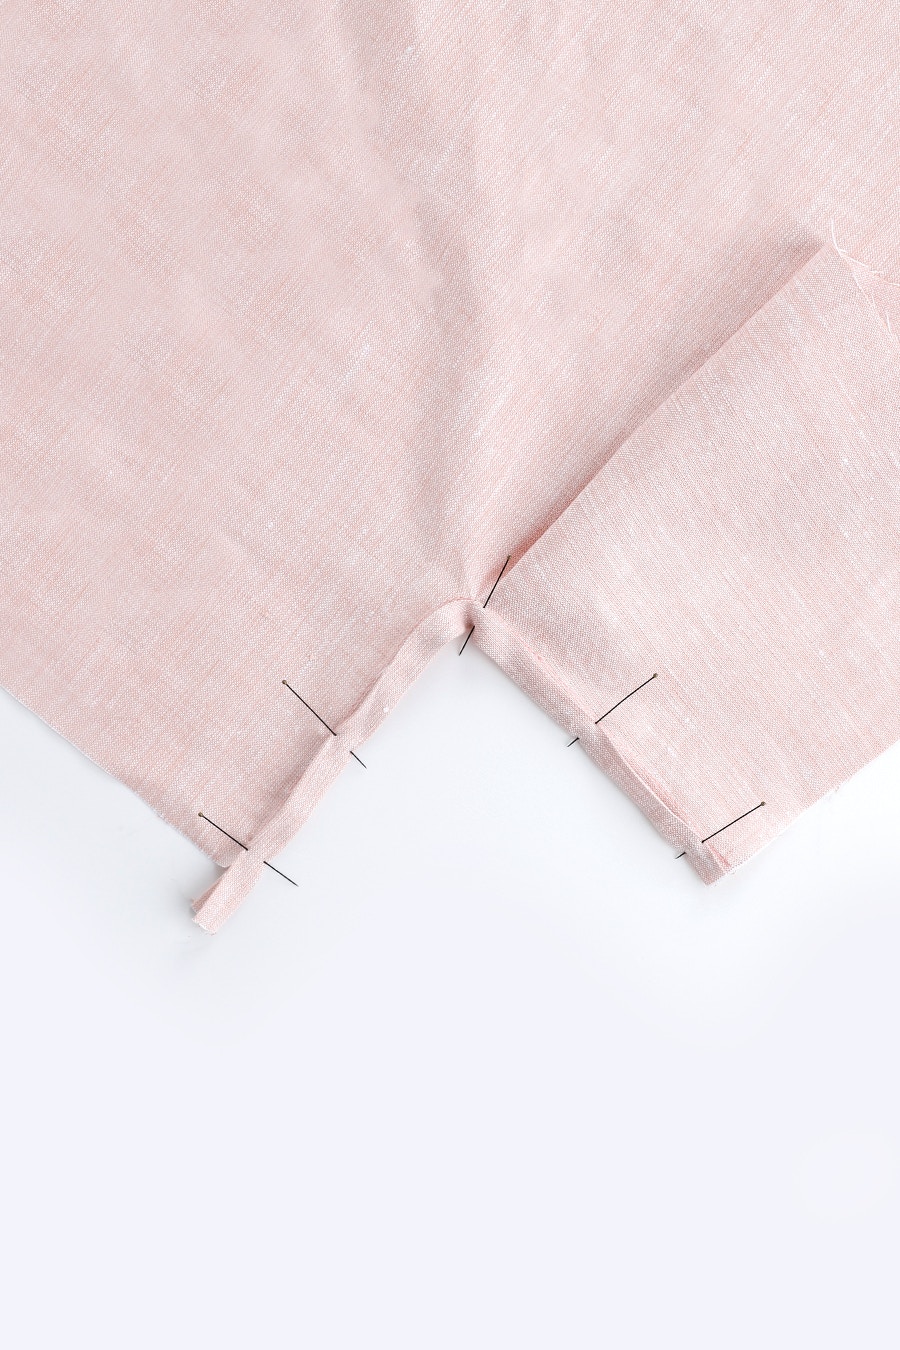
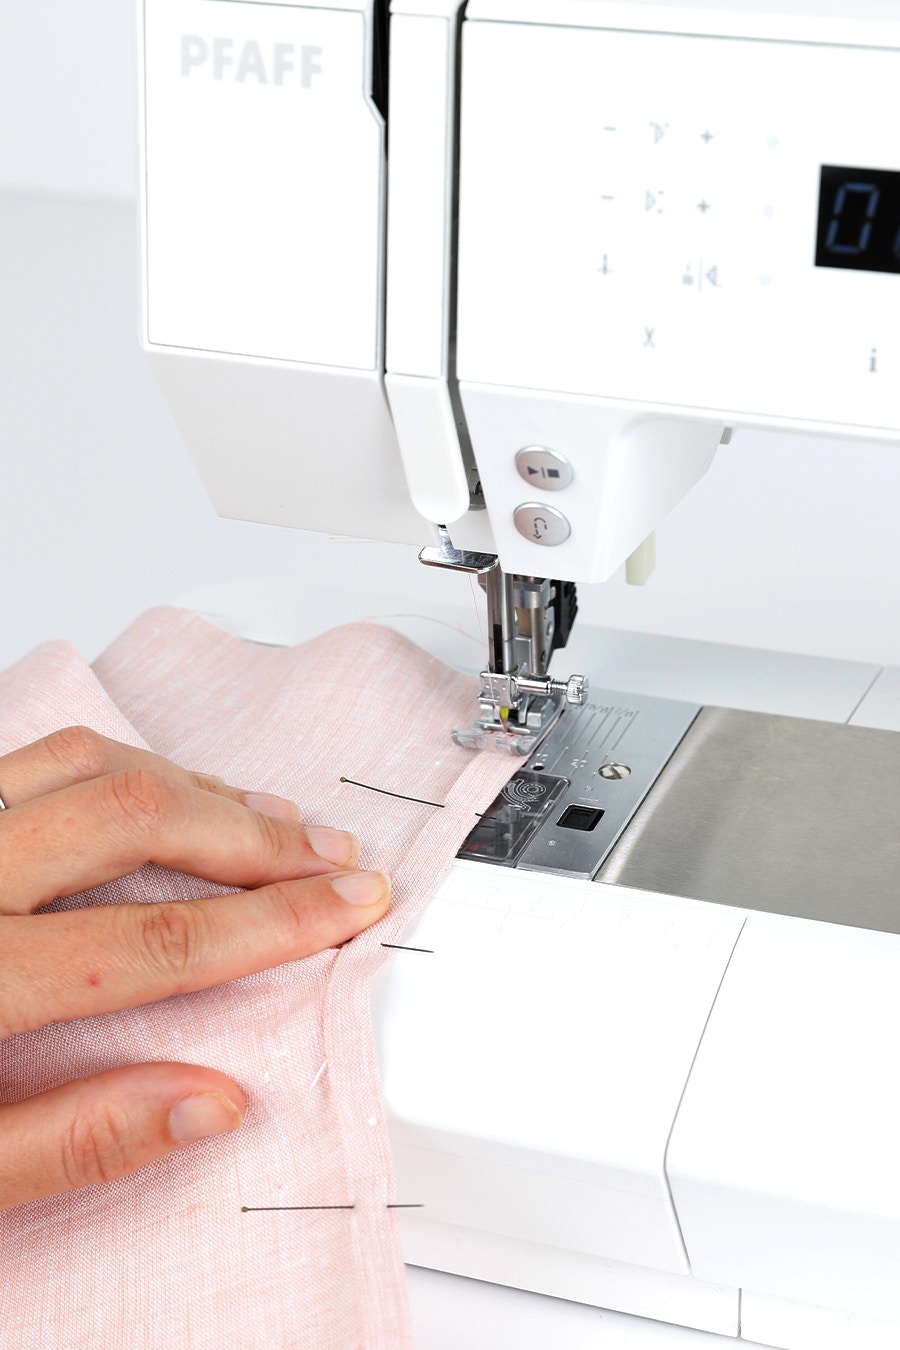
Fold the long free edge of the placket binding over 1cm to meet the other long edge of the placket binding. Fold the binding to enclose the raw edge, tucking the 1cm seam allowance of the placket binding under. Pin in place then edge stitch the binding closed from the right side.

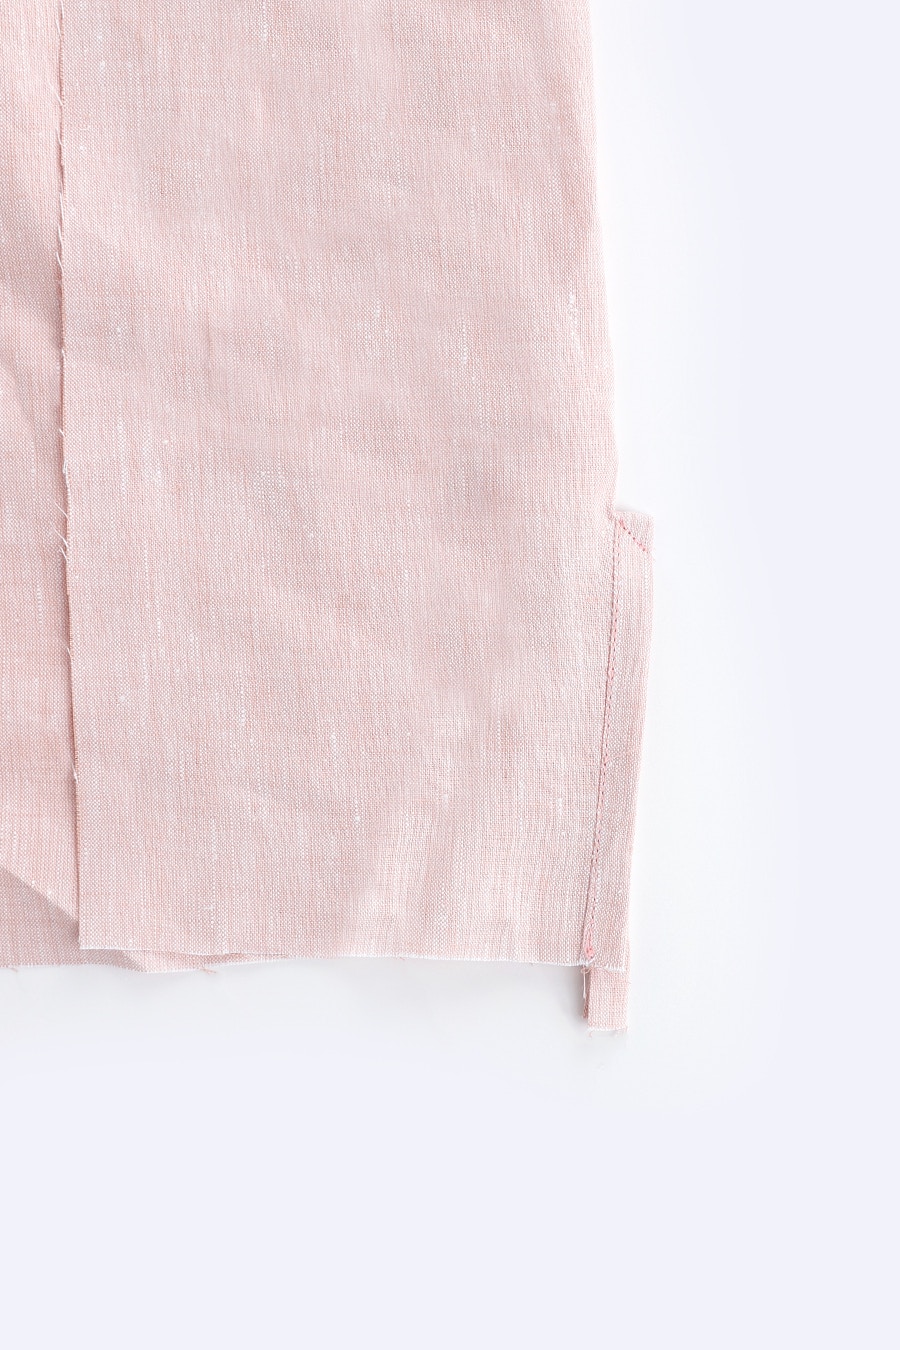
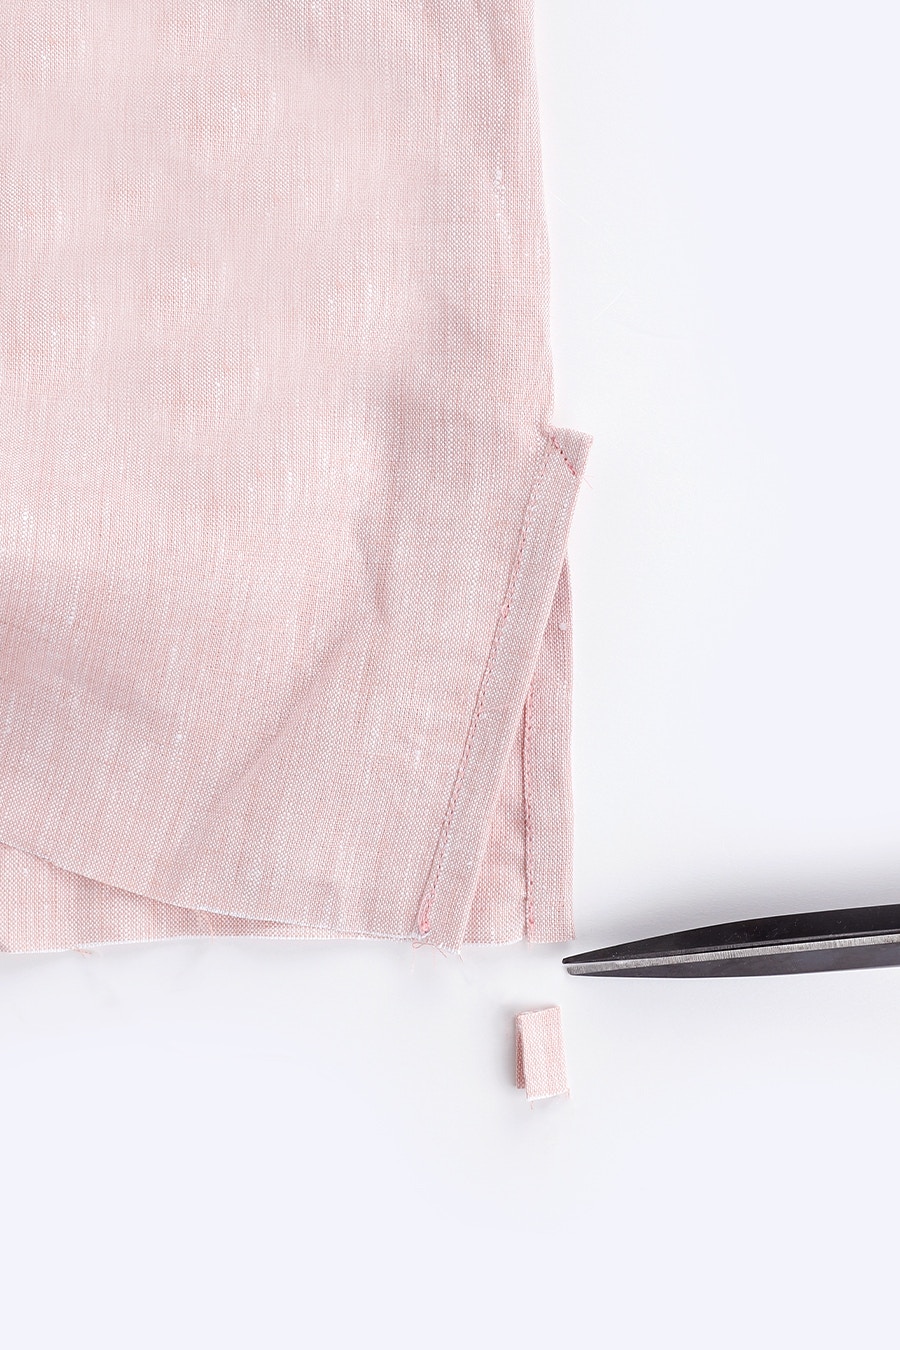
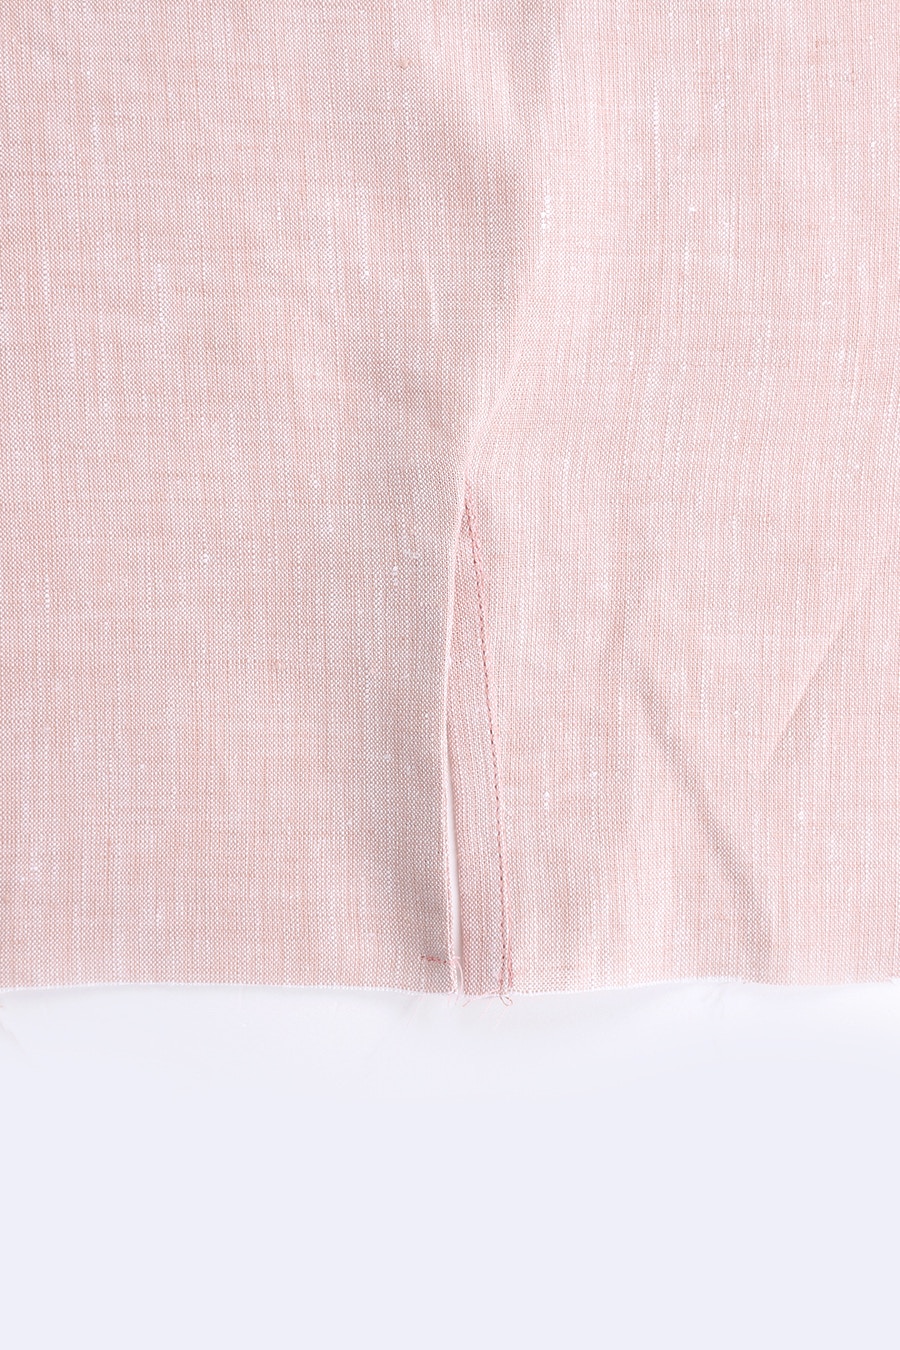
Fold the binding in half with the right sides of the sleeve together and stitch diagonally across the fold in the binding.
Turn the upper binding under to the wrong side, then baste in place. Trim the excess binding and gently give it a press.
Repeat for the other side.
We will now attach to sleeves to the front and back, continue here for both sleeve options.
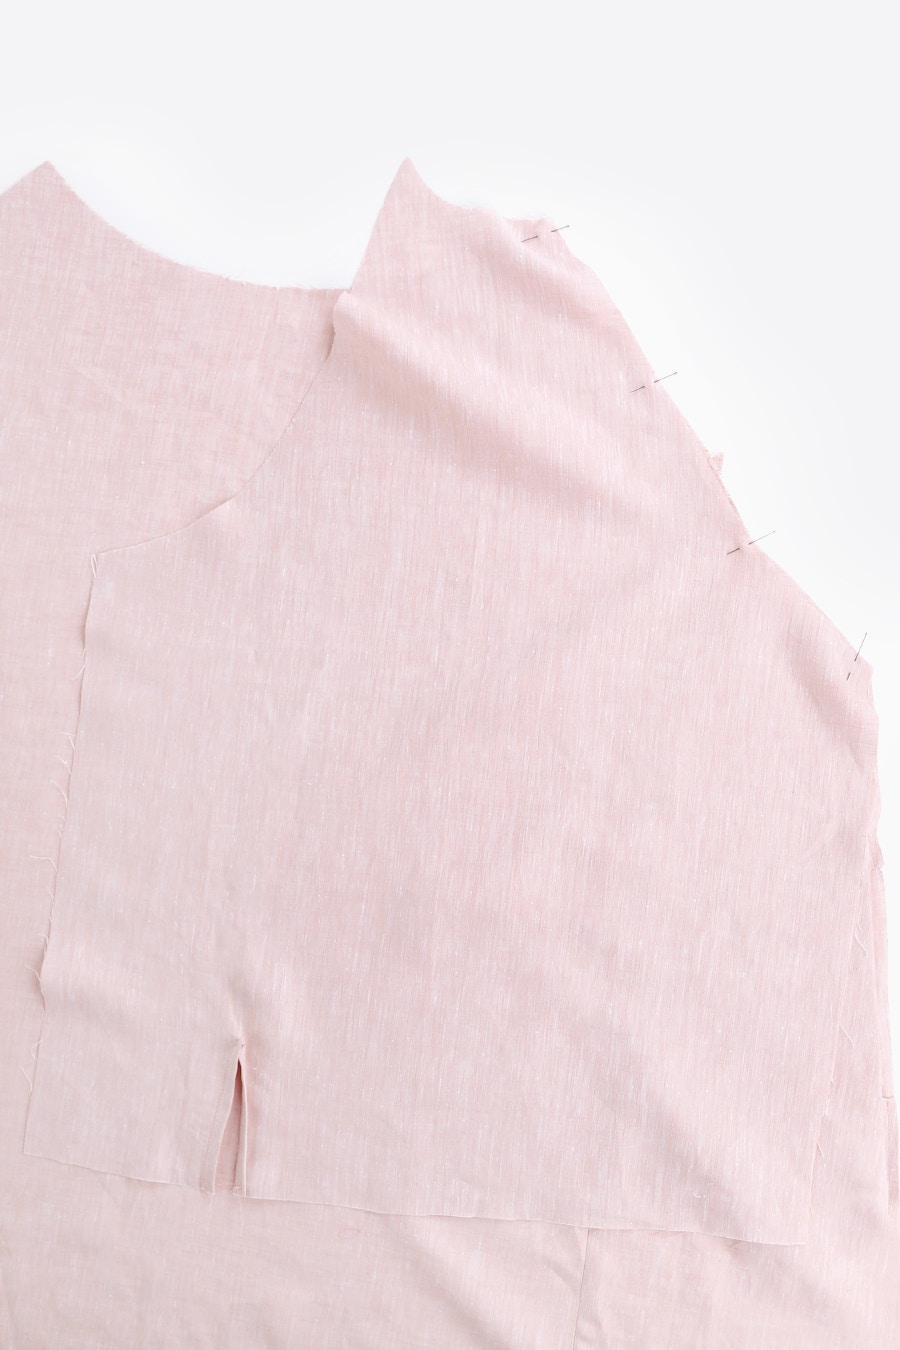

With the right sides together, pin the left sleeve to the left front matching the sleeve notches. Sew the two pieces together.
Neaten the seam and press it towards the sleeve.
Repeat for the other sleeve.
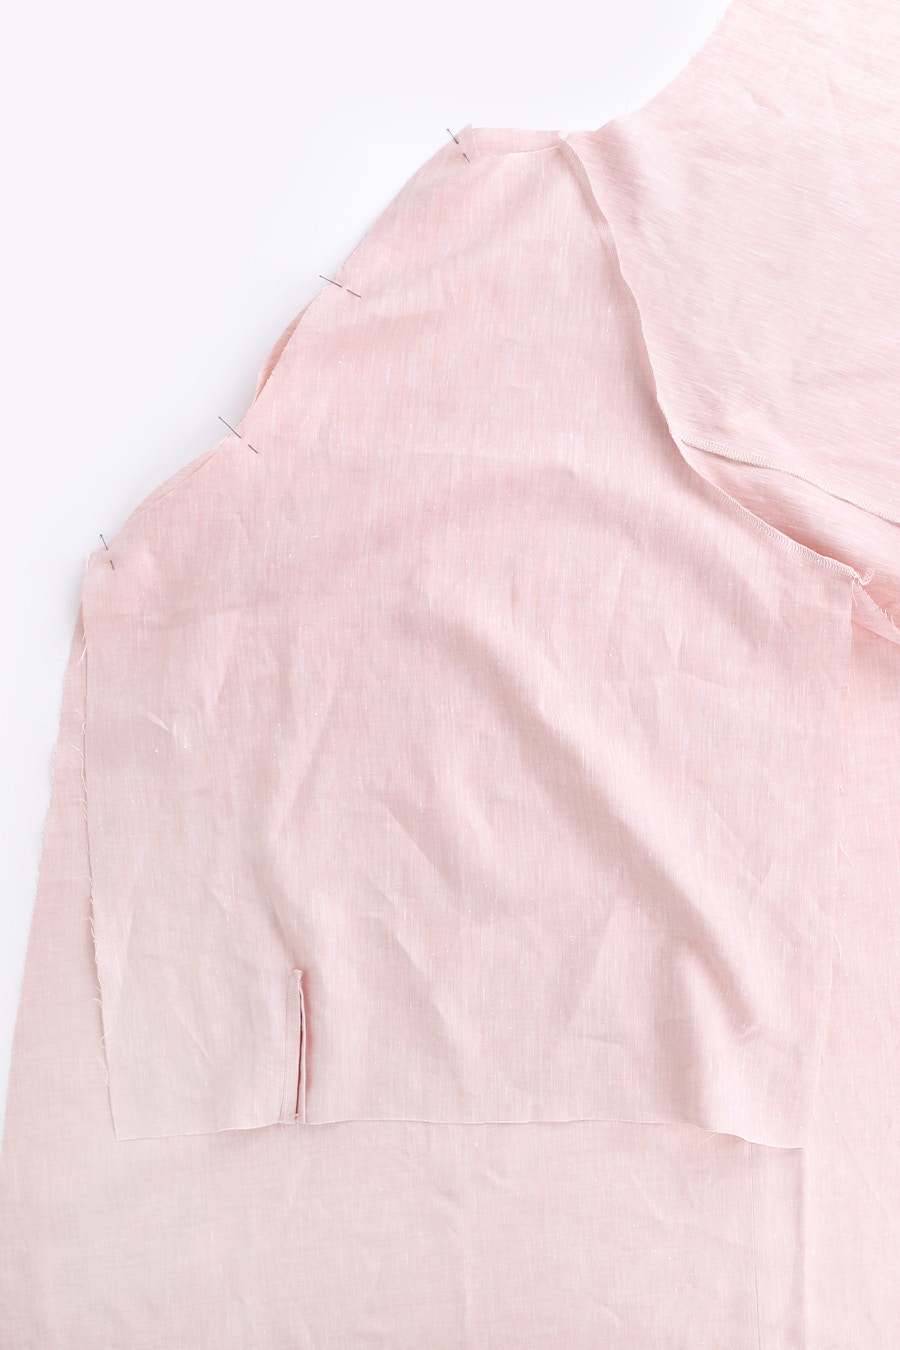
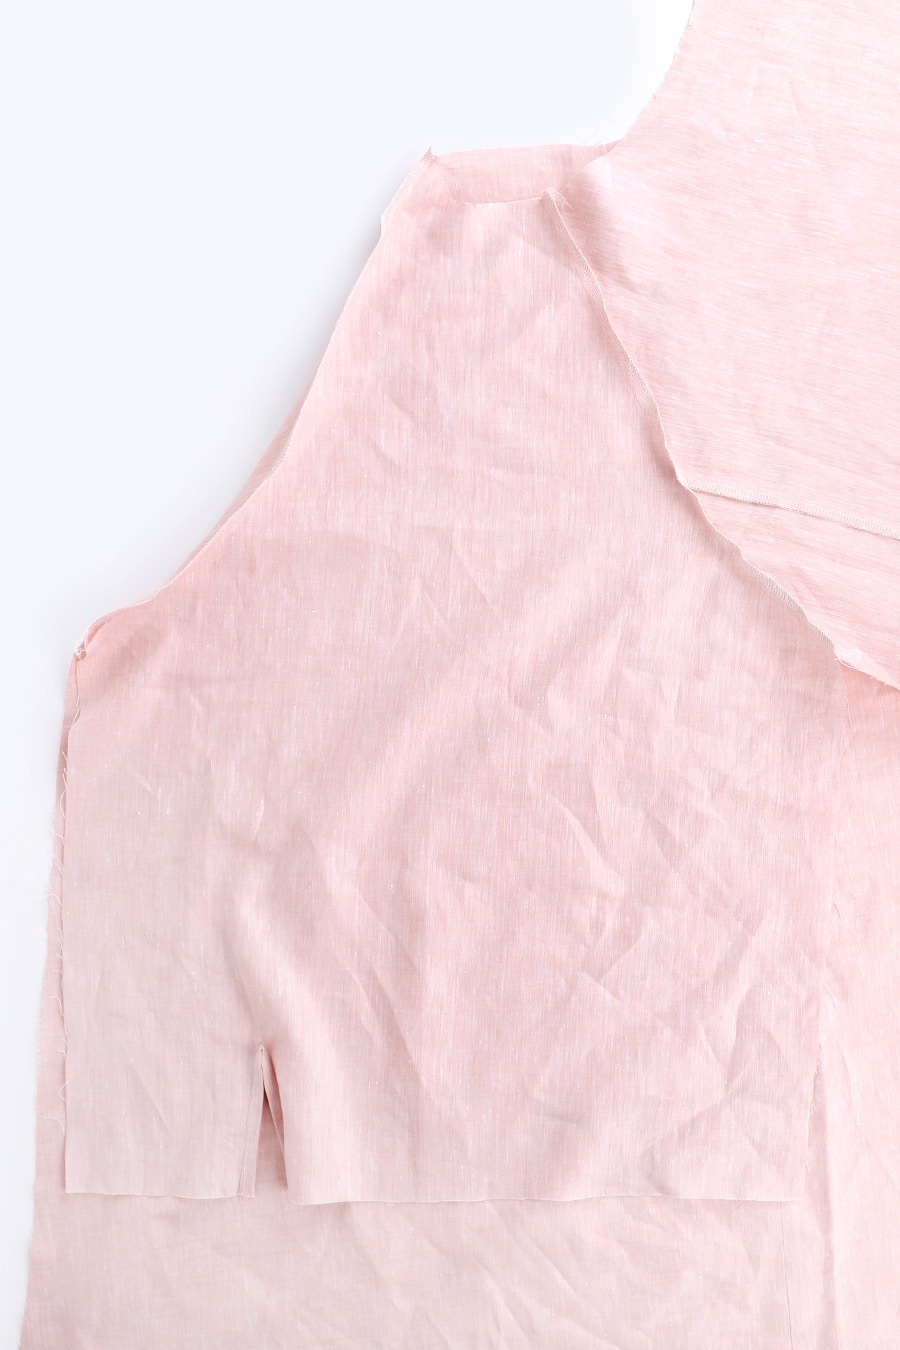
Next, with the right sides together, pin the left sleeve to the left back matching the notches. Sew the two pieces together. Neaten the seam and press it towards the sleeve.
Repeat for the other sleeve.

4 — Finish the Body
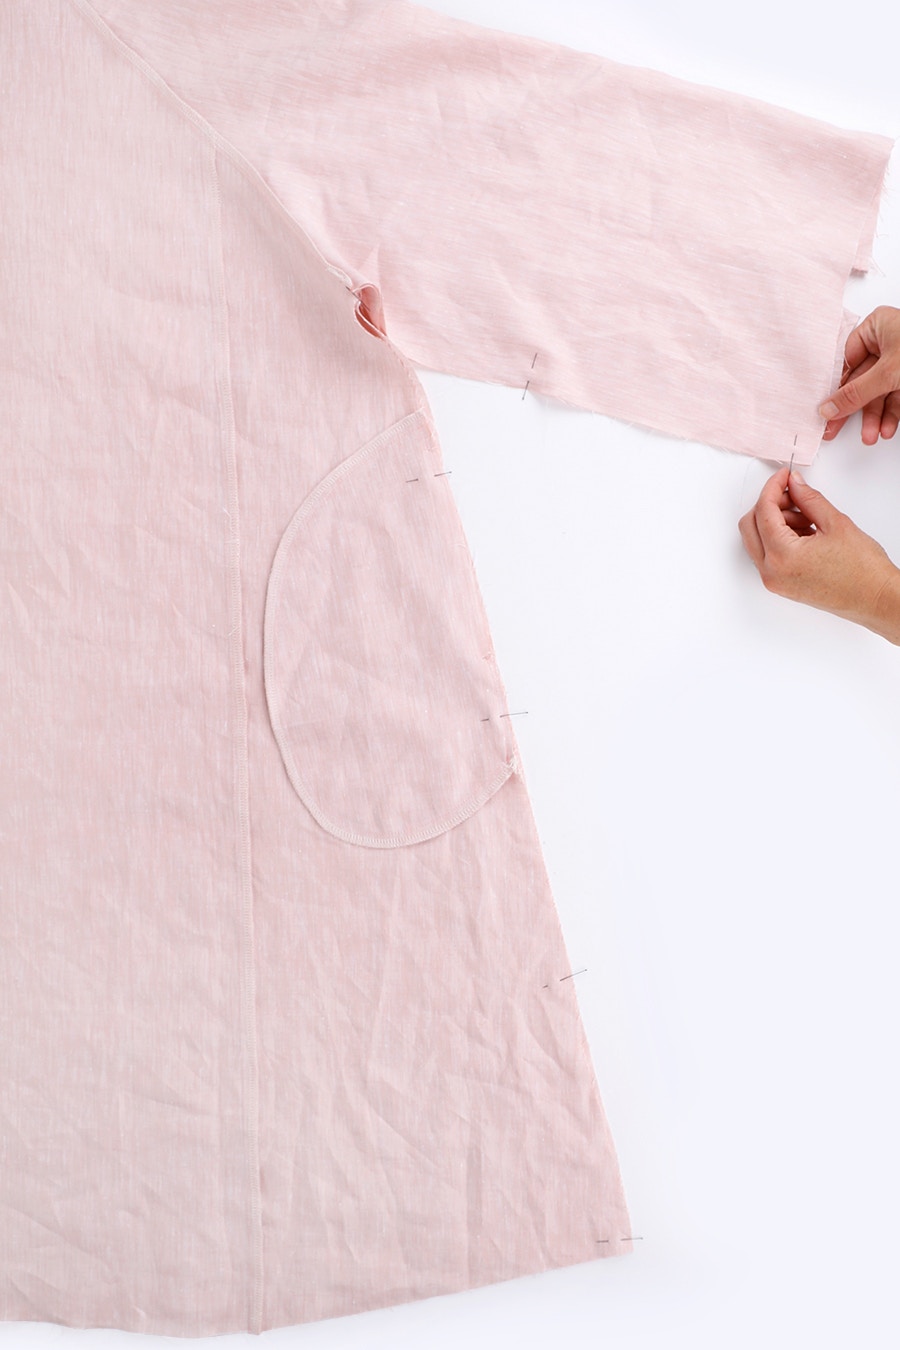
With the right sides together pin the side seams, matching the seams and notches. It can help to start by matching the underarm seams, then work towards the body hem and sleeve hem.
Sew the seam, stopping with your needle down at the underarm and pivoting before continuing the rest of the seam.
Take care near pocket edge not to accidentally catch the pocket opening in this seam. You can either pin it back a little, or tuck it out of the way as you get close to it.

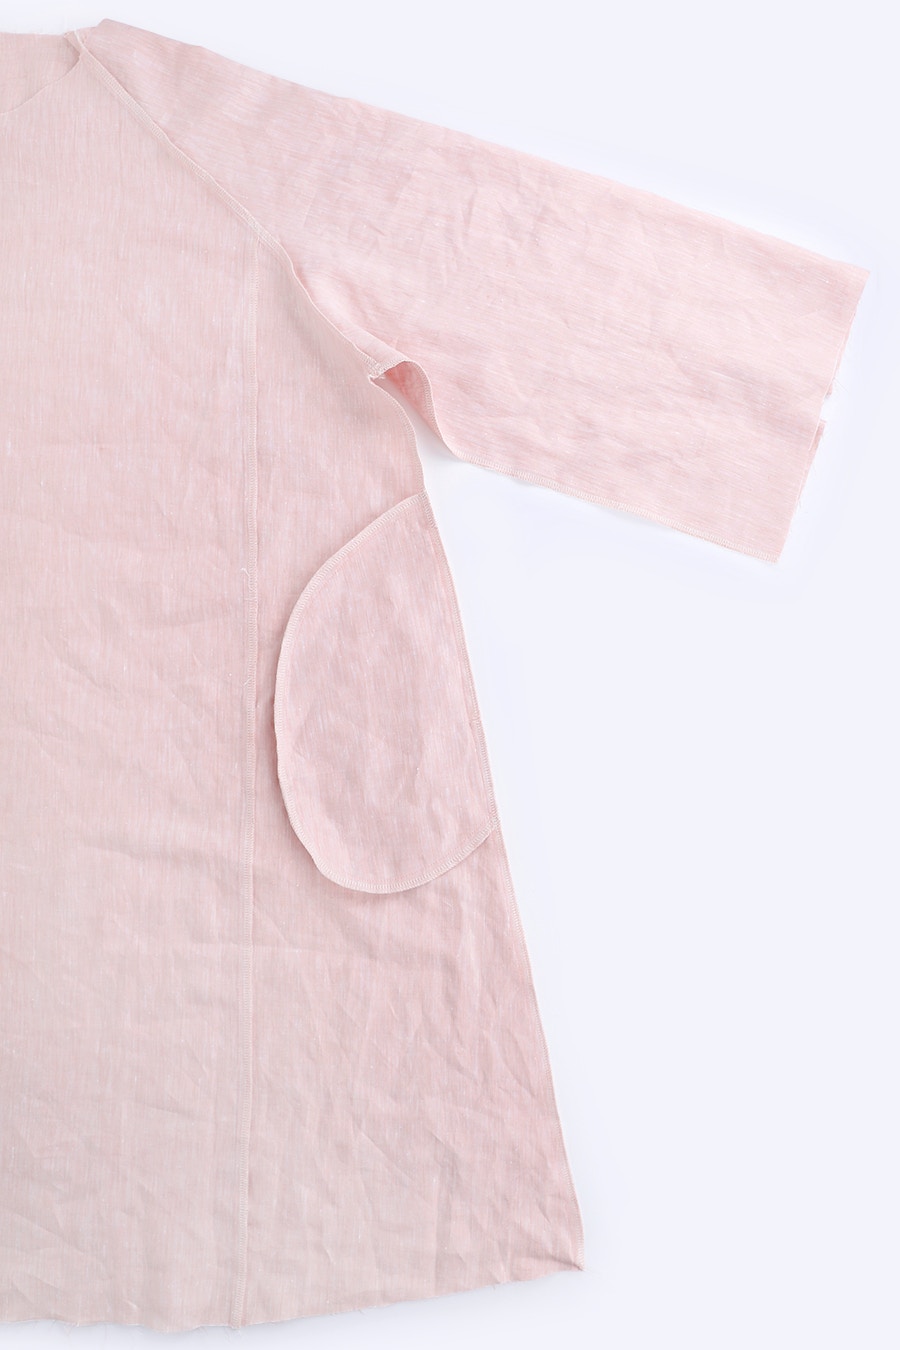
At the underarm, clip into the point where the sleeve and dress meet to release the seam allowance. Take care not to cut through your stitching.
Neaten the seam and press towards the back.
Repeat for the other side.
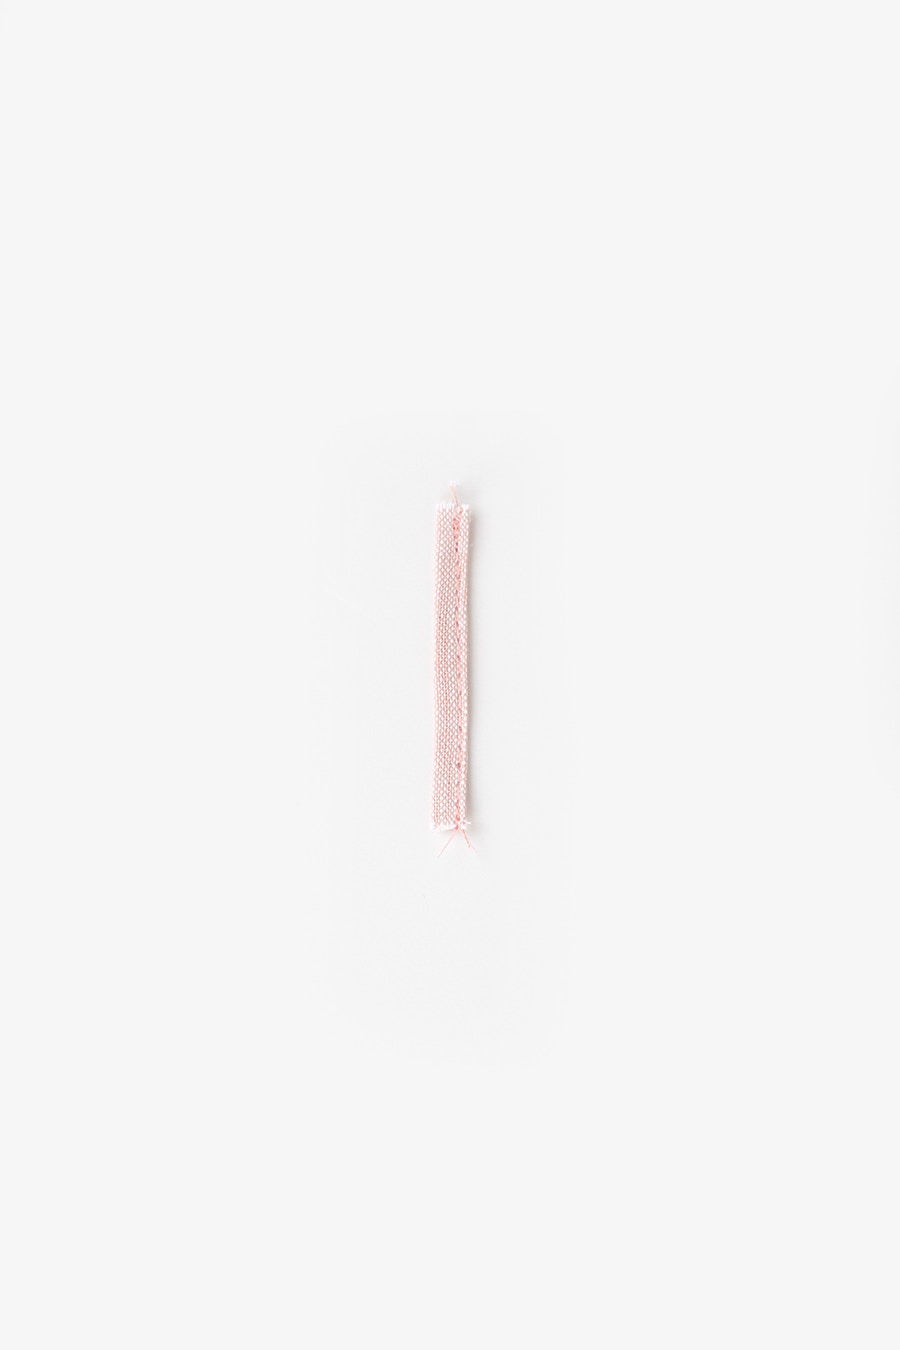
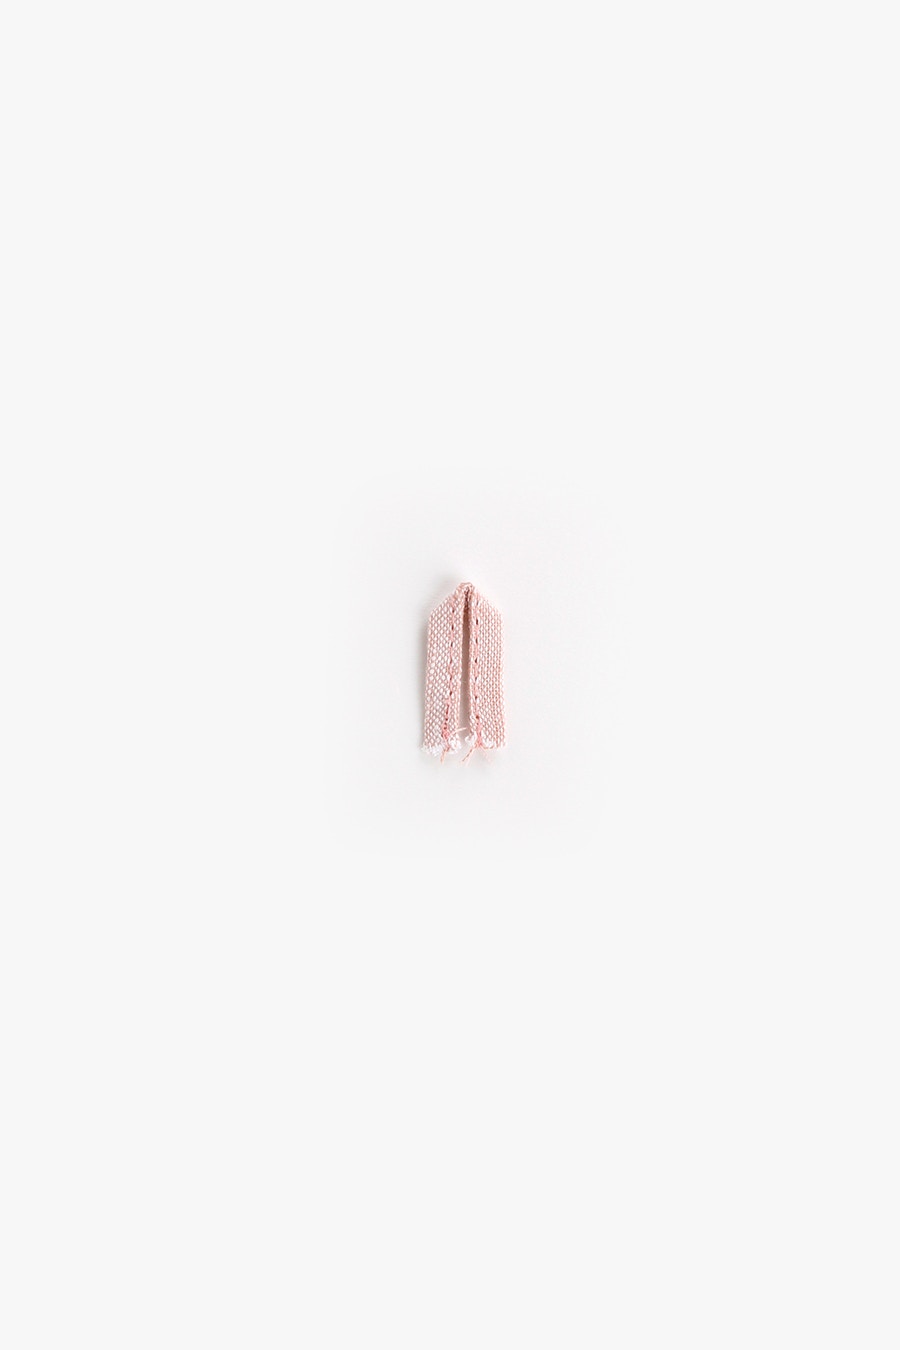
Next, we prepare the button loop.
Fold the button loop as shown as per your pressing at the beginning and edge stitch it closed. Now fold the piece as shown to form a loop. Keep it in a safe place for later in this step.
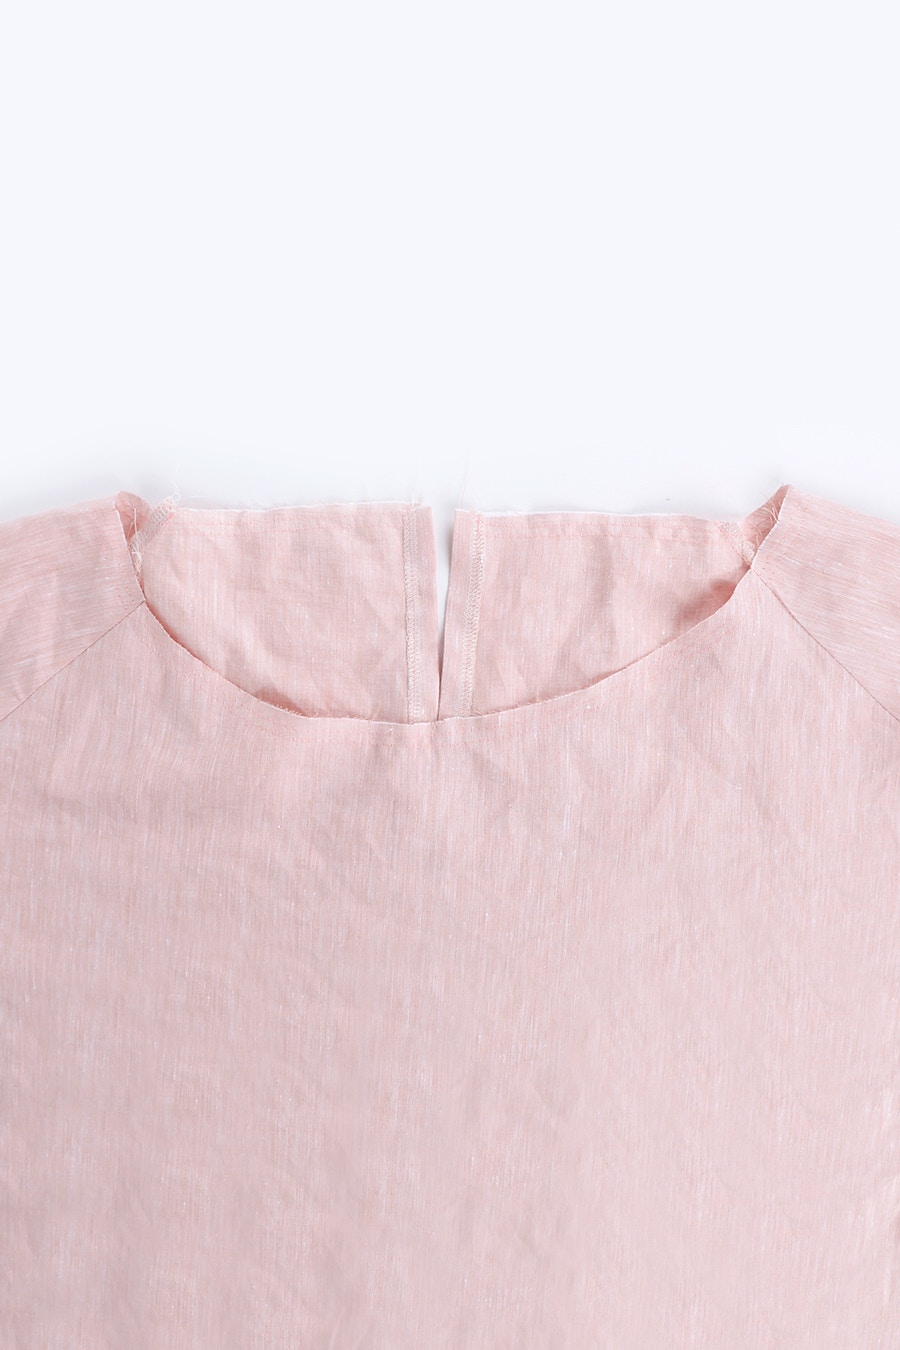
Now it is time to gather the neckline.
Using the longest stitch on your sewing machine, sew two parallel lines of stitching 6mm apart at the neckline.

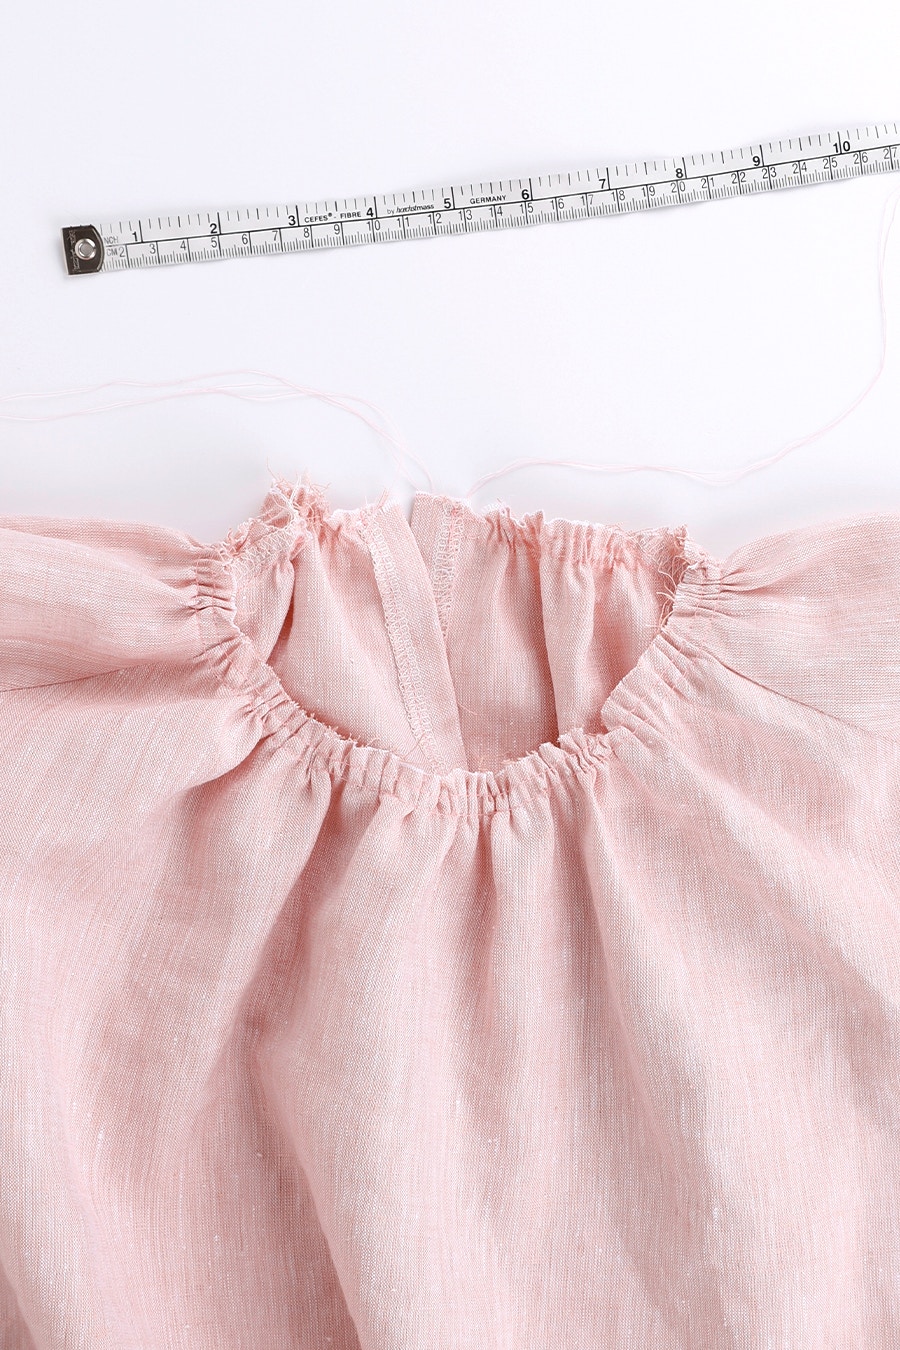
Pull the bobbin threads to gather the neckline to the measurement indicated for your size in the Instruction Booklet. Once you have gathered it to the correct length, secure the threads with a knot. Spread the gathers evenly around the neckline.
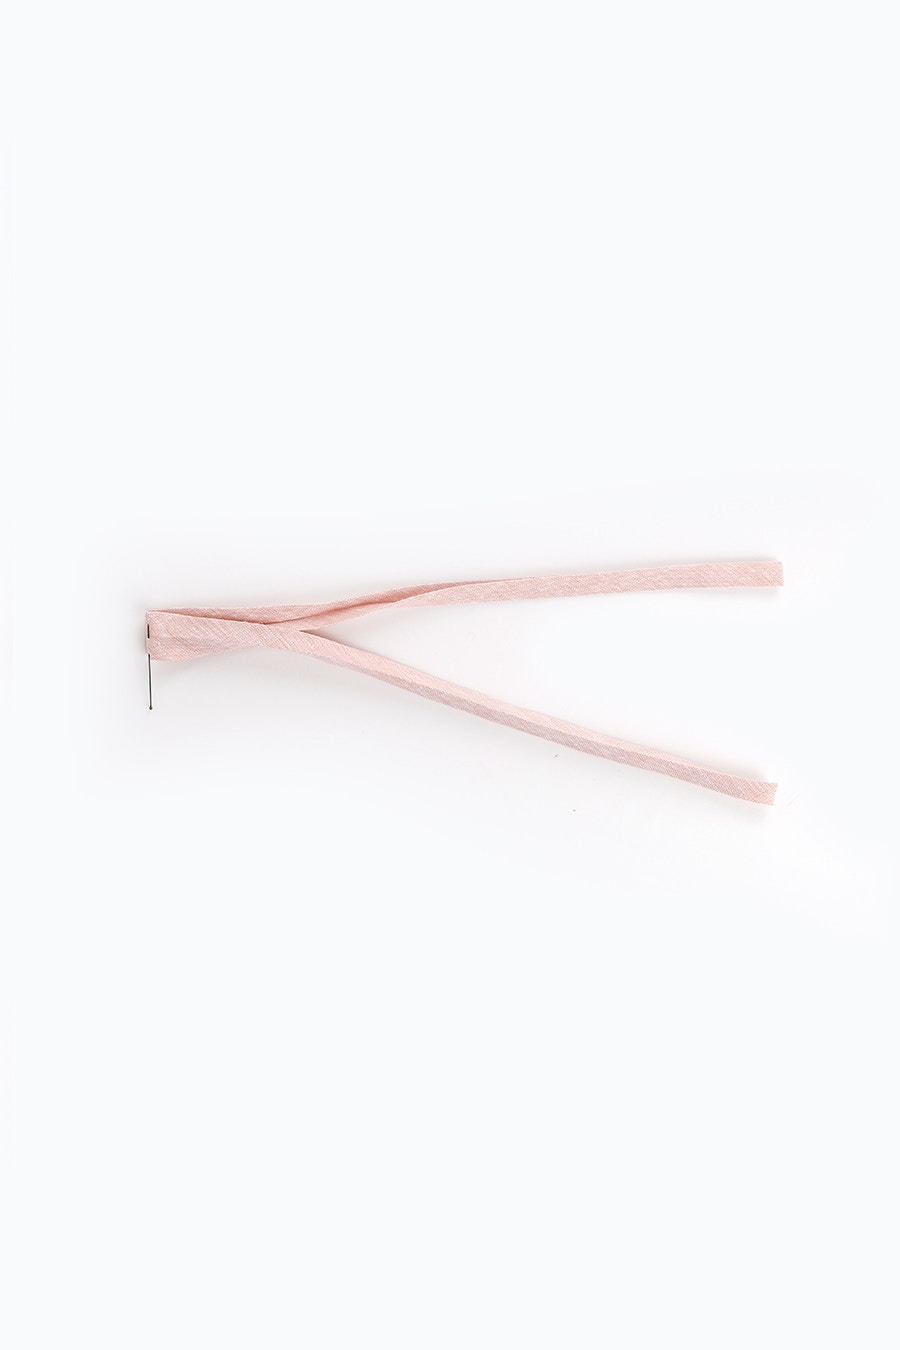
Take your neck binding, fold it in half and mark the middle. This will align with centre front.
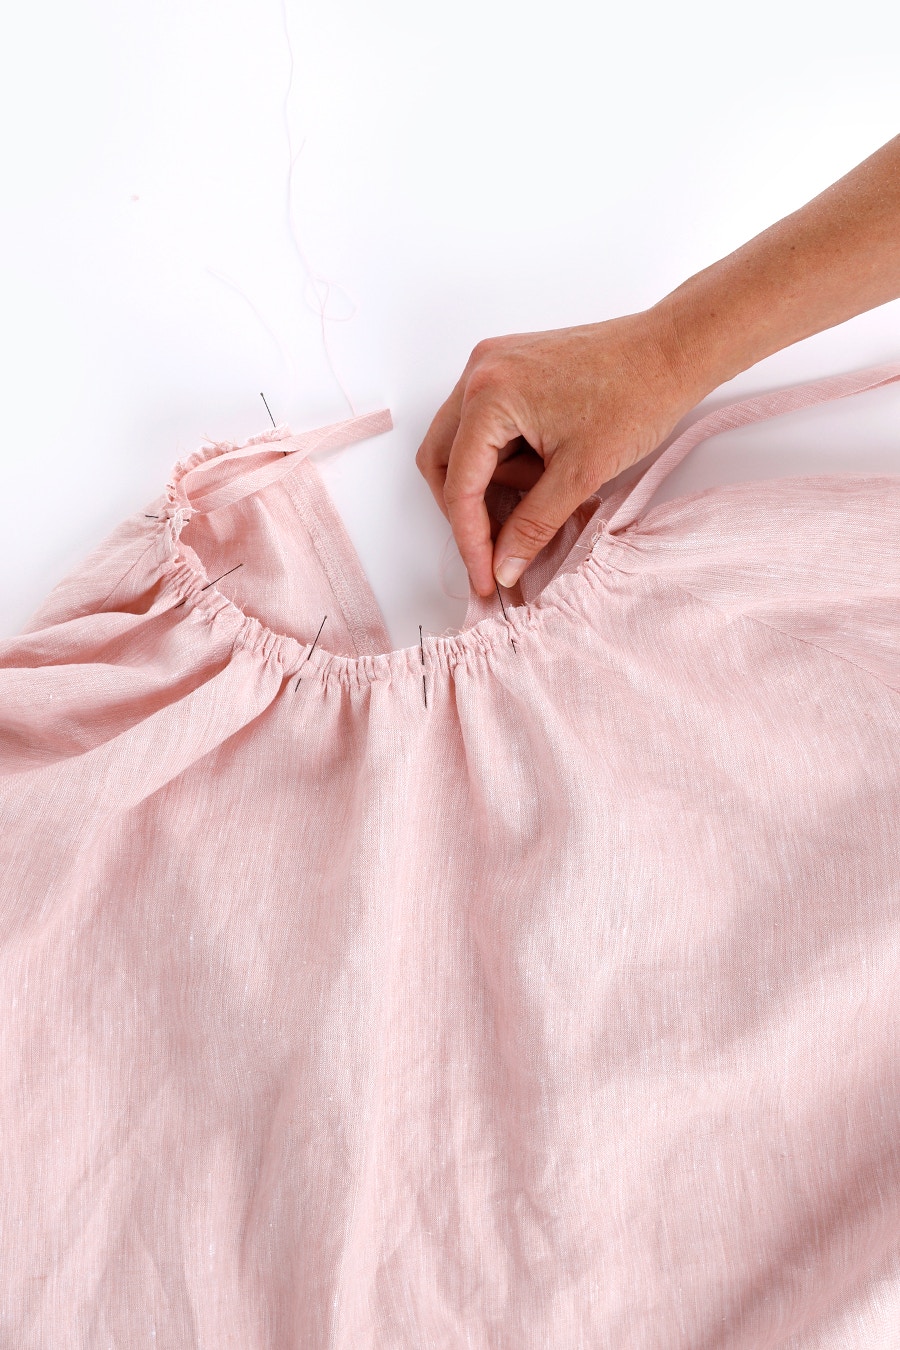
Place the right side of the binding to the wrong side of your dress or top at the neckline, matching the raw edges. The binding will overhang the centre back on each side. Match the centre fronts and pin the binding in place, distributing the gathers evenly around the neckline again if necessary.
Sew the binding and your dress or top together with a 1cm seam. It is easier to do this with the gathers on top so you can adjust them as you sew.
Trim the binding to 1cm at each end.
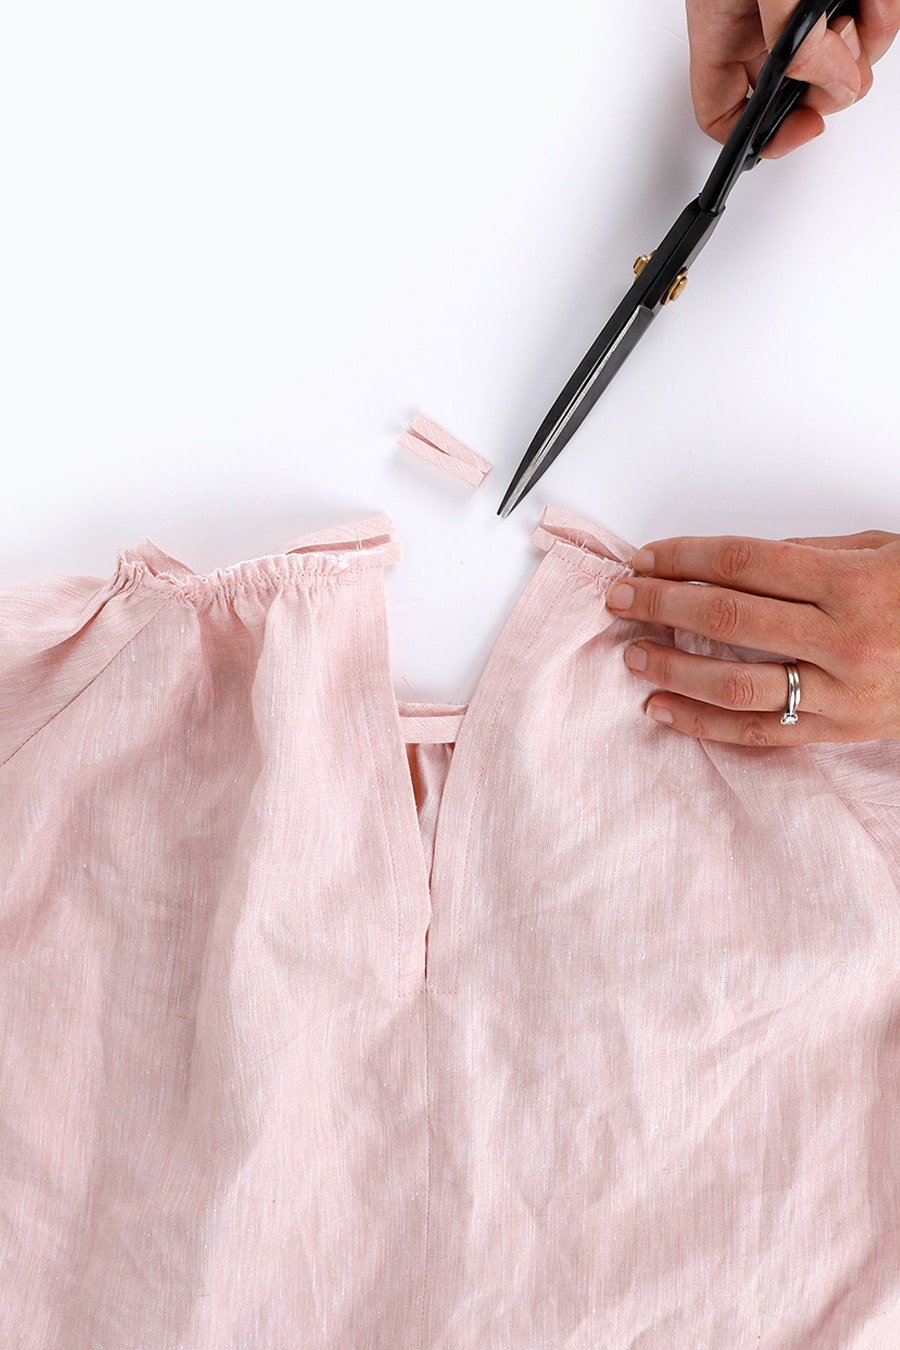
Press the binding up, away from your dress or top.
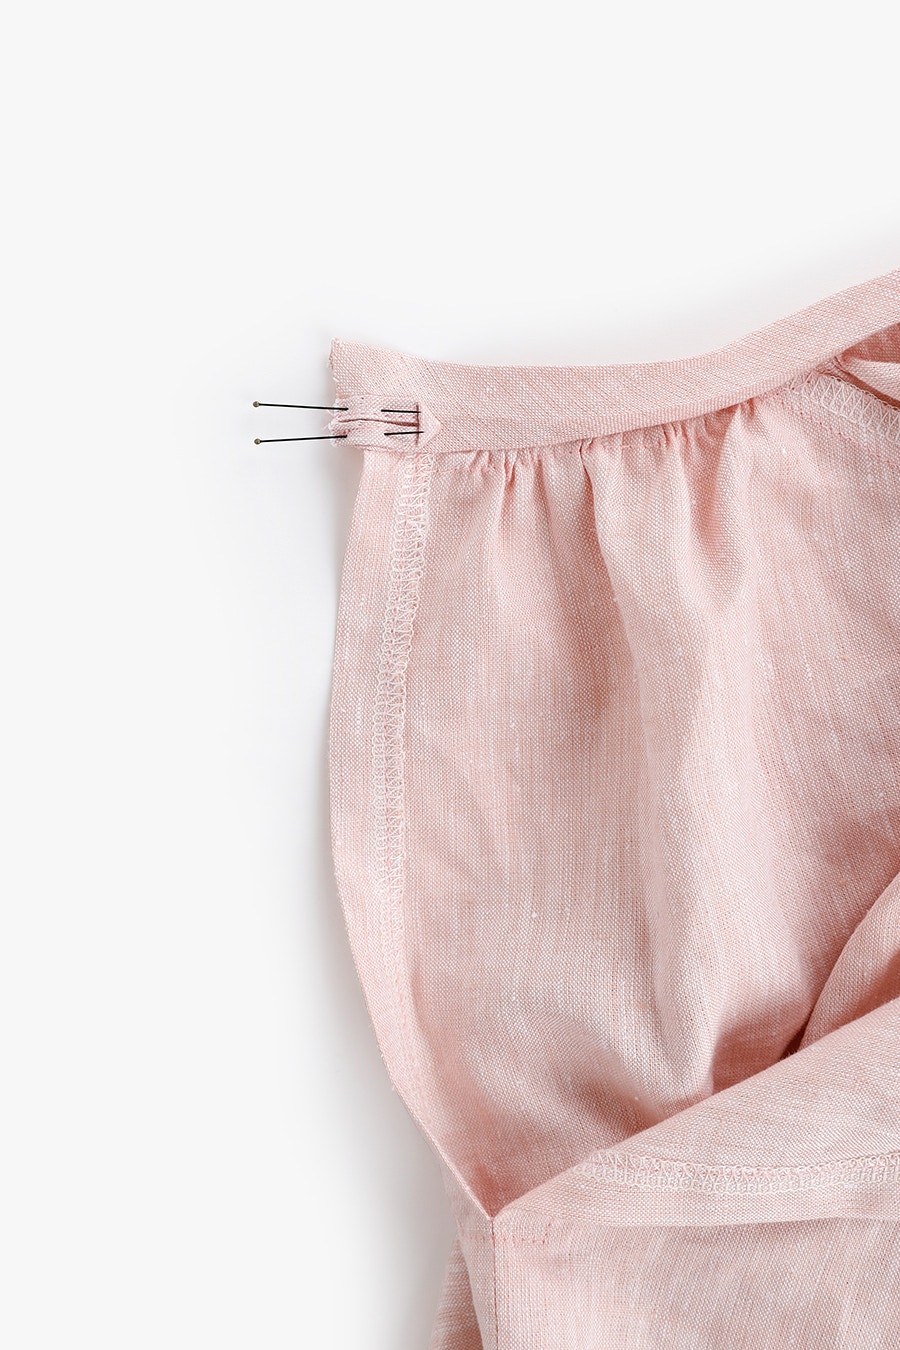
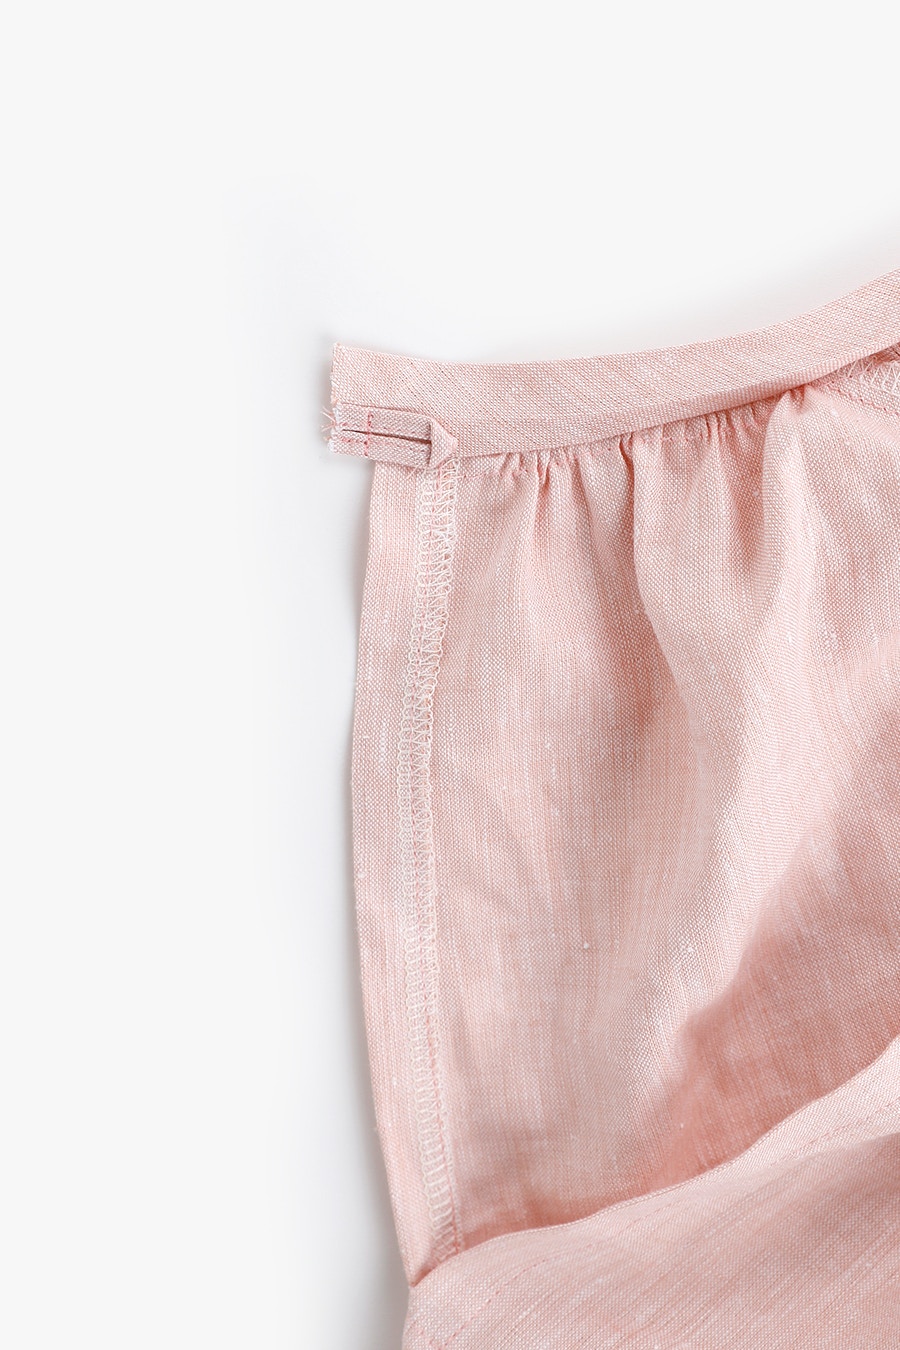
Pin the folded button loop to the right side of the binding at the left centre back. Align the raw edges of the button loop with the short end of the binding and the bottom edge of the button loop with the folded edge of the binding. Baste in place through the binding only. To help achieve a tidy finish, make sure the button loop measures no more than 1cm wide.
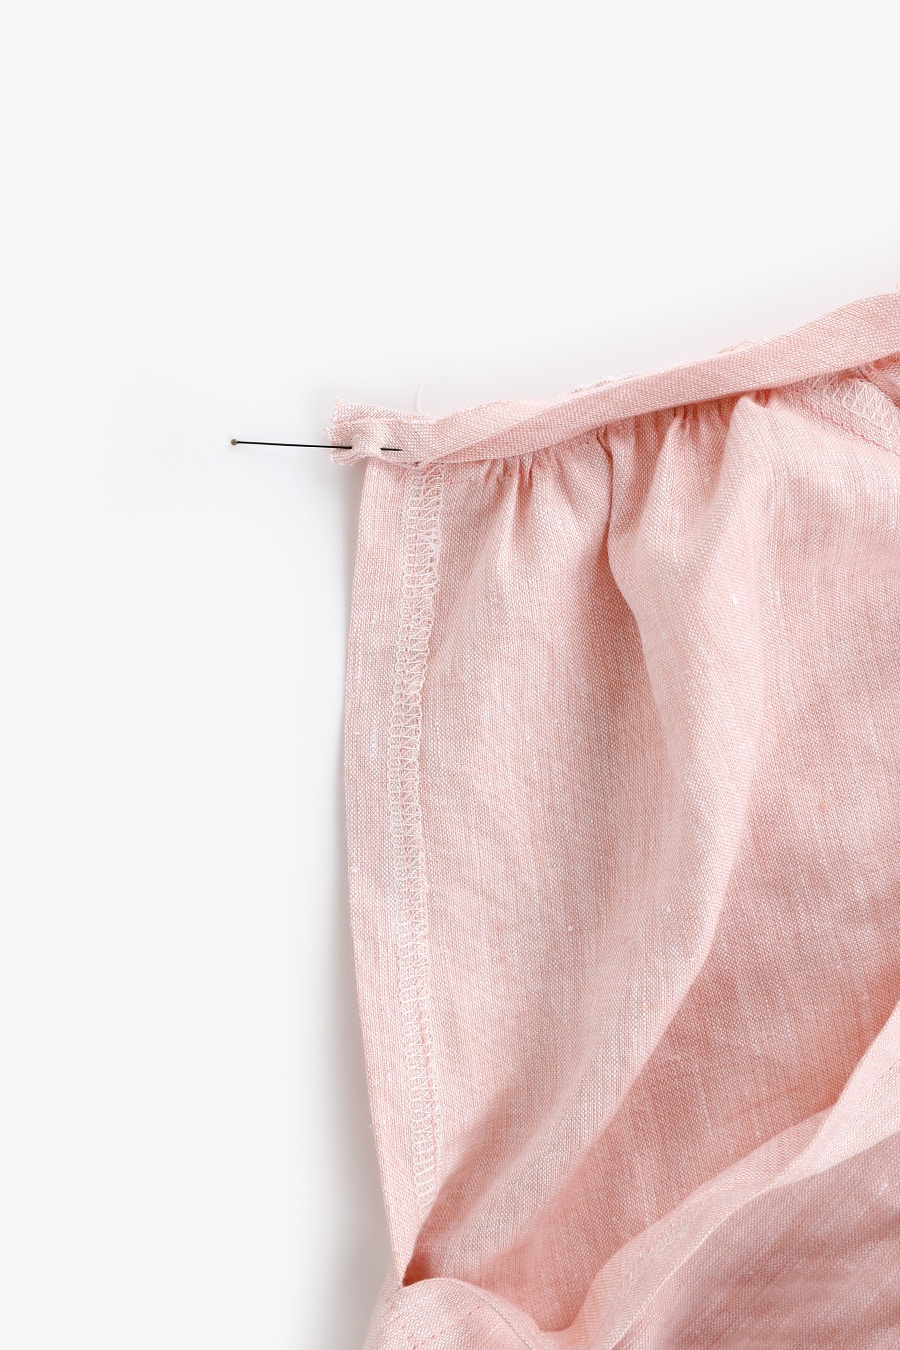
Fold the free edge of the binding over 1cm with the right sides together and press.
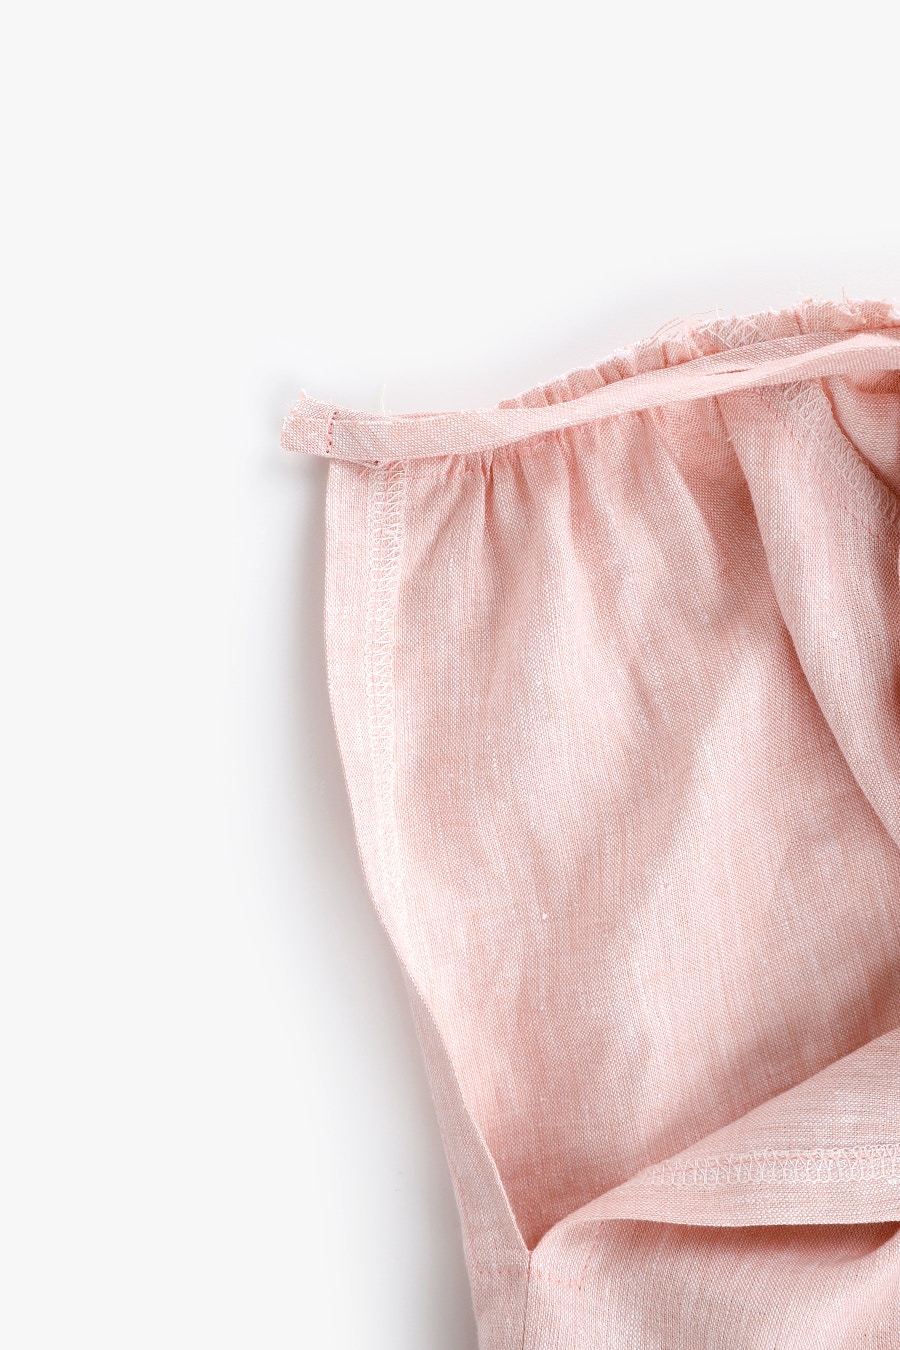
At each centre back, fold the binding in half, right sides together. On the left side, the button loop will be enclosed. Stitch each end with a 1cm seam.
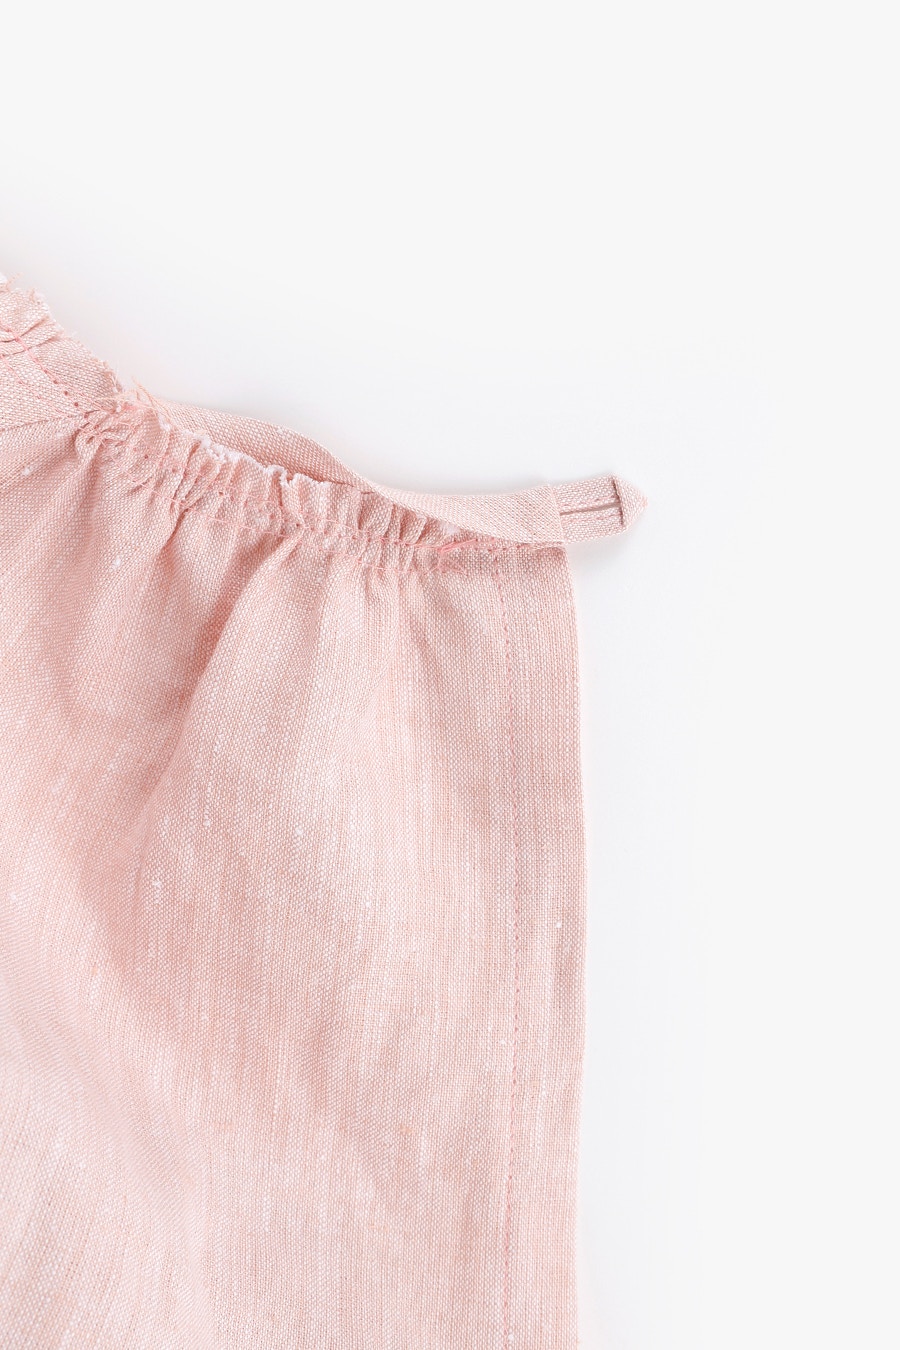
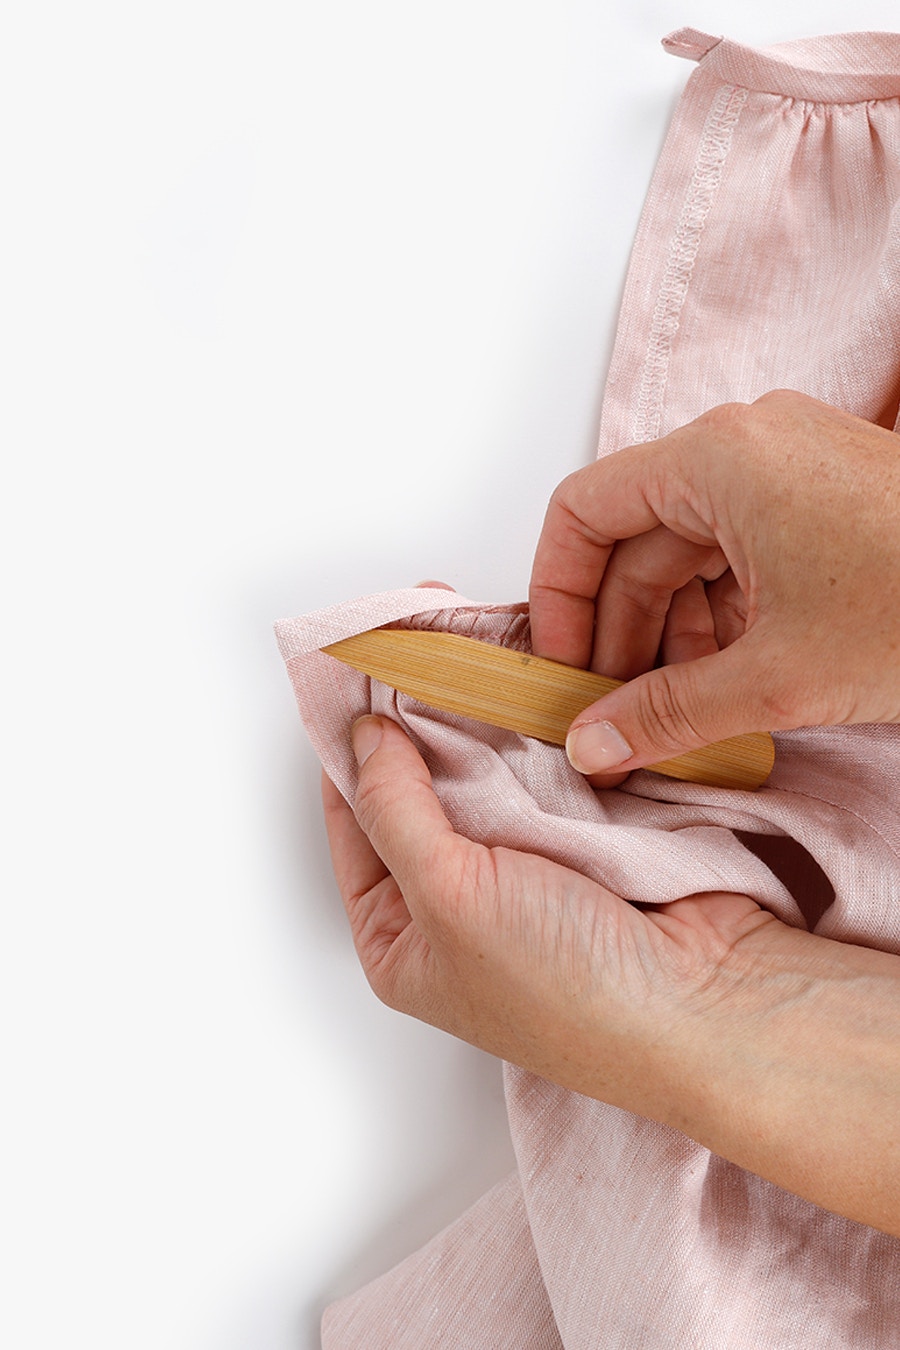
Turn the binding right side out, then fold the rest of the binding in half to enclose the raw edge. Press and pin in place. The folded edge of the binding will just meet the last neck seam you sewed.
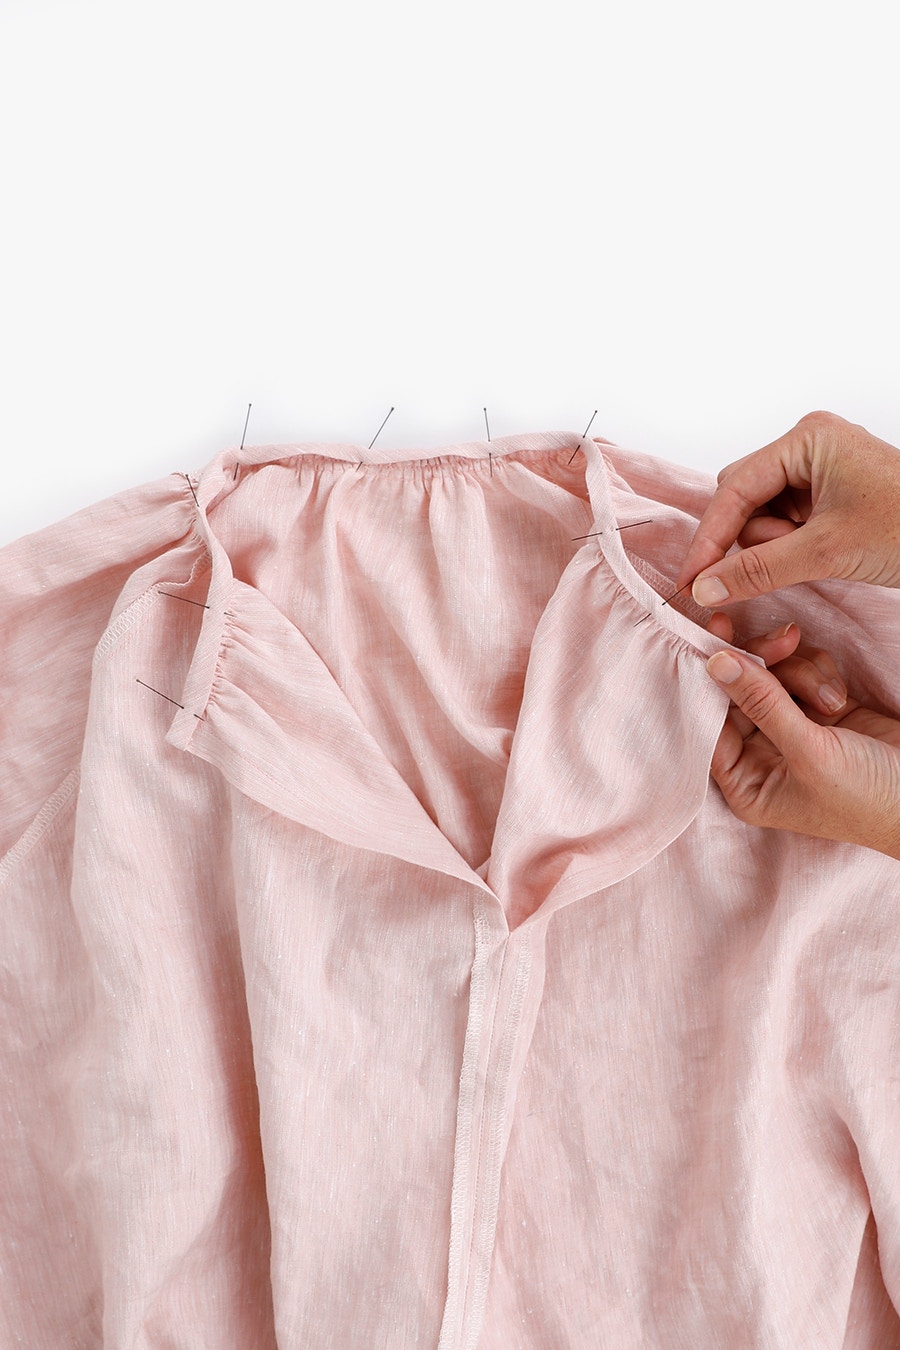
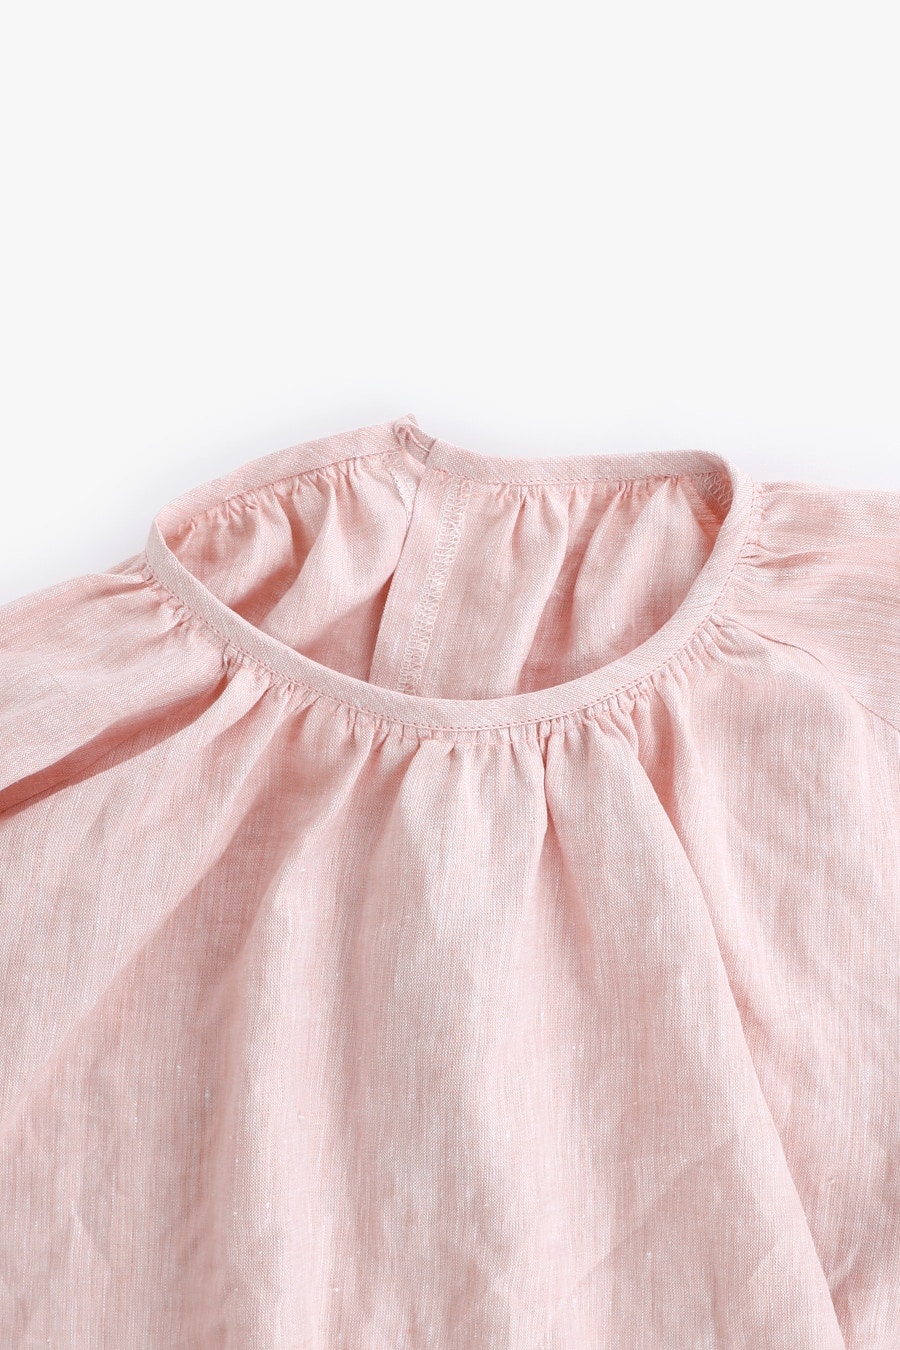
Edge stitch the binding in place on the right side. You may find it easiest to do this with your dress or top inside out.
Remove any visible basting stitches.
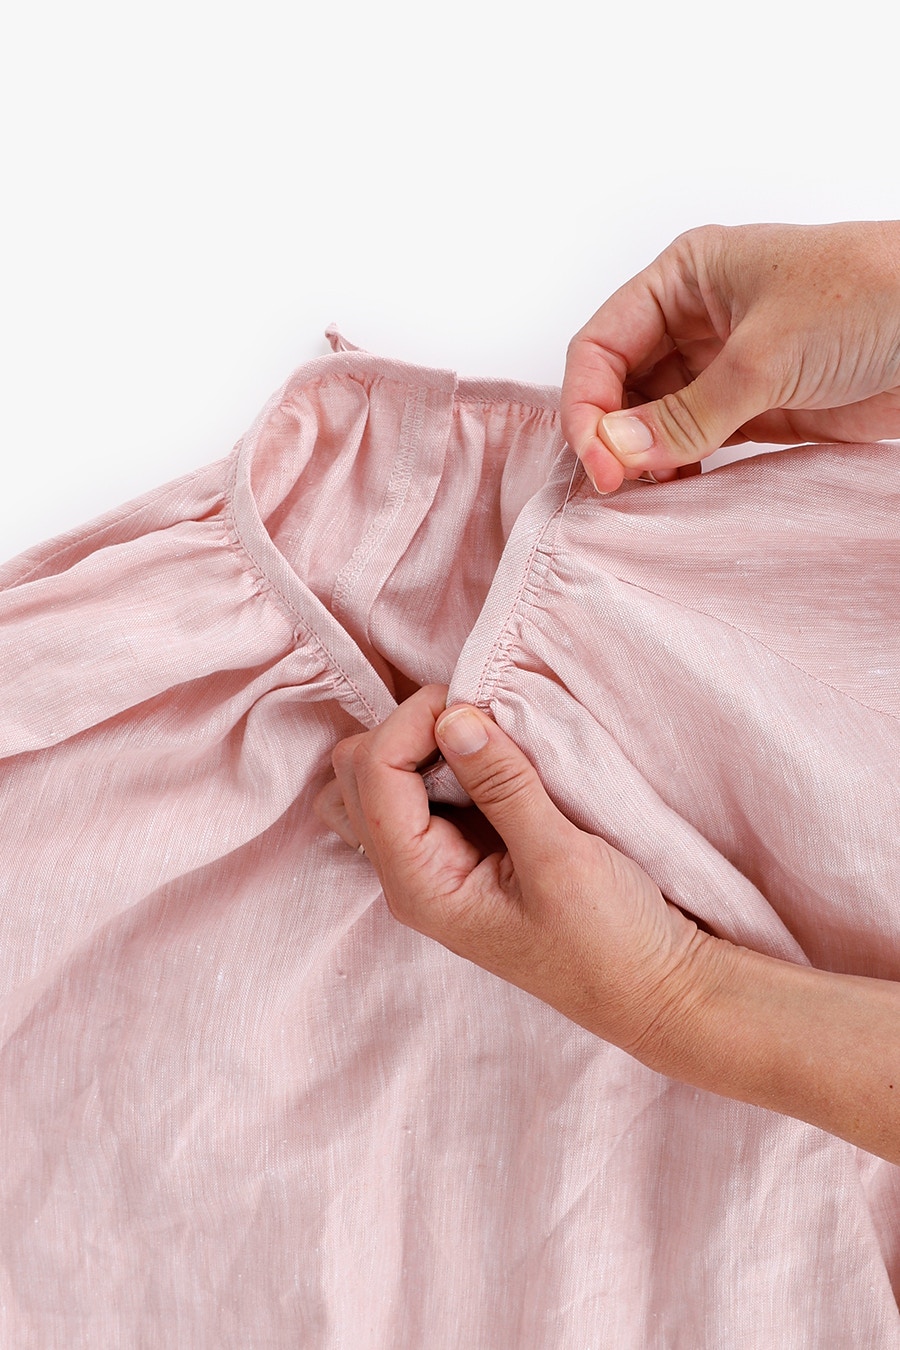

5 — Finish the Sleeves
In this step, we cover finishing both the long and short sleeve options. Scroll down to the section that applies to you.
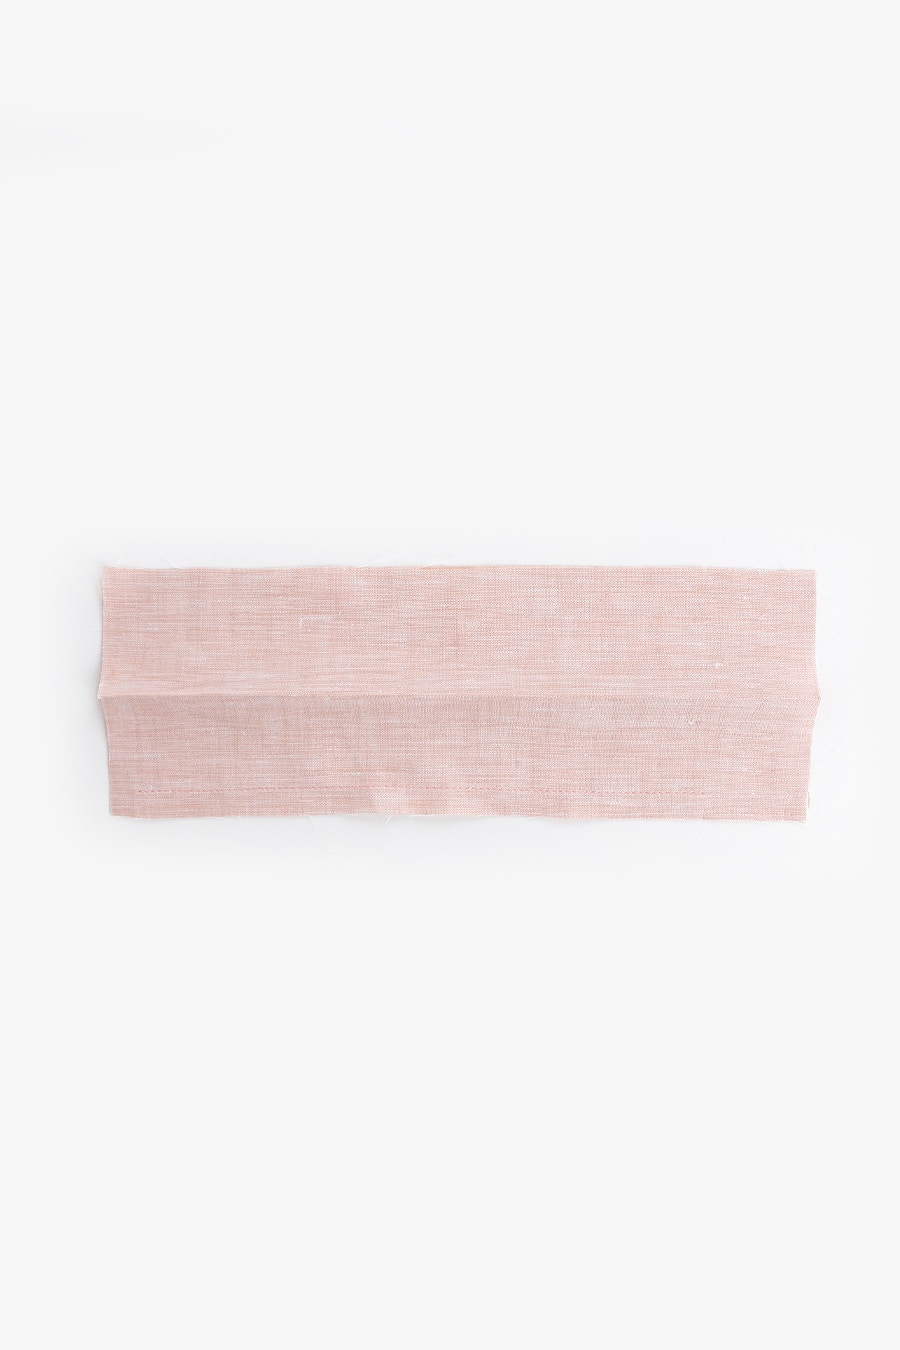
Sew a line of stitching at 1cm between the notches as shown below. The side with the stitched line will be the outer cuff, and the side without stitching will be the inner cuff. The stitching is a guide for folding under the seam allowance to help ensure a tidy finish when you close up the cuff.
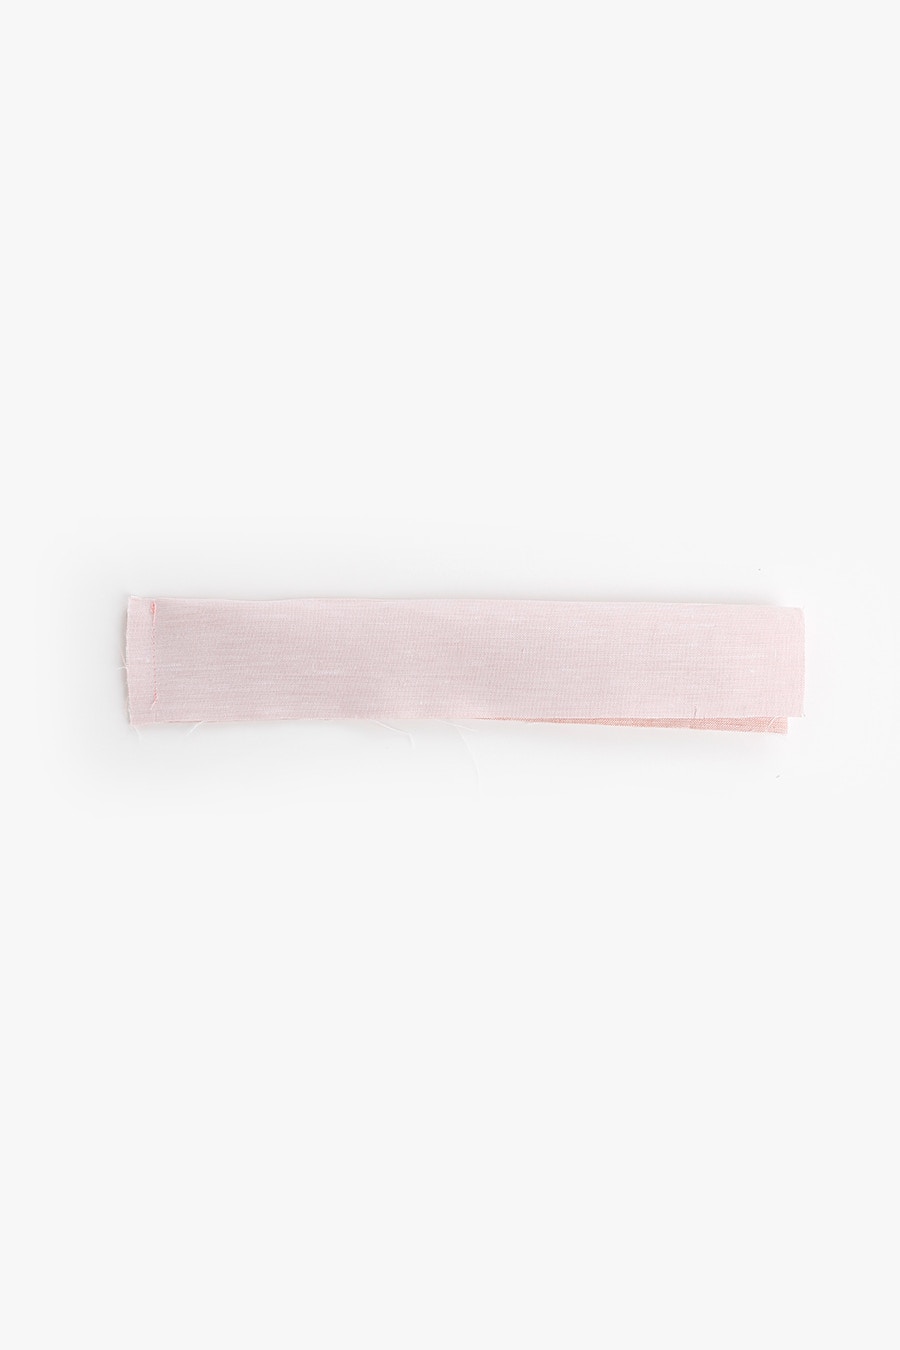
Fold the cuff in half, lengthways with the right sides together.
Sew the buttonhole end of the cuff closed, finishing 1cm before the cuff edge.
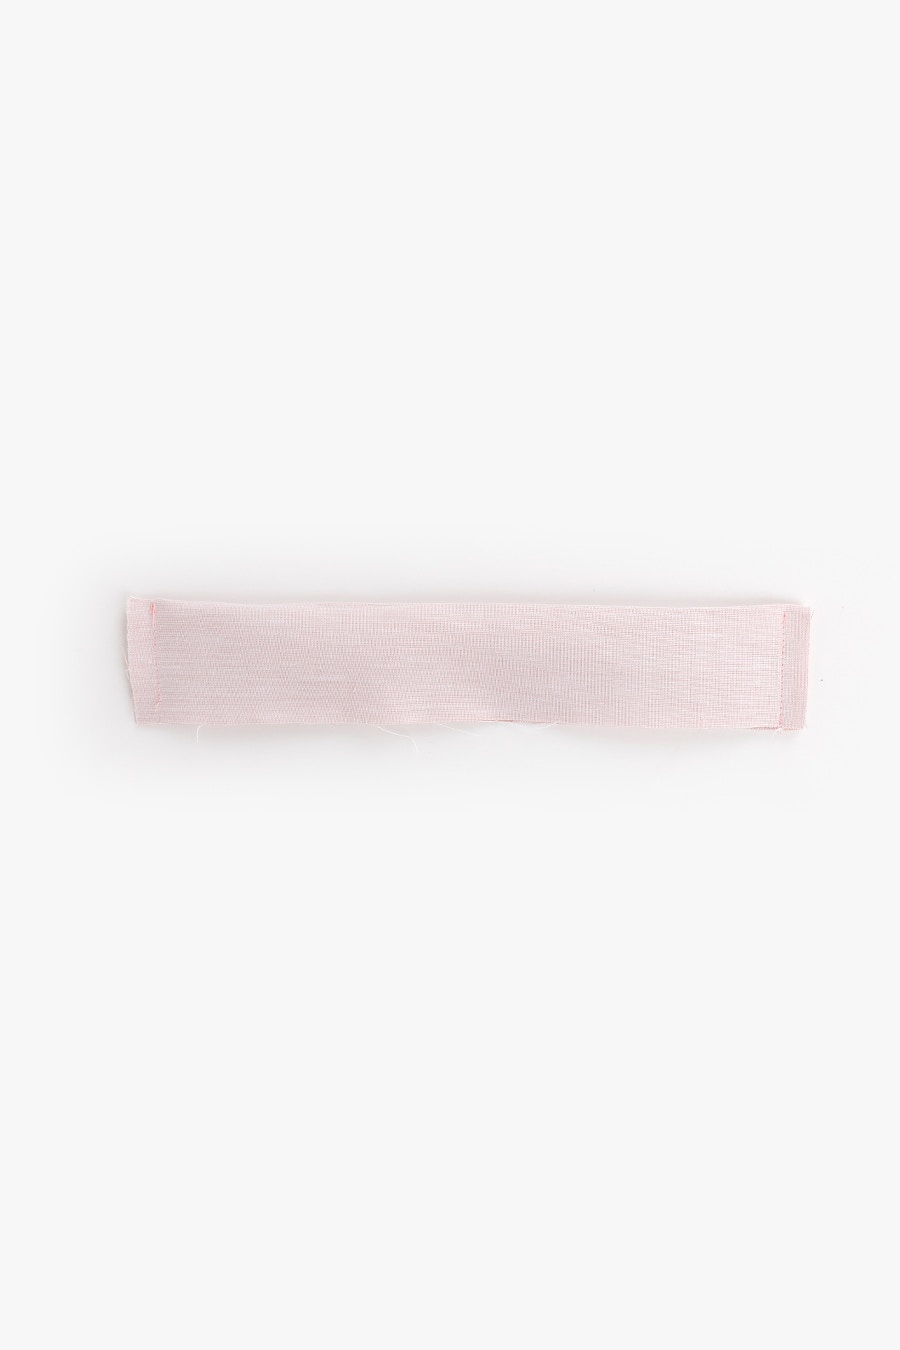
At the button tab end of the cuff, sew the end closed at 1cm, this time finishing at the cuff edge.
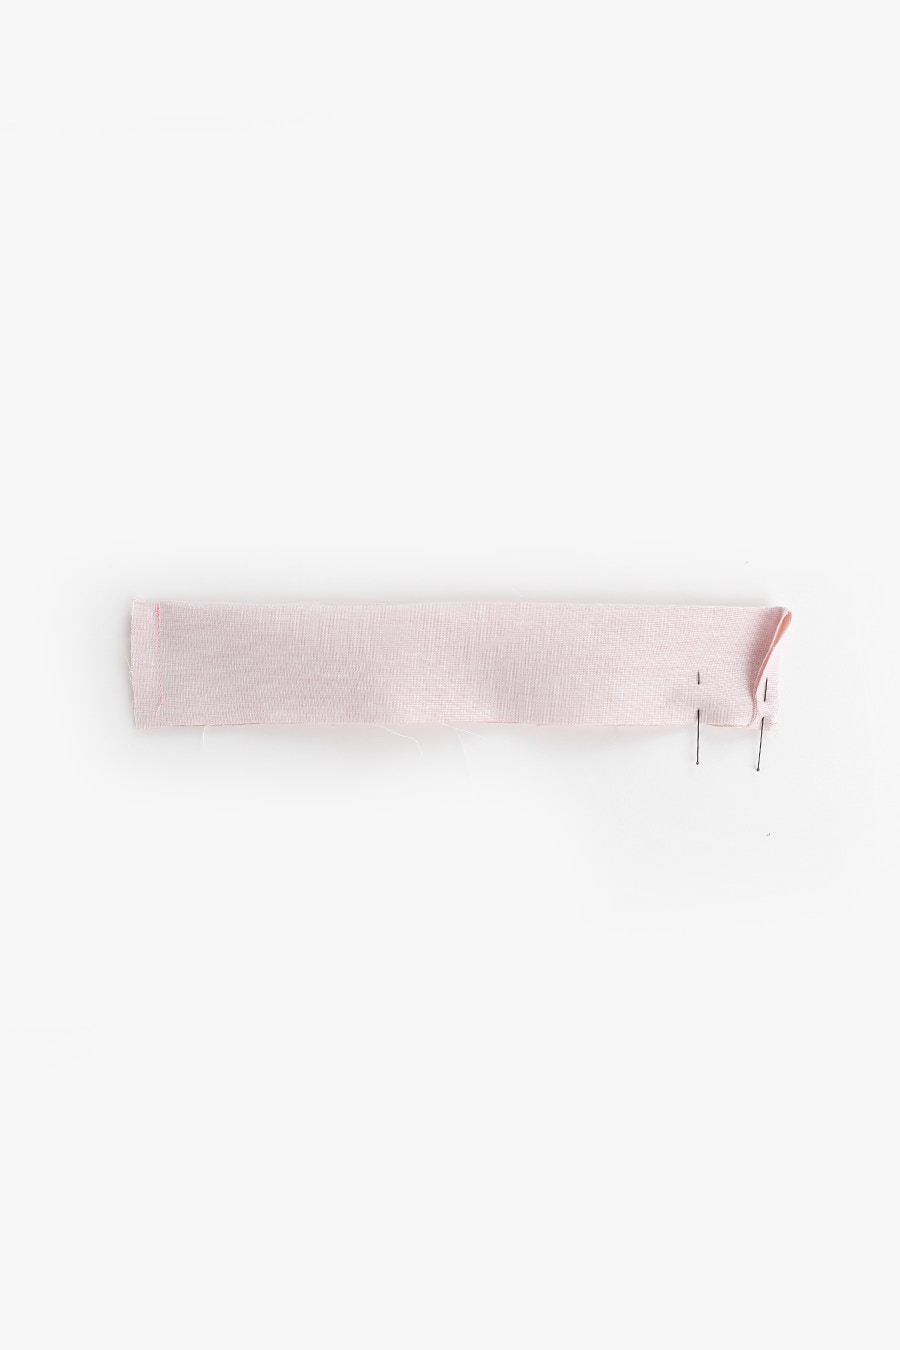
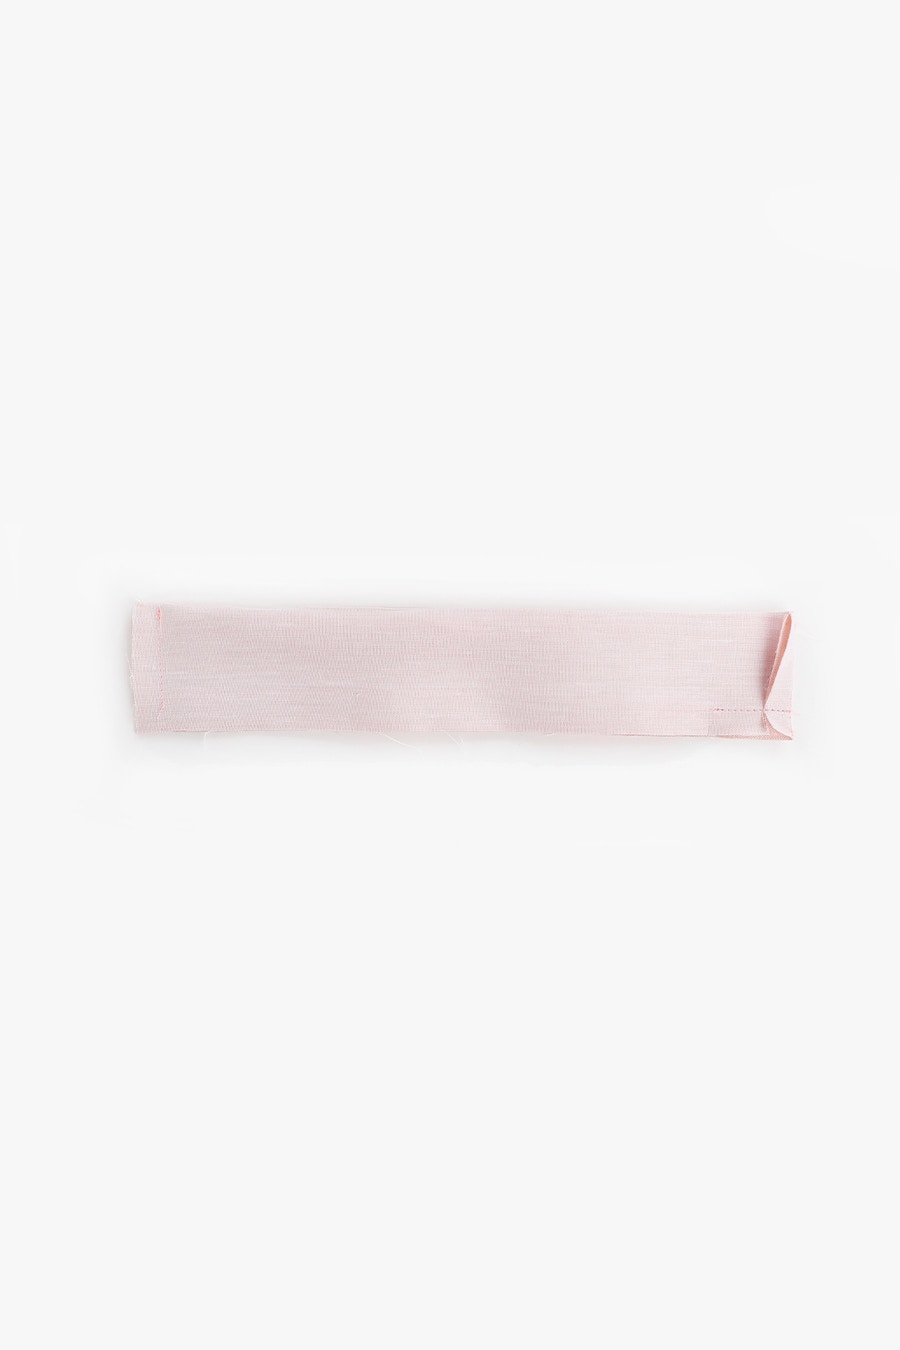
Fold the seam towards the inner cuff (unstitched side) and stitch from the edge to the notch, catching the seam allowance as you sew.
Clip into the end of this seam 1cm.
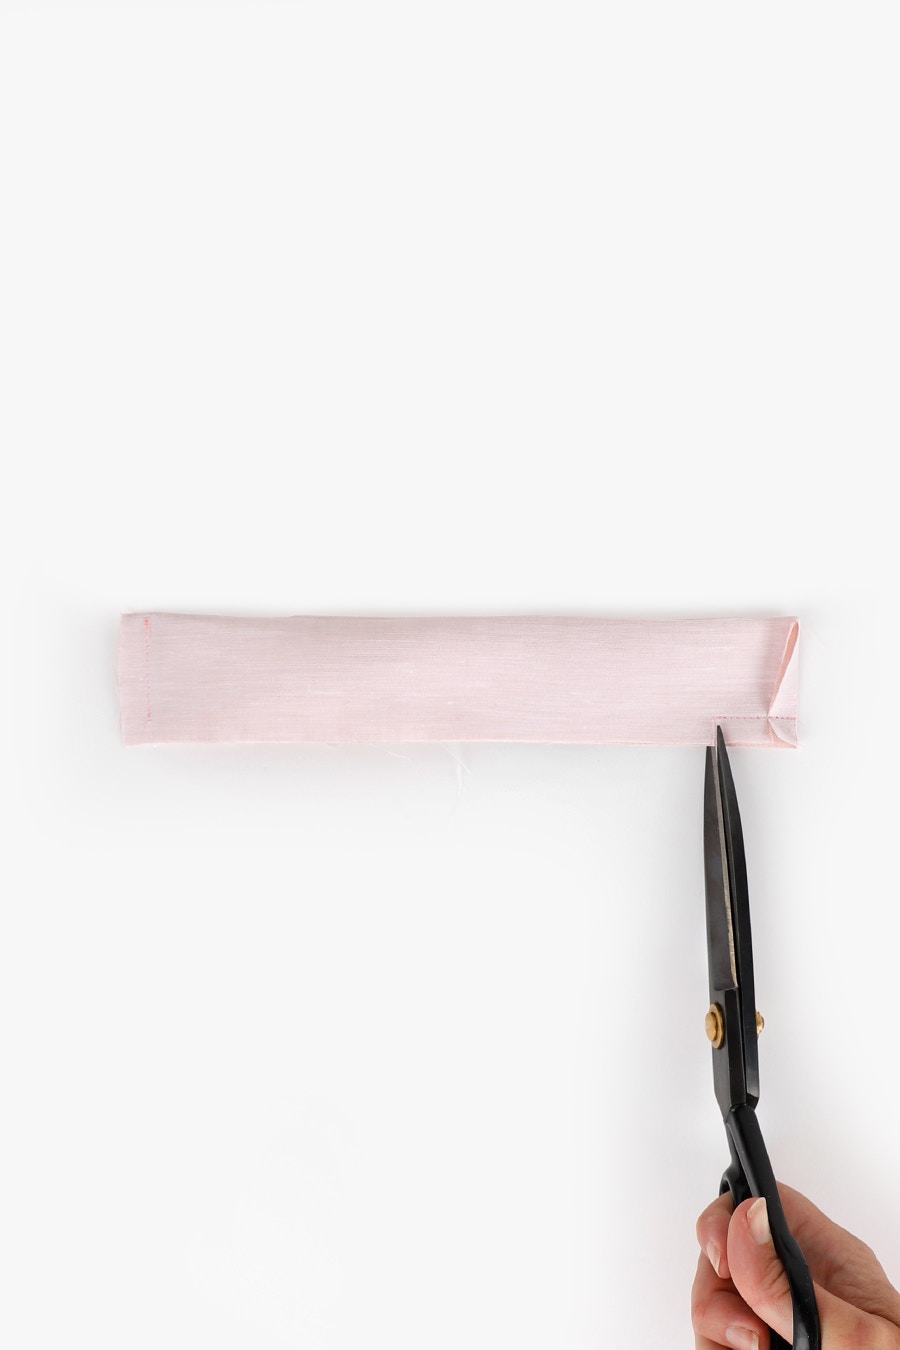
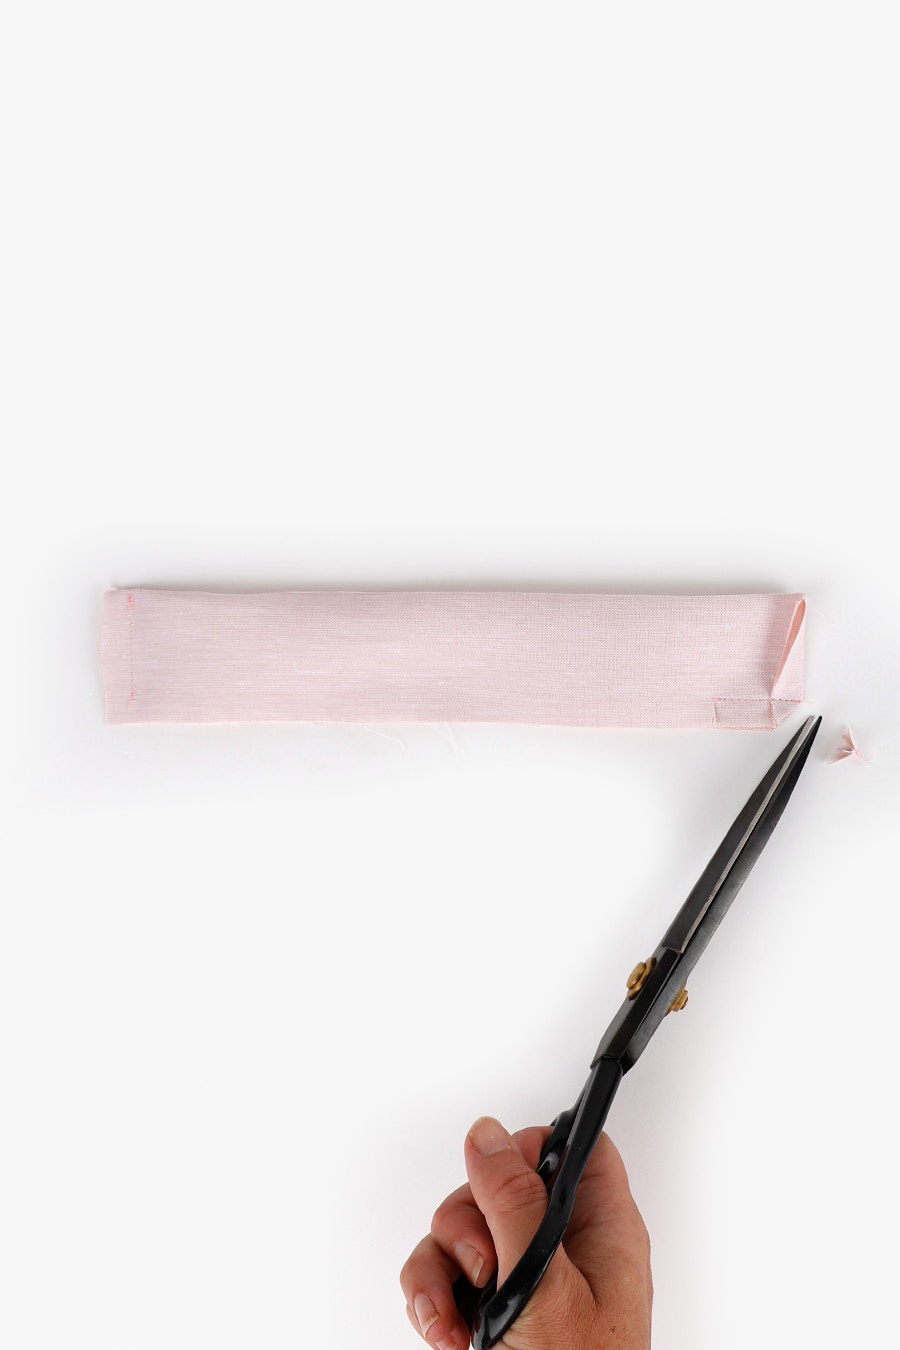
Trim the lower corner on the tab/button end of the cuff.
Take care not to cut through your stitching.
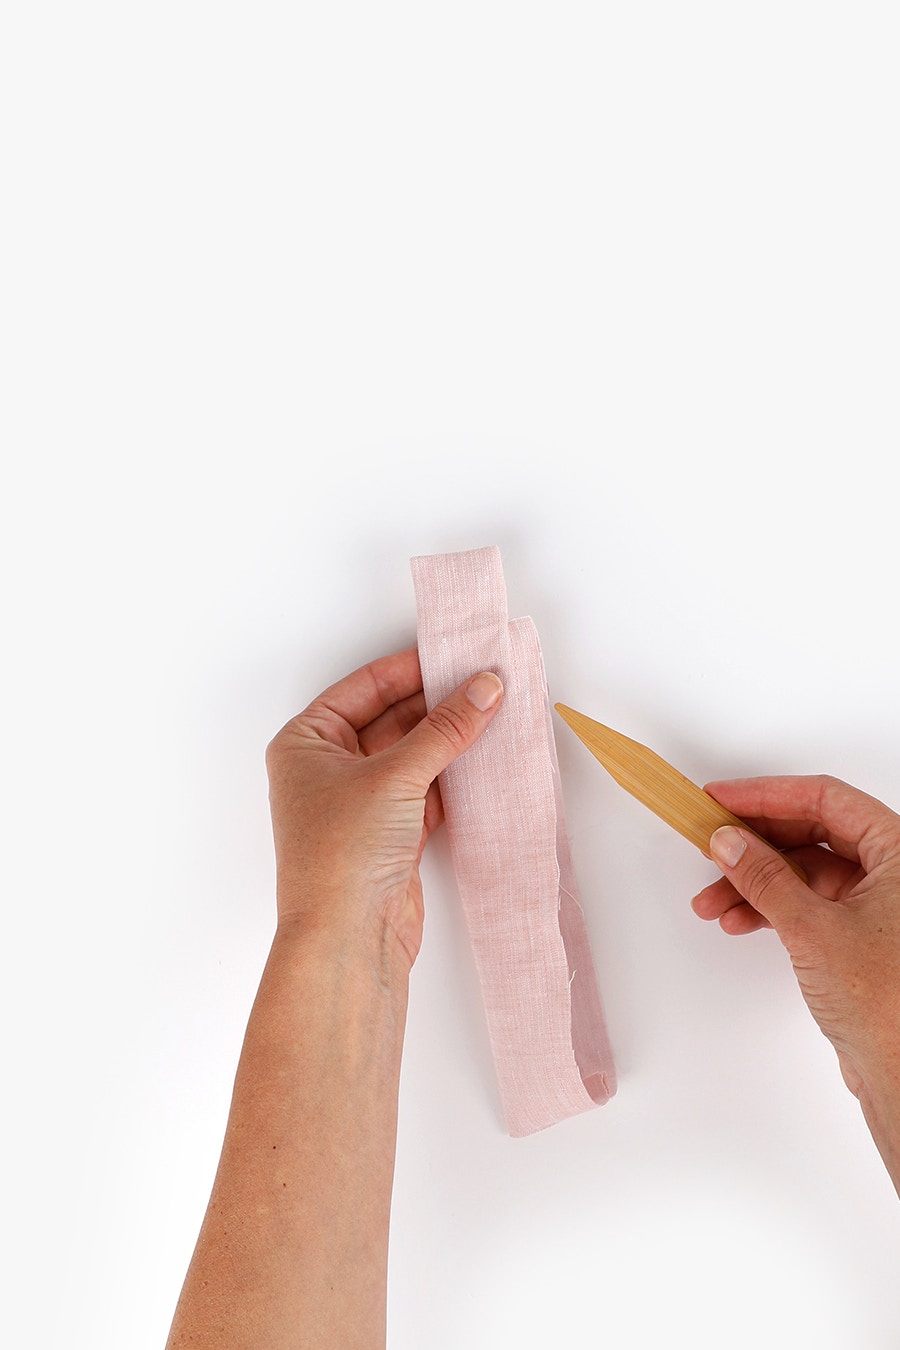
Now turn your cuff right side out. You might find it helpful to use a point turner or similar when doing this!
Give your cuff a press.
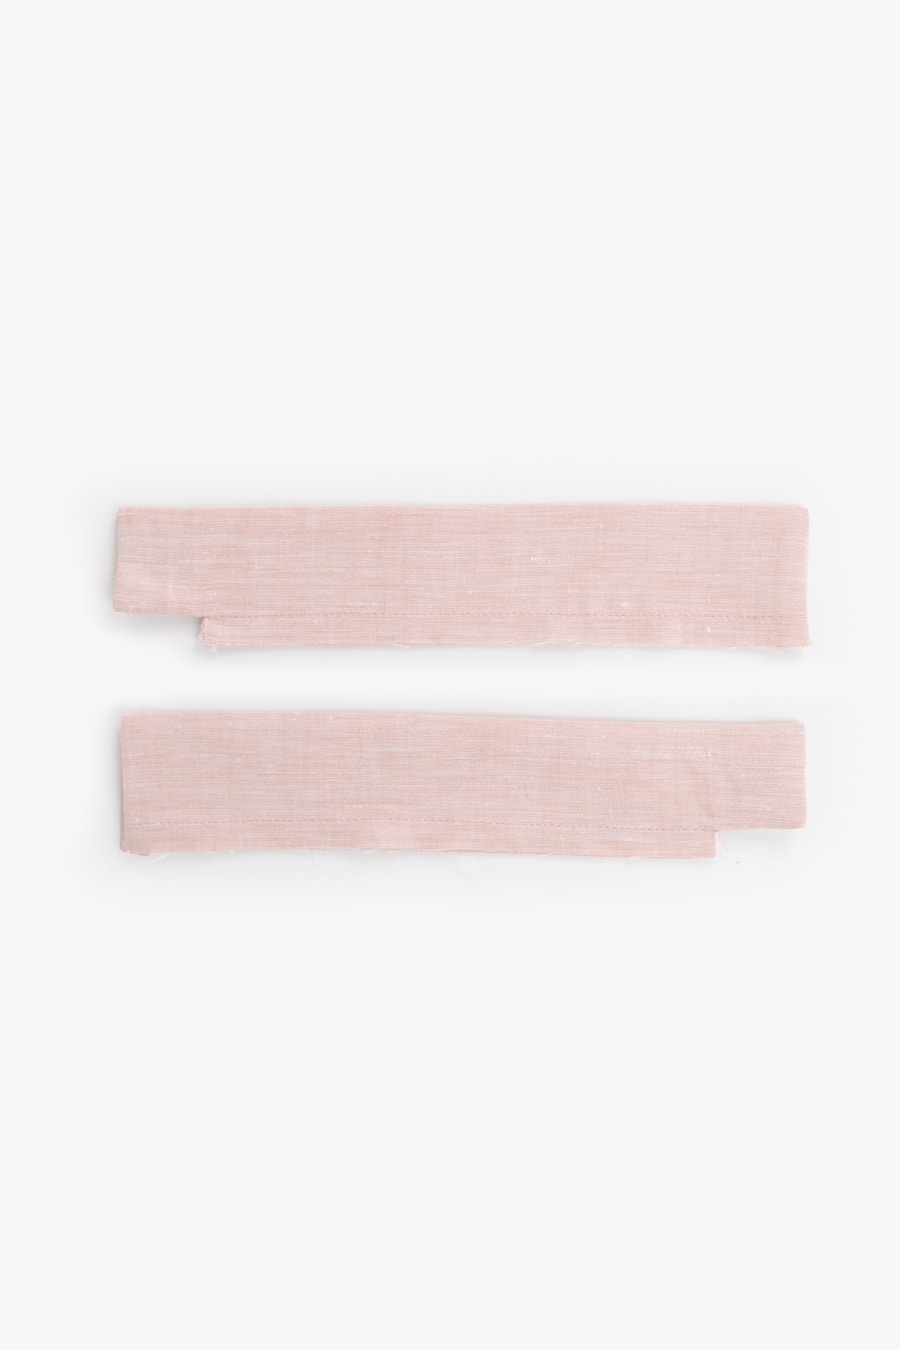
Sew a second cuff as a mirror image of the first cuff so you create a pair of cuffs.
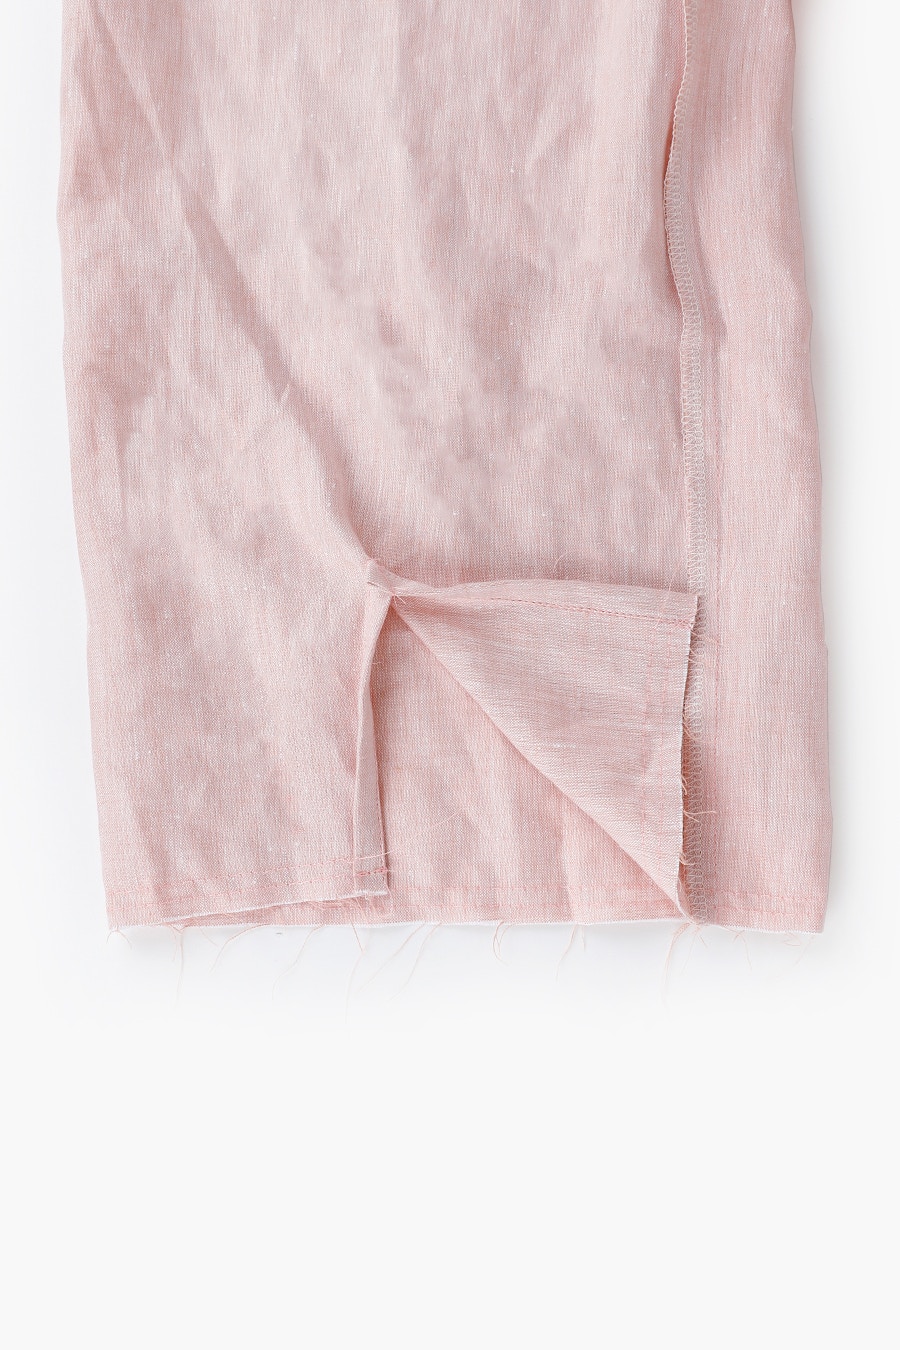
Now that the cuffs have been sewn, we will attach them to the sleeves.
Using the longest stitch on your sewing machine, run two parallel lines of stitching 6mm apart, at the cuff edge.
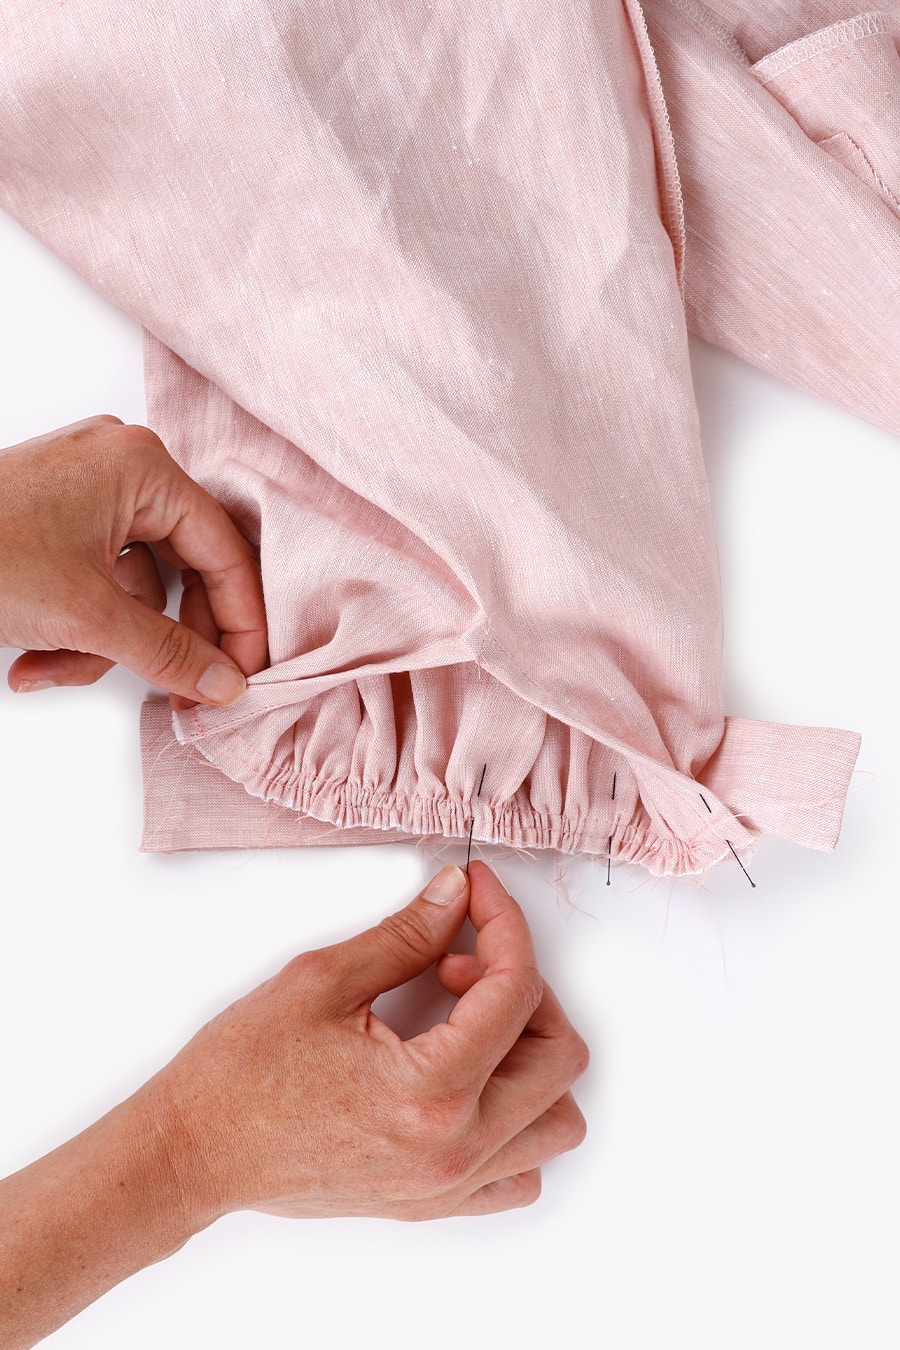
Gather the stitching until it is the same width as the cuff opening.
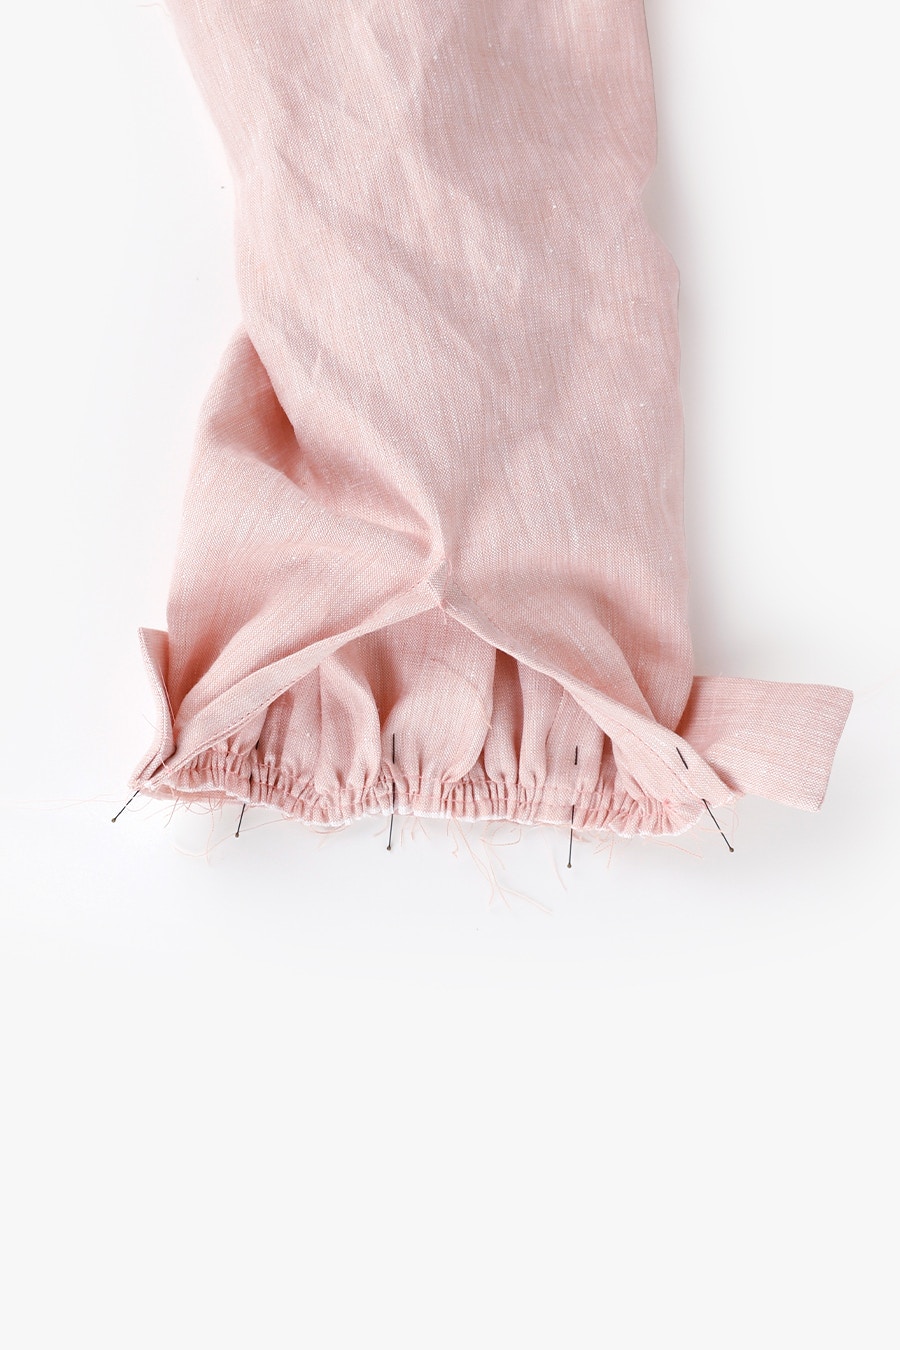
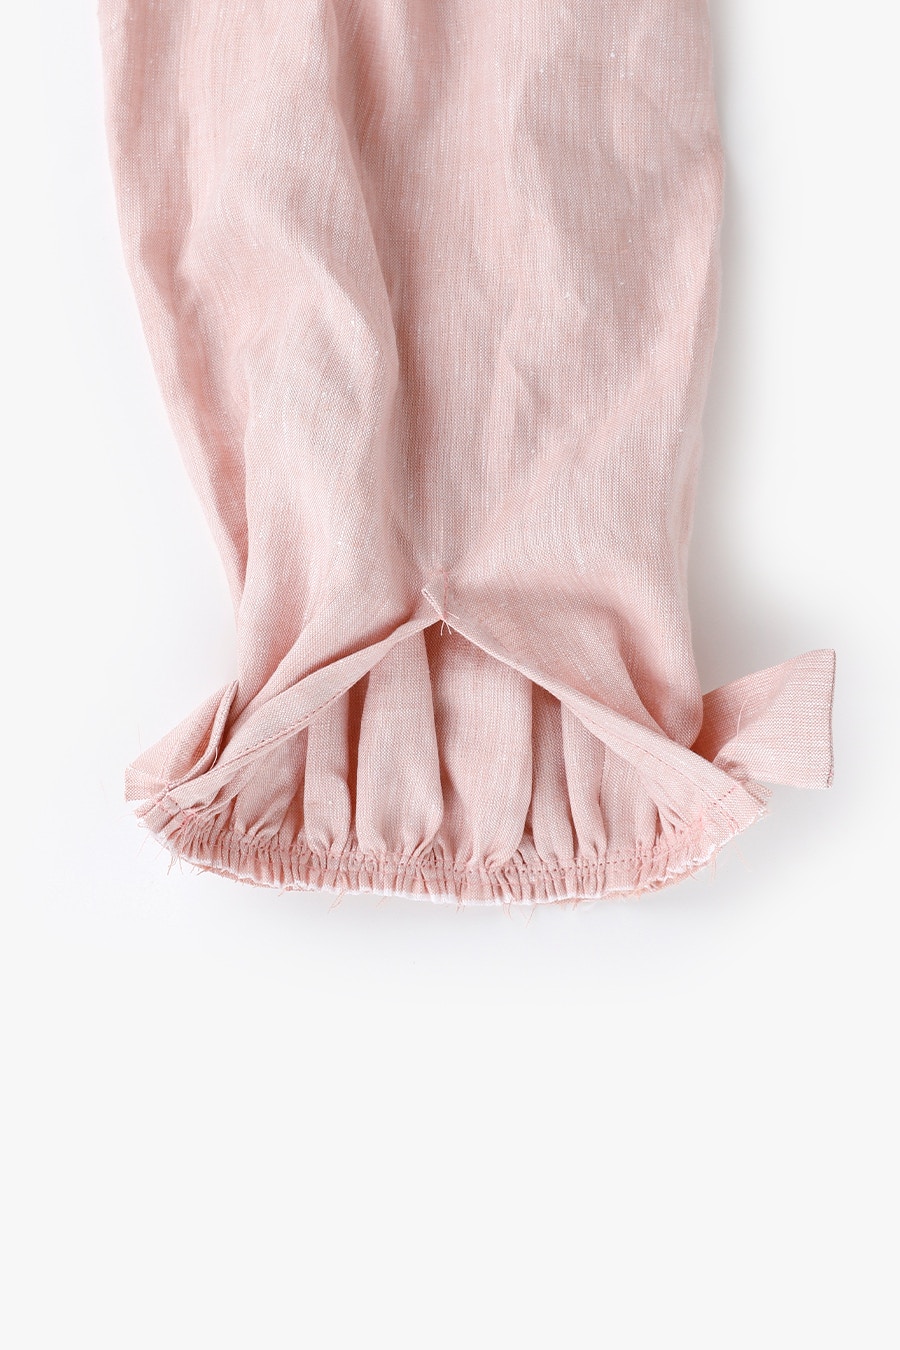
Pin the sleeve to the cuff between the notches, wrong side of the sleeve to the right side of the inner cuff. This is the unstitched edge of the cuff. The button tab end will go at the back of the sleeve, and the buttonhole end will be at the front. Now stitch the sleeve and cuff together.
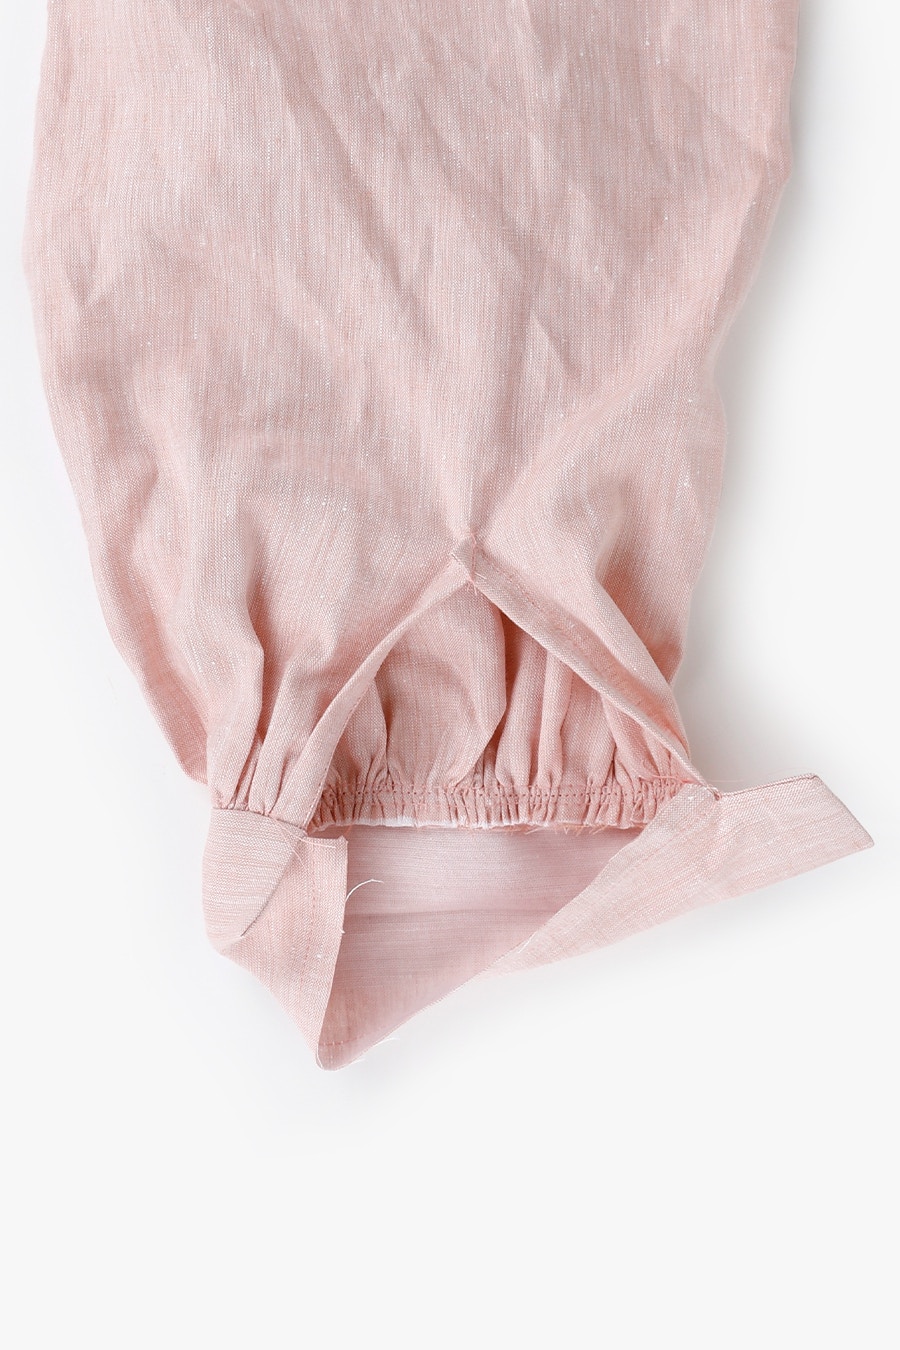
Press the seam into the cuff.
Fold the 1cm seam allowance under, using the line of stitching you sewed to guide you, and pin.
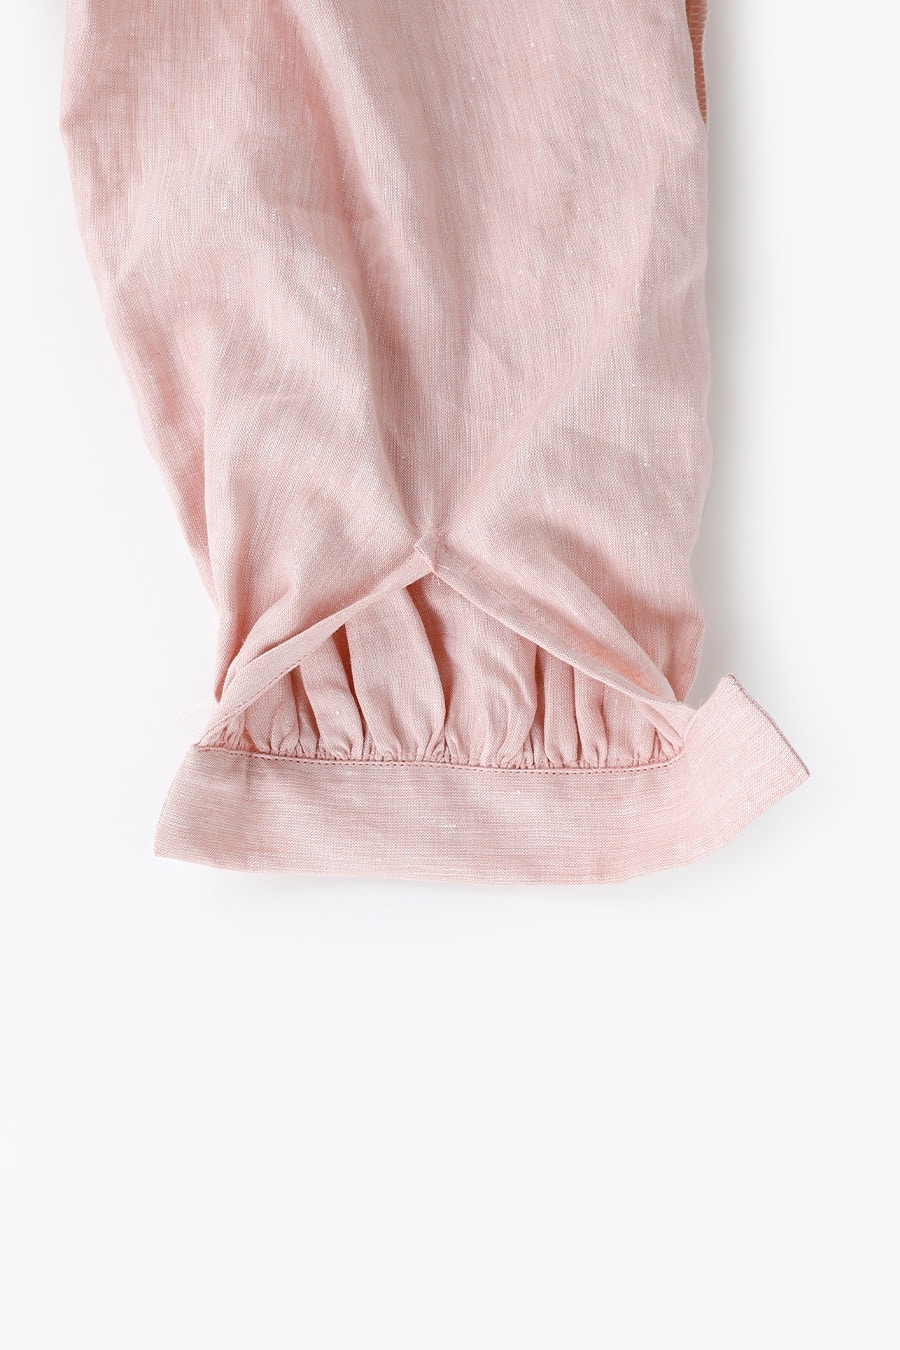
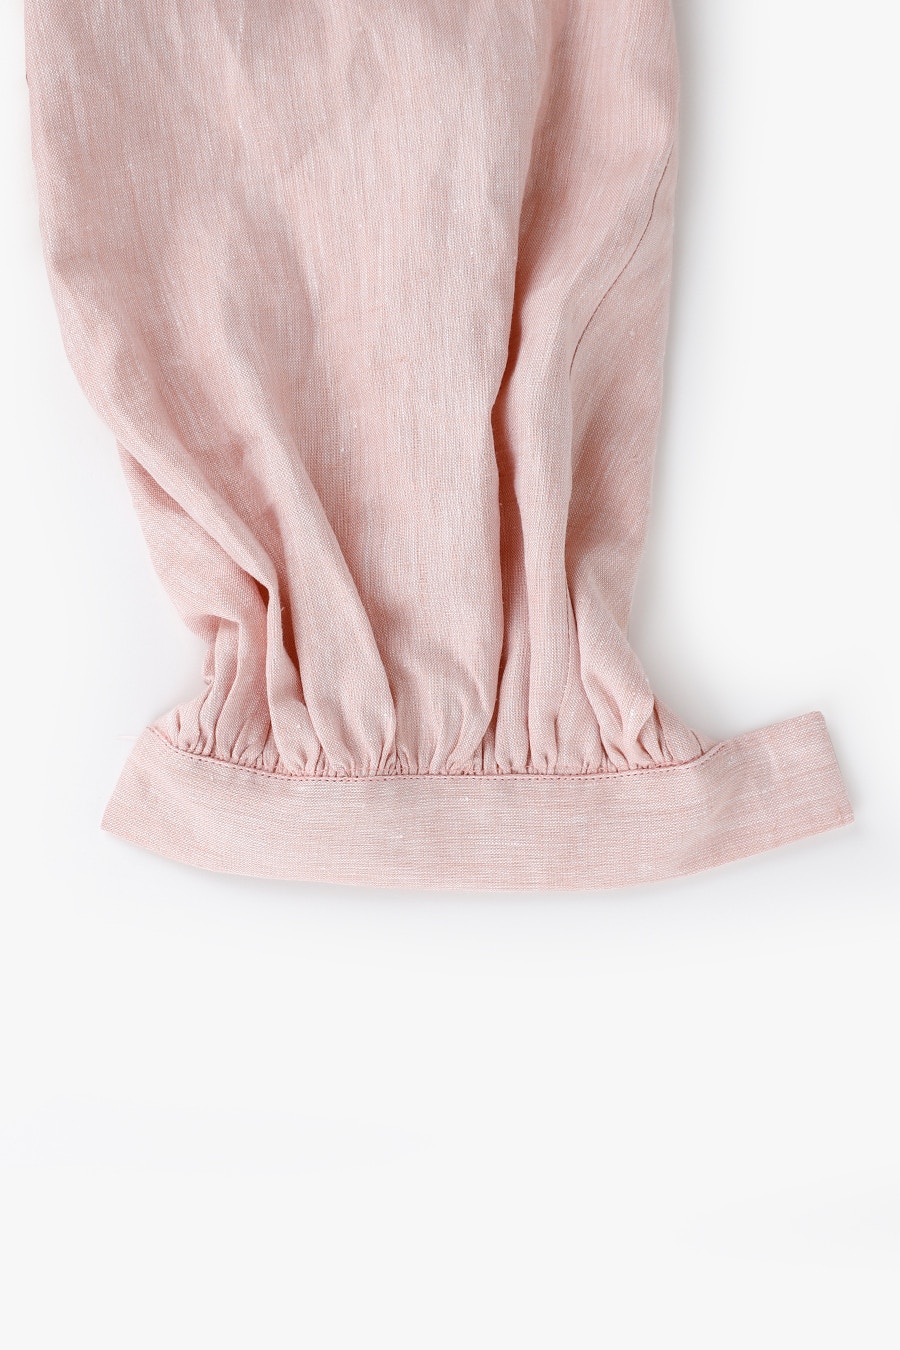
Edge stitch the cuff closed from the right side.
Remove any visible gathering stitches and repeat for your other cuff.
Your long sleeves are complete! Now, move on to the next blog post to sew them hem and do the finishing touches.
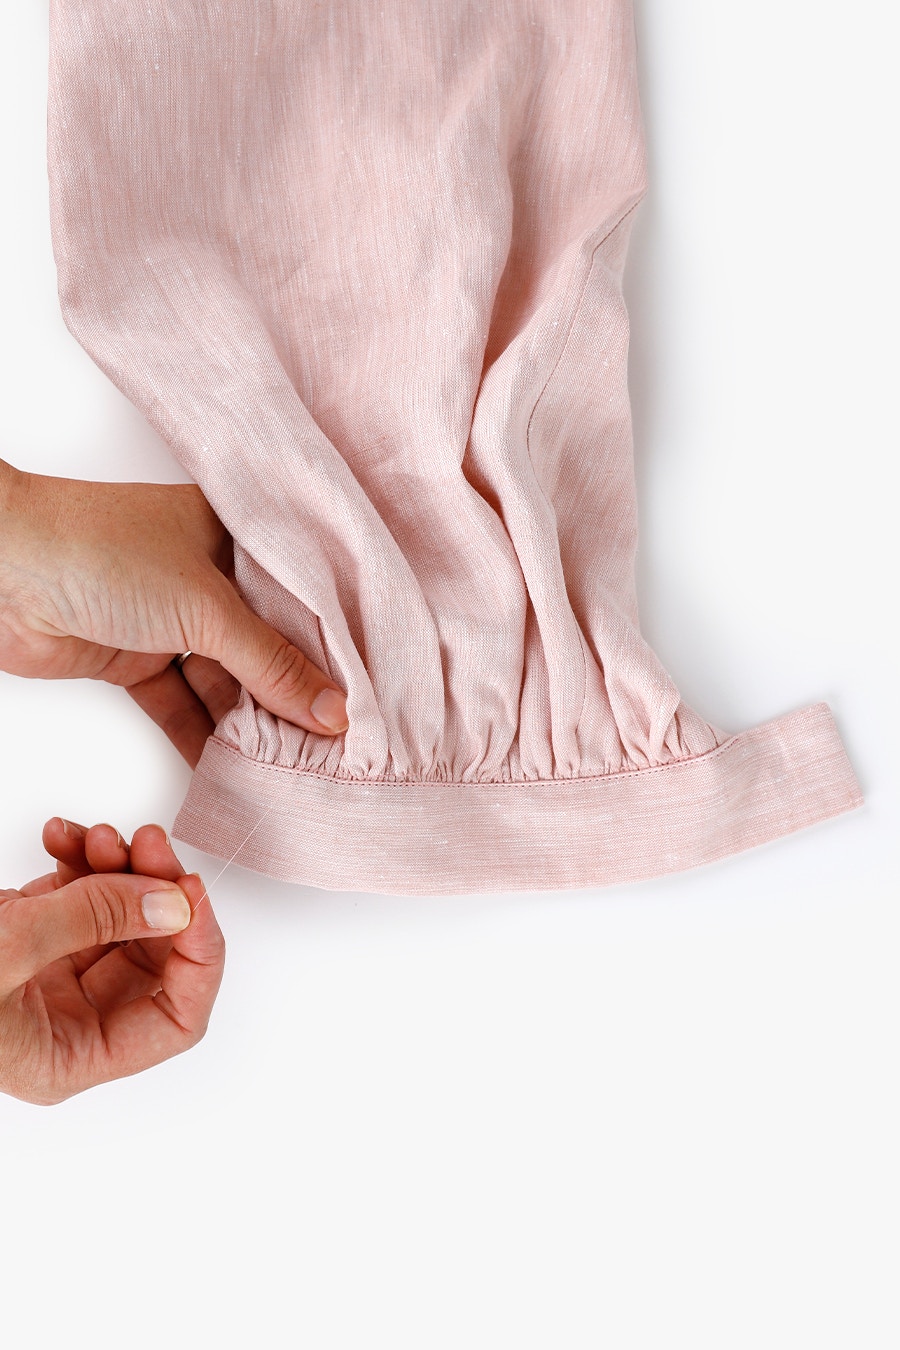
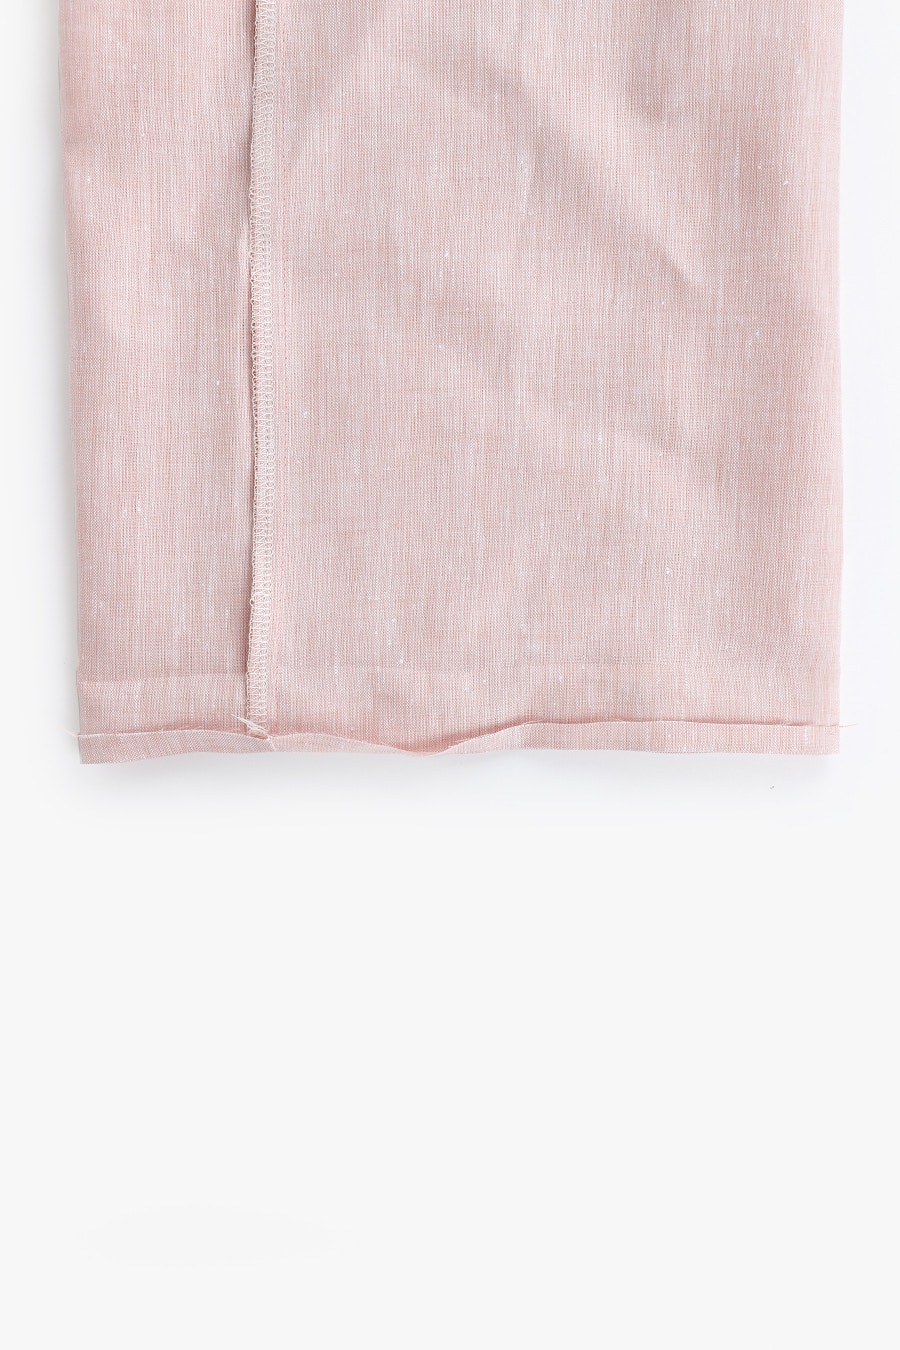
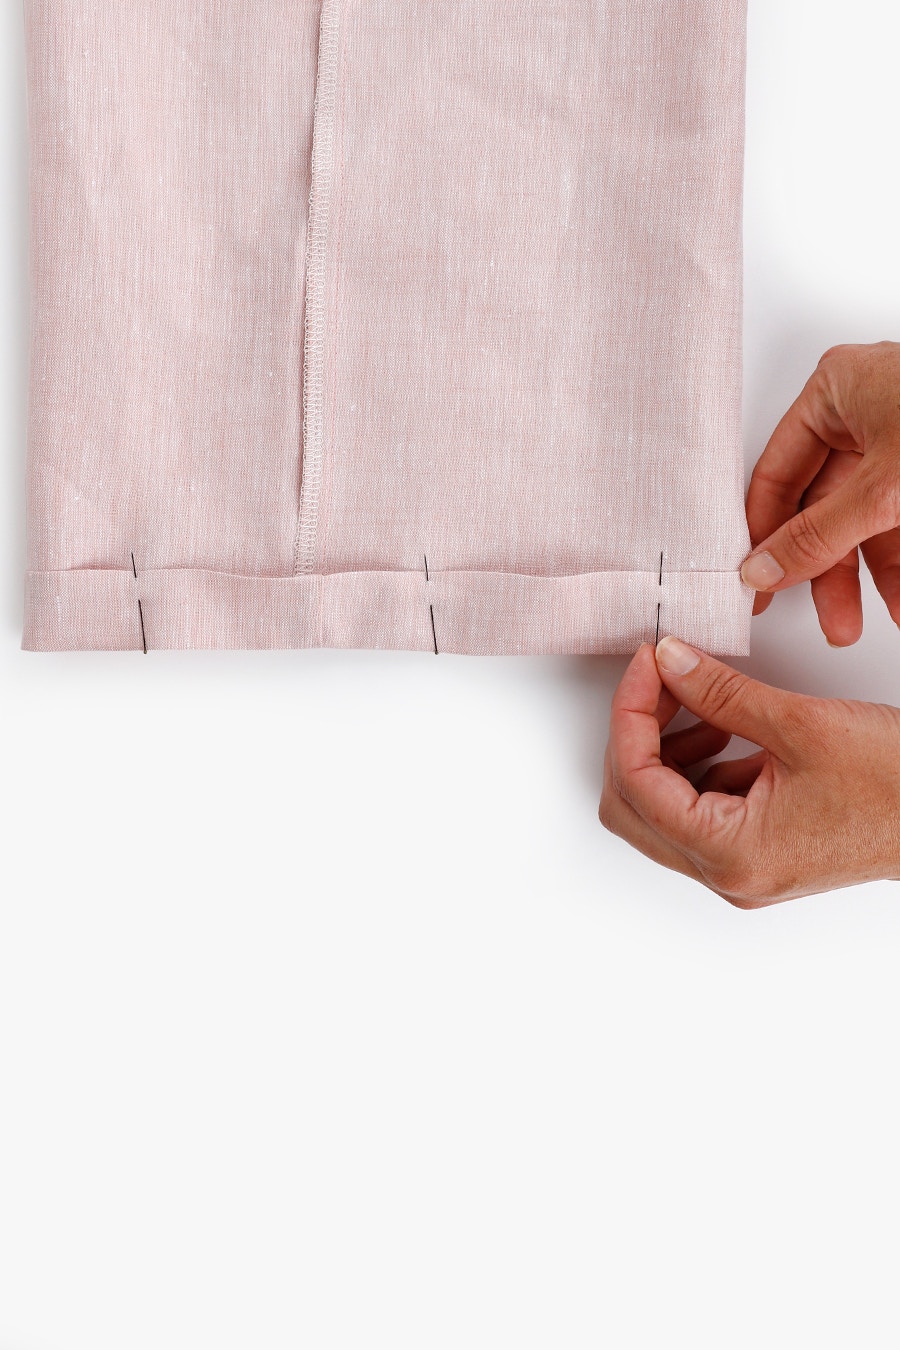
Fold the seam allowance under 1cm, then fold up the hem again at the notches, as per your pre-pressing at the beginning.
Edge stitch the hem in place, to form a casing for the elastic. Leave a gap at the sleeve seam about 4cm wide to thread the elastic through.
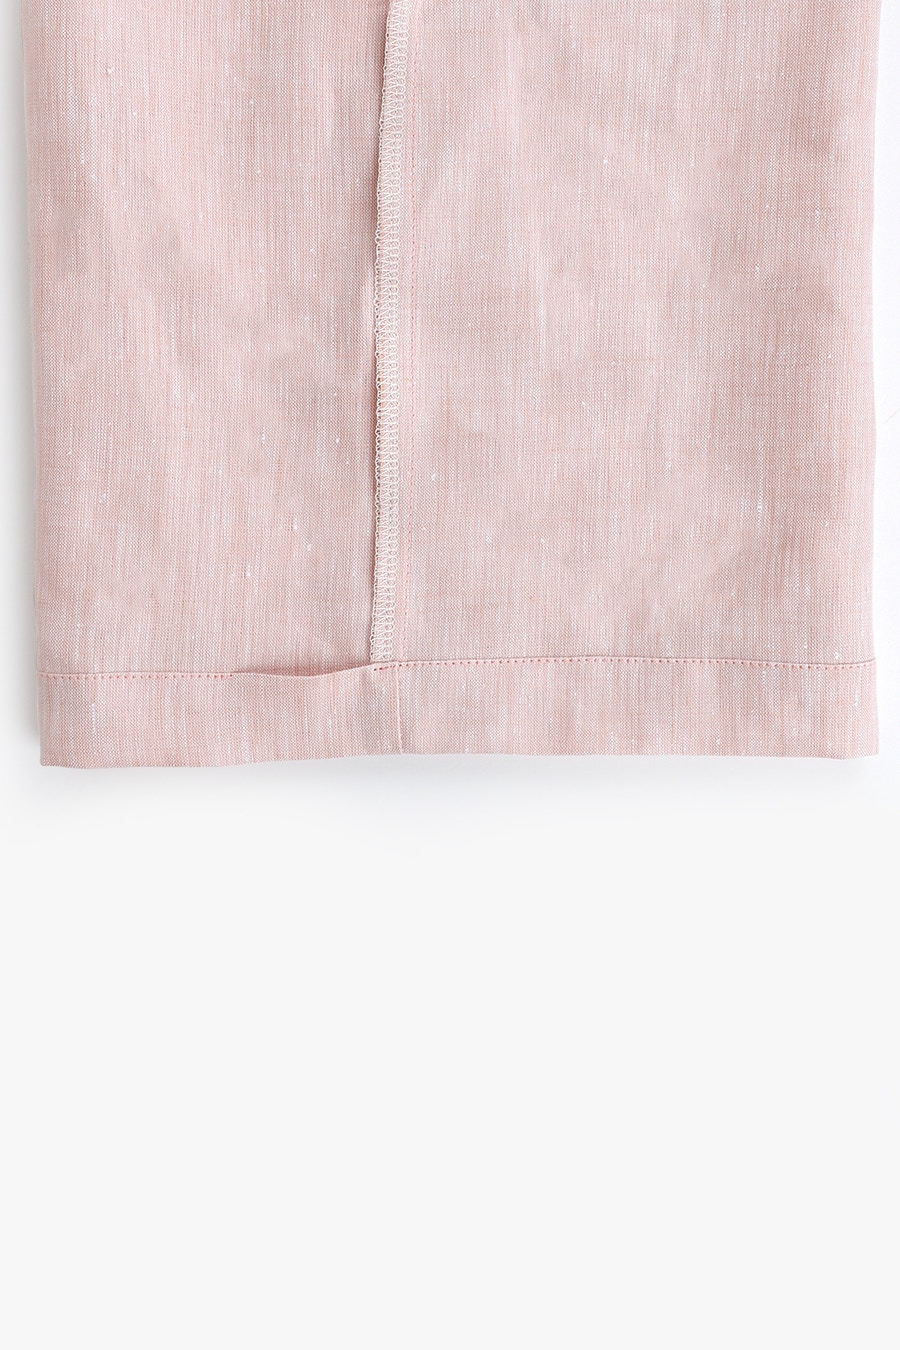
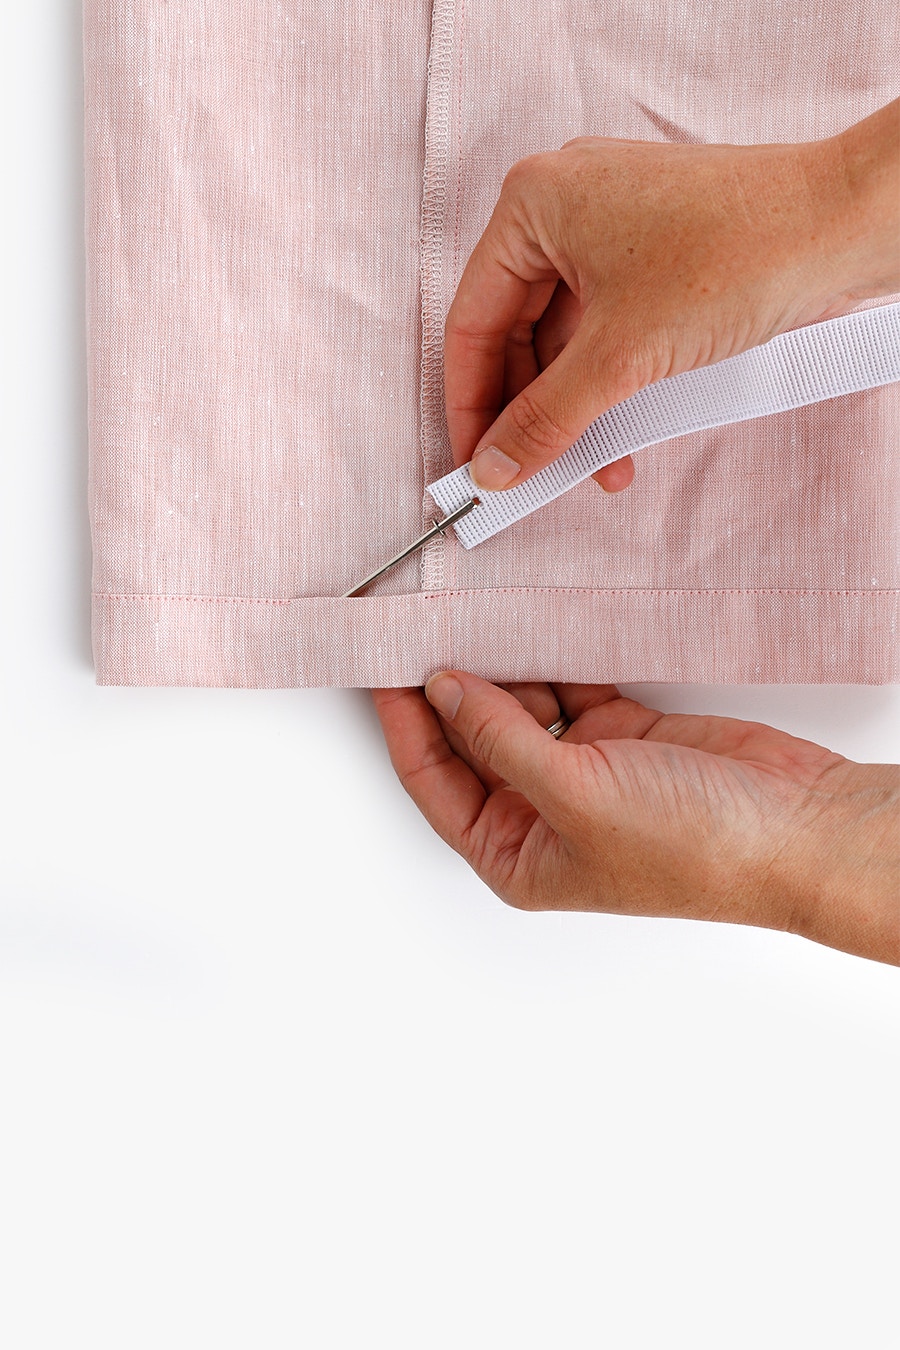
To determine the approximate length of your elastic, take your bicep measurement and subtract 2cm. The final measurement may vary depending on the stretchiness of your elastic, and how firmly you would like your cuff to fit.
Using a bodkin or safety pin, thread the elastic through the casing. Pin the ends together with a 2cm overlap. Try your dress or top on to check the fit of the elastic and adjust if necessary.
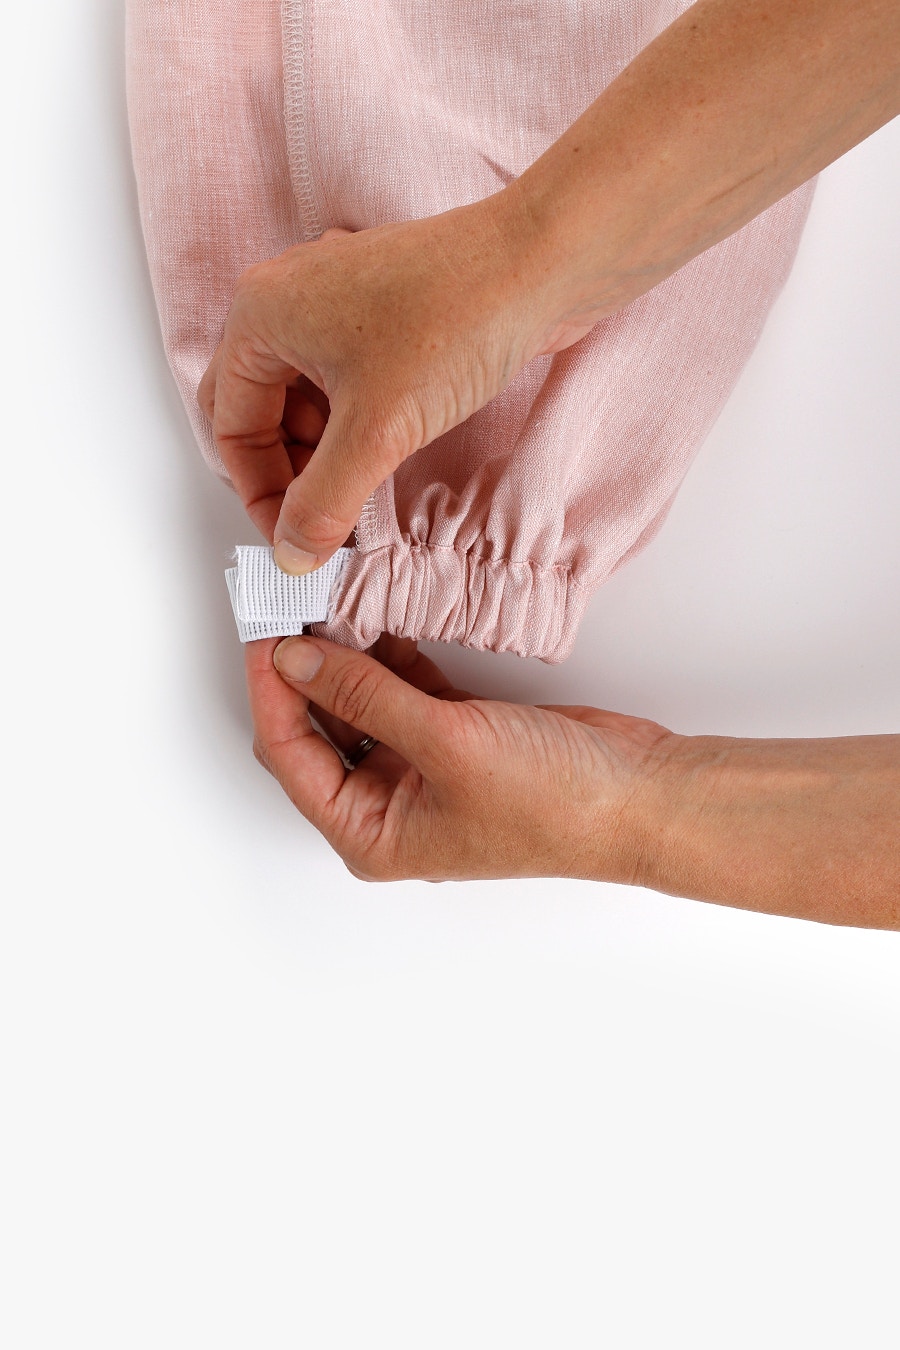
Overlap the ends by 2cm and secure them together with two rows of stitching.
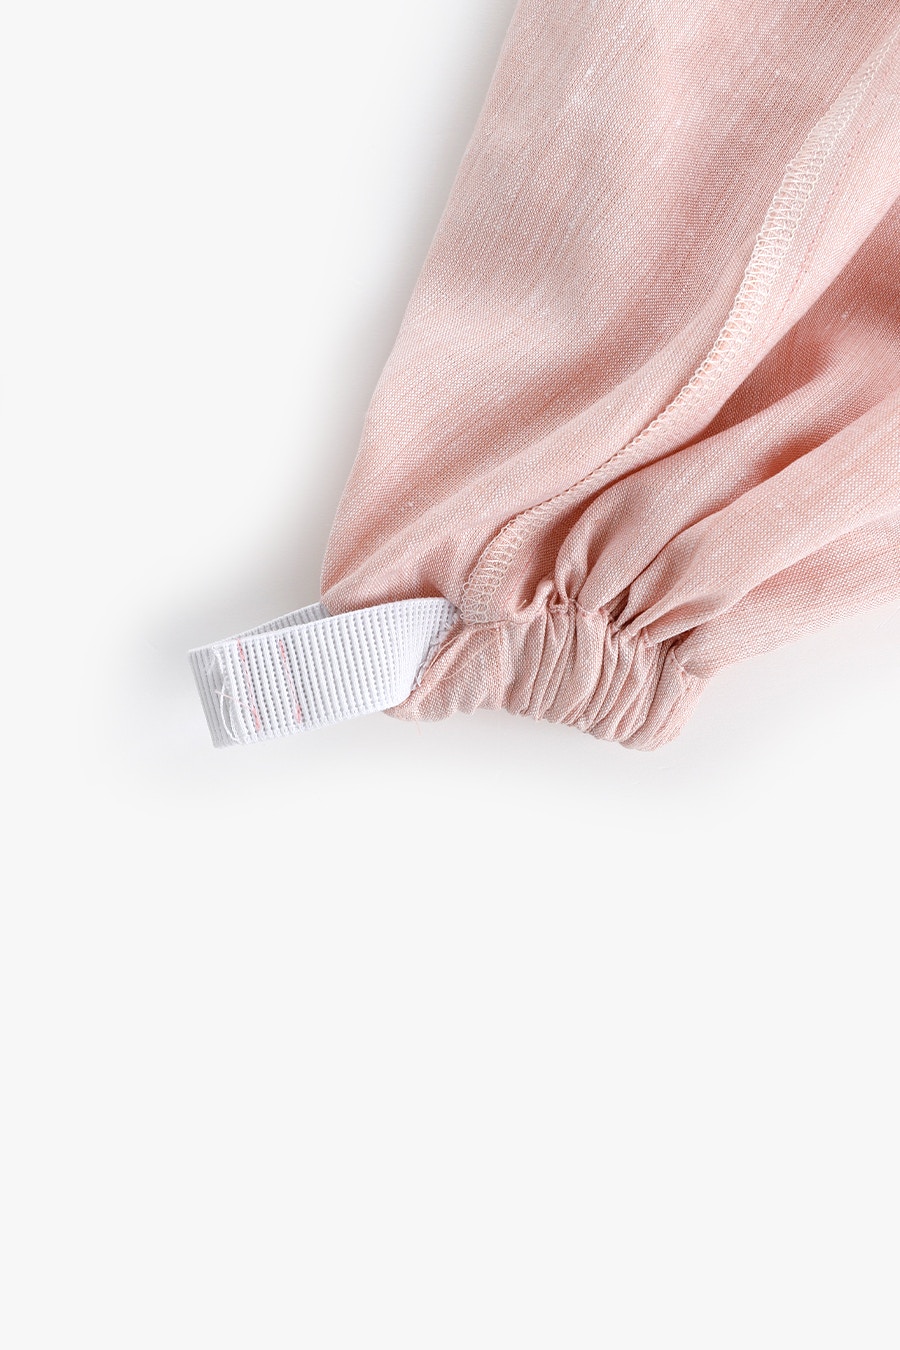
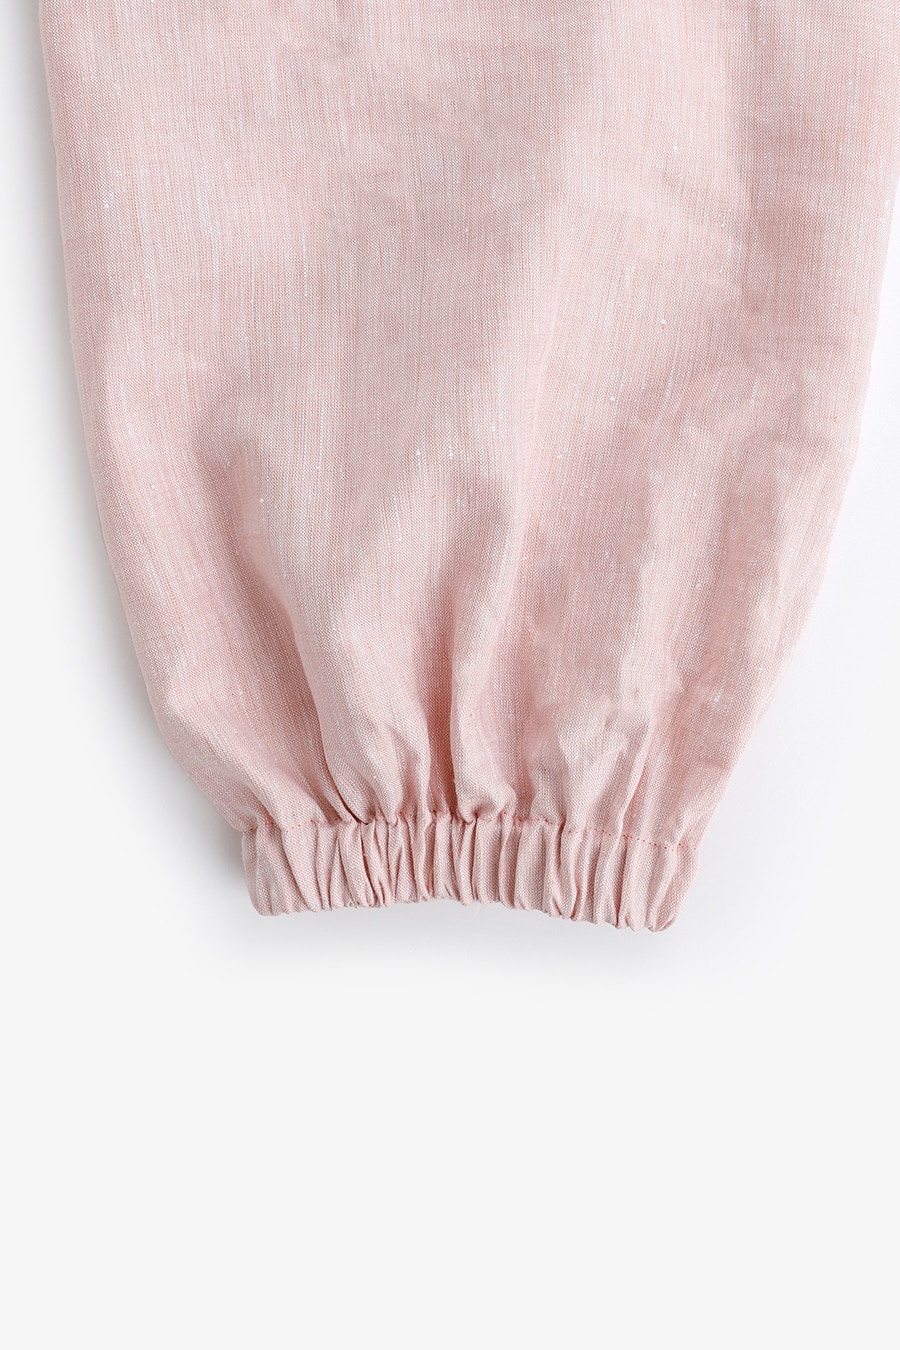
Edge stitch the opening in the cuff closed. You may find it helpful to use a zip foot here.
Repeat for the other sleeve.
6 — Sew Hem and Finishing Touches
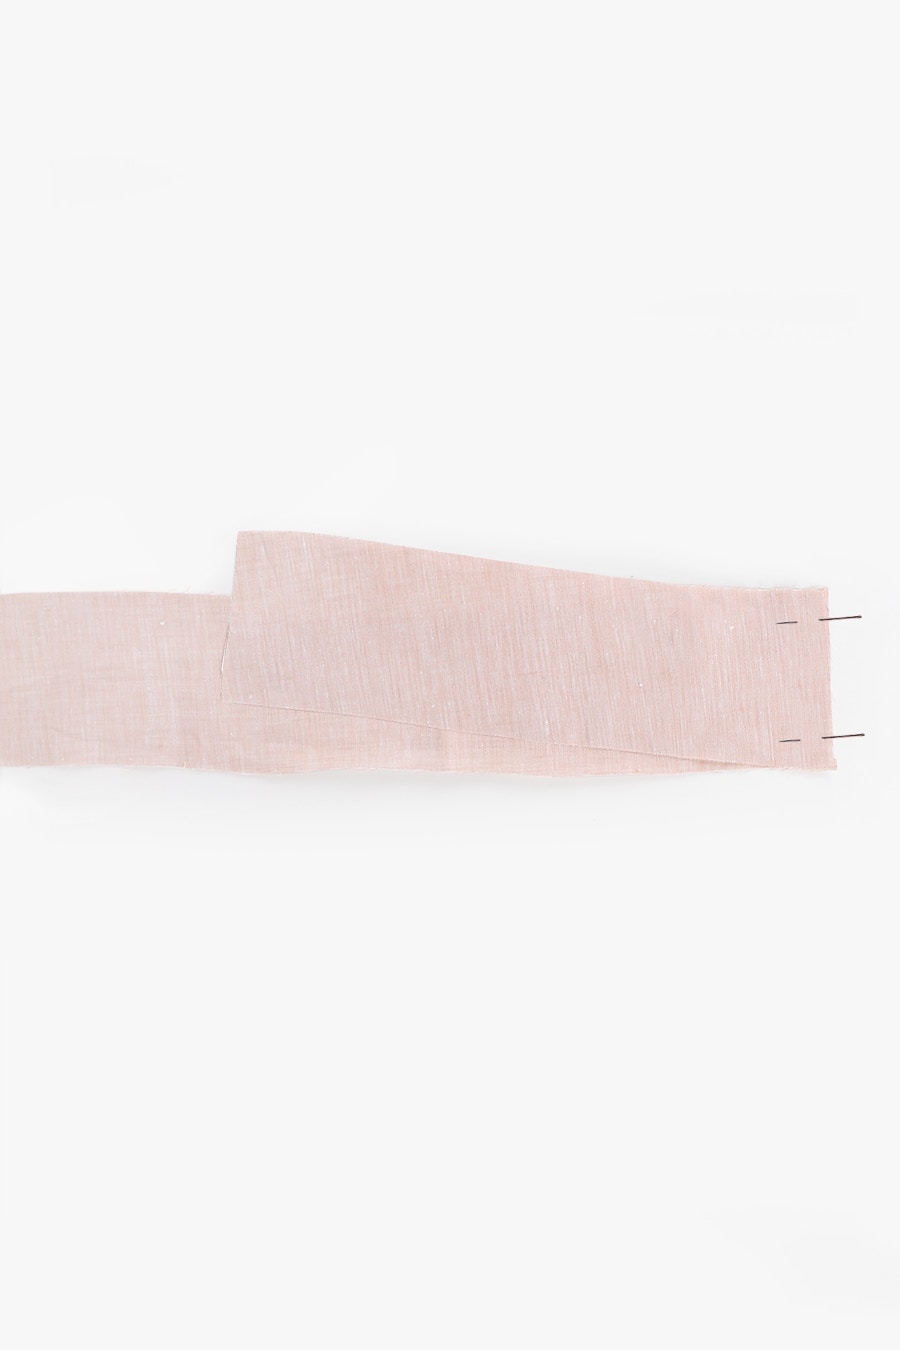
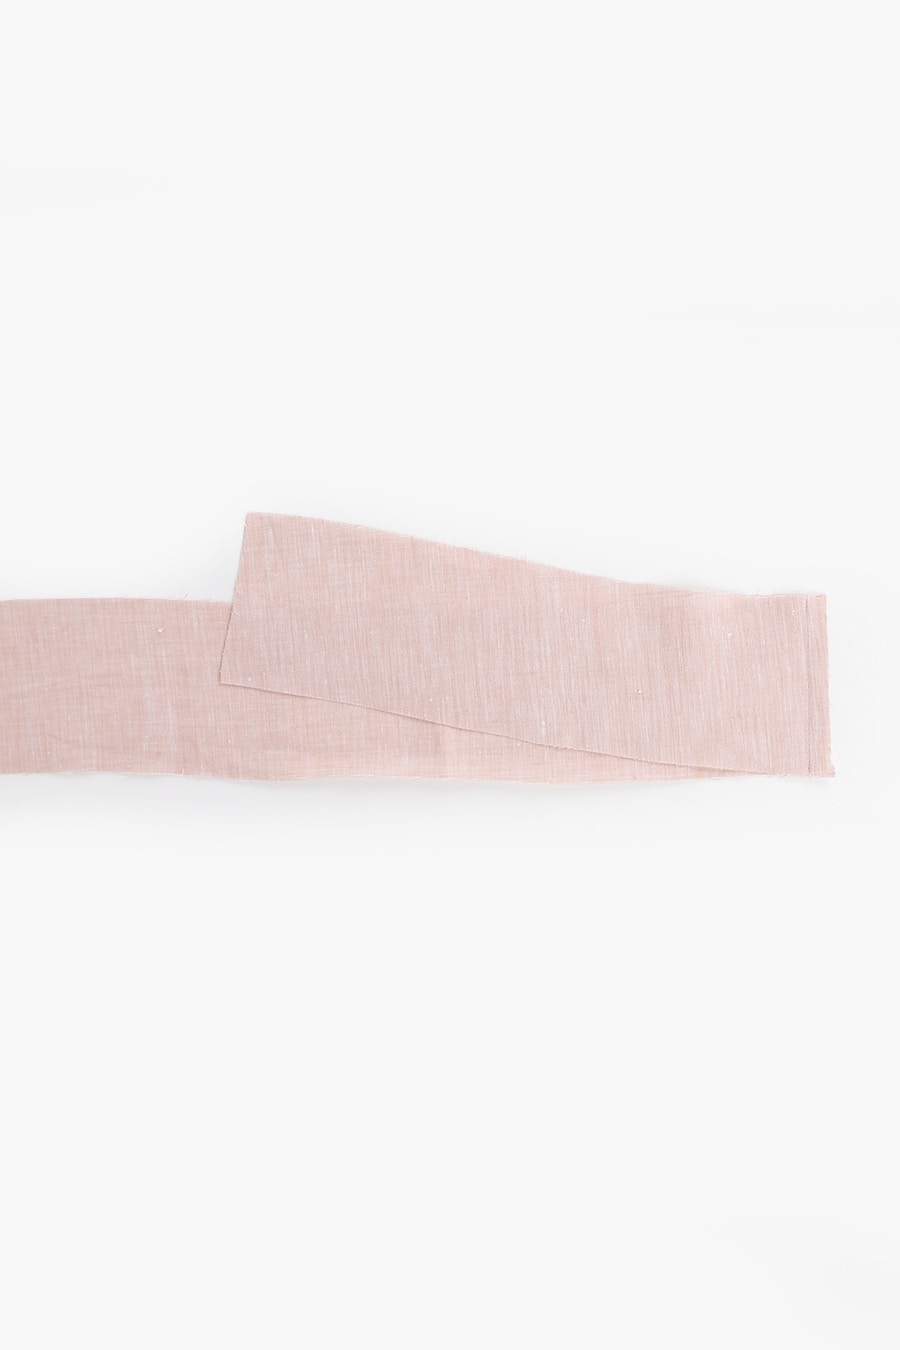
First in this post we will prepare the hem facing. It may be helpful before you begin sewing to label these facing pieces on the back with tailor’s chalk or a removable pen.
With right sides together pin the left side front facing to the front facing matching the notches on the shorter ends. Sew together, then press the seam open. Repeat for the other side.
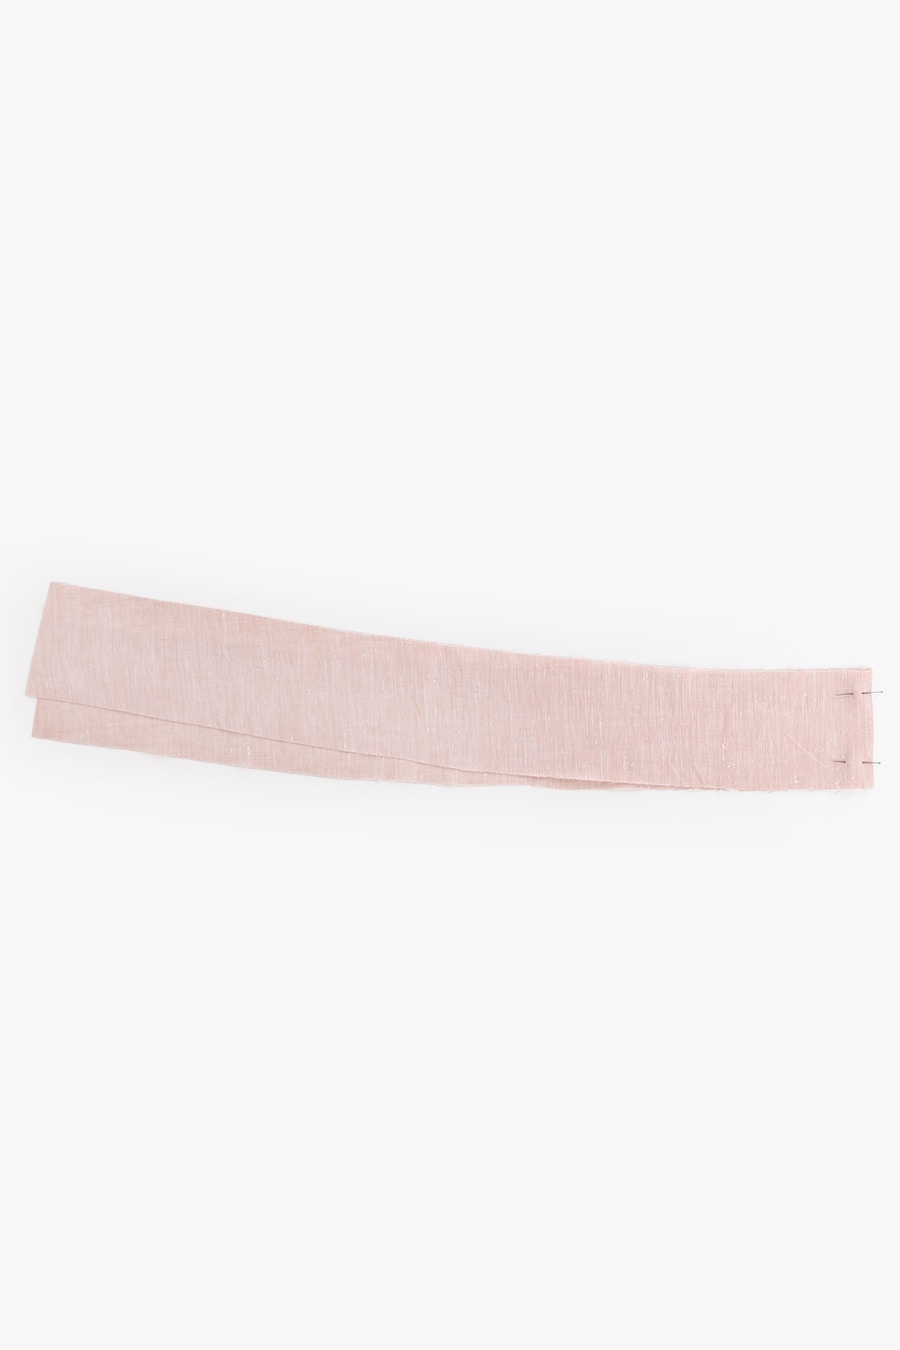
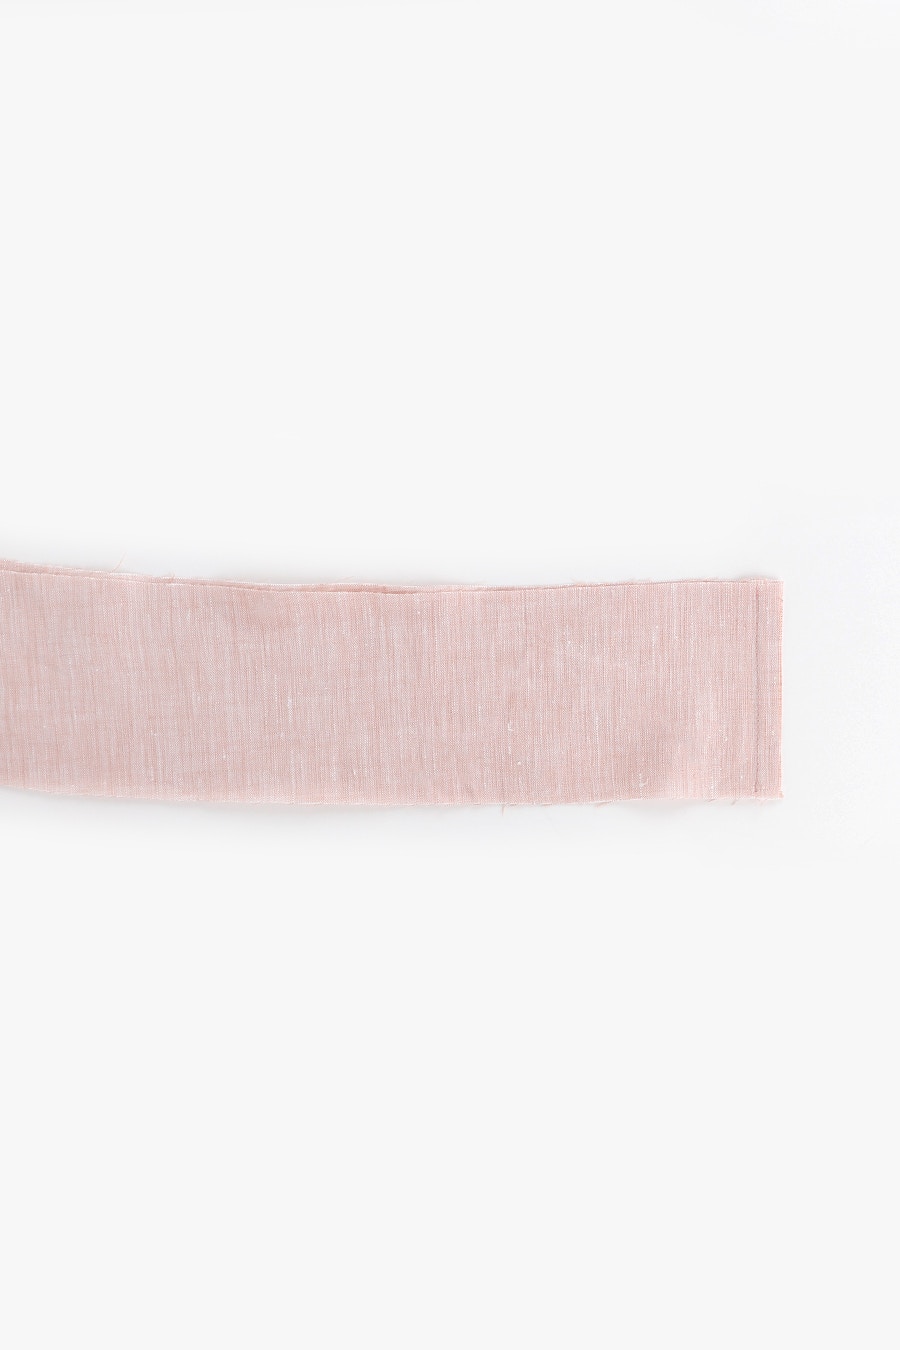
Take the back facing pieces and with right sides together pin the centre back seam. Sew and then press the seam open.
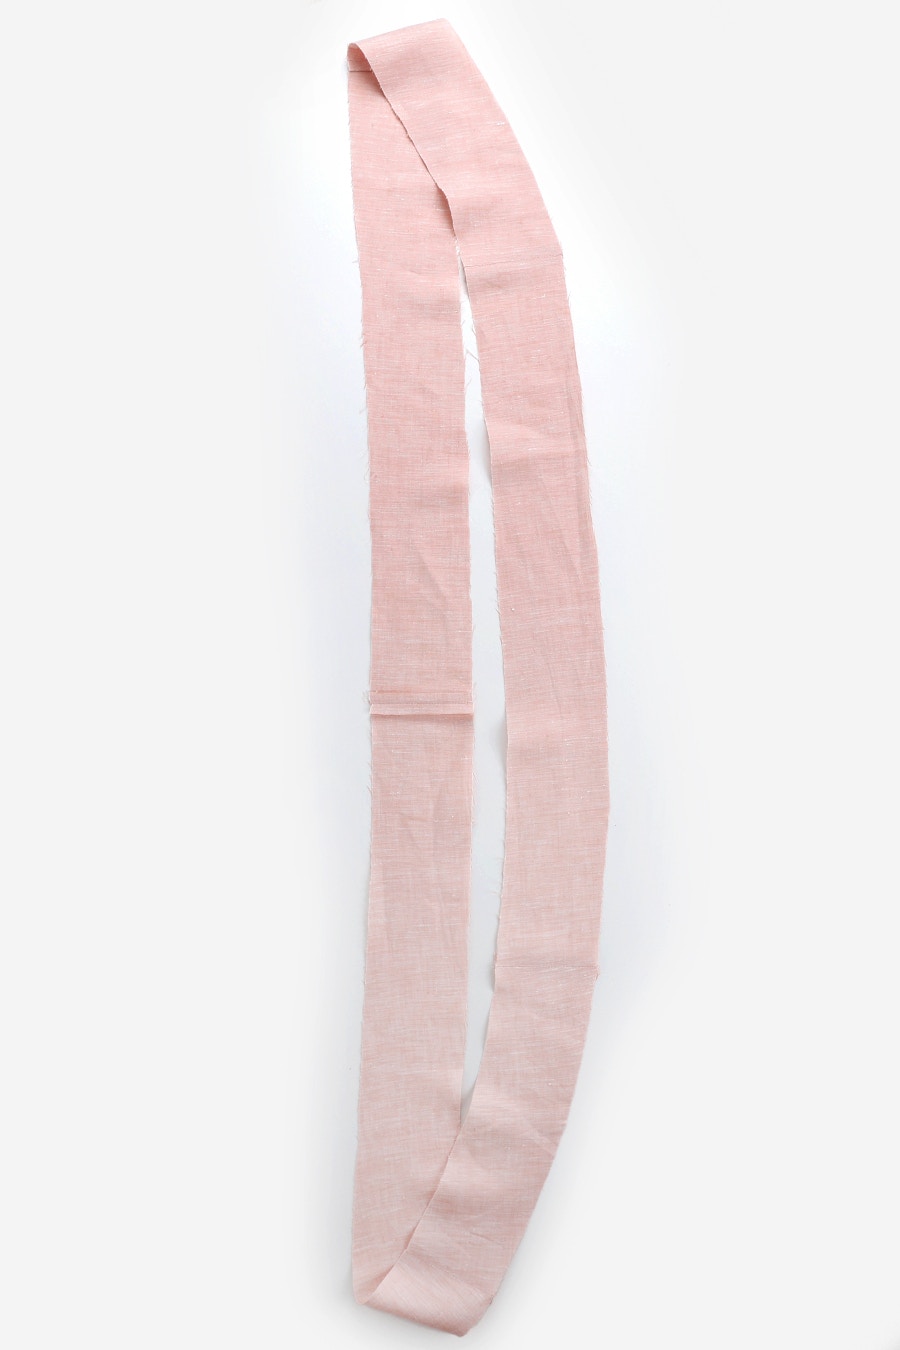
You will now have two curved facing pieces, one for the front hem and one for the back. Pin these together matching the side seam notches and sew. Press the seams open.
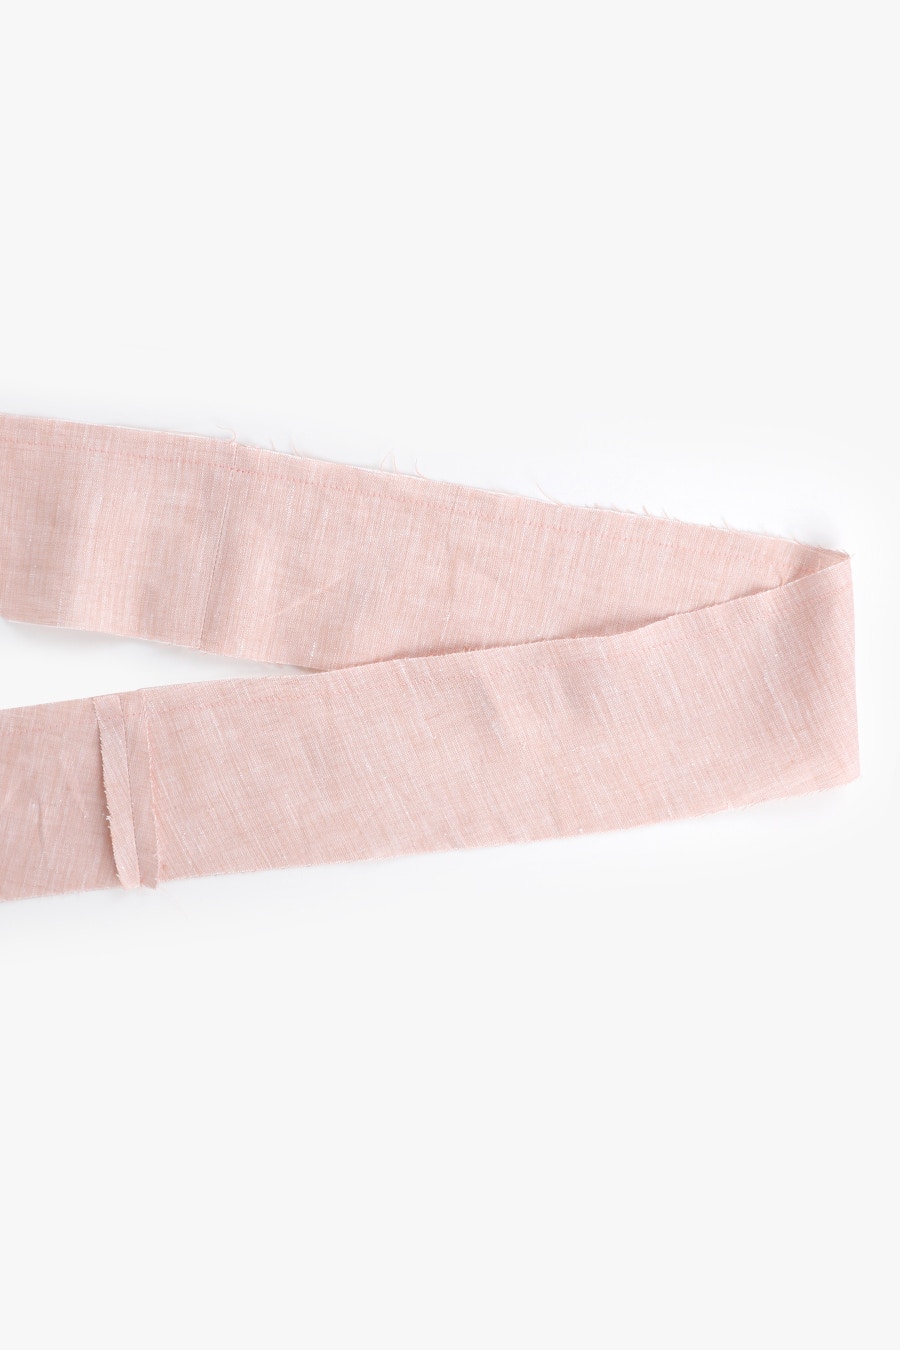
Sew a row of basting stitches 1cm from the top edge (the edge without the notches) of the hem facing.
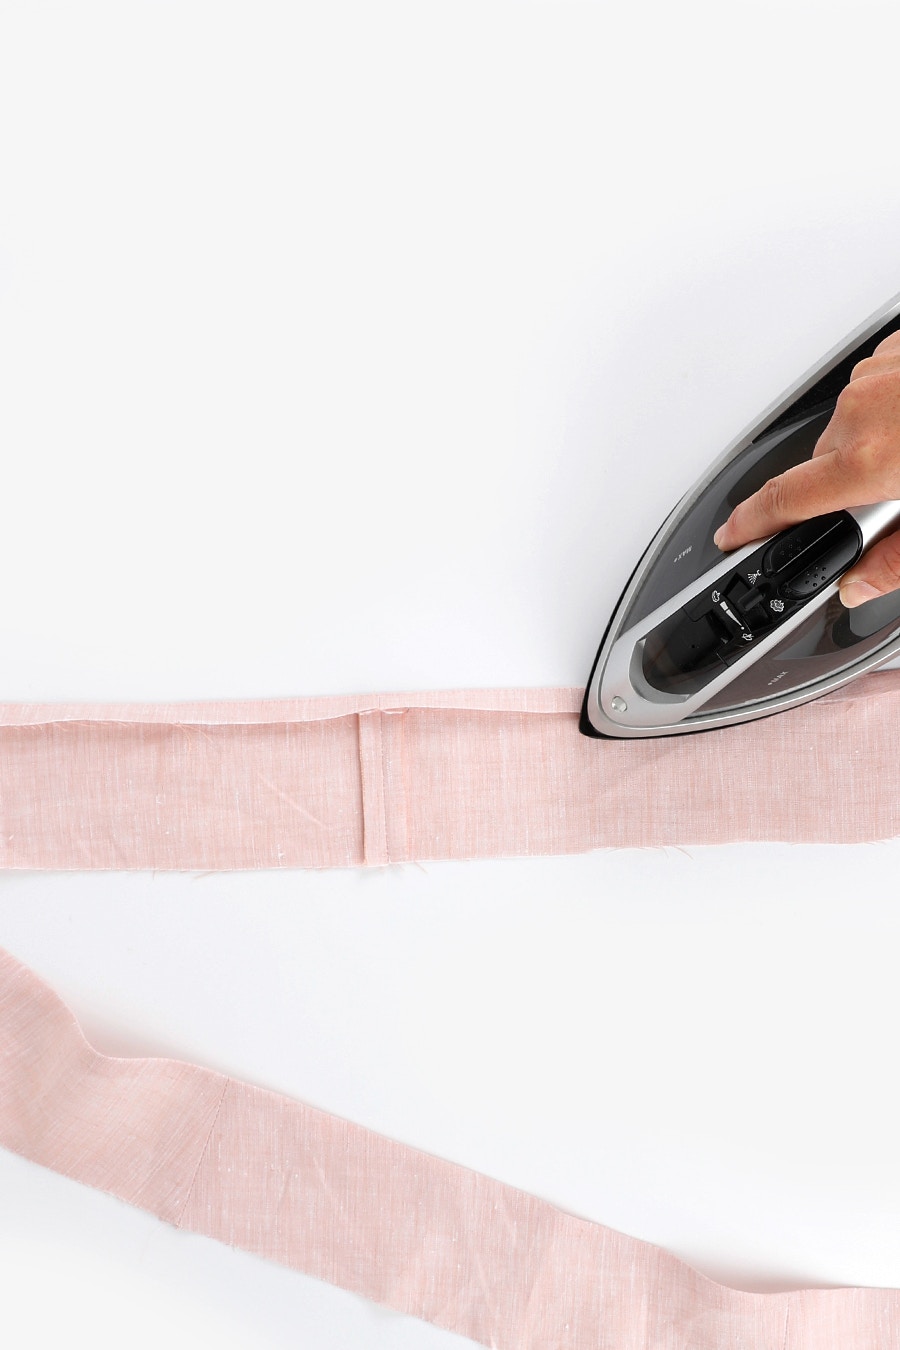
Press the top edge of the facing under along this basting line at 1cm, with wrong sides together.
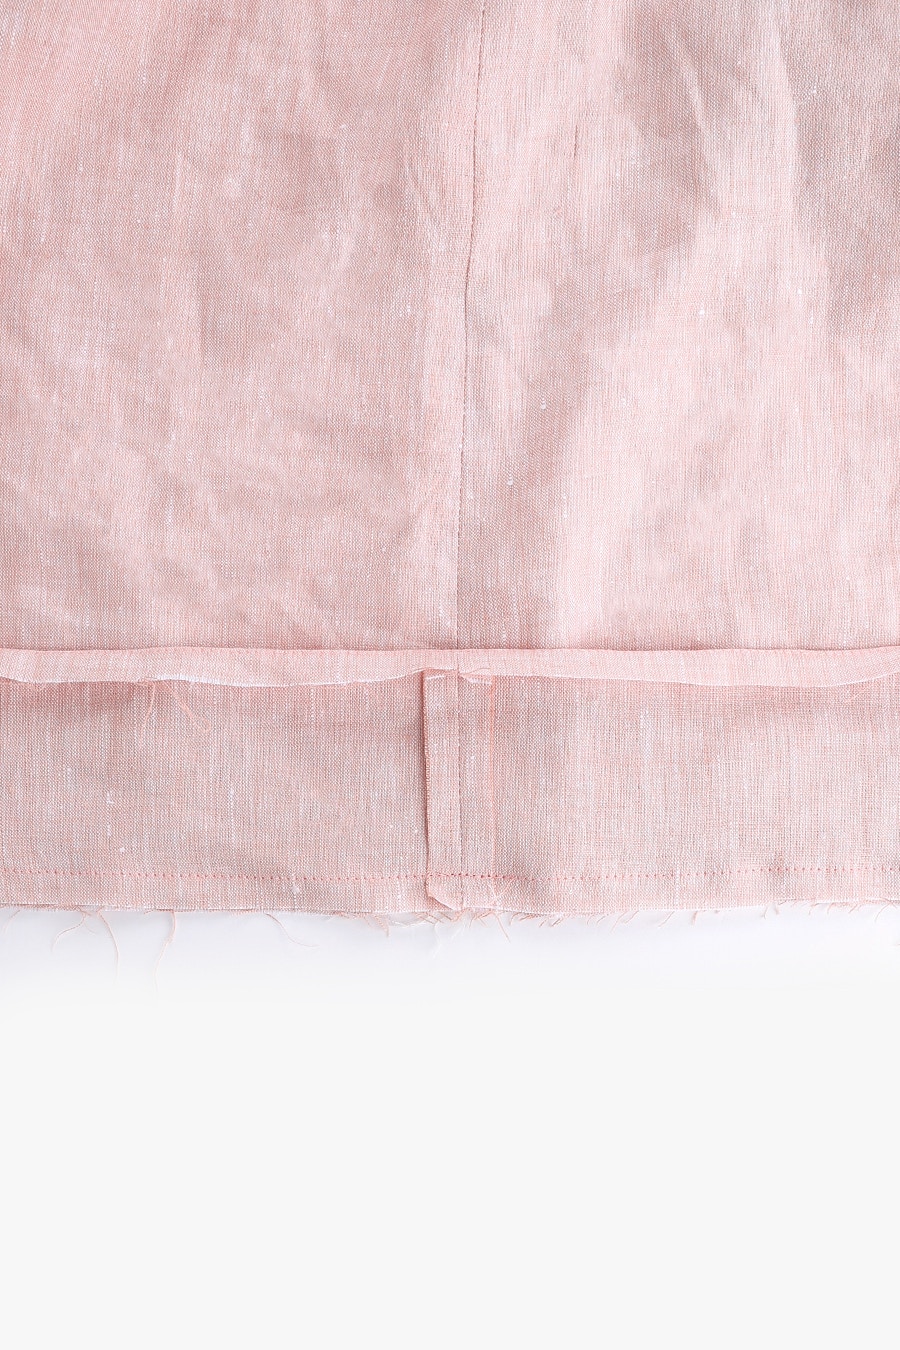

Pin the hem facing to the hem of your dress or top, right sides together. Start at centre back and work around to the front, and back again, matching the notches and the seams of your dress or top and the facing. Sew in place at 1cm.
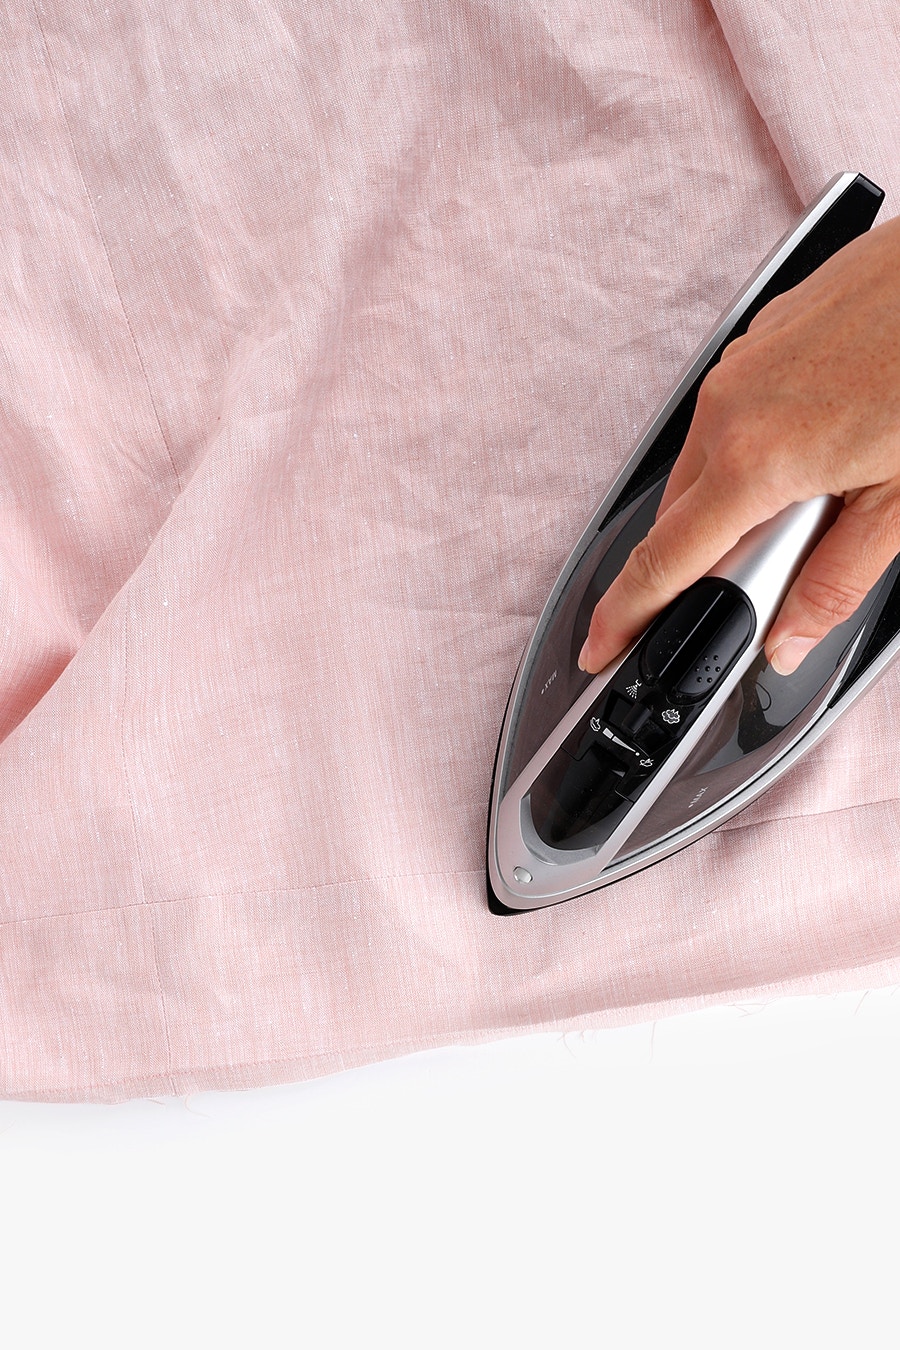

Press the seam towards the facing then understitch on the facing. This will help the facing sit flat and keep it from being visible from the right side.
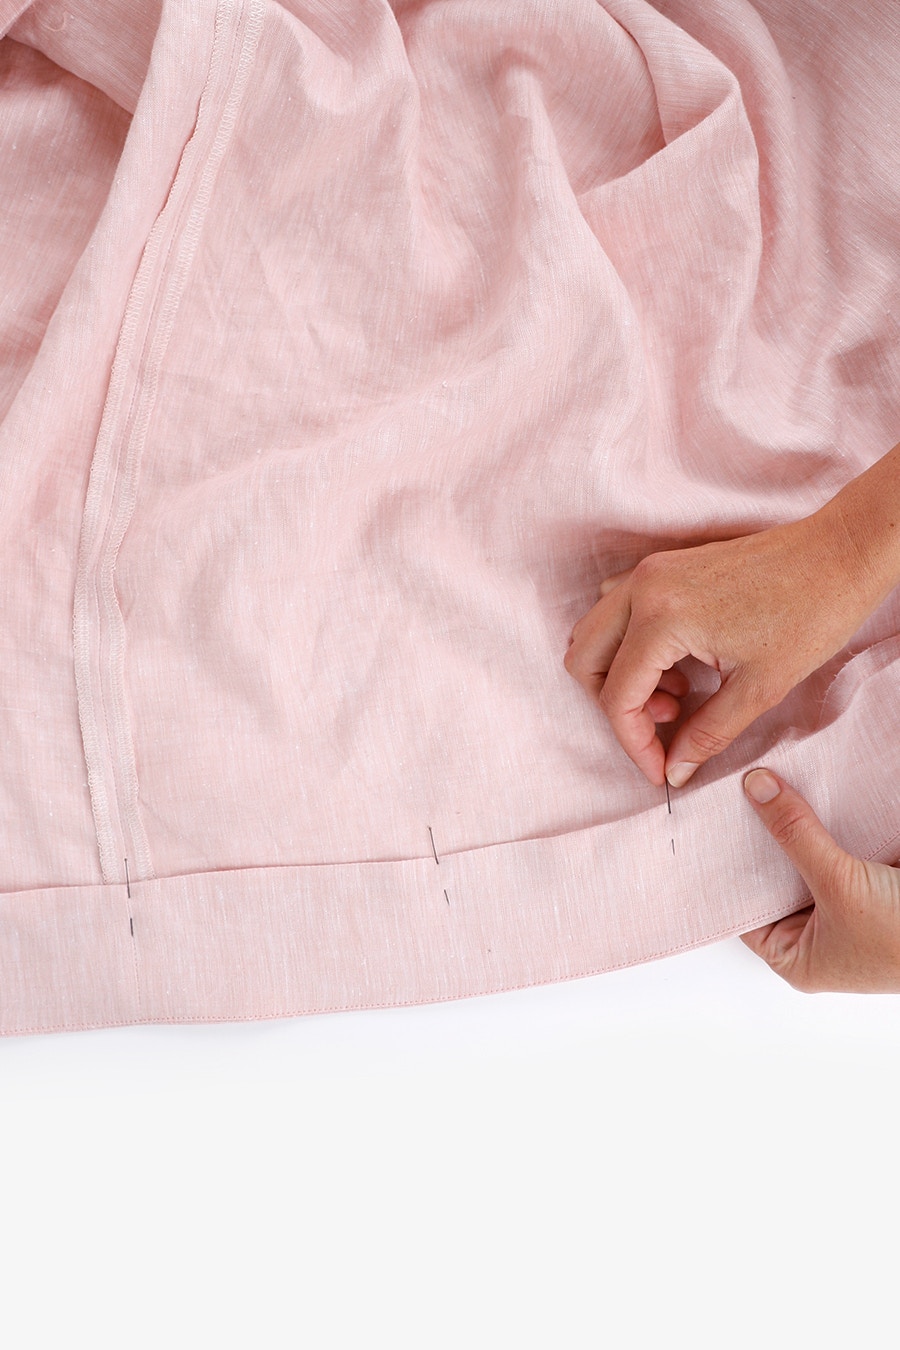
Press the facing to the inside of the dress, wrong sides together, along the seam you have just sewn. Making sure the top edge is folded under 1cm, pin the hem in place matching the seams.
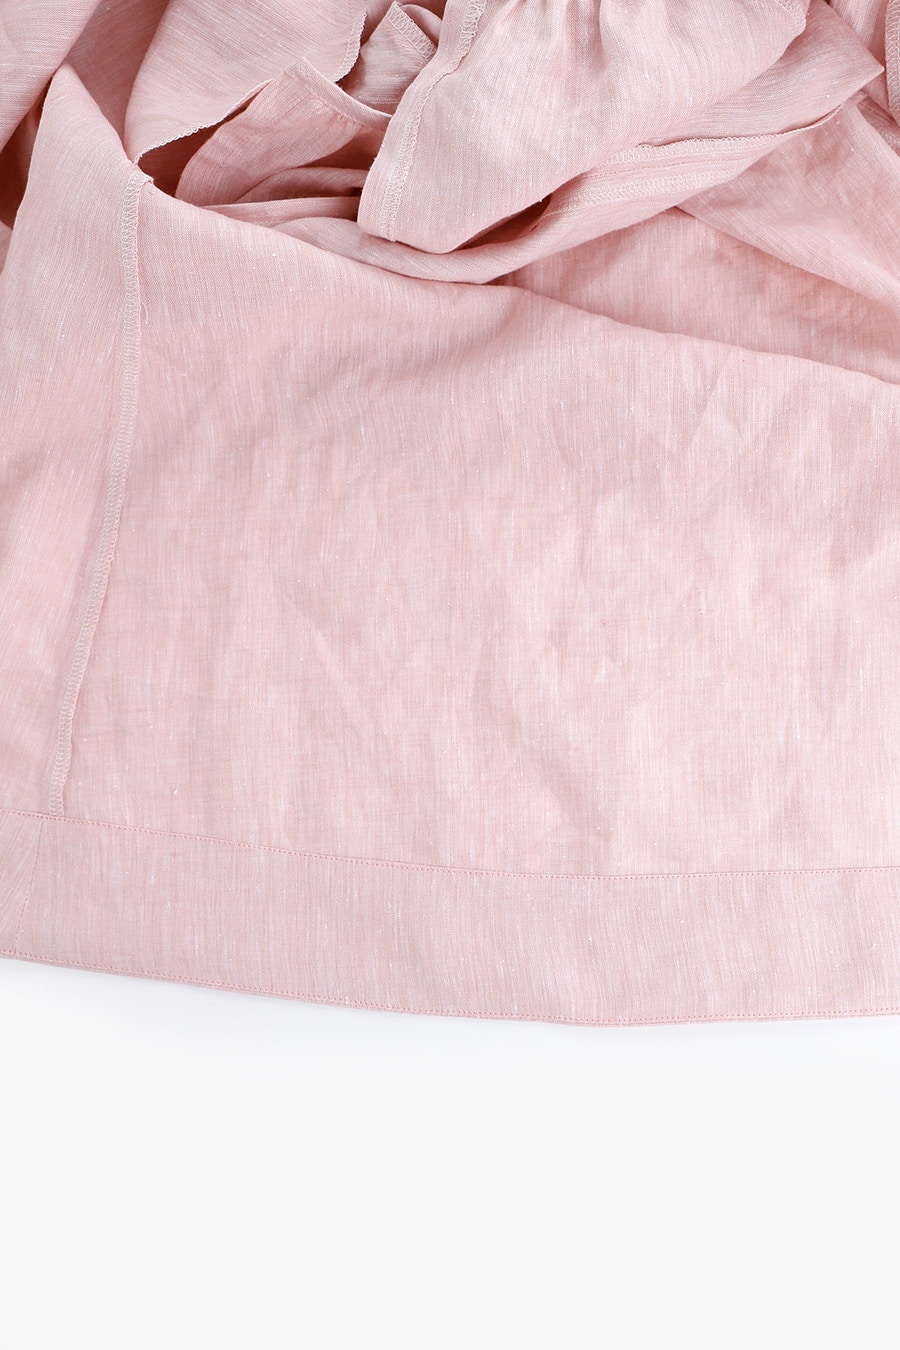
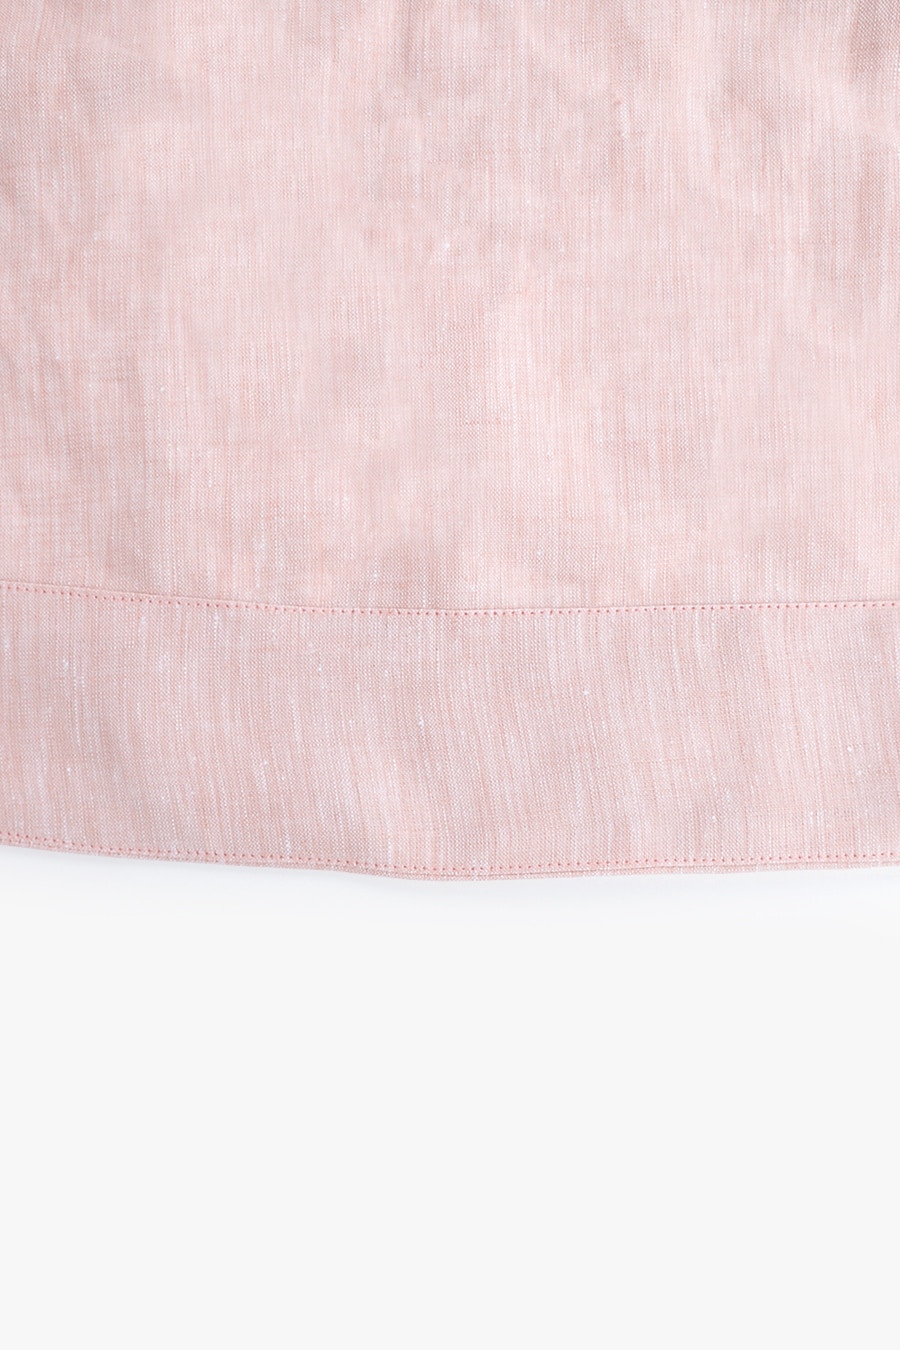
Starting at the centre back edge stitch the facing to the dress then give your hem a press.
If you have cut your waist tie in more than one piece pin the pieces together at the short end, with the right sides together. Sew with a 1cm seam and press open.
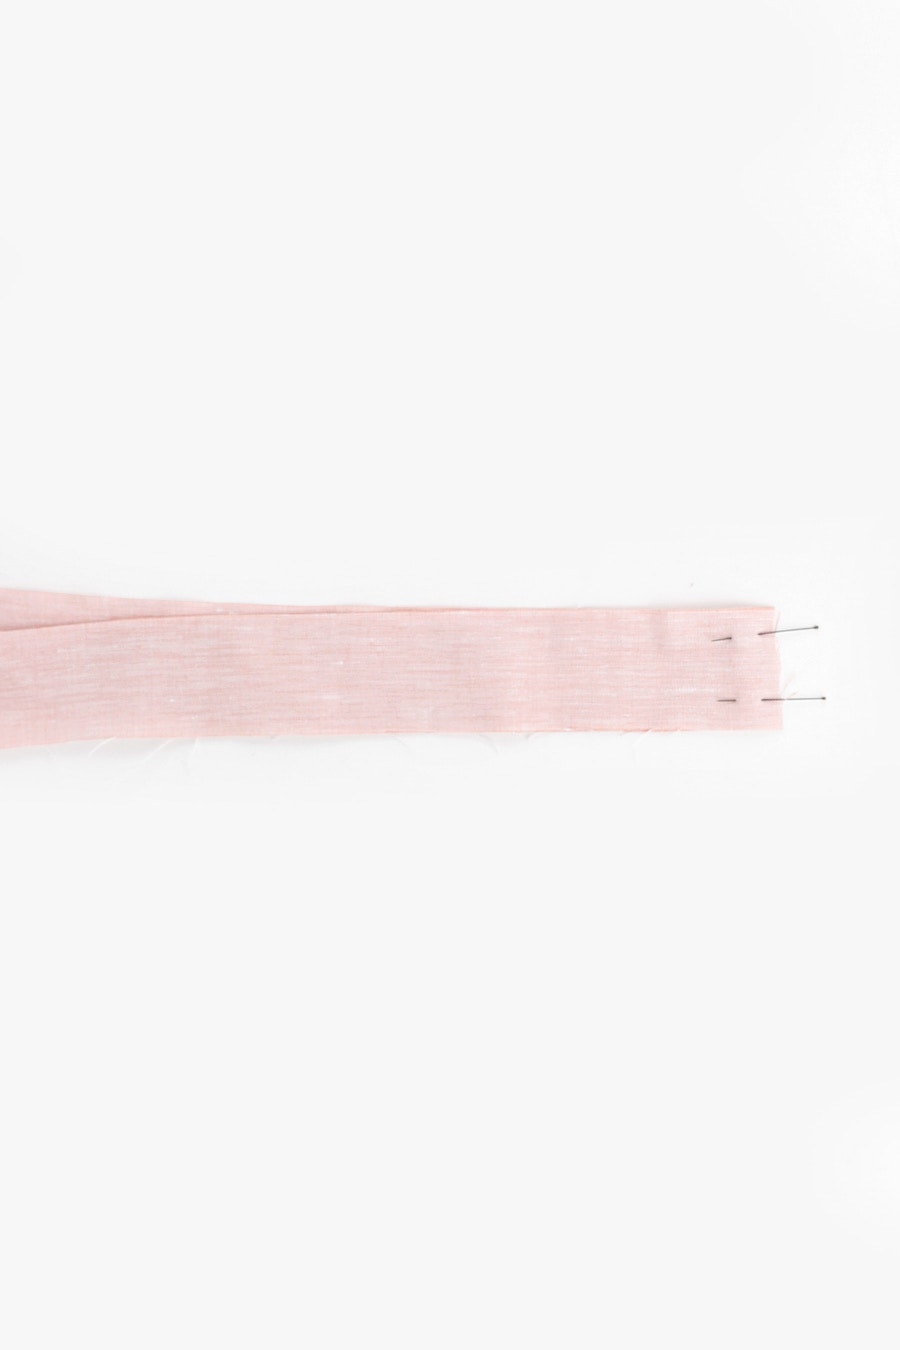
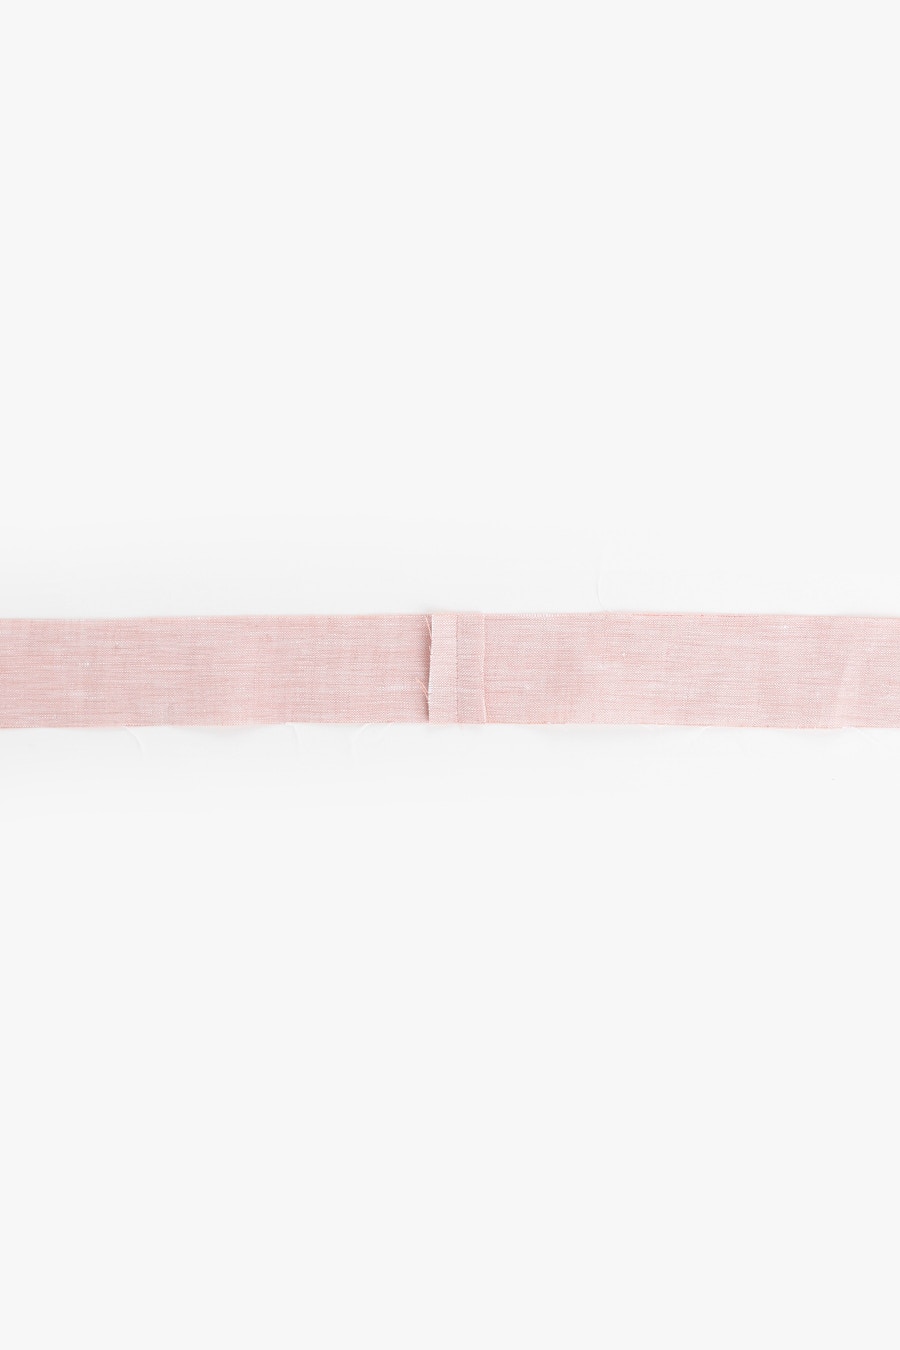
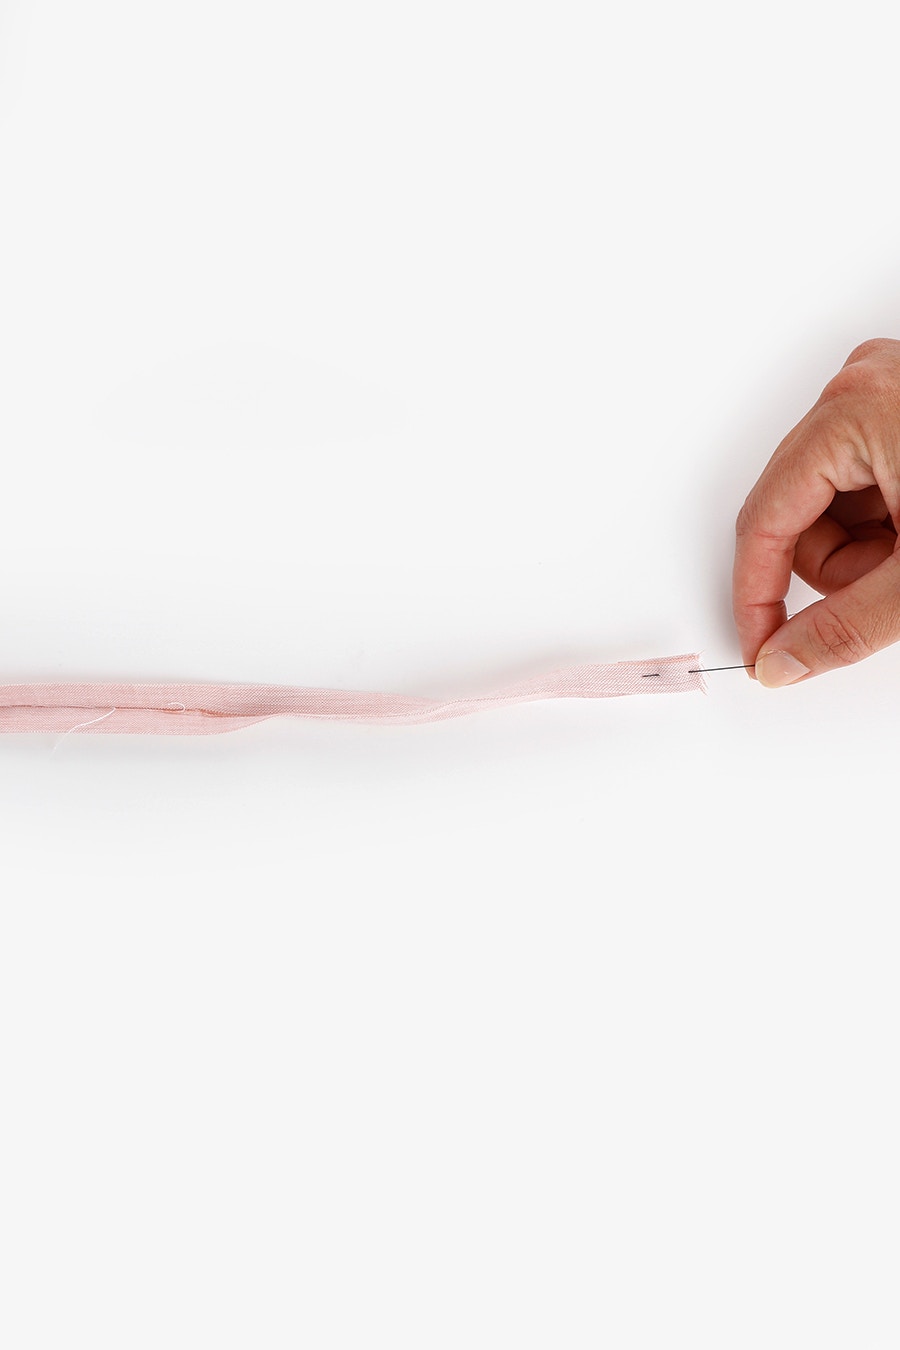
Fold the long outer edges of the waist tie in 1cm to meet in the centre.
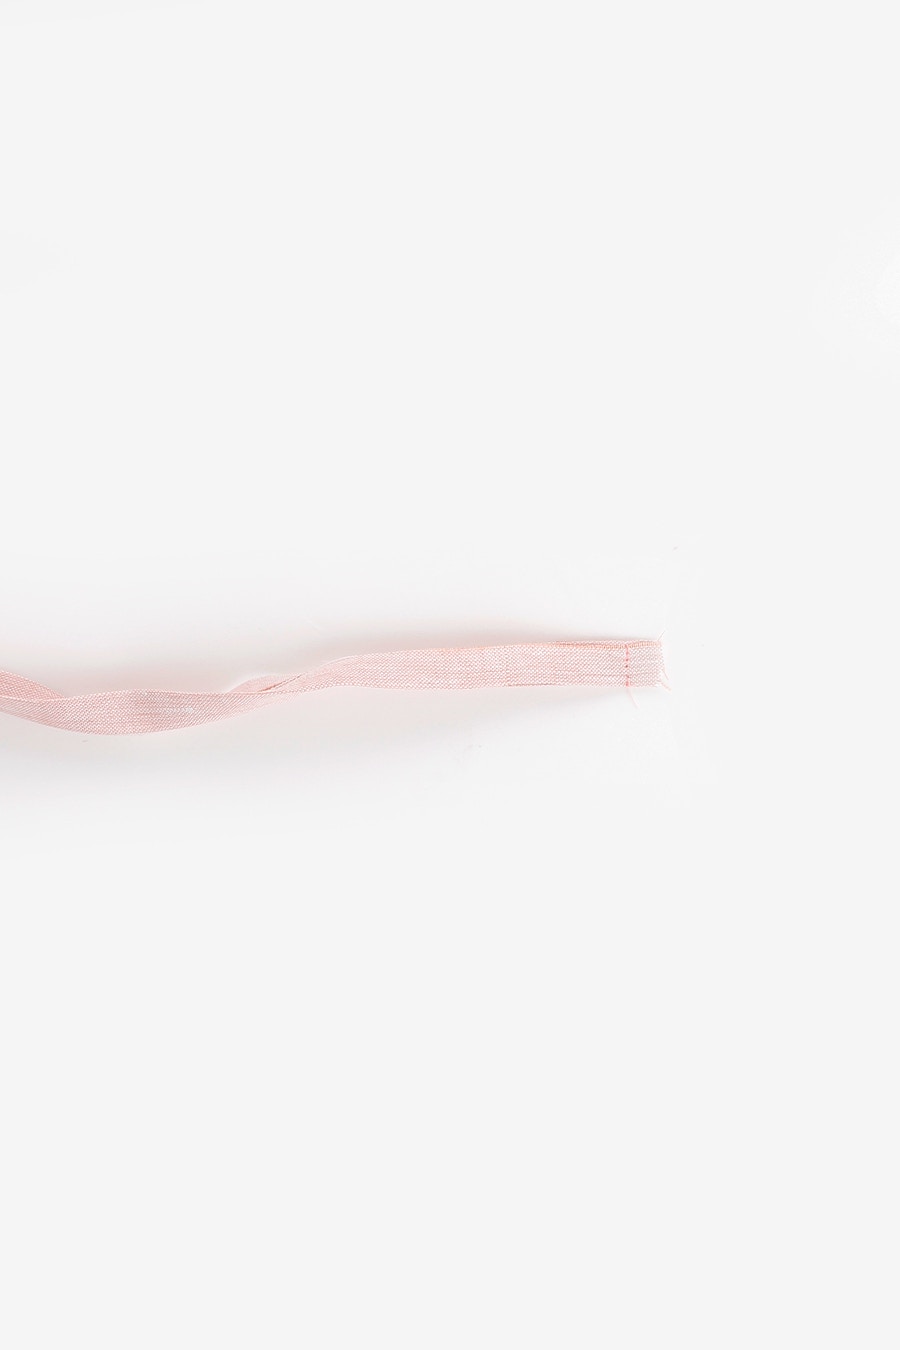
Fold the waist tie in half with the right sides together. This is the opposite to your pre-pressing at the beginning, and the raw edges will be visible. Stitch each end closed at 1cm.
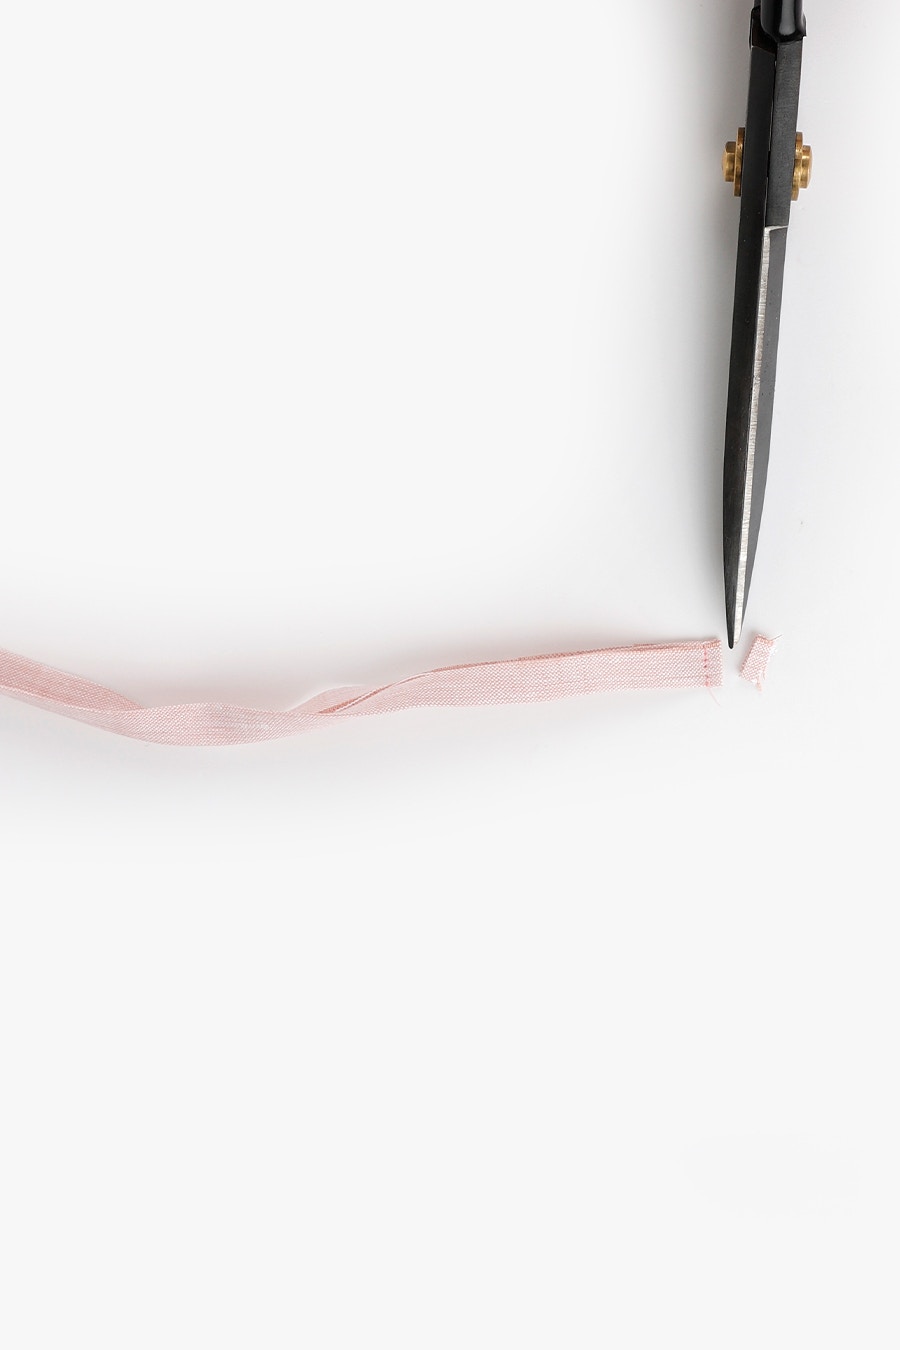
Trim the seam to 5mm.
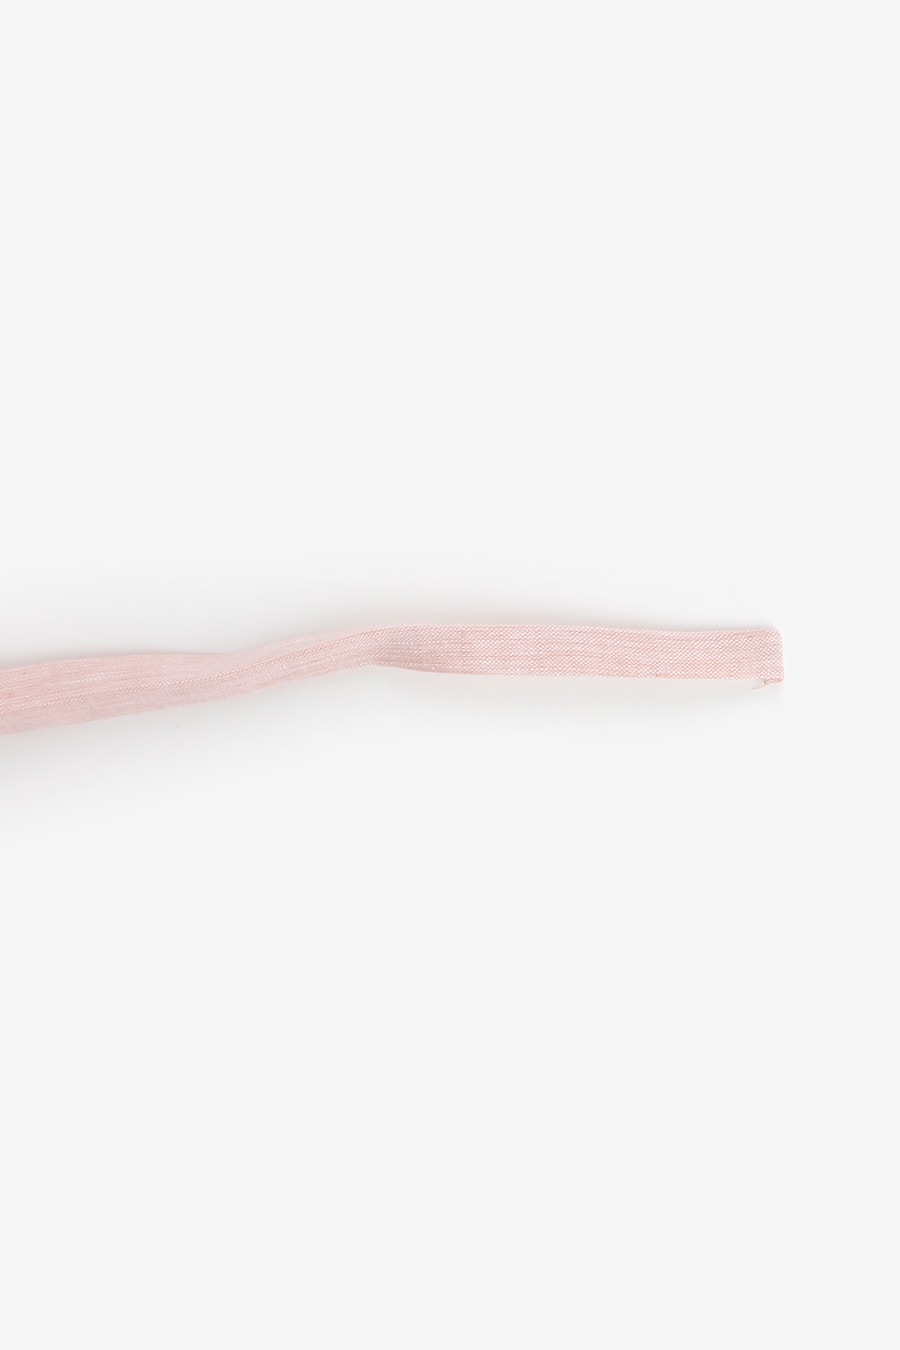
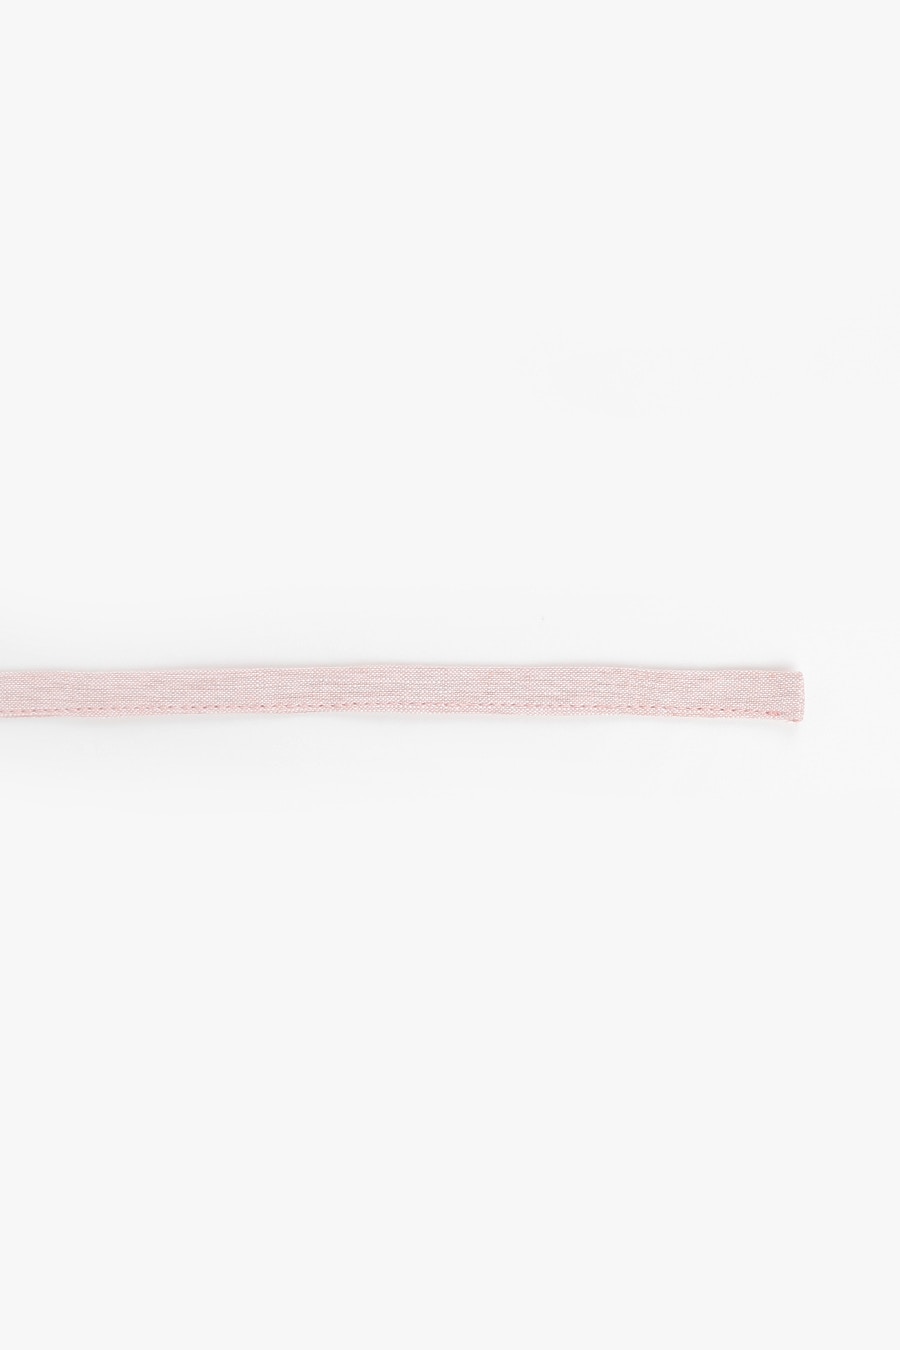
Turn the drawstring right side out so the raw edges are enclosed.
Edge stitch the waist tie closed along the entire length.
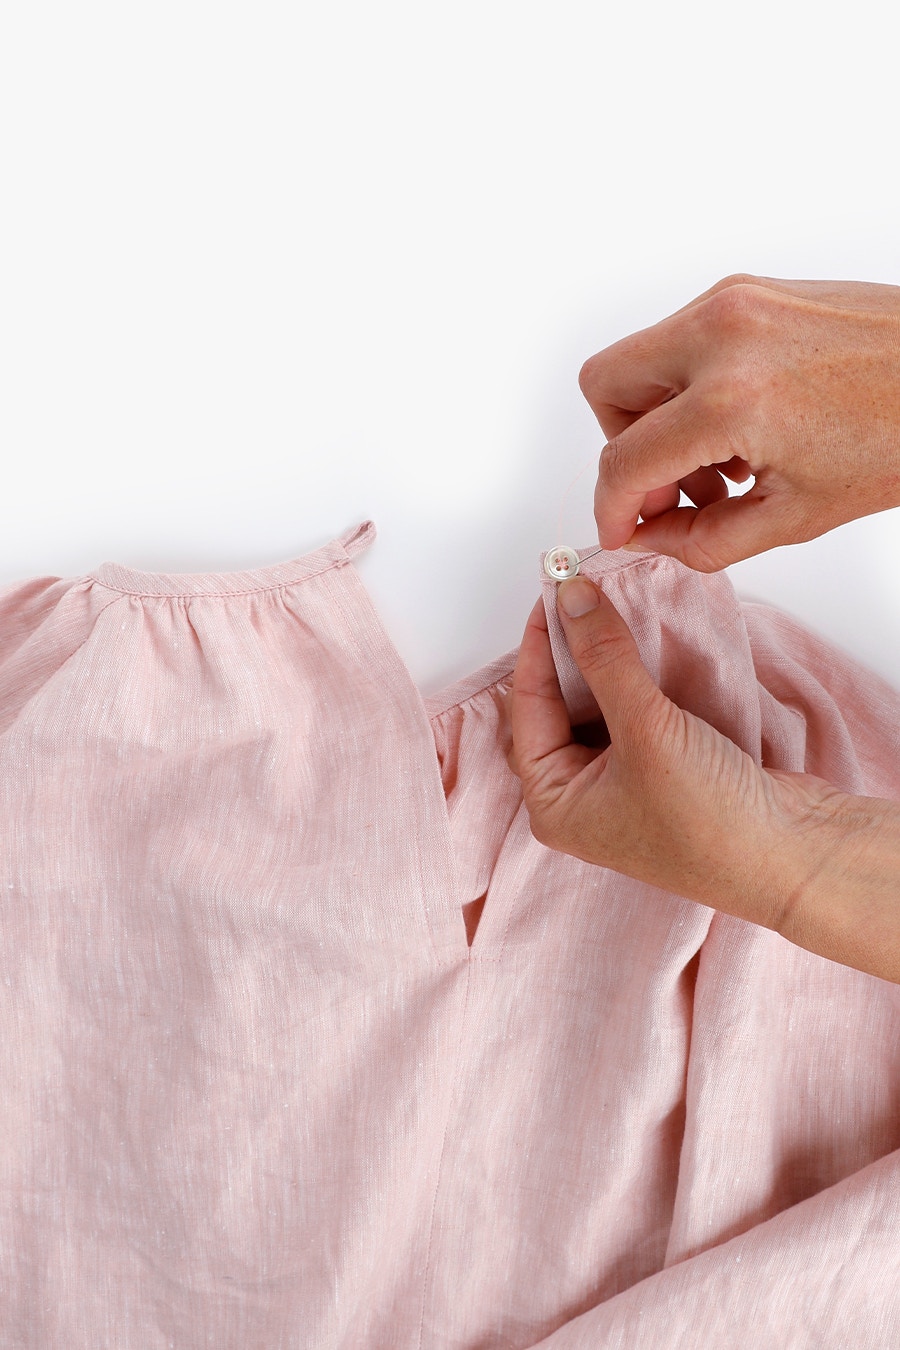
Sew a button at the centre back neck, opposite your button loop.
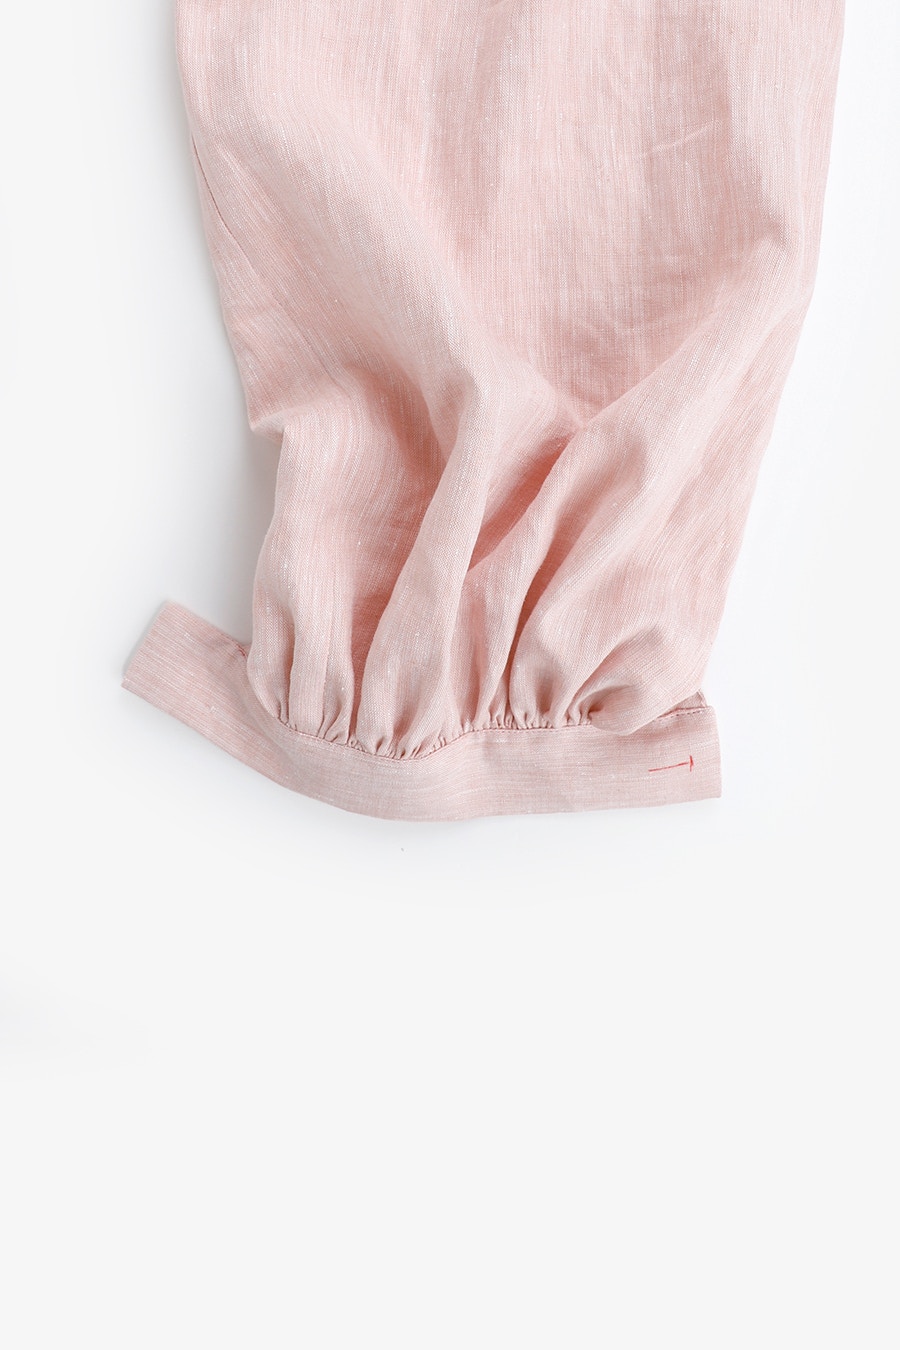
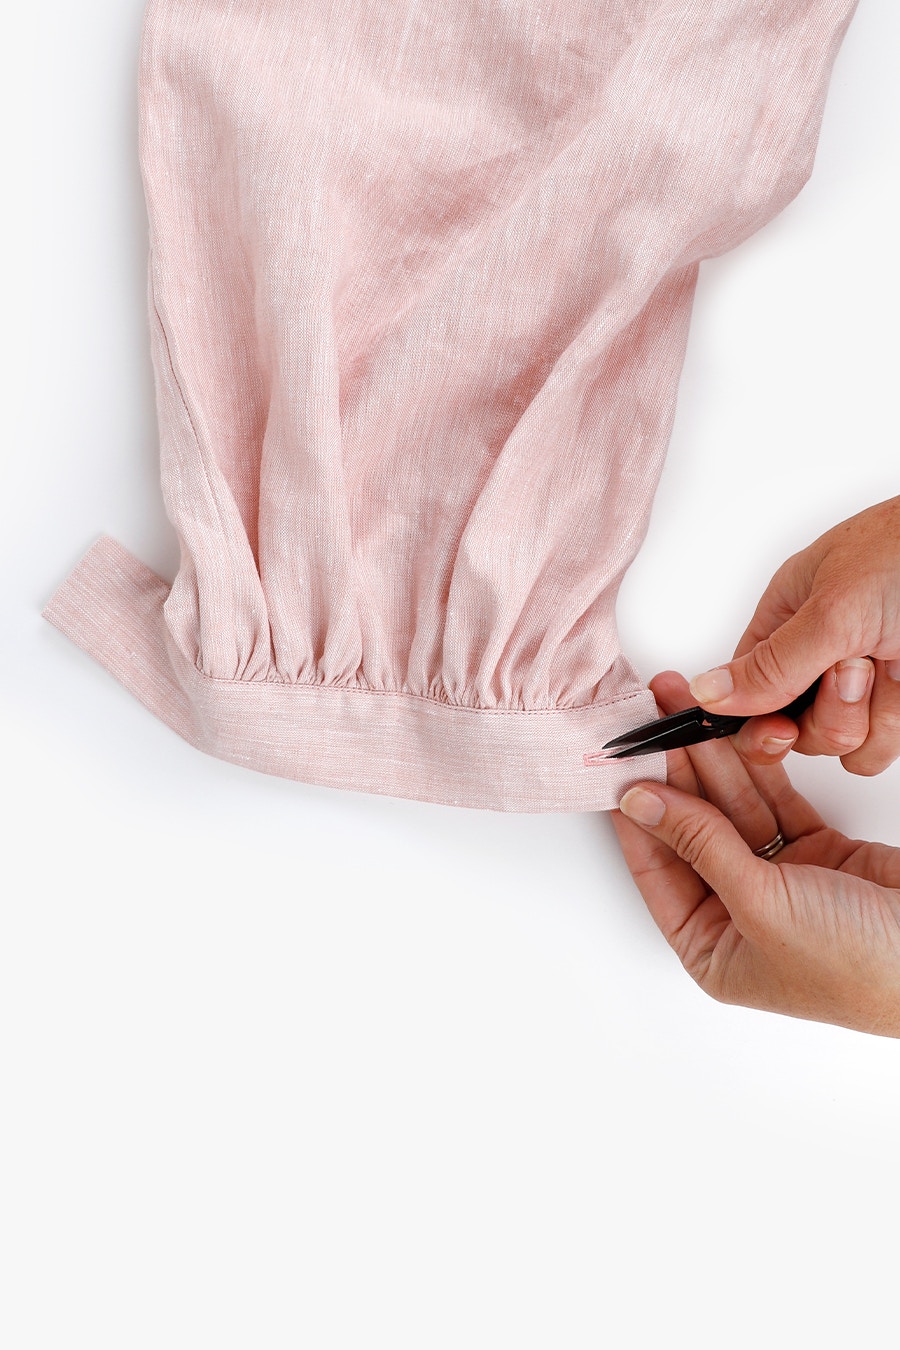
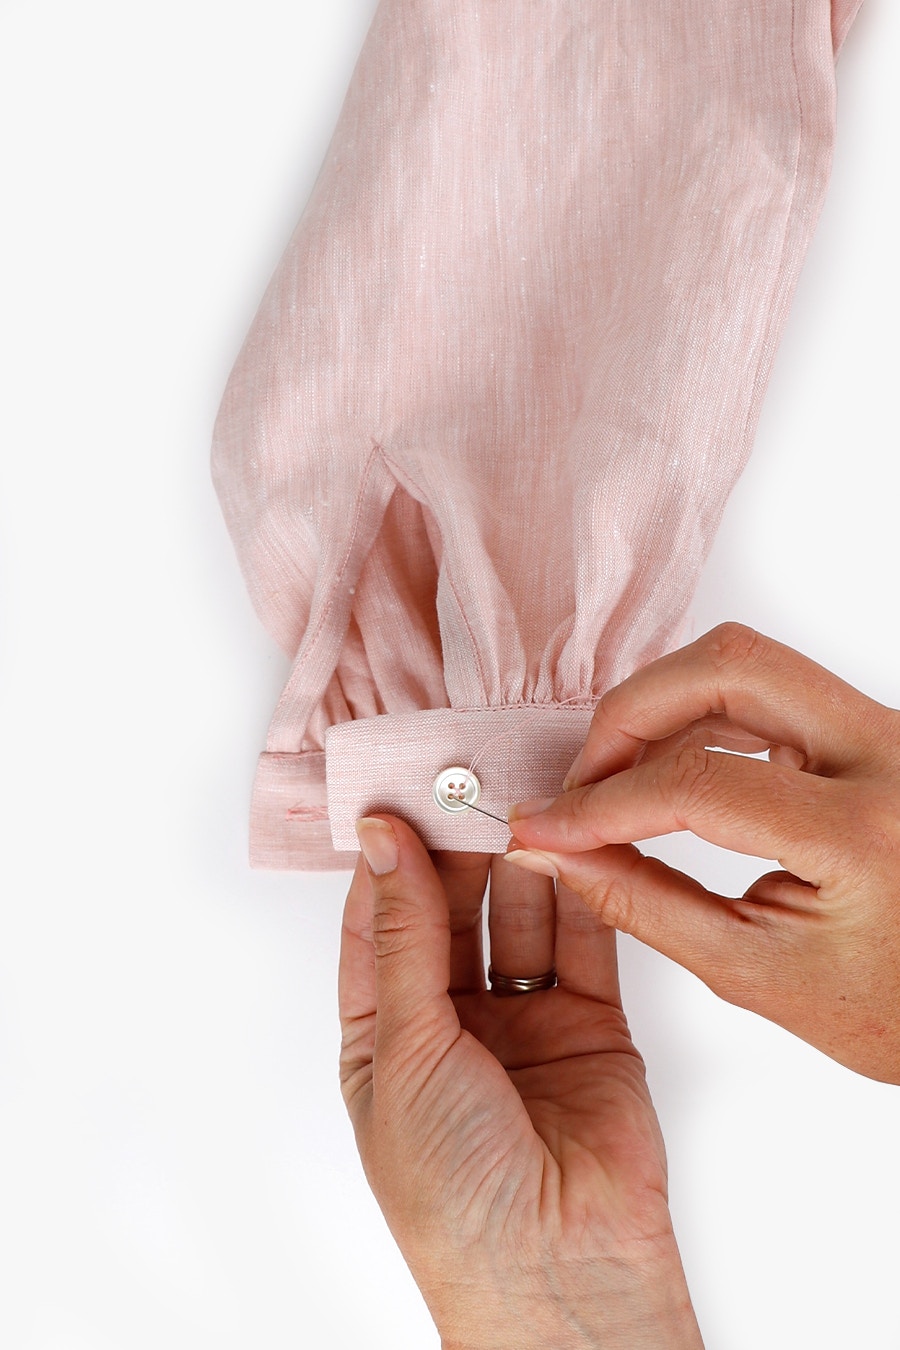
If you are sewing the long sleeve option, sew a buttonhole on each cuff as indicated in the pattern, following your machine’s settings. Sew a button on the cuff tab, opposite the buttonhole, as indicated by the pattern.
Clip any loose threads, remove any visible basting stitches, then give your Paint Dress or Top a final press.
You’re all done!
Check out the Paint Dress + Top pattern in our Online Store here.
Don't forget you can always email us via patterns@thefabricstore.co.nz if you need advice!
Paint makes from our wonderful community are also popping up over on Instagram, follow @makebytfs and use #TFSPaint so others can check out your creations!

