

Welcome to our Make by TFS Cass Pant pattern sew along! In this post, we go through interfacing/pre-pressing steps, sewing the backs and jet pockets, fronts and zip, attaching the waistband and belt loops, assembly and finishing touches.
Check out the Cass Pant pattern in our Online Store here. Don't forget you can always email us via patterns@thefabricstore.co.nz if you need advice!
P.s
Cass makes from our wonderful community are also popping up over on Instagram, follow @makebytfs and use #TFSCassPant so others can check out your creations!
Step 1 — Interfacing and Pre-Pressing
First, cut out your pattern pieces. We recommend block fusing the pattern pieces that require interfacing.
Block fusing is a technique where you apply your interfacing to a section of fabric prior to cutting out the pattern pieces. It helps avoid interfacing slippage and stops your pattern pieces from stretching out of shape, and therefore ensures accuracy. It also means you only need to cut your pieces out once.
For the Cass Pant, these pattern pieces that require fusing are,
1. Left Waistband and Left Waistband Facing
2. Right Waistband and Right Waistband Facing
3. Jets
4. Jet Pocket Bearer
5. Fly Facing
If you choose to piece fuse keep your pattern pieces close by for reference and make sure they don’t stretch out of shape!
Take your front and back pieces and press the hem seam allowance up 1cm towards the wrong side as indicated by the notch. Next fold the hem up a further 4cm, in line with the notches, and press again. The finished hem depth will measure 4cm.
Take the belt loop piece into thirds lengthwise as indicated by the notches with the right side out. The finished belt loop piece will measure 1.3cm.
Press your front pocket bags in half at the centre notches, right sides together.
Take the back button loop pieces and press in half. Unfold and press 5mm in towards the centre crease line. Your finished pieces will measure 5mm in width.
Now, fold the jet pieces in half lengthwise and press.
Now it is time to start sewing! Move on to constructing the backs.
Step 2 — Constructing the Backs and Jet Pockets
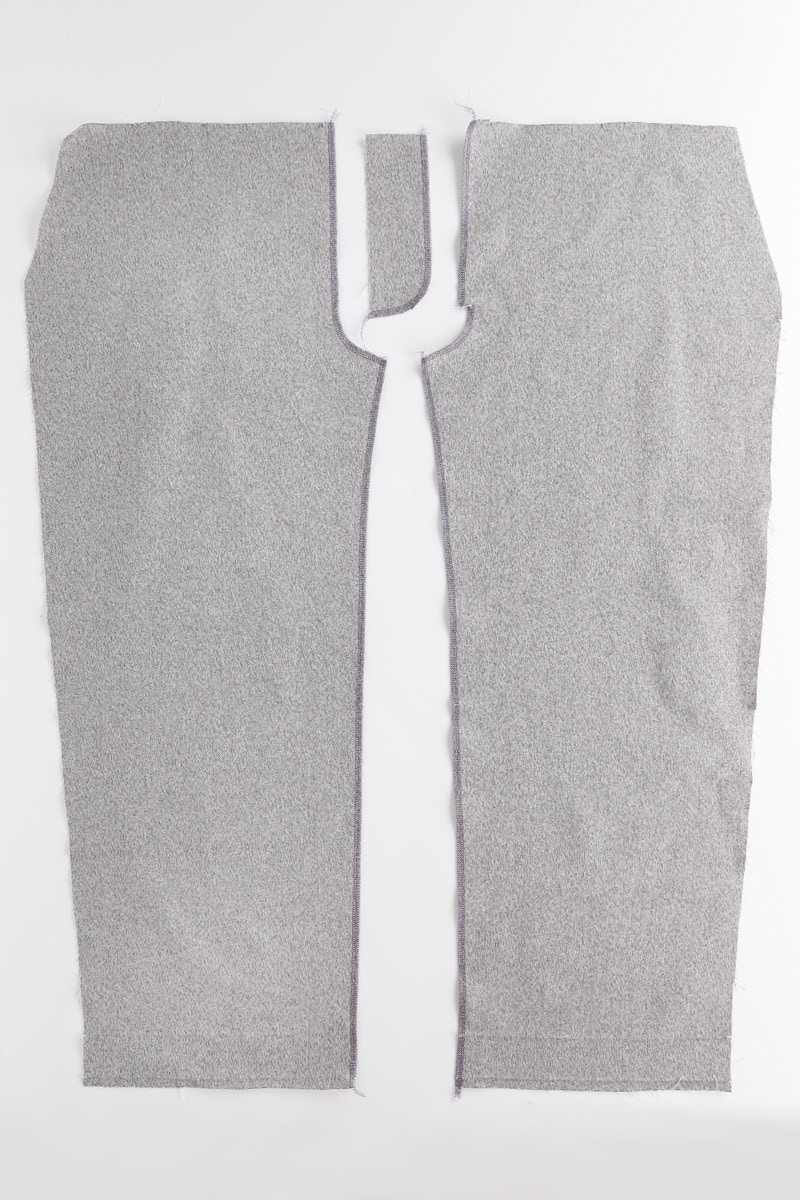
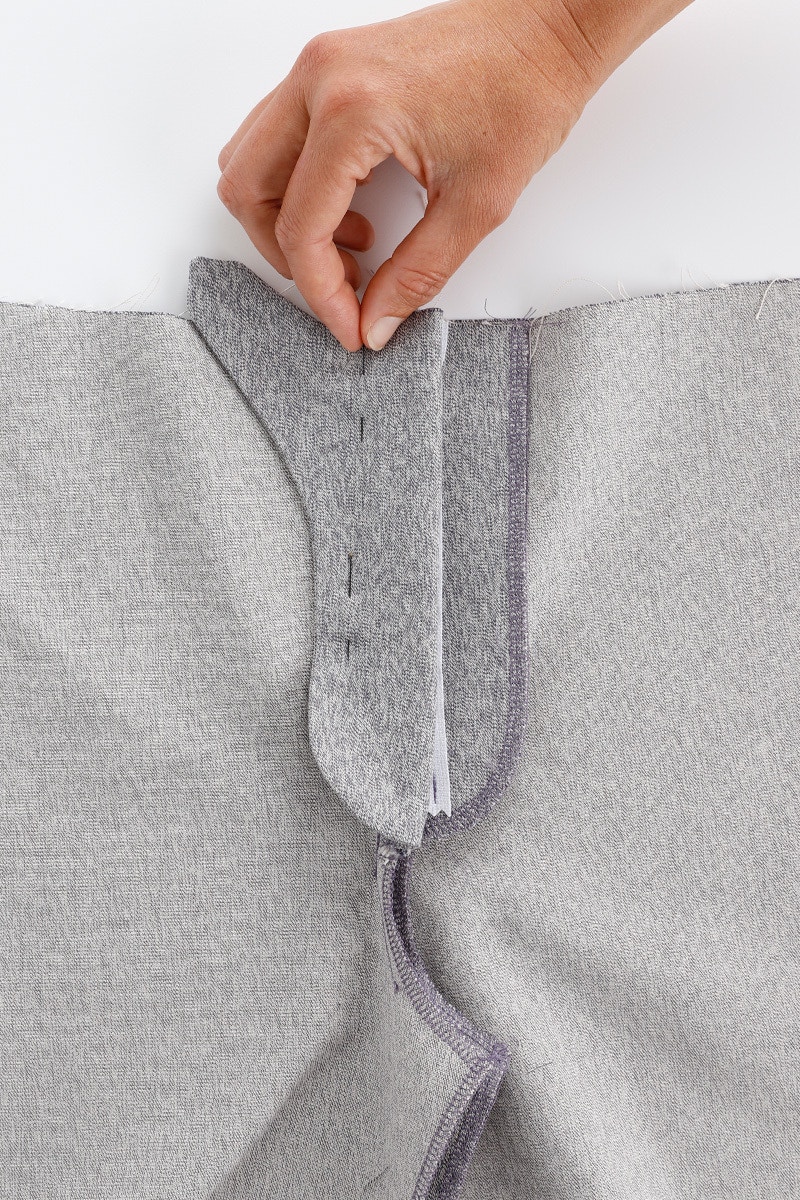
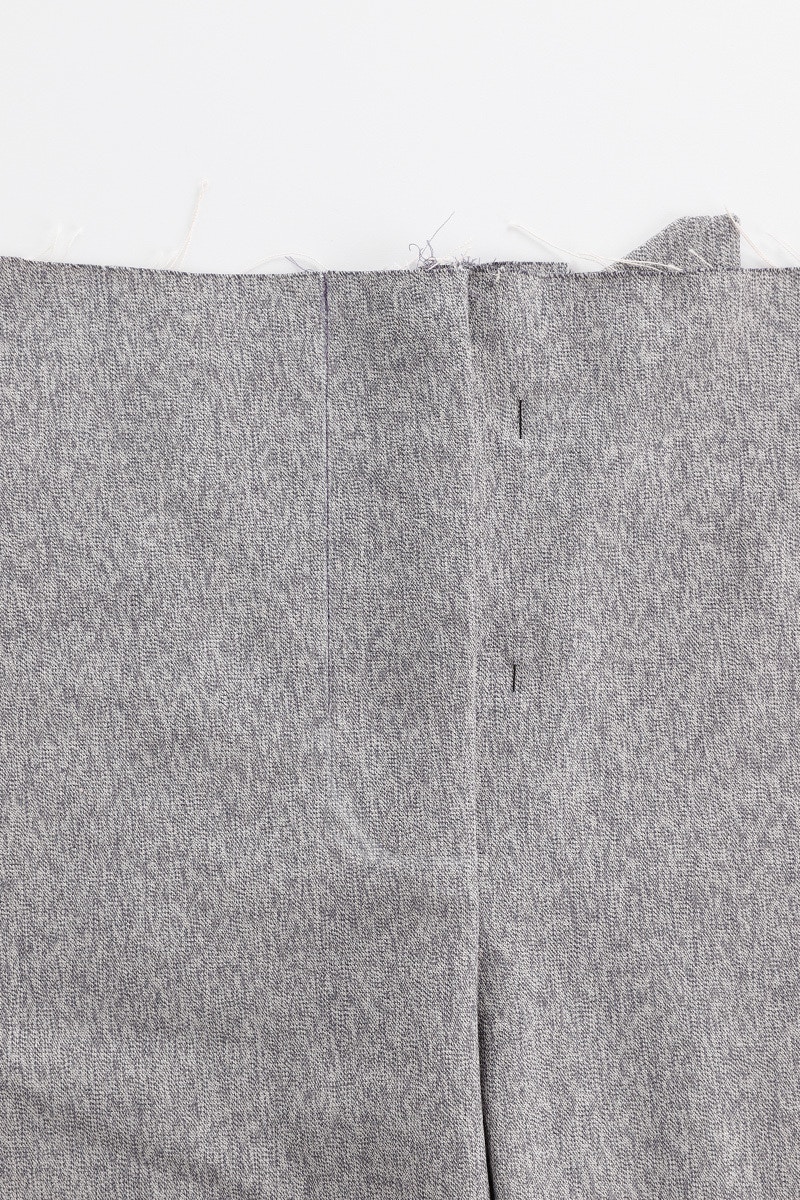
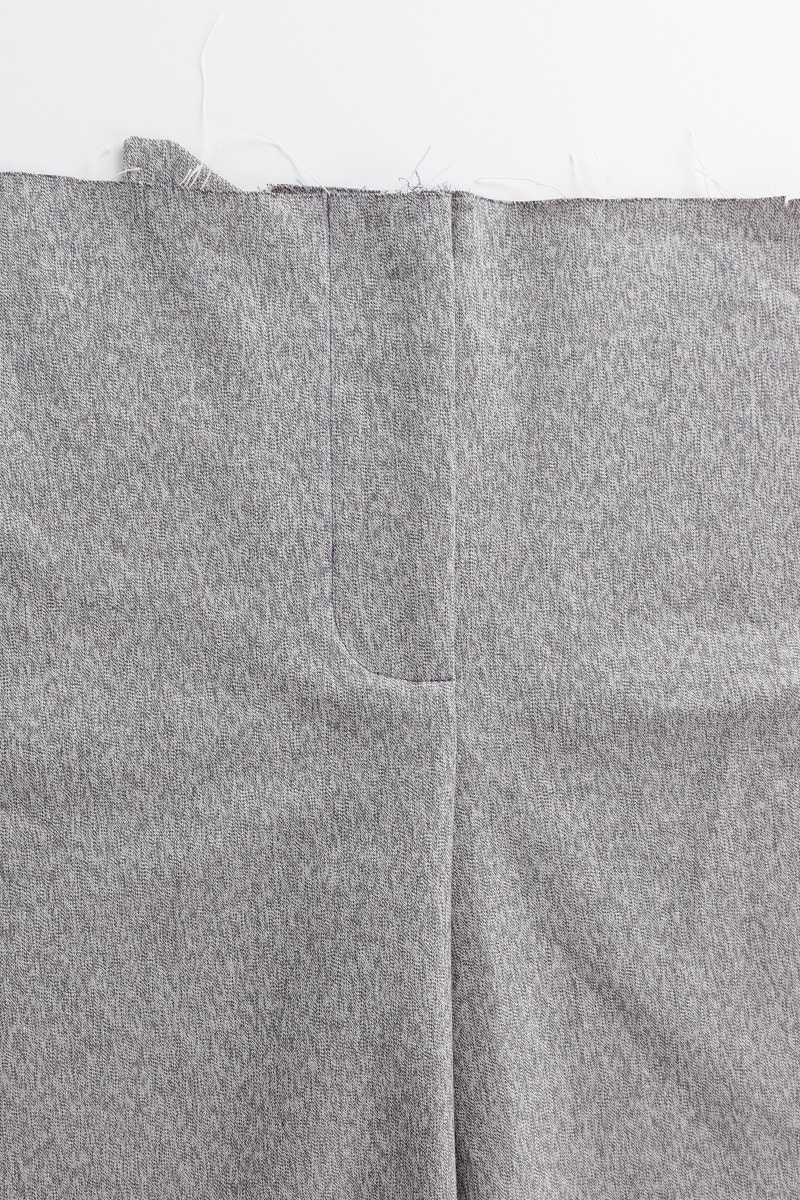
Take your back leg pieces and neaten centre back and inner leg edges separately. Sew the two darts on the back trouser piece. Press the darts towards the centre back.
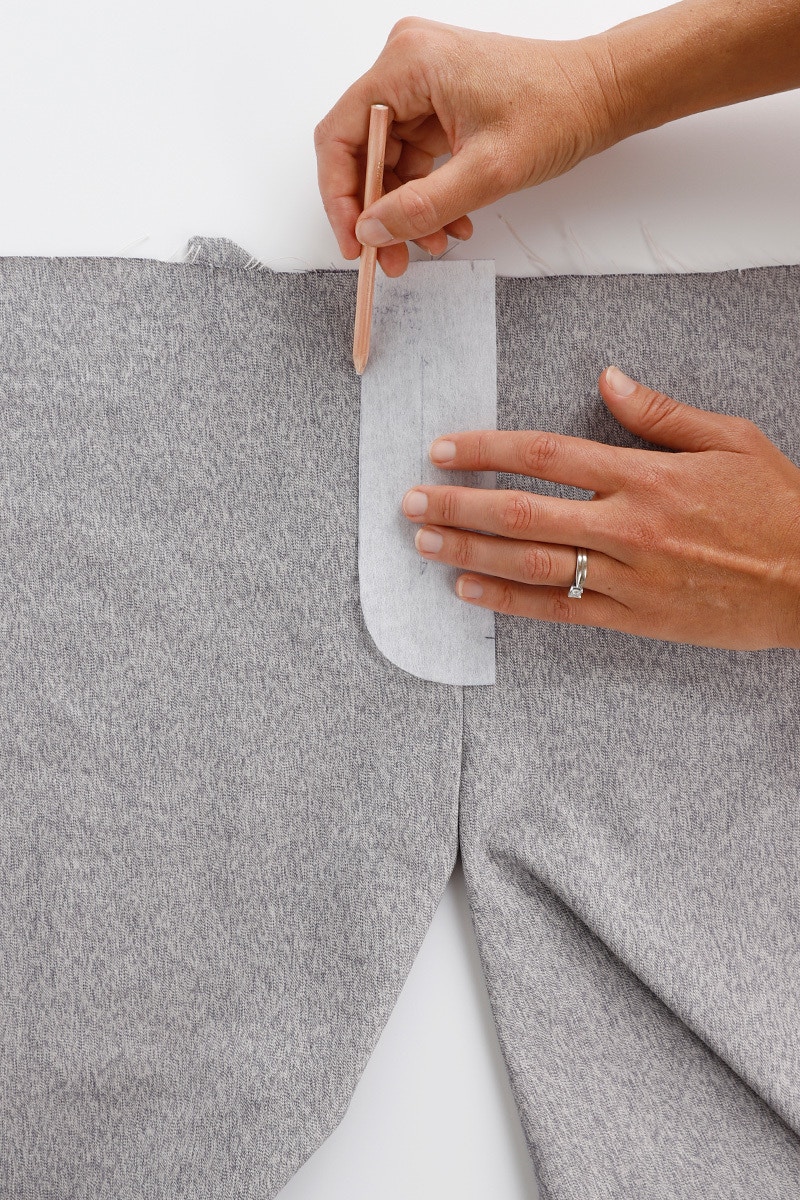
Apply the jet pocket opening interfacing as indicated on the Jet Pocket Template to the wrong side of the pants. Take your time to centre your interfacing over the dart points exactly. The fusing should extend 3.5cm either side of the dart points and 1.6cm above and below. Repeat for the other side.
Fold and pin your jet pieces in half with the wrong sides together and stitch them closed with a 6mm seam.
Fold your button loop pieces in half and give them a press. Open out again then bring the outer edges to meet in the centre and then fold them in half again lengthwise. Edgestitch to close then fold them into a 'U' shape.
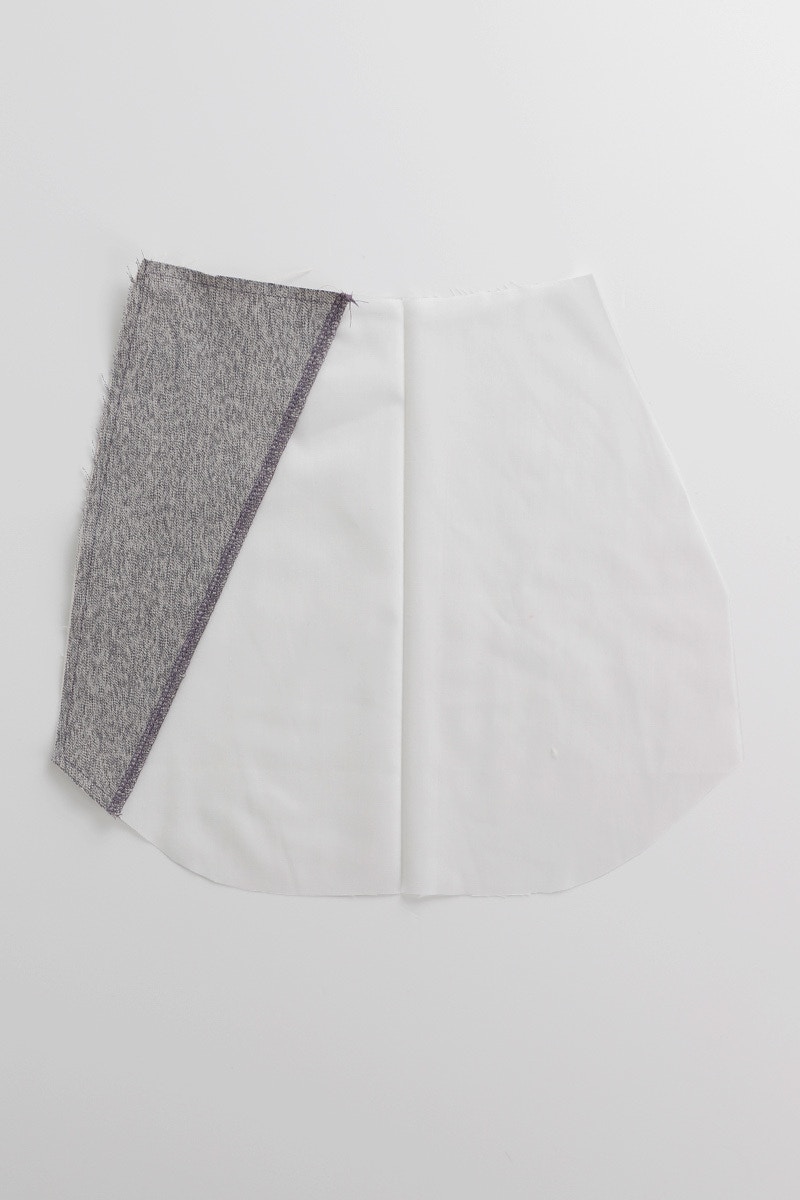
Now we will sew the pocket bags. Start by sewing the darts at both ends of the jet pocket bag with the wrong sides together. The dart excess will be on the right side of the pocket bag.
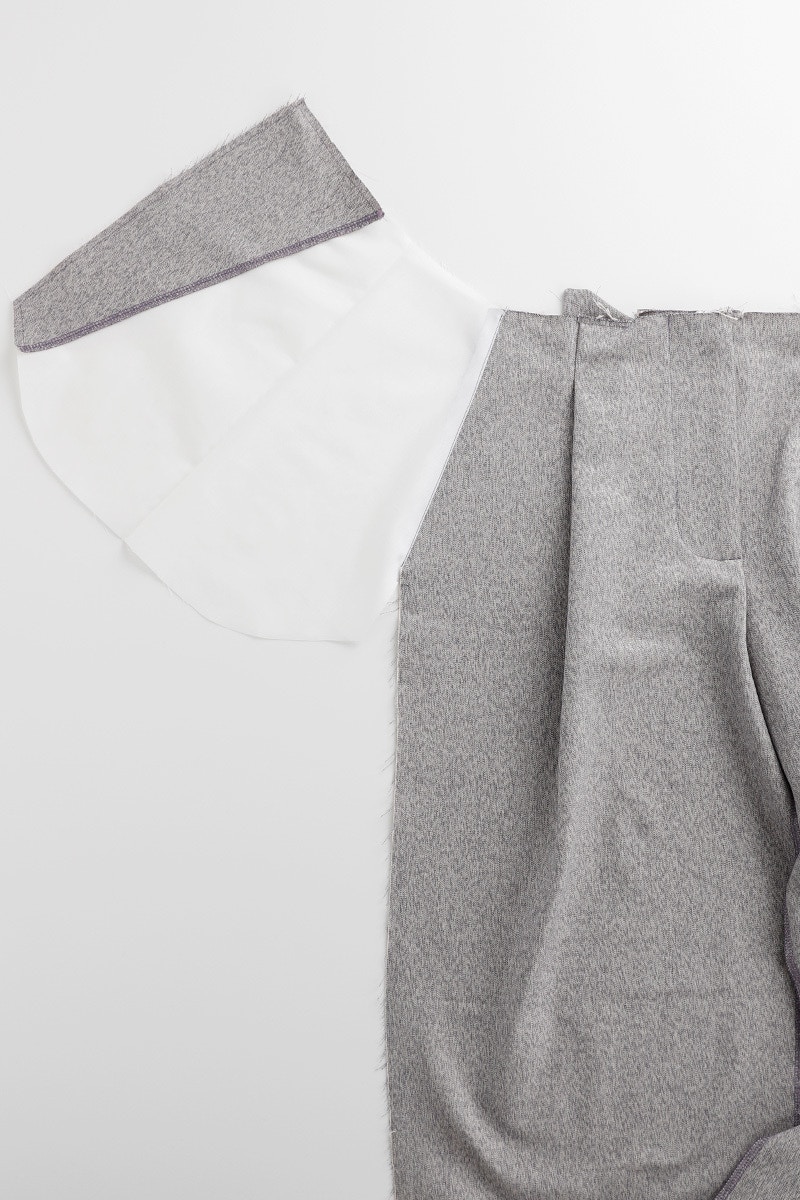
Neaten the long, unnotched edge of the jet pocket bearer with your overlocker or preferred method. Now, pin the jet pocket bearer to the pocket bag. The wrong side of the jet pocket bearer to the right side of the pocket bag, matching up the notches. Edgestitch in place the pocket bearer in place around all four sides.
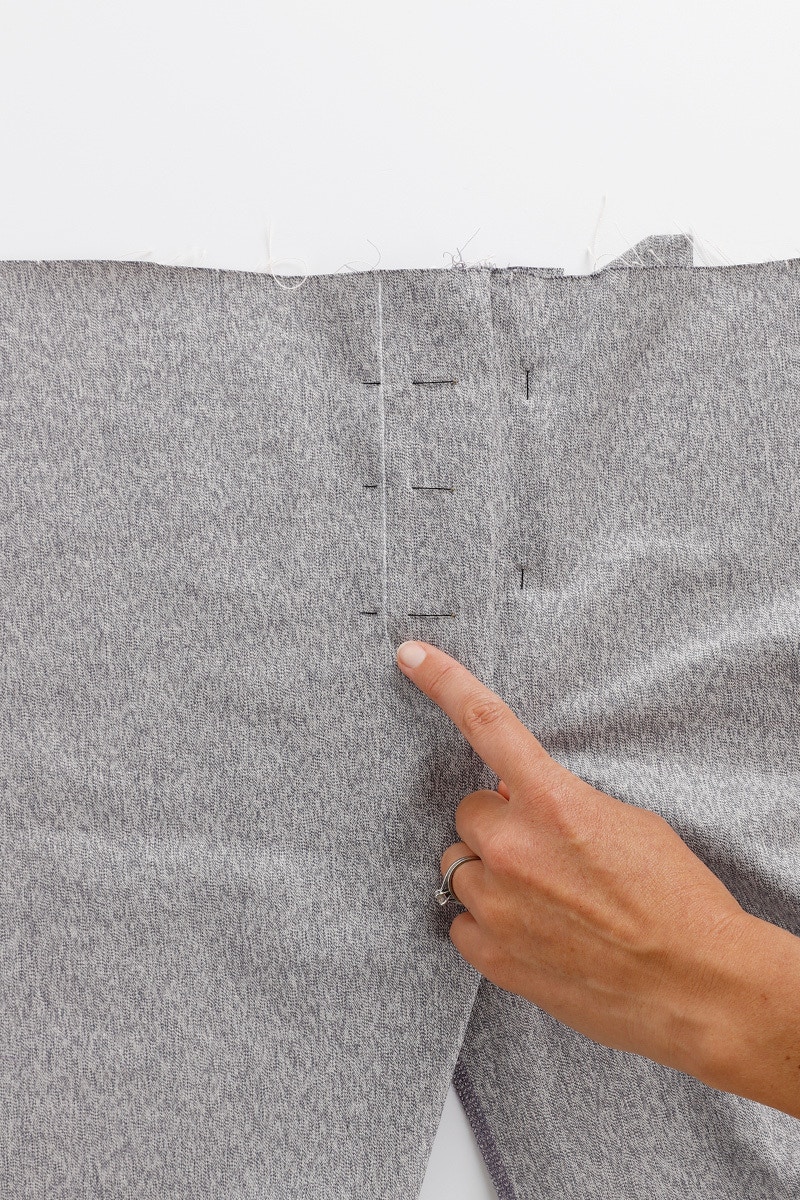
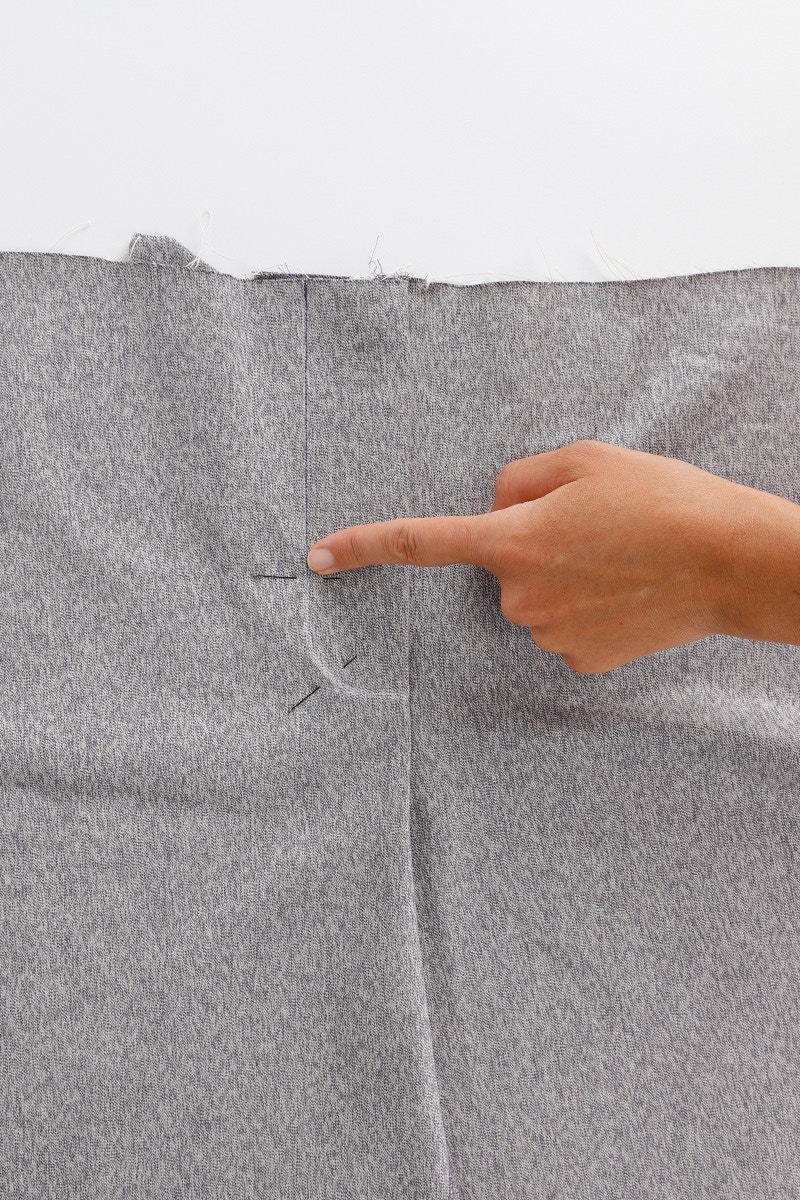
Transfer the jet pocket opening markings from the Jet Pocket Template to the right side of your back trouser piece. The line will go through the dart points and extend 2.5cm past each dart point, measuring 13cm in total. Transfer the same marking to the right side of your jet pocket bag. Make sure you use chalk or a pen that comes off easily once you’re finished so you're not left with marks.
With the back leg in front of you, right side up, place the button loop, folded as shown, in the centre of the pocket opening. Use your Jet Pocket Template as a guide. Line the raw edges up with the slash line and baste in place.
Now we will place the jet pieces. Line up the raw edge of the jet piece with the pocket opening line you marked earlier. The notches on the jet will align with the ends of the pocket opening line. Ensure that all edges line up and everything is centred then pin your jet piece in place. Sew the jet with a 6mm seam, starting and stopping exactly at the notches. It can help to mark the end of your stitching on the jet pieces to make sure you stop at the right place. Repeat for the second jet piece.
Step 3 — Constructing the Fronts and the Zip Fly
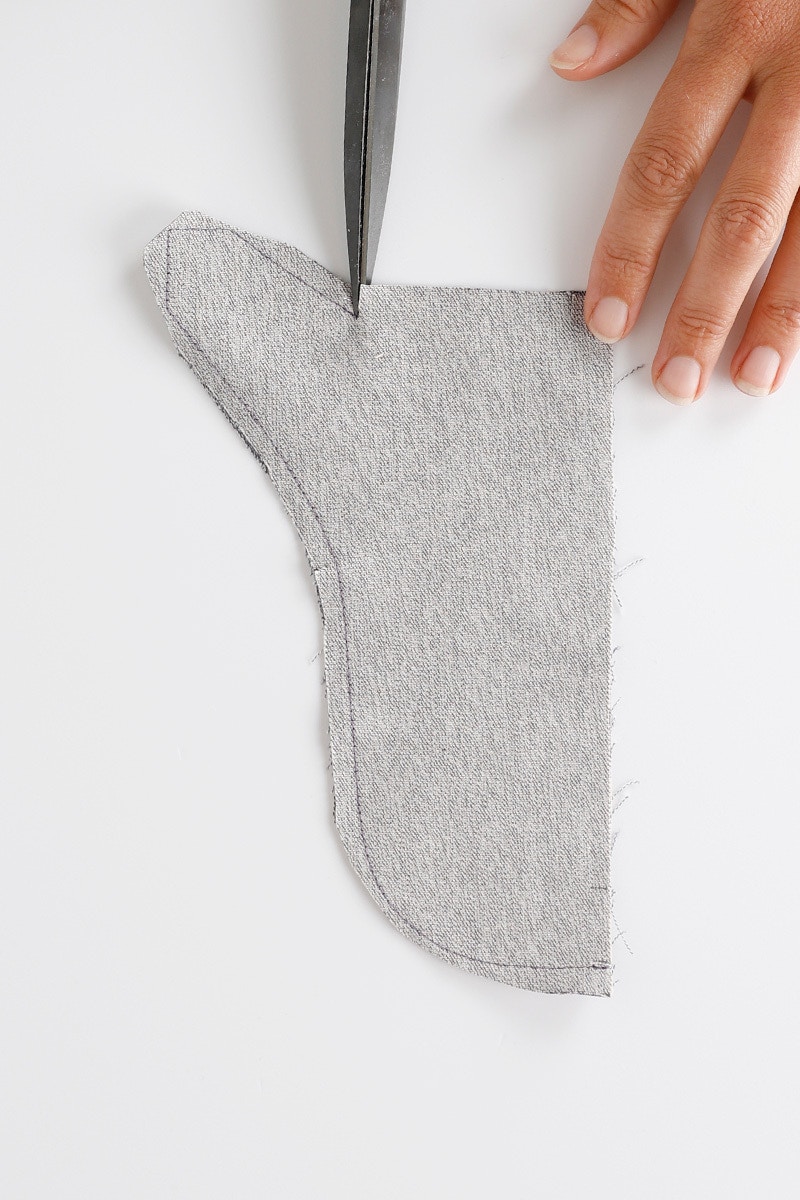
The first step in sewing the fronts is constructing the fly. Take your front pieces and neaten the centre front and inner leg edge of each piece separately. Next, neaten the curved edge of the fly facing.

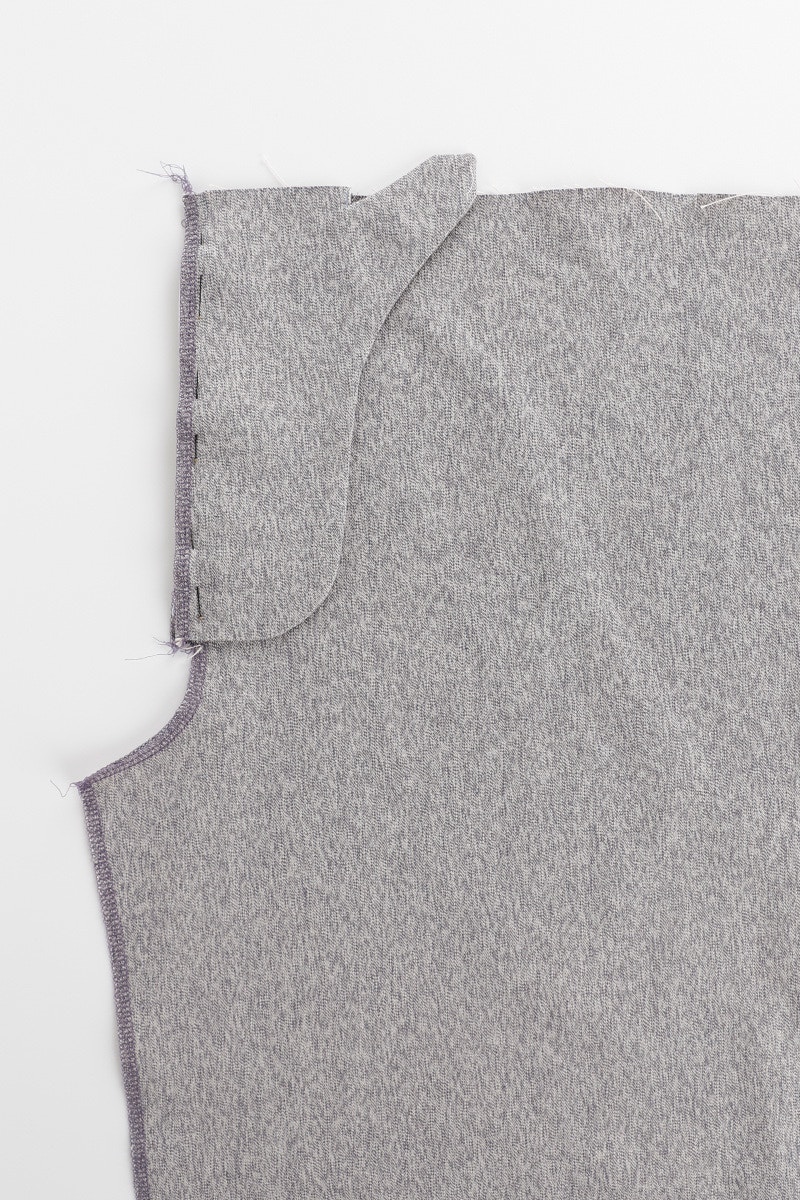
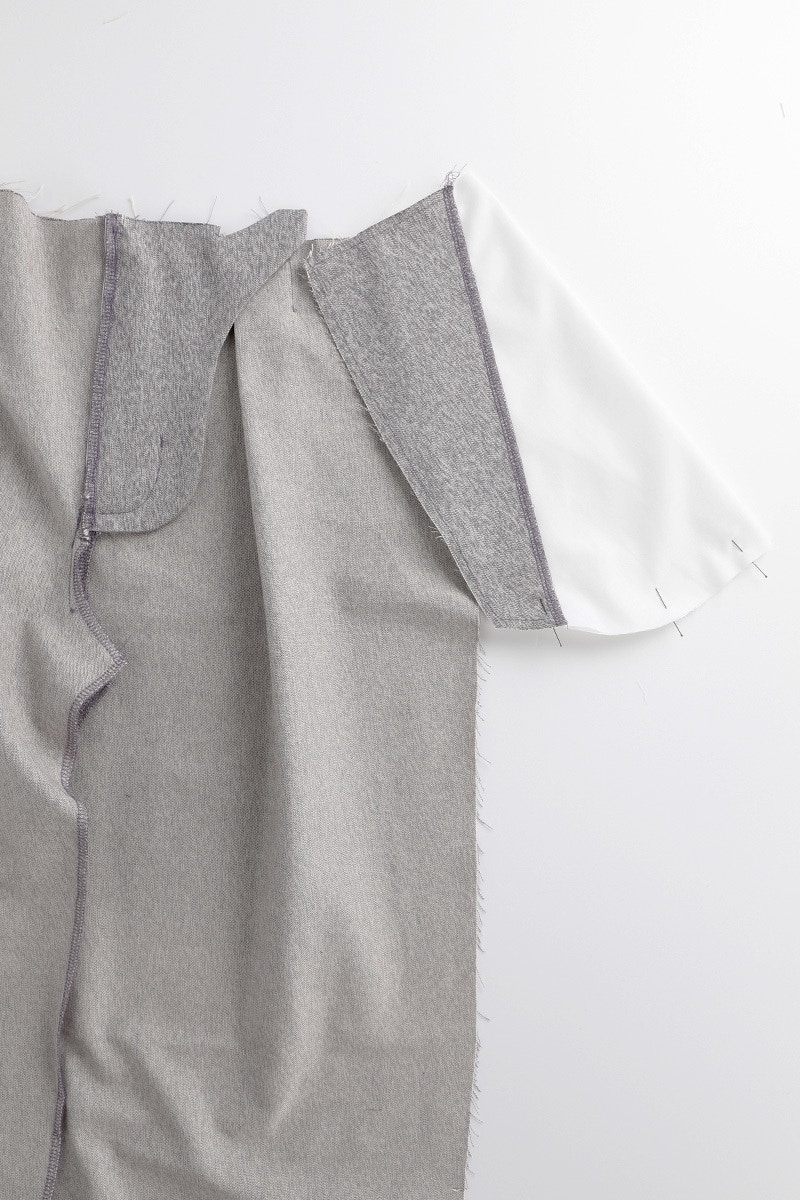
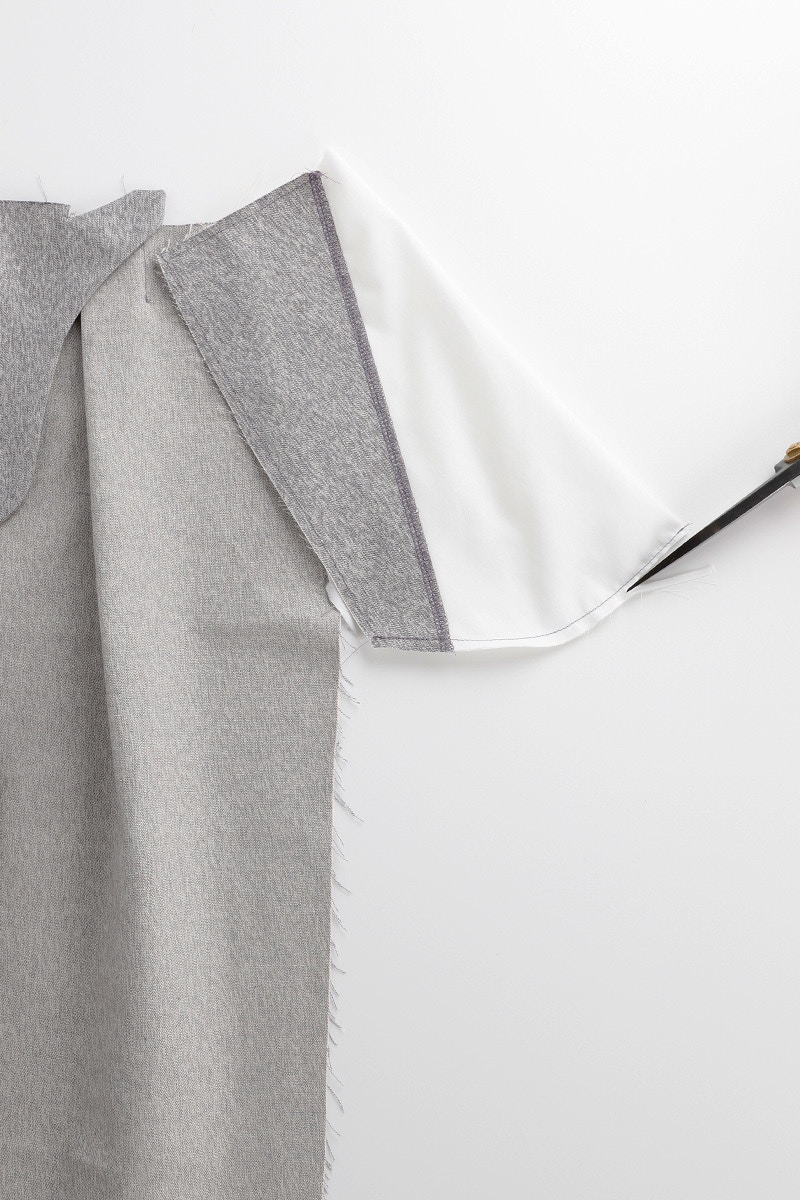
Take your fly guard pieces and with right sides together, stitch around the curved edge and the buttonhole extension with a 6mm seam, finishing at the notch on the waistline. Clip into the end of the seam at the waistline and trim the corners.
Turn the fly guard right side out using a point turner to help then give it a press.
Neaten the long straight edges of the fly guard together.

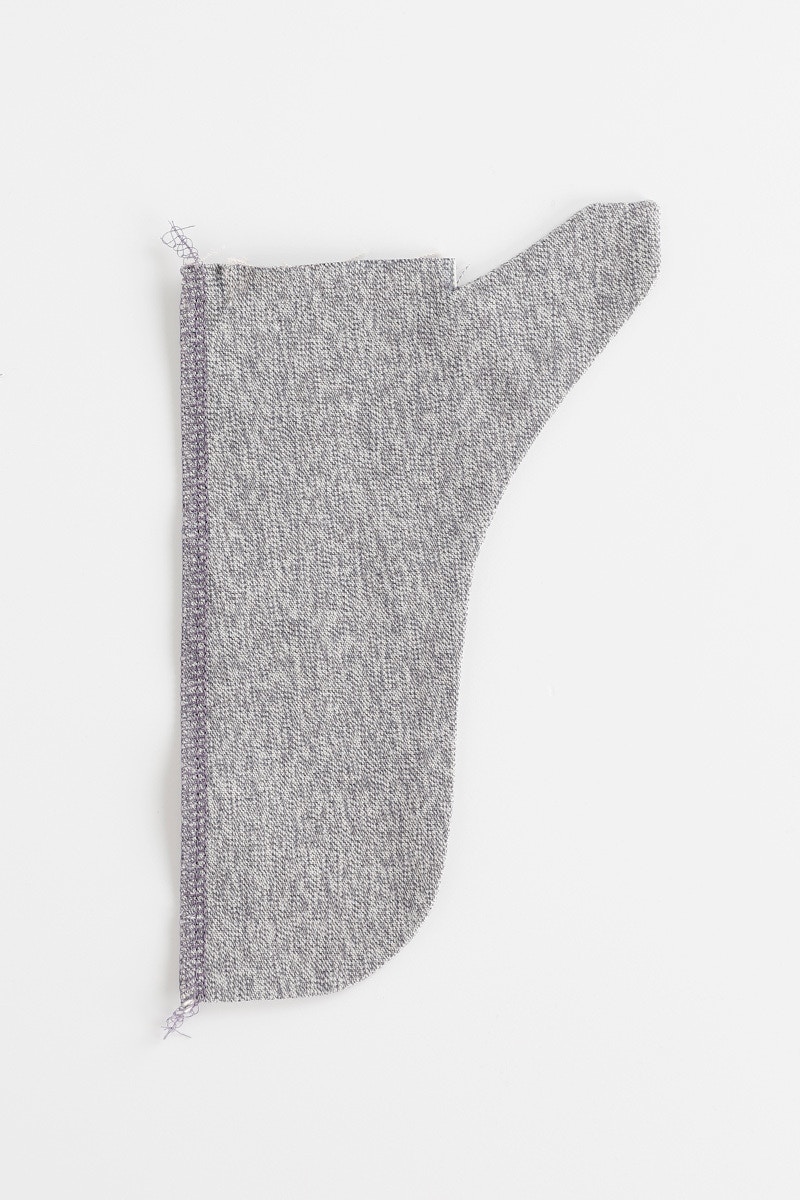
Take your right front leg and the fly facing pieces and with the right sides together, align the straight edge of the fly facing to the centre front edge of the right front leg, matching the notches. Pin them together and then sew with a 1cm seam.

Press seam towards the fly facing then understitch. Now put the right leg aside whilst you work on the left leg.
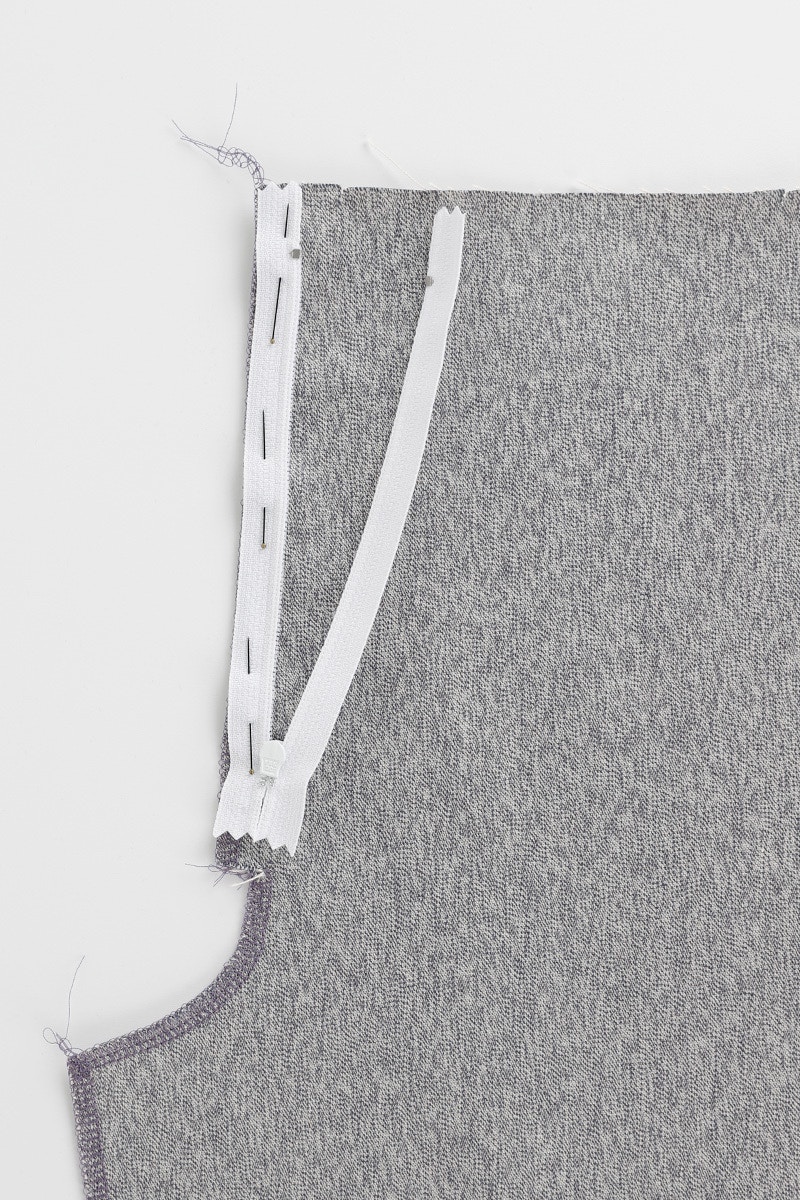
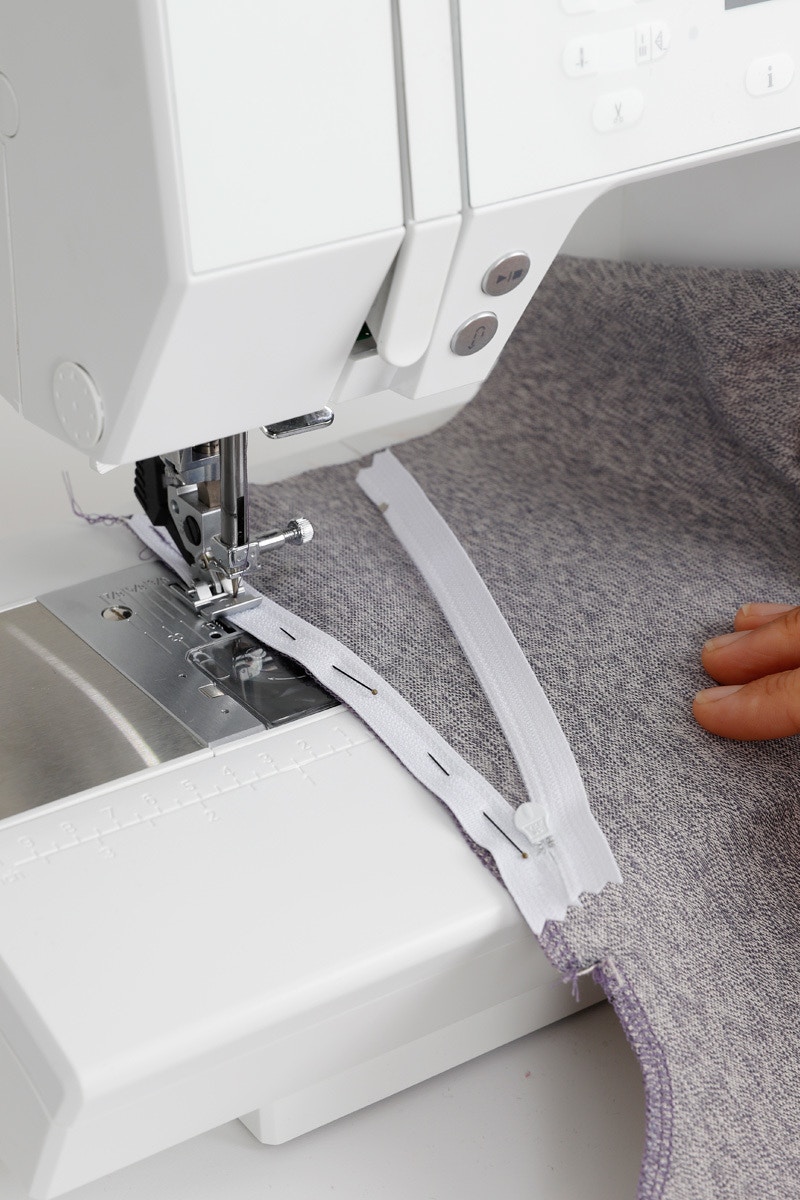
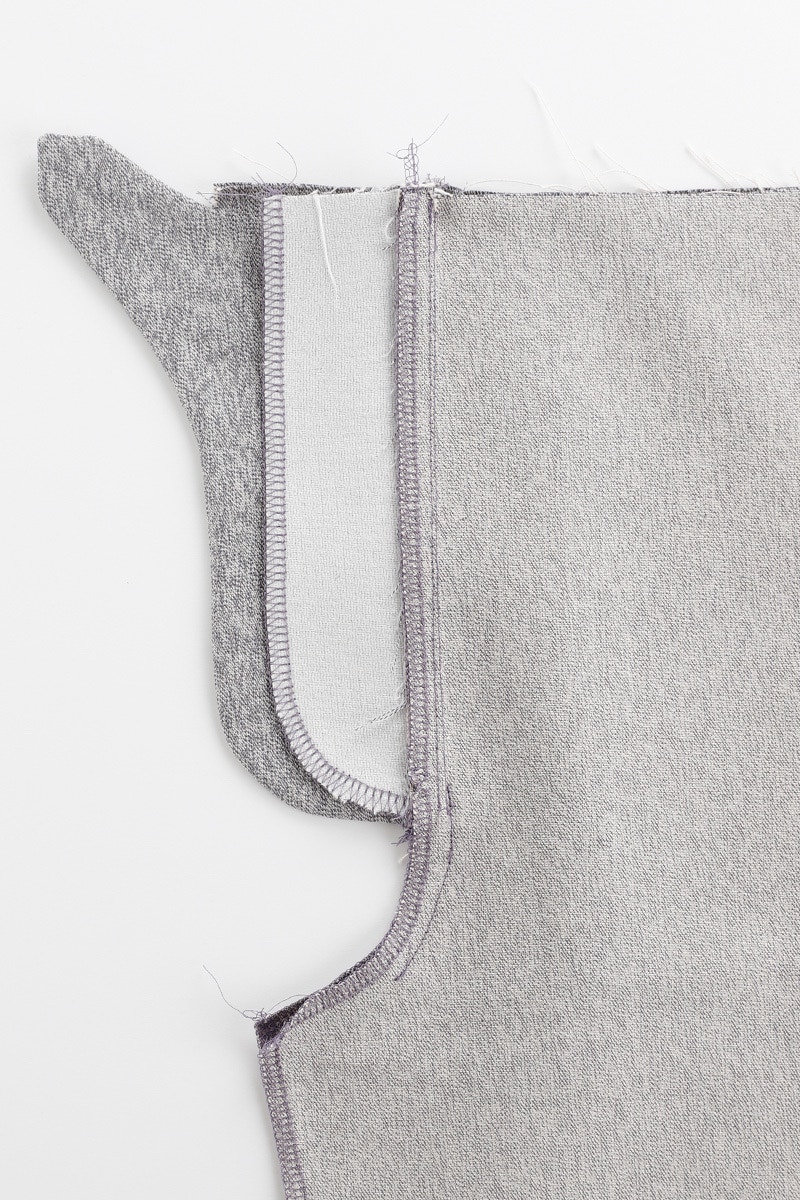
With your left front leg facing up, place the zip right side down on the pattern piece. Align the left edge of the zip tape (as you are looking at it upside down) with the centre front edge of the pattern piece. The zip stop at the bottom of the zip will be at the notch and the tape tails will fall below the notch. Pin the zip in place and then stitch down 6mm from the edge of the zip tape using a zip foot.
Now, with your left front leg still face up and the zip face down, place the fly guard on top of the zip so the zip is in between the left leg piece and the fly guard. Make sure the straight edges align and the notches match. Pin together through all layers and stitch them together with a 1cm seam.

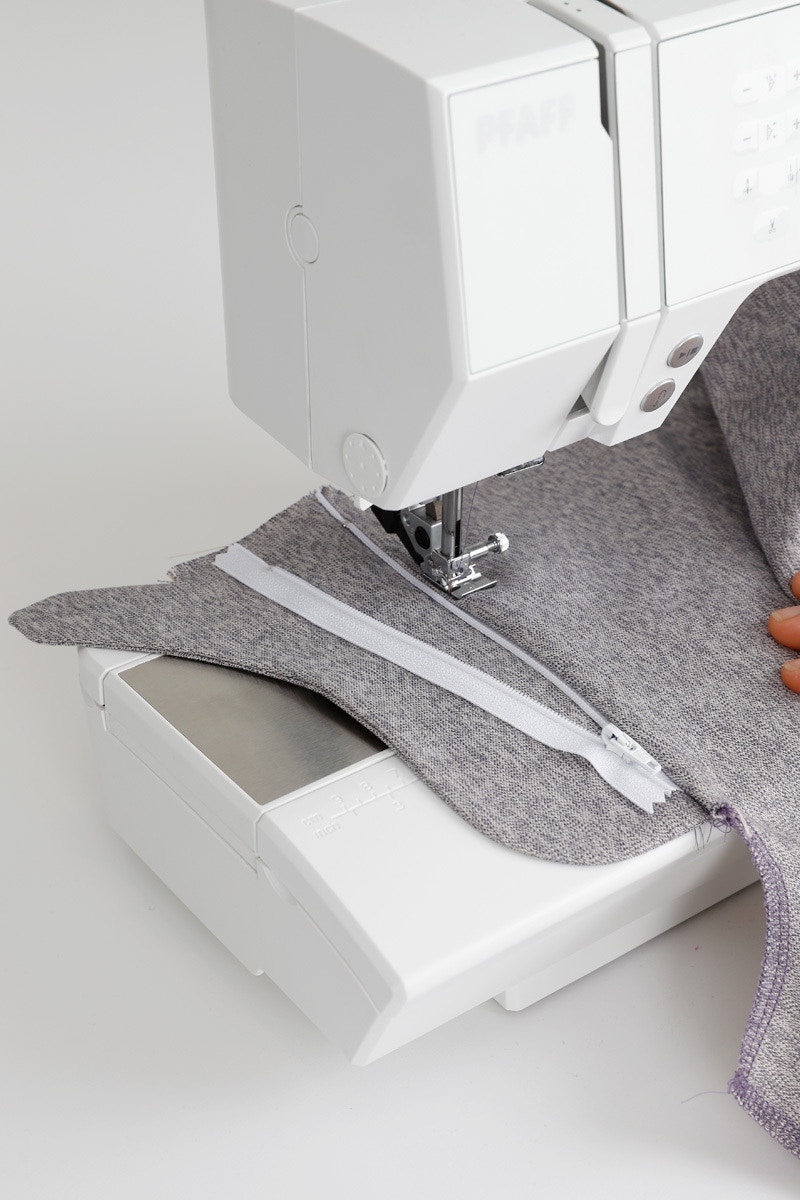
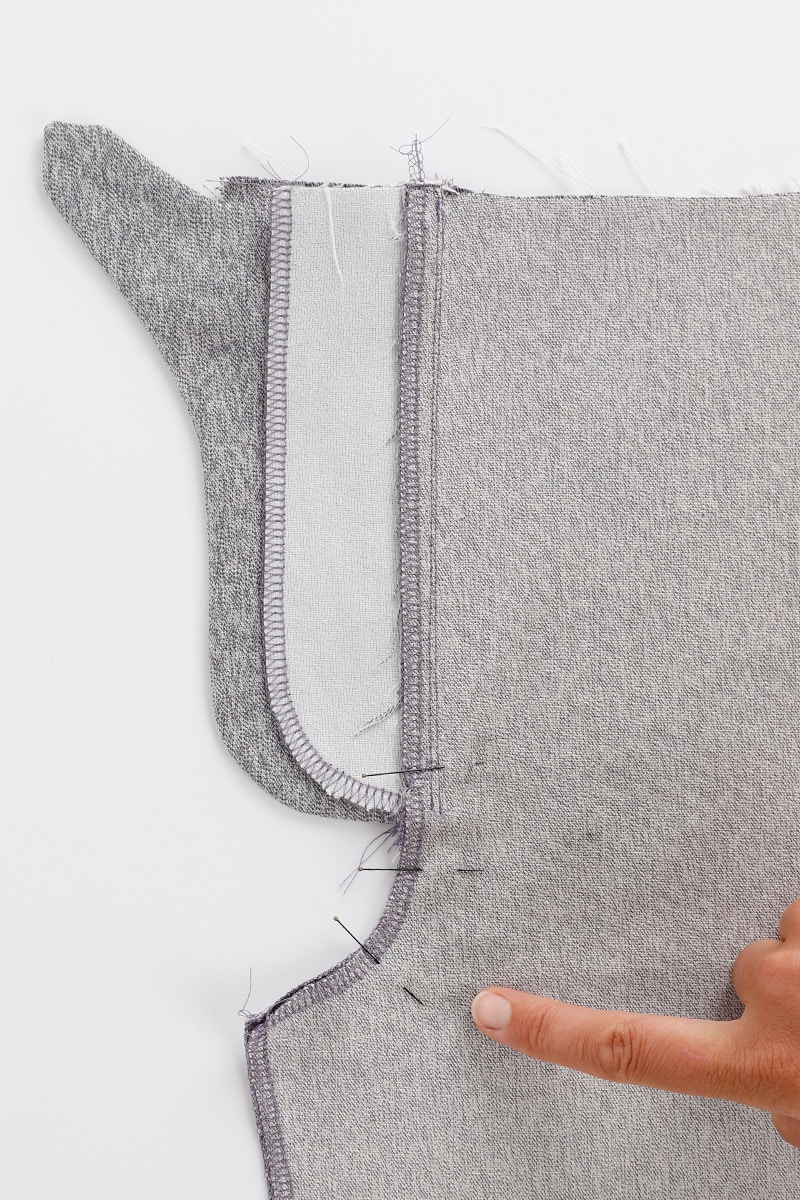
Now, fold the zip and the fly guard out so the zip, fly guard, and left leg are all right side up. Press the left leg piece along the fold line next to the zip teeth then edgestitch on the left front leg down length of the zip.
Now we will join the fronts together! Take your right and left front pieces and place them right sides together, aligning the two pieces through the crotch and pin them together.
Sew the crotch closed with a 1cm seam. Start sewing about 5cm from the inner leg and finishing at the notch at the end of the zip. Sew as close as you can to the fly facing seam but take care not to catch the fly facing or fly guard when sewing.
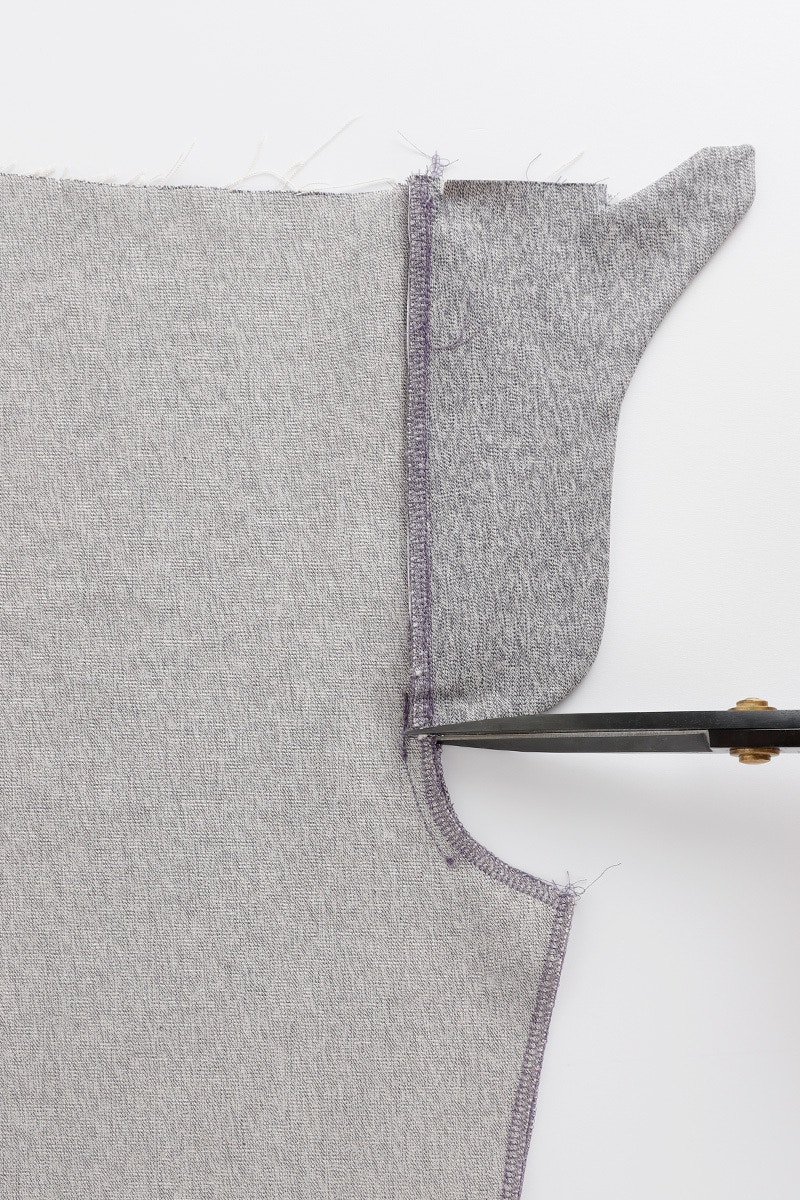

Clip into the seam allowance on the left side only, at the base of the fly facing. Be careful not to clip through the seam. Press the front crotch seam open.
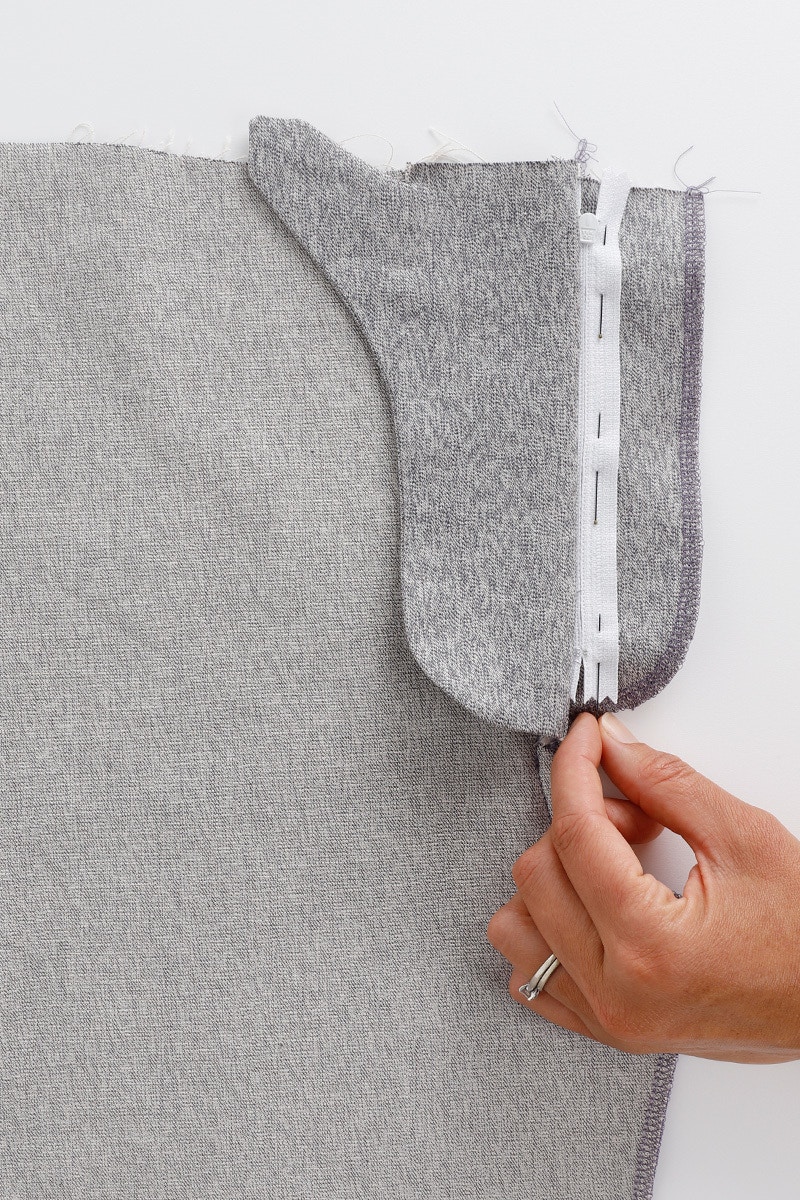
With your left leg facing up, fold back the fly guard so the zip is showing. you can pin it out of the way if that is helpful. Now, ensuring that everything is lying flat, pin the closed zip to the fly facing. Using a zip foot, sew the zip to the fly facing 6mm from the edge of the zip tape.
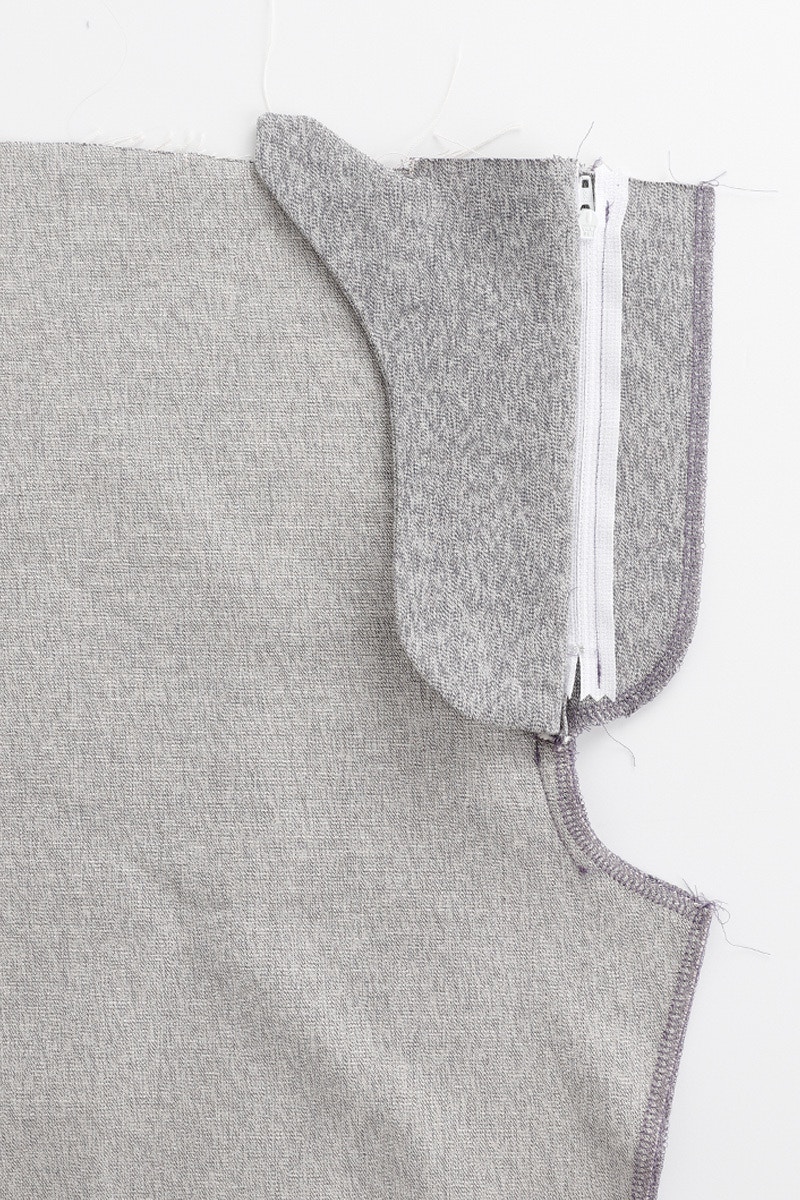
Using the fly facing pattern piece as a guide, draw on the shape of your fly top stitching using chalk or fabric pen. Make sure the chalk or pen can brush or wash off easily, so you are not left with marks on the front of your pants! Fold the fly guard out of the way, pinning it if necessary.
Pin the fly facing to the front, making sure everything is laying smooth and flat.
Starting at the waist topstitch the fly facing in place. Stop just before you get to the start of the curve.

Now, release the fly guard and lie it flat underneath the zip and fly facing. Pin it to hold it in place.
Starting a couple of stitches up from where you left off, continue sewing the remaining curved section of the fly top stitching, sewing through the right front leg, fly facing, and the fly guard. Stop when you reach the centre front seam and back tack to secure.
Your zip fly is complete! Give it a press before sewing the front pleats and pockets.


With the right sides together, fold the front pleats in half matching the two notches. From the waist stitch down the pleat, finishing at the + mark indicated on the pattern. Press the pleat excess towards the centre front. The pleat will open to the side seam. Baste the top of the pleat in place at the waist edge, within the seam allowance. Give your pleat a gentle press and repeat for the other side.
Now we will sew the side pockets. First, neaten the long, un-notched edge of your side pocket bearer piece. Place the wrong side of the pocket bearer to the right side of the pocket bag, matching the notches. Edgestitch around the entire pocket bearer piece to hold it in place.

Now, with the right sides together, match up the right front and right pocket bag pieces at the pocket opening and pin in place. Sew this seam and press it towards the pocket bag. Under stitch on the pocket bag.

Fold the pocket bag to the inside of the leg along the seam line and press again. Then, topstitch 6mm from the edge along the pocket opening.
Fold your pocket bag in half at the centre line with the wrong sides together. This is opposite to the way you pressed this piece at the beginning. Pin in the bottom edge closed then sew with a 6mm seam. Carefully trim the seam to 3mm.


Next, turn your pocket out so the right sides are together. Use a point to ensure the corner is fully turned out and give it a press. Sew the bottom edge again at 6mm to create a French seam. Matching the notches, baste the pocket bag to the side seam and waist seam of the front pant piece within the seam allowance. Now repeat for the other pocket.
Your fronts are complete! Next we will sew the belt loops and waistband.