1 — Pre-Pressing
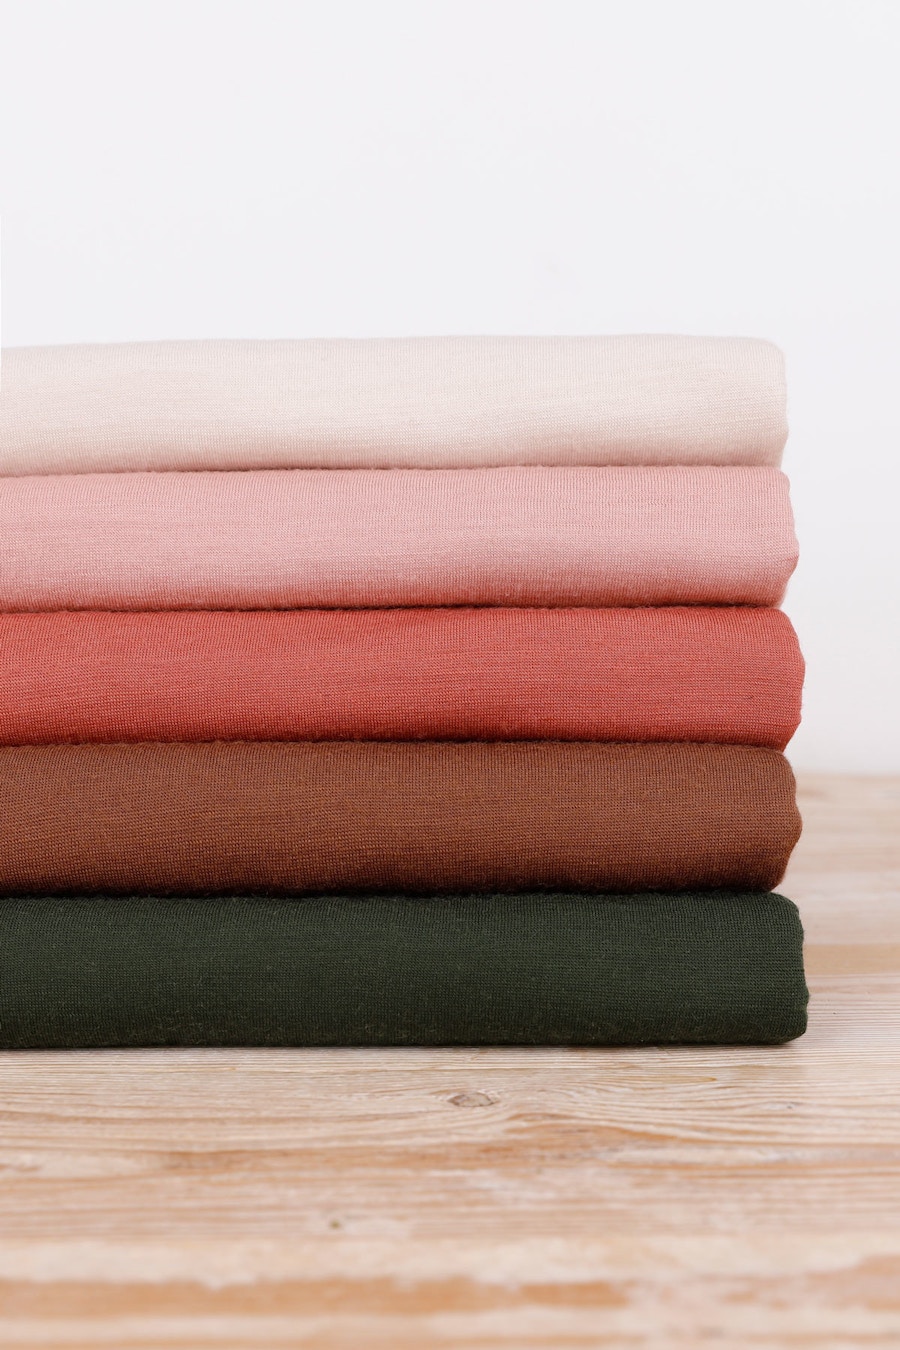
Before you start sewing your Mabel Dress we have a few tips to help when s
ewing with knit fabrics!
— Use a ball point needle in your machine to avoid skipped stitches.
— Try not to stretch your fabric when sewing to avoid rippling. You may want to loosen your machine’s pressure foot tension if this happening.
— For maximum longevity, we highly recommend sewing your Teddy Dress using an overlocker or serger. It can also be completed with a regular domestic sewing machine with zigzag stitch capability and a twin needle setting.
— If you are using a standard sewing machine, use a stretch stitch or narrow zigzag when sewing the seams. You can neaten your seams with a regular zigzag if you don’t have an overlocker/serger.
— Finishing at the body and sleeve hems, and at the neckline can be done with a coverstitch machine. Alternatively you can neaten the raw edge with your overlocker/serger or zigzag stitch and top stitch using a twin needle, two parallel lines of stretch stitch, or a zigzag stitch.
We strongly recommend that you use an iron to press some areas of your pieces before you begin sewing. This will help to ensure accuracy as you sew, as well as aid in giving your Mabel Dress a neat and tidy finish.
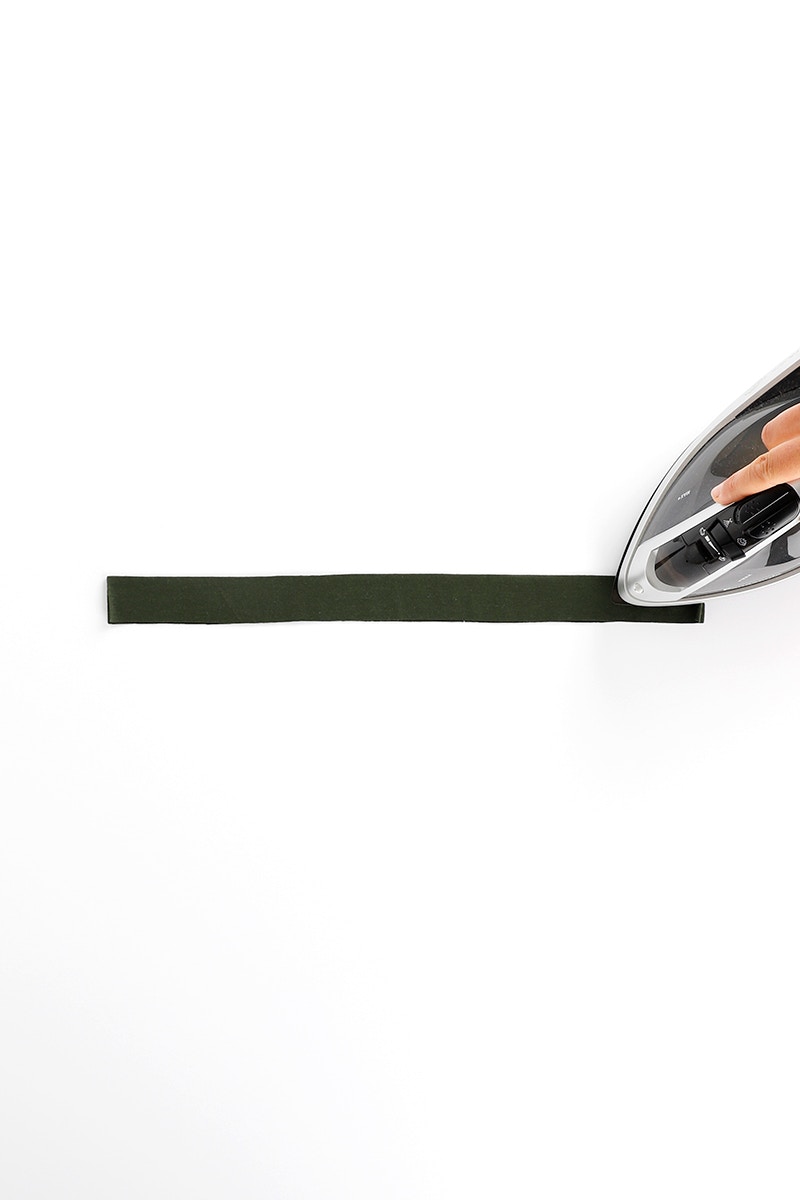
Fold your neckband in half lengthwise with the wrong sides together and press.
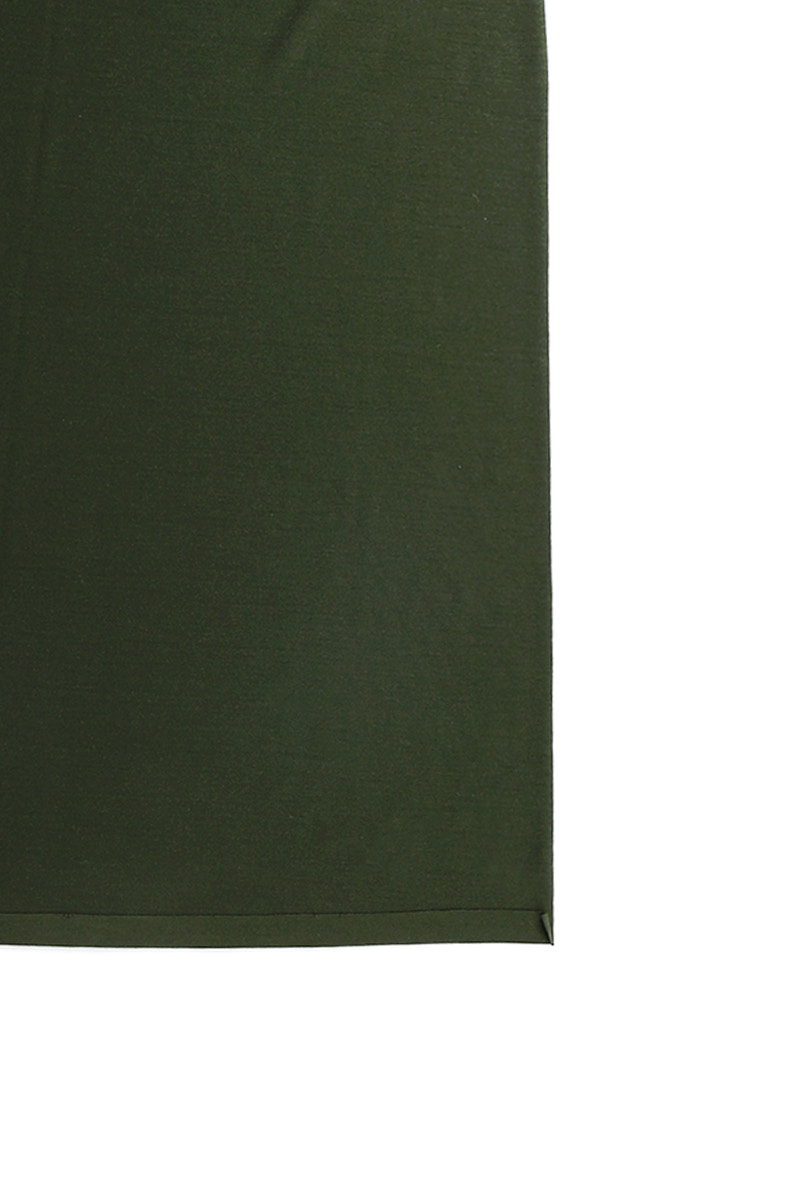
On your front and back pieces, fold back and press the hem 2cm to the wrong side.

For each sleeve, fold back and press the 2cm hem to the wrong side.
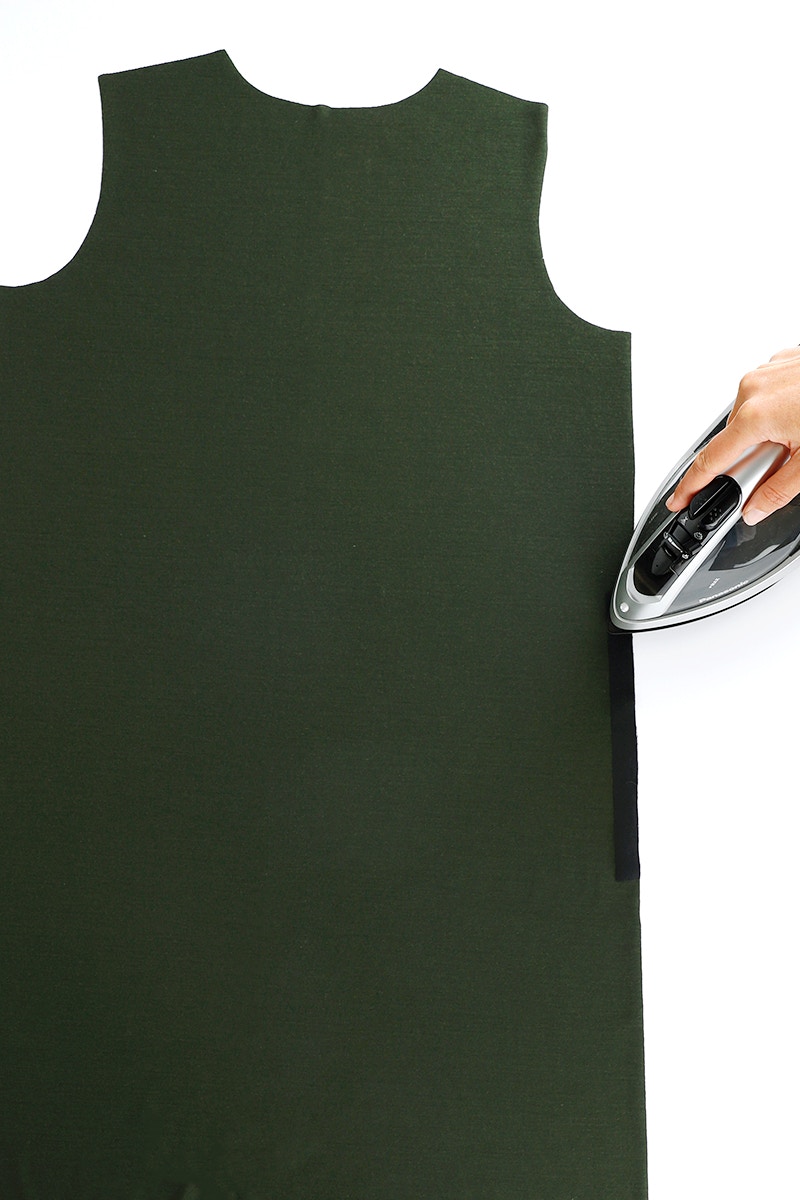
We recommend using a fusible interfacing strip on your Mabel Dress pocket openings as will add structure and stability to your pocket. Cut four 22.5cm x 2cm pieces of interfacing and iron it to the wrong side of the fabric at pocket openings, on both the front and back pieces. Take your time to centre your interfacing exactly. The fusing should extend 3cm on either side of the notch points.
2 — Pockets
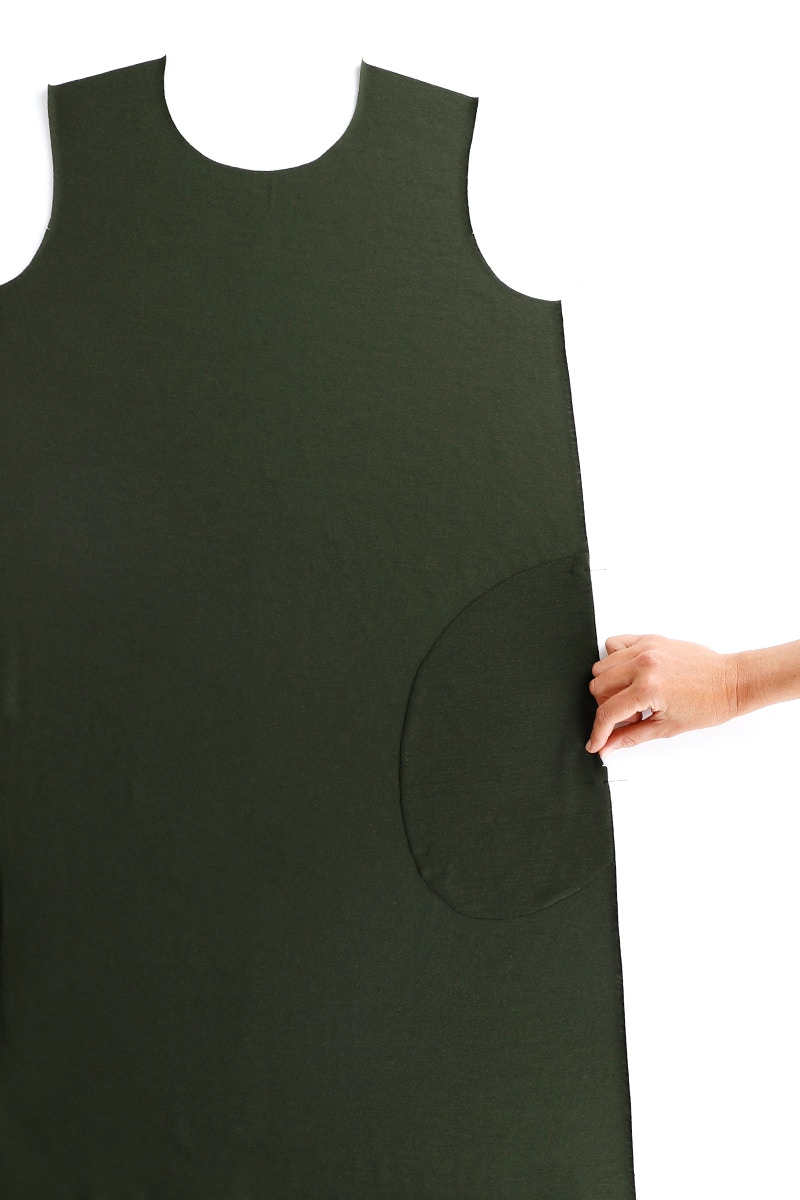
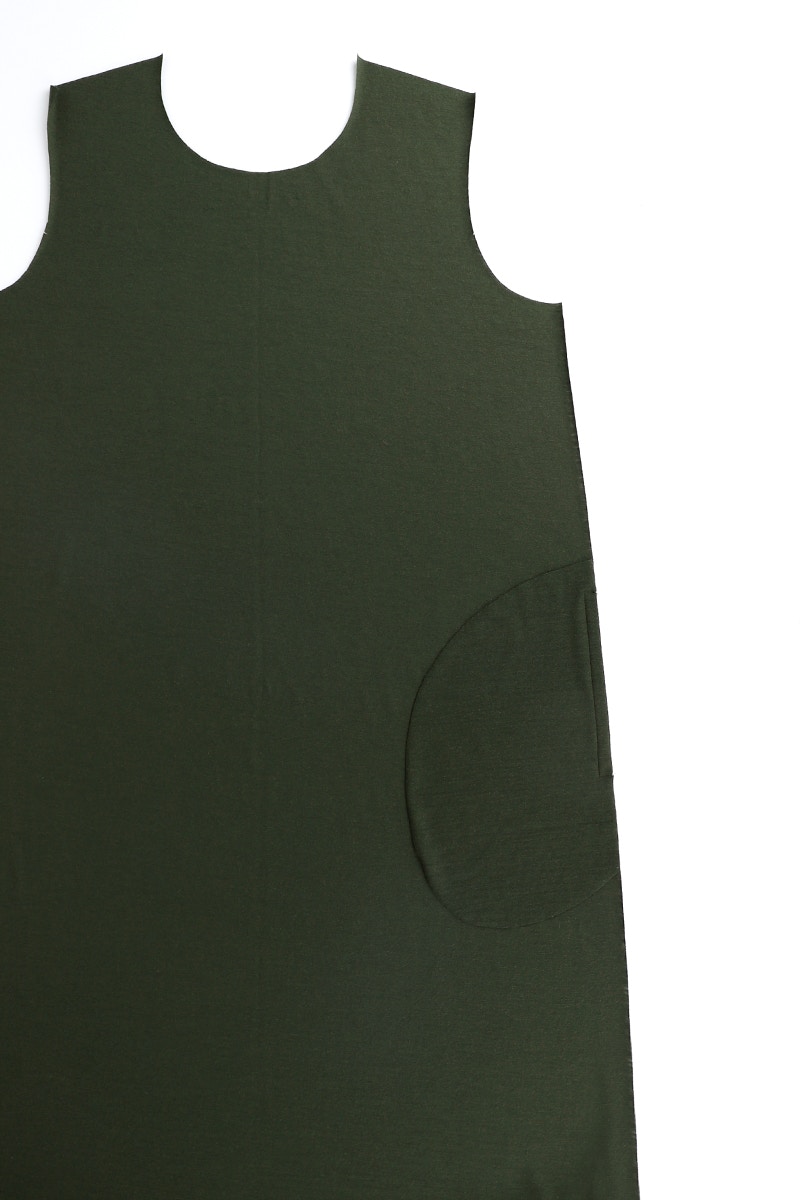
Place one of your pocket bags onto the front with the right sides facing. Match the notches and pin the pieces together. Stitch a box with your sewing machine using a straight or stretch stitch (if your machine has the capability), from notch to notch, from the outside edge in towards the pocket bag 1cm. With your needle down, turn 90 degrees and continue stitching at 1cm, parallel to the edge. Stitch down to line up with the lower notch, turn back towards outside and stitch towards the edge. You will have created a stitched box along the pocket opening.
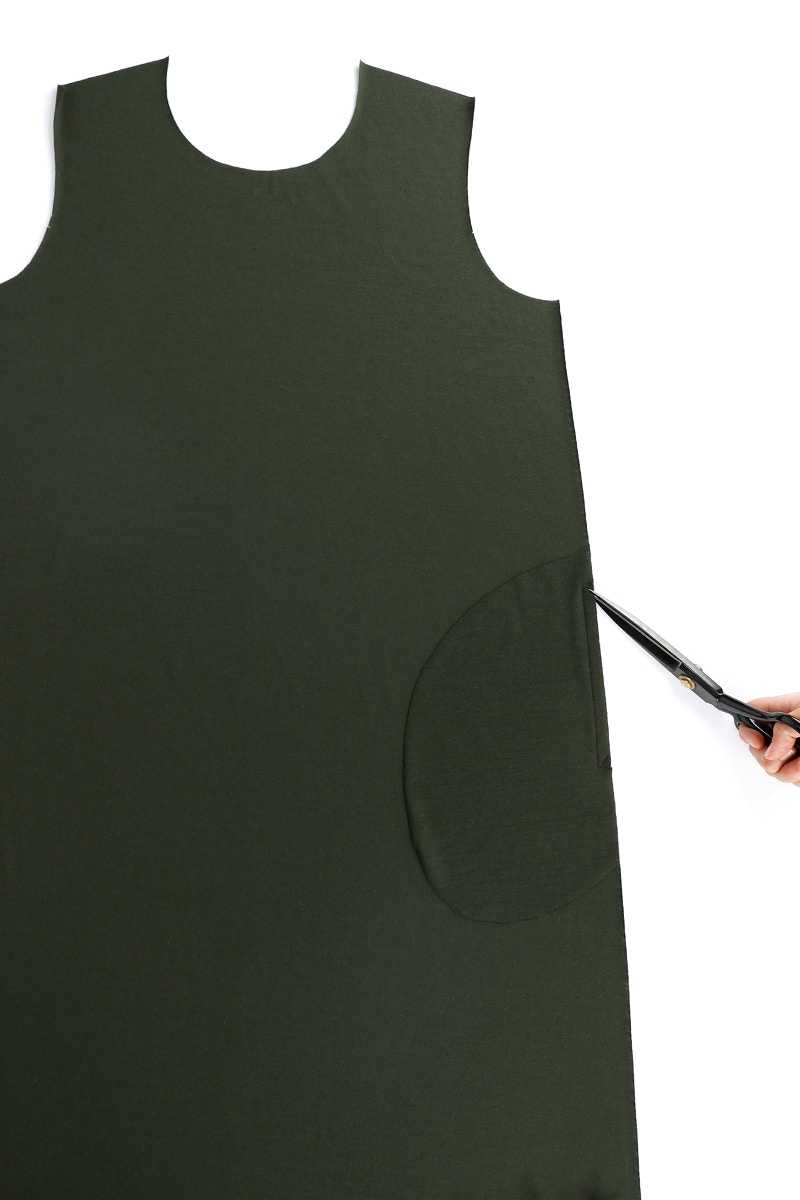
Next, you need to mitre into the upper and lower corners of the box. Do this by snipping into each corner at a 45-degree angle, using very sharp scissors and taking care not to cut into your stitch line.

Fold your pocket bag out and press along edge of your pocket opening. Understitch the pocket opening from corner to corner.
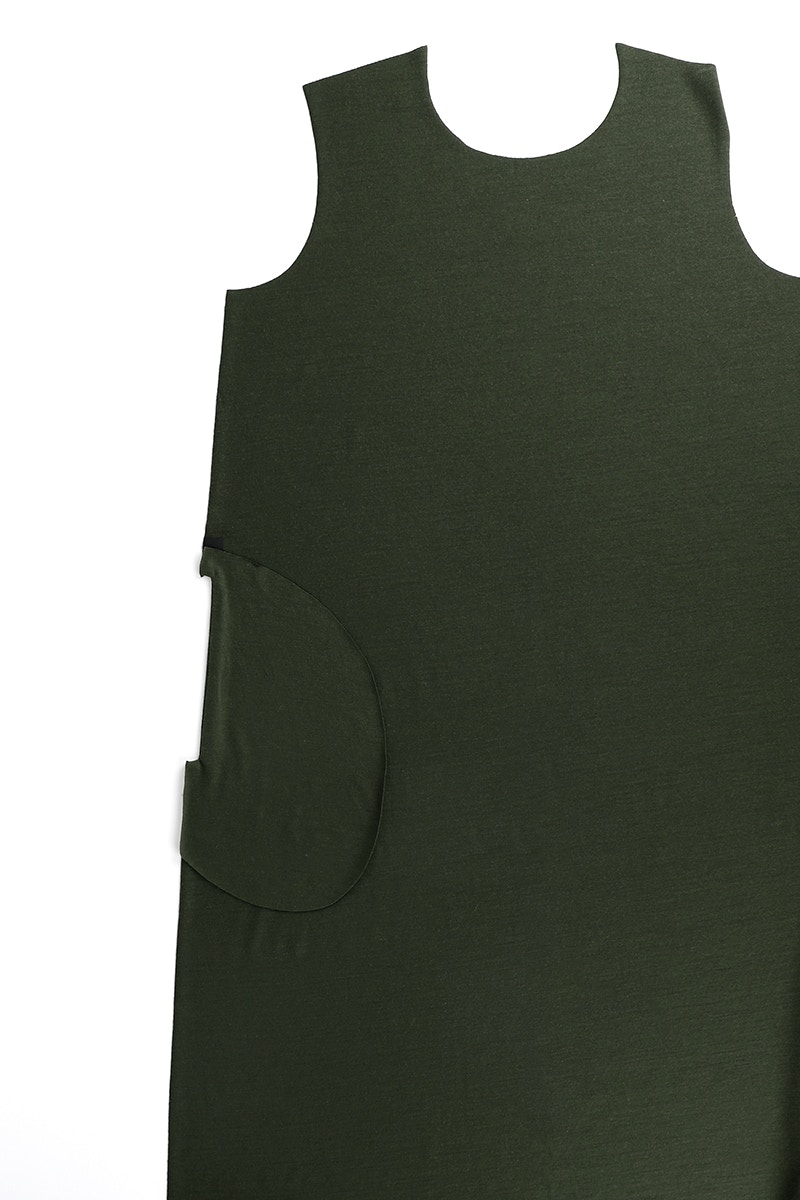
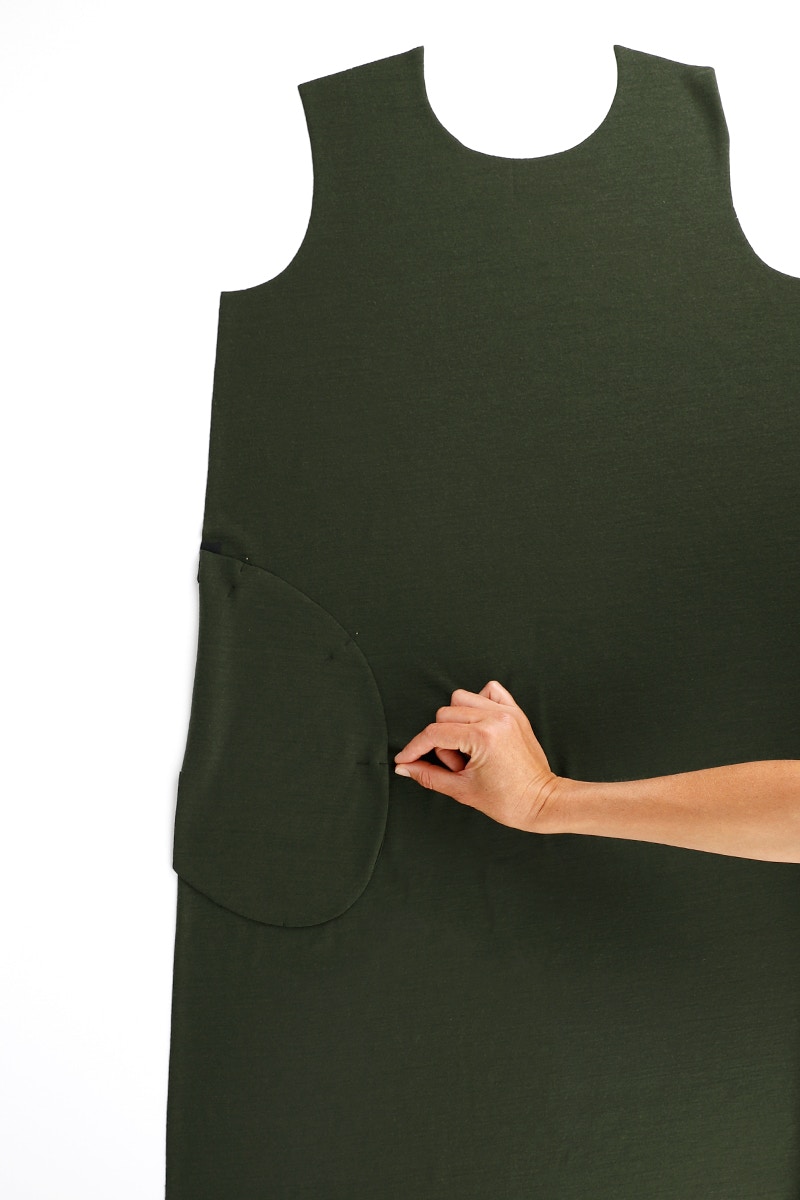
Press again so the wrong sides are together and then place the other pocket piece on top with the right sides together. Match the notches and pin the pocket bags together.
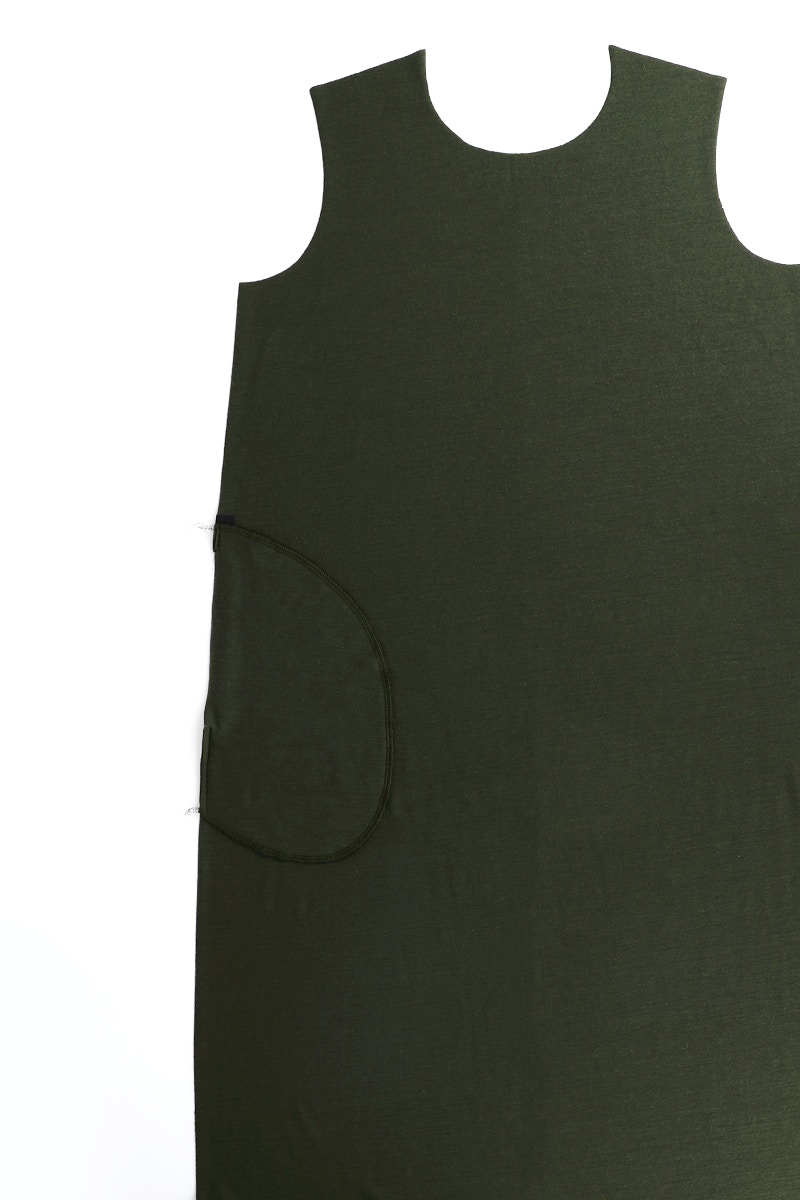
Overlock the pocket bags together around the long, curved edge and then baste the pocket bag to the front on either side of the pocket opening. Repeat for the other pocket.
3 — Shoulders and Neckband
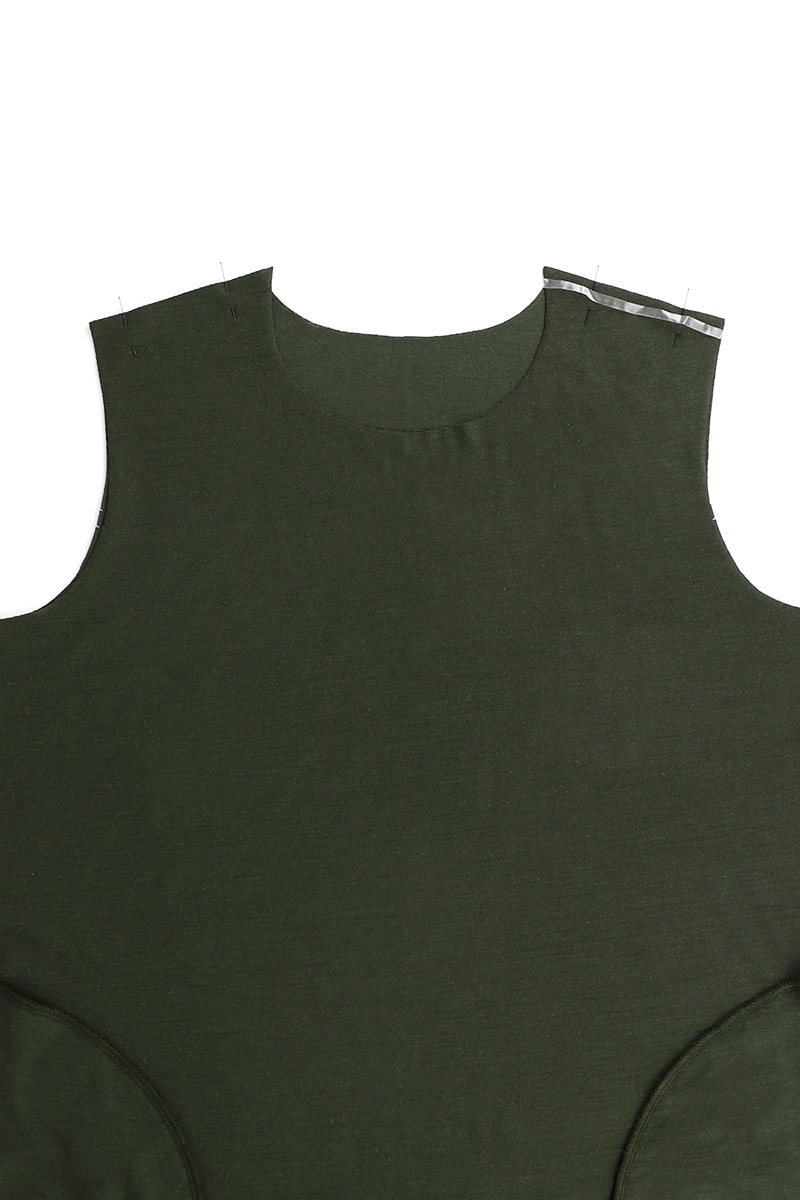
Pin your front to the back at the shoulder seams with right sides together. If you are using mobilon elastic, cut a piece that is at least 2cm longer than the width of the shoulder.
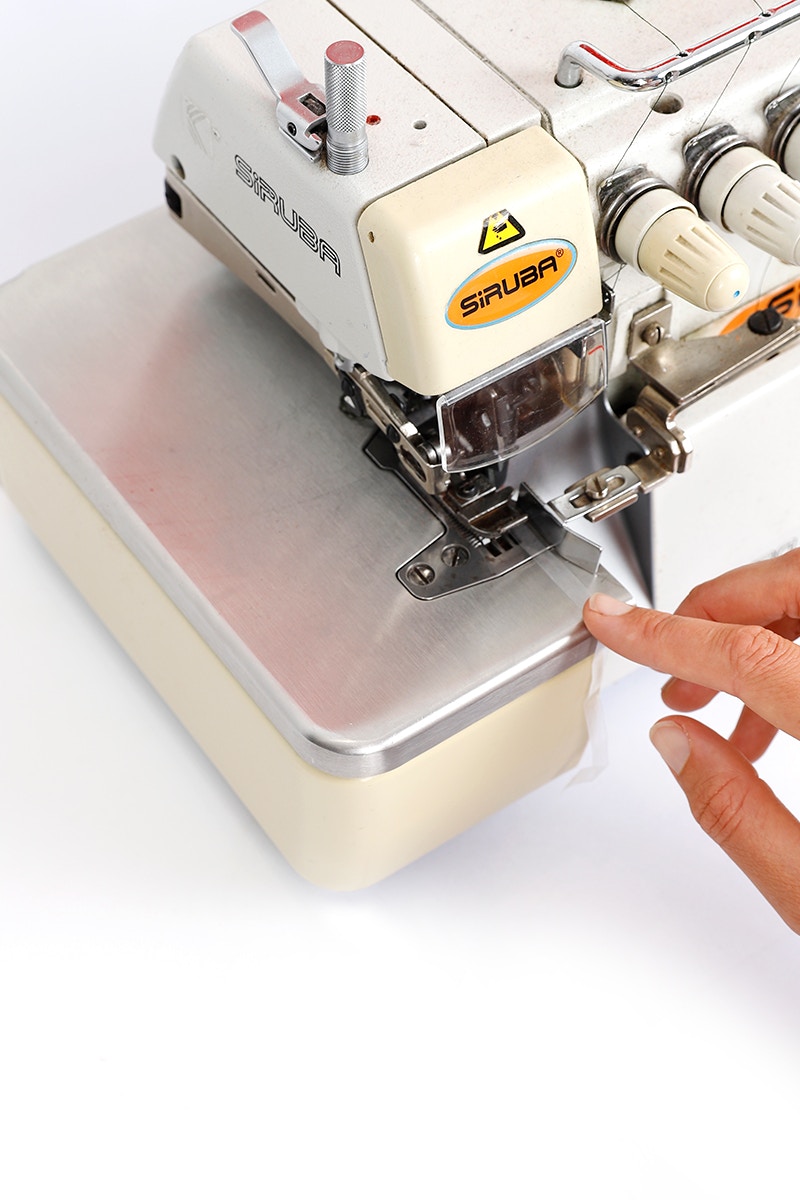
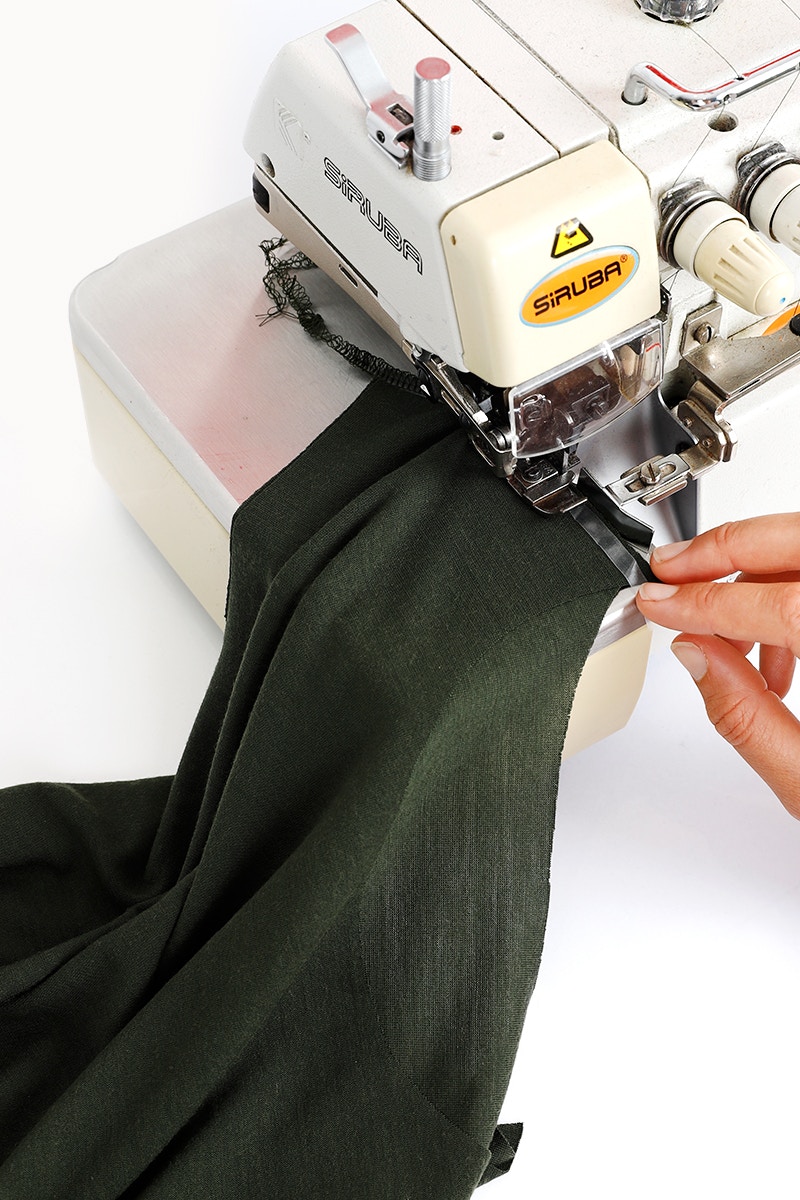
To overlock the shoulders, first catch the end of your mobilon elastic on its own with your stitching to create a tail. Then lift your presser foot and lay the shoulder of your dress underneath the mobilon elastic. Now, continue sewing the shoulder, catching the elastic in the seam as you sew. Run your stitching off the shoulder, catching the mobilon elastic at the other end. Repeat for the other shoulder.
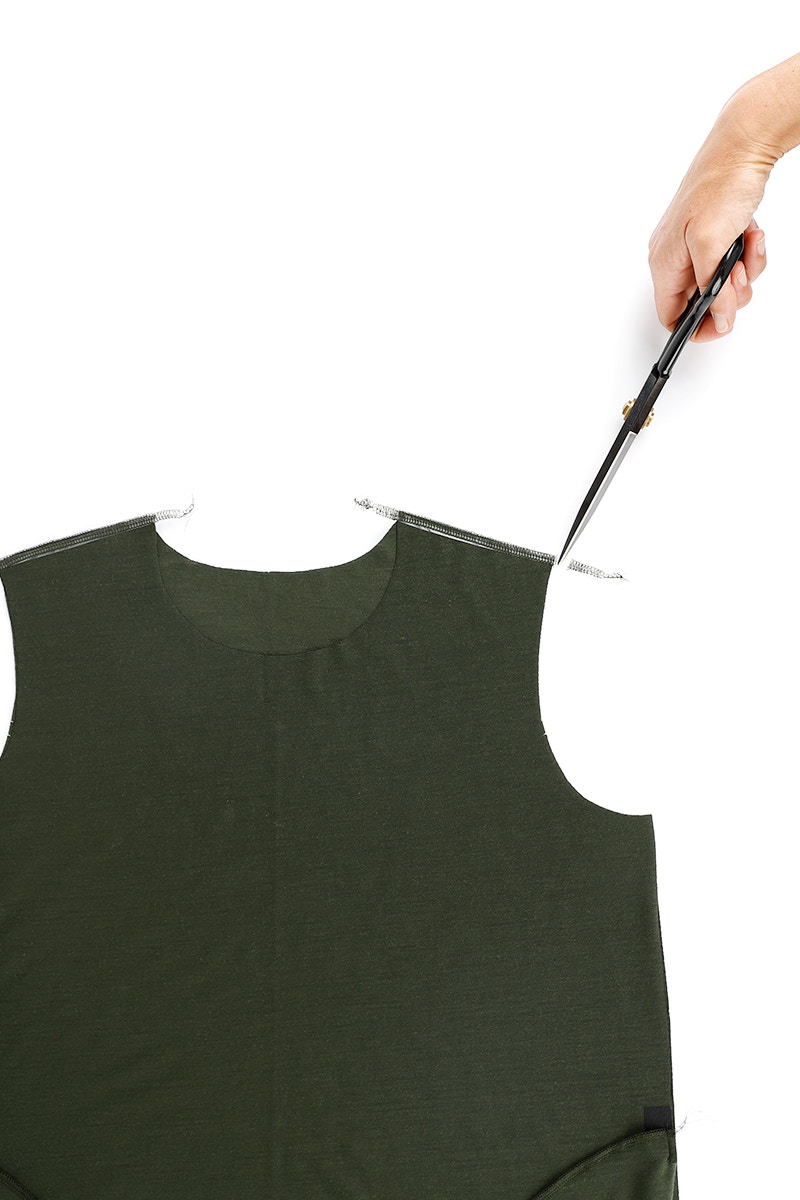
Trim the excess at each shoulder and press the seam towards the back.
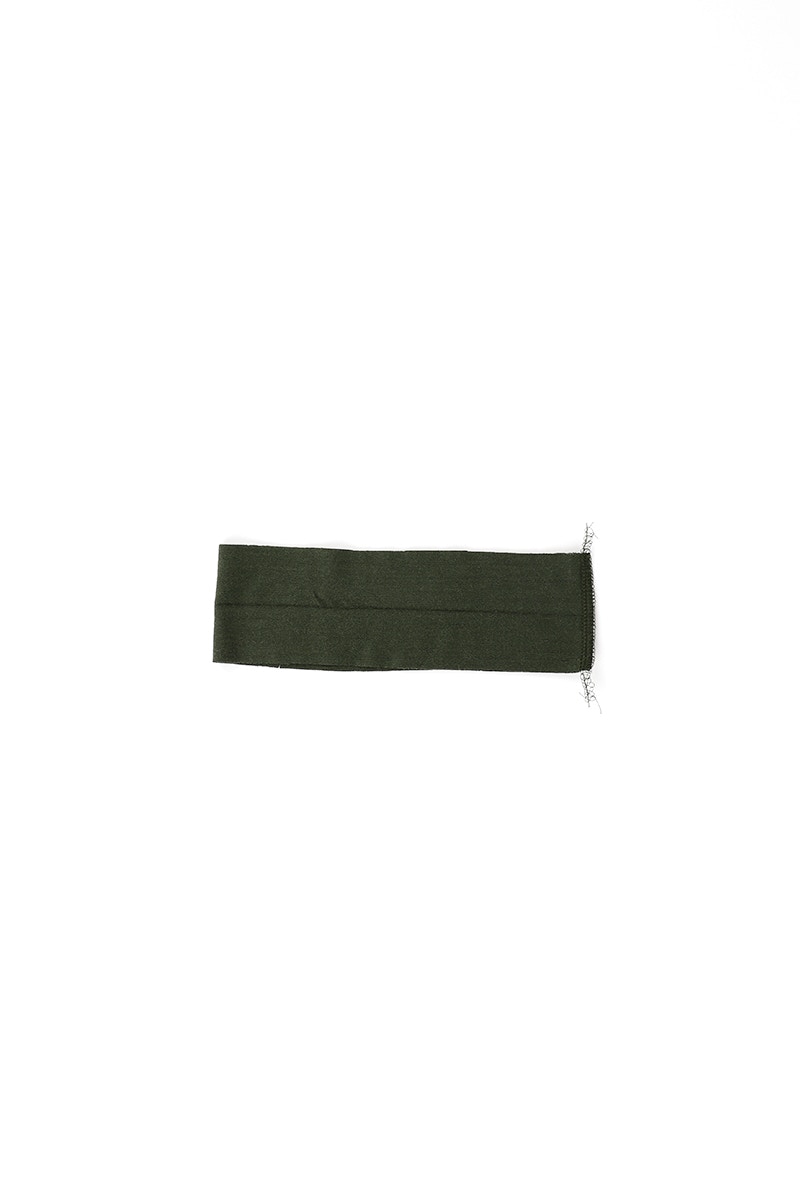
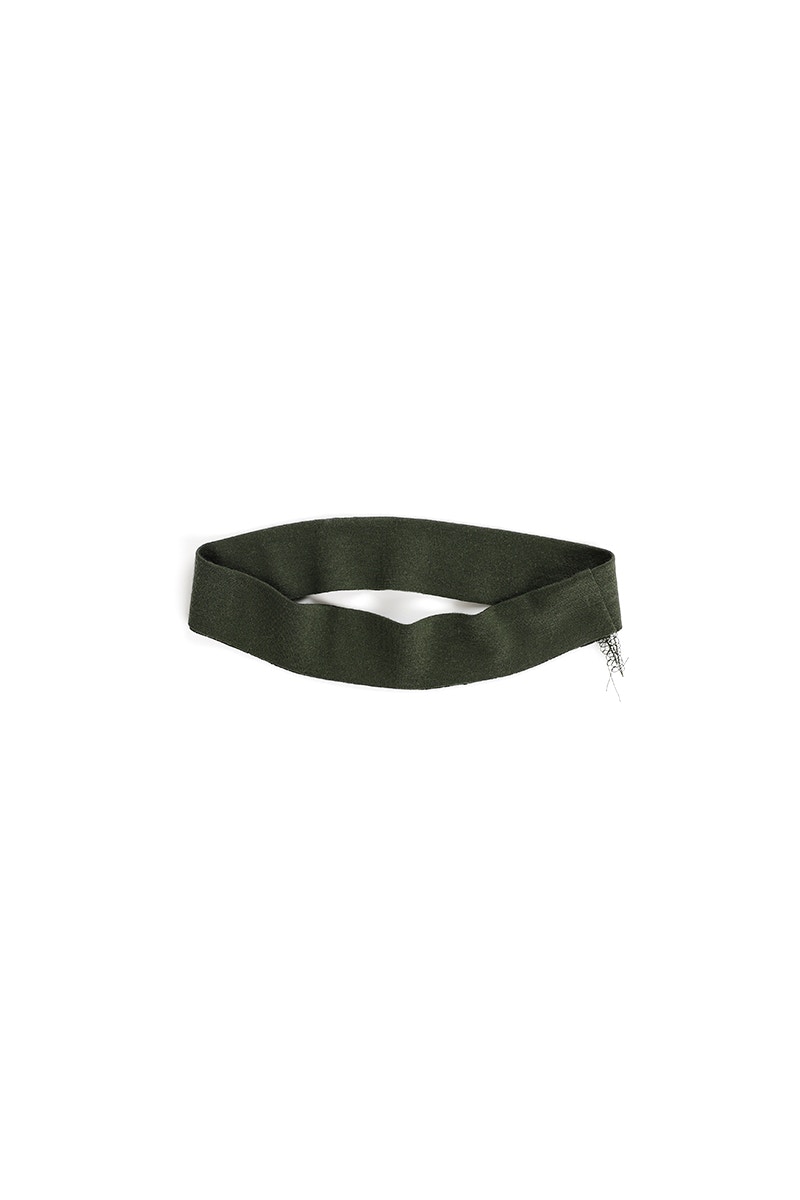
Now we will sew your neckband.
With the right sides together, overlock the short ends of your neckband together, to create a circle. Press the seam towards the front and then fold your neckband in half, lengthways with wrong sides together.
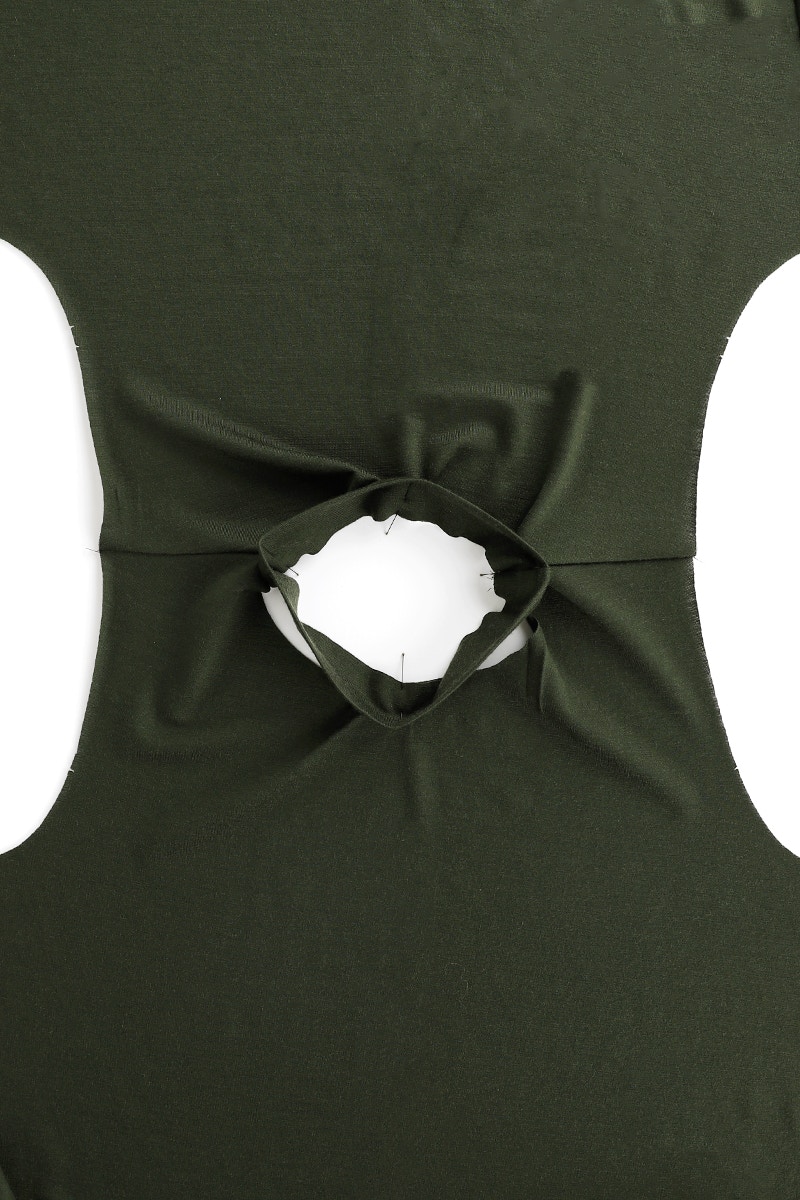
Pin your neckband to the right side of the body of the garment. The neckband seam will match the left shoulder, and the notch will match the right shoulder. You can pin in more places to distribute your neckband evenly around the neck opening.
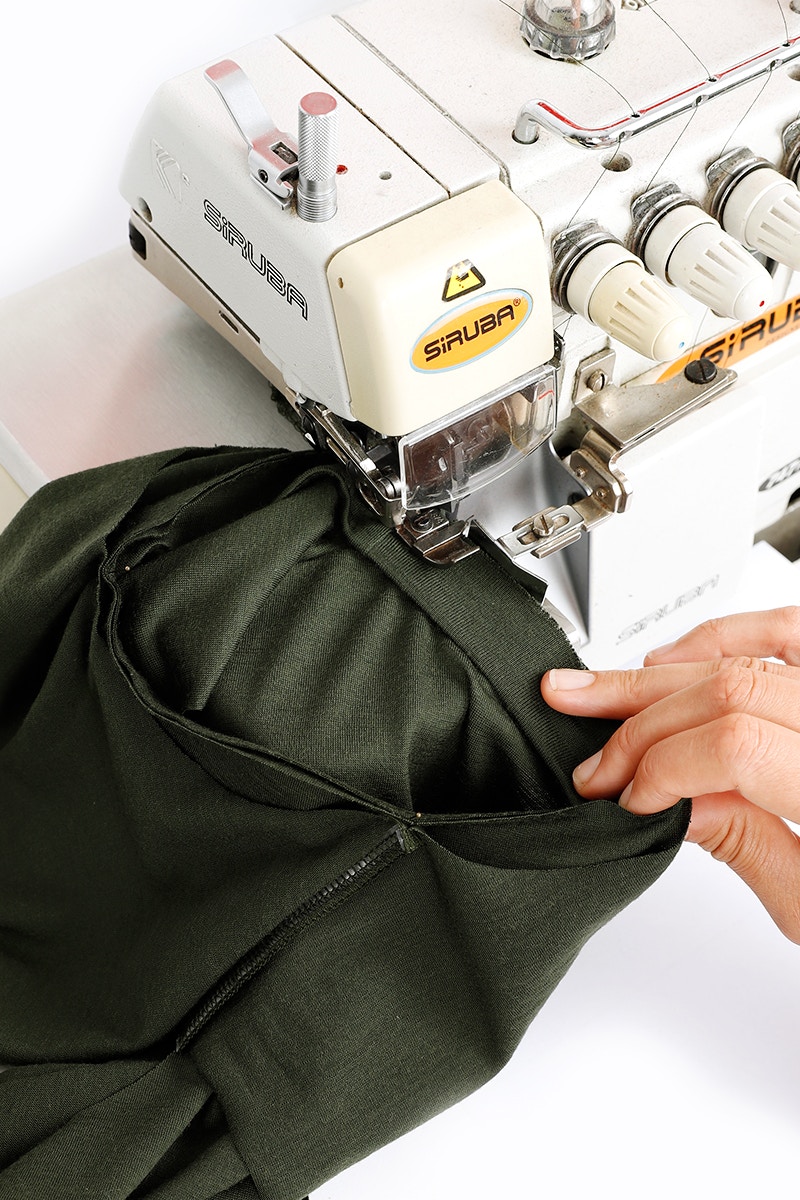
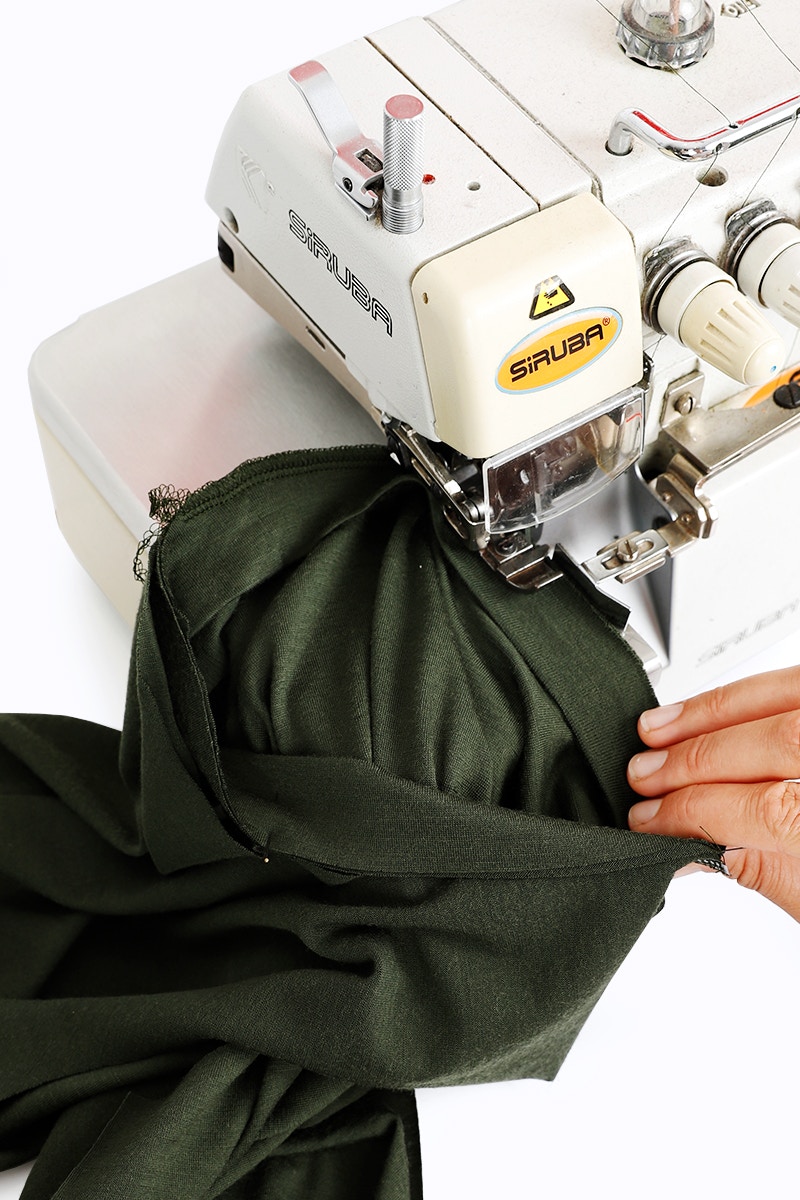
Next, overlock the neckband to the body. Before overlocking, you can baste your neckband to the body if you would prefer. You will need to
stretch the neckband as you sew to ensure it fits. Press the seam towards the body.
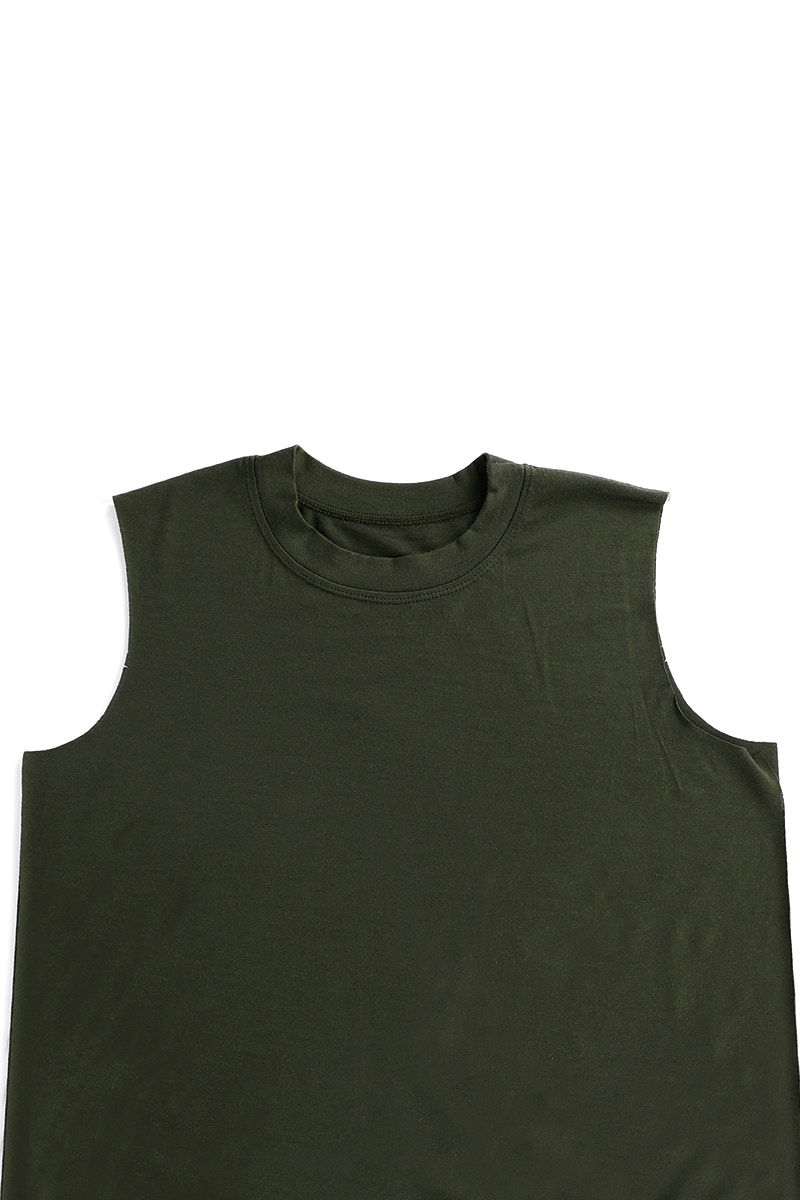
Top stitch the seam allowance of the neckband to the body using a twin needle or your preferred finishing stitch, starting and finishing at the left shoulder.
4 — Sleeves, Side Seams and Hems
We are sewing our Mabel Dress with short sleeves but the steps are the same if you are sewing long sleeves.
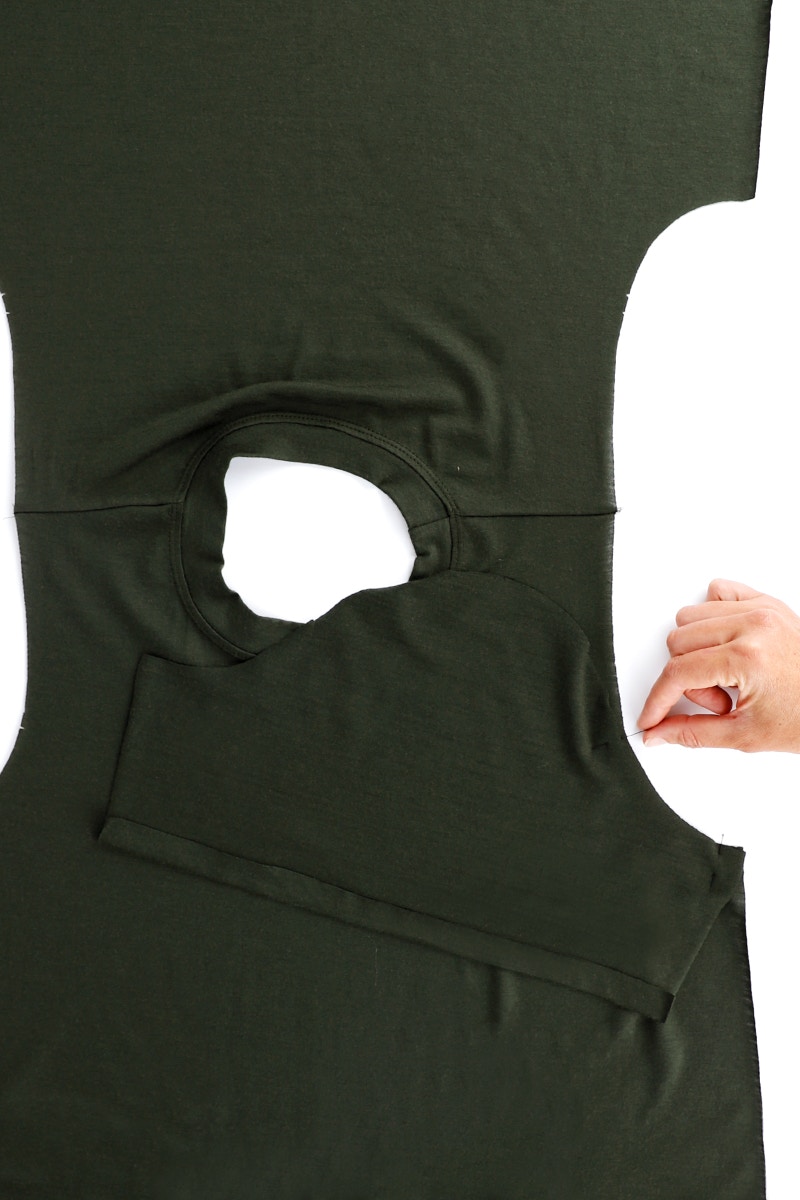

With the right sides together, pin the sleeve head to your dress, matching the notches as indicated. Overlock them together and press the seam towards the body. Repeat for your other sleeve.
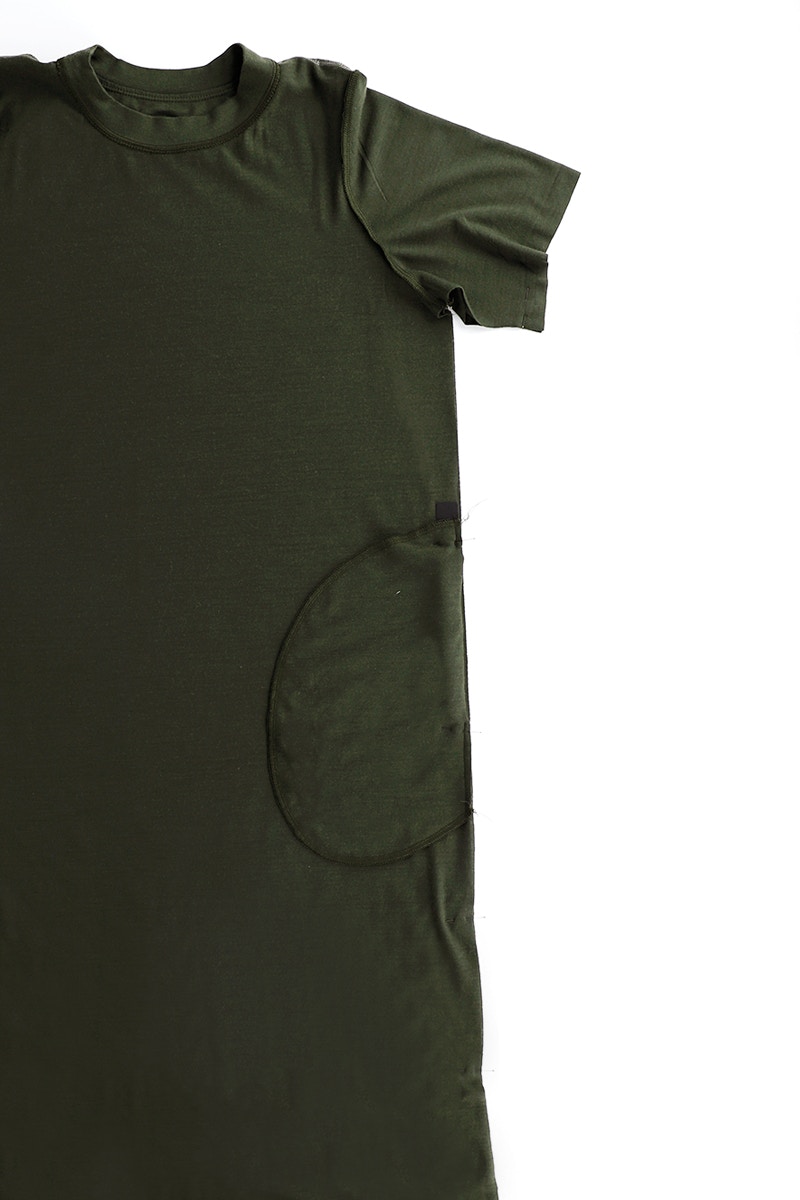
Now we will sew the sides of your Mabel dress. Pin the side seams together with the right sides facing, matching the seams at the underarms and the pocket notches. It can help to start by matching the underarm seams, then work towards the body hem and sleeve hem.
With your sewing machine, sew your front to the back along the pocket edge only with a 1 cm seam. Use a straight stitch, or a stretch stitch if your machine has the capability. This helps to give a nice finish at the pocket where it can be a bit tricky to get your overlocker in close.
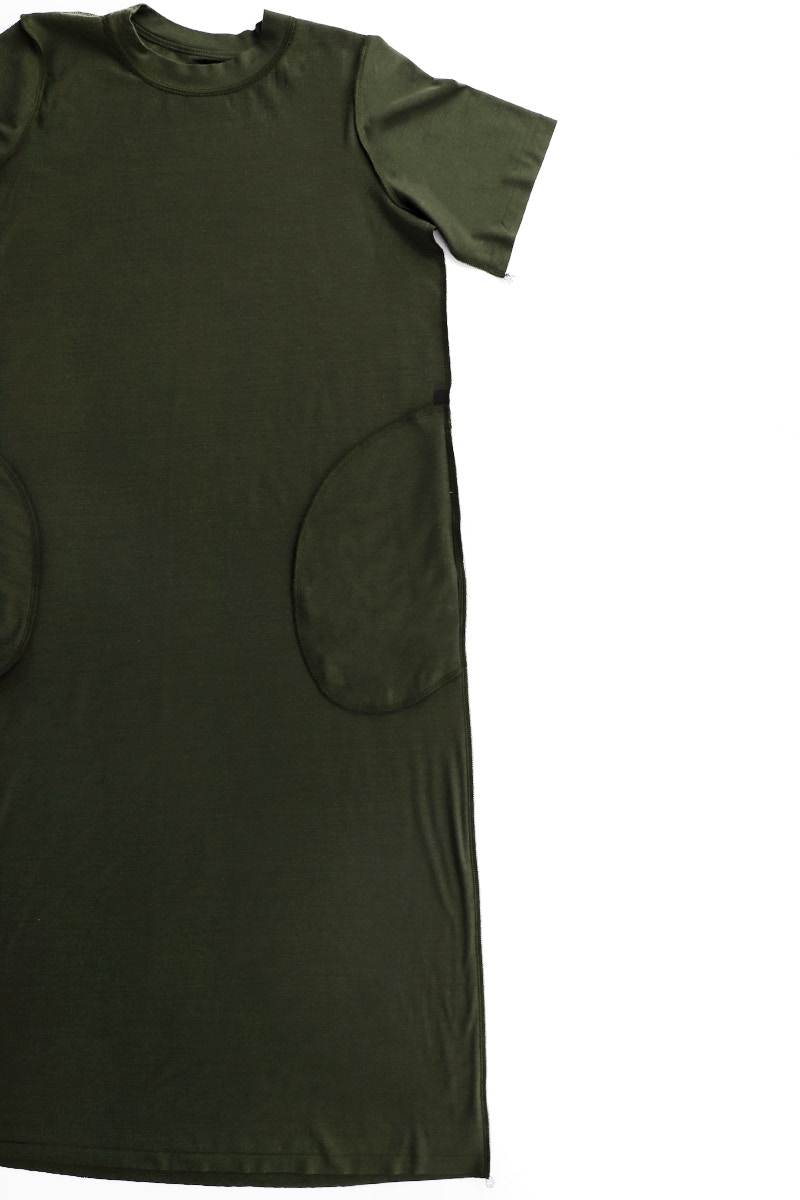
Now overlock your entire side seam. Repeat for the other side and press the seams towards the back.

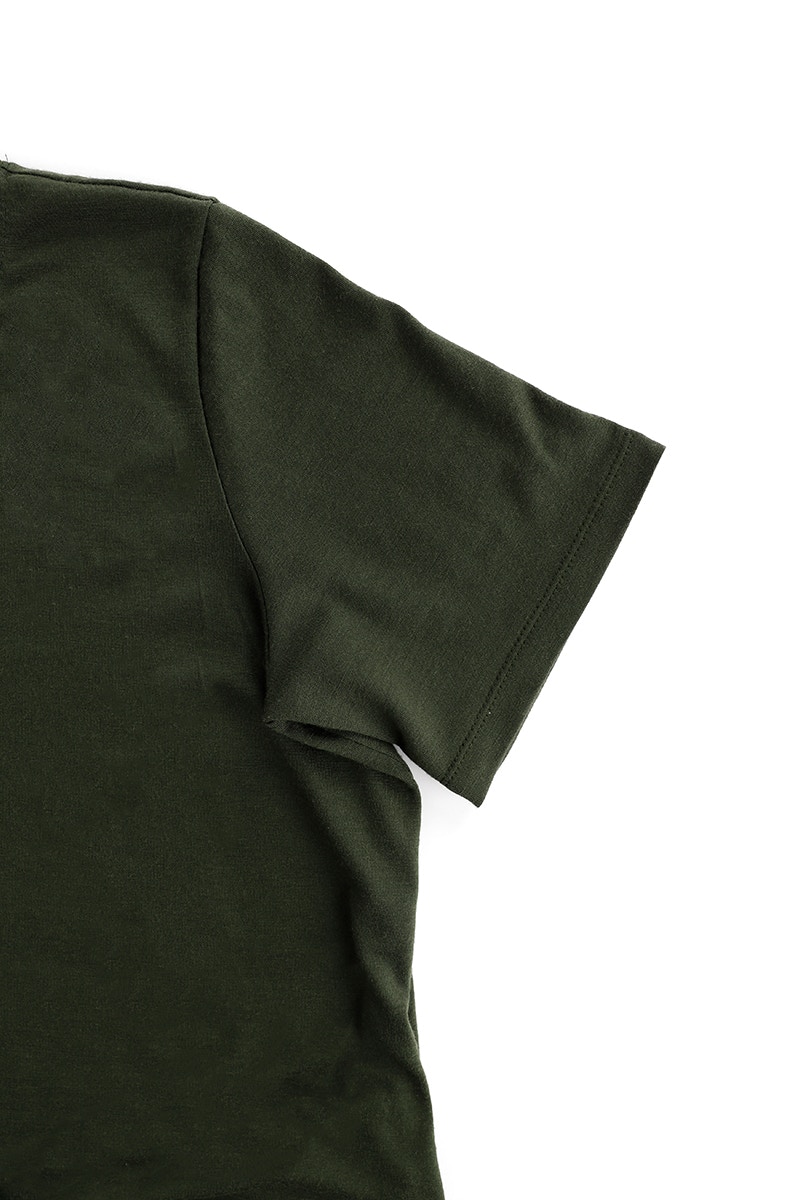
Now we will hem your Mabel Dress, starting with the sleeves.
Neaten the raw edge of the sleeve hem and then fold it back 2cm with the wrong sides together. The pre-sewing pressing steps you made will help with this. Pin the hem in place with the pins on the right side. Then, using a twin needle or your preferred finishing stitch, sew the sleeve hem at 2cm. Sew on the right side of the fabric, starting at the sleeve seam and repeat for the other sleeve.
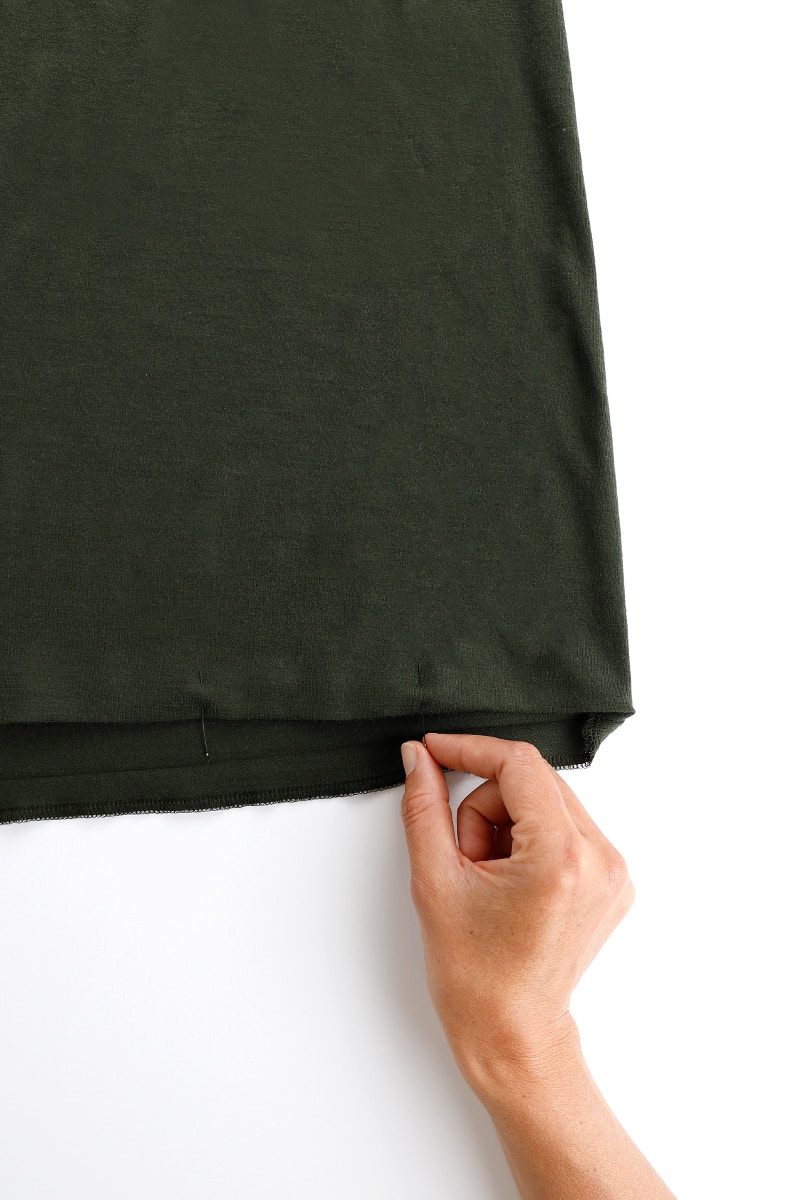

With your dress inside out, neaten the raw edge of the body hem then fold it back 2cm, wrong sides together. The pre-sewing pressing steps you made will help with this. Pin your hem in place with the pins on the right side. So the body hem at 2cm using a twin needle or your preferred finishing stitch. Sew on the right side of the fabric, starting and finishing at one of the side seams.
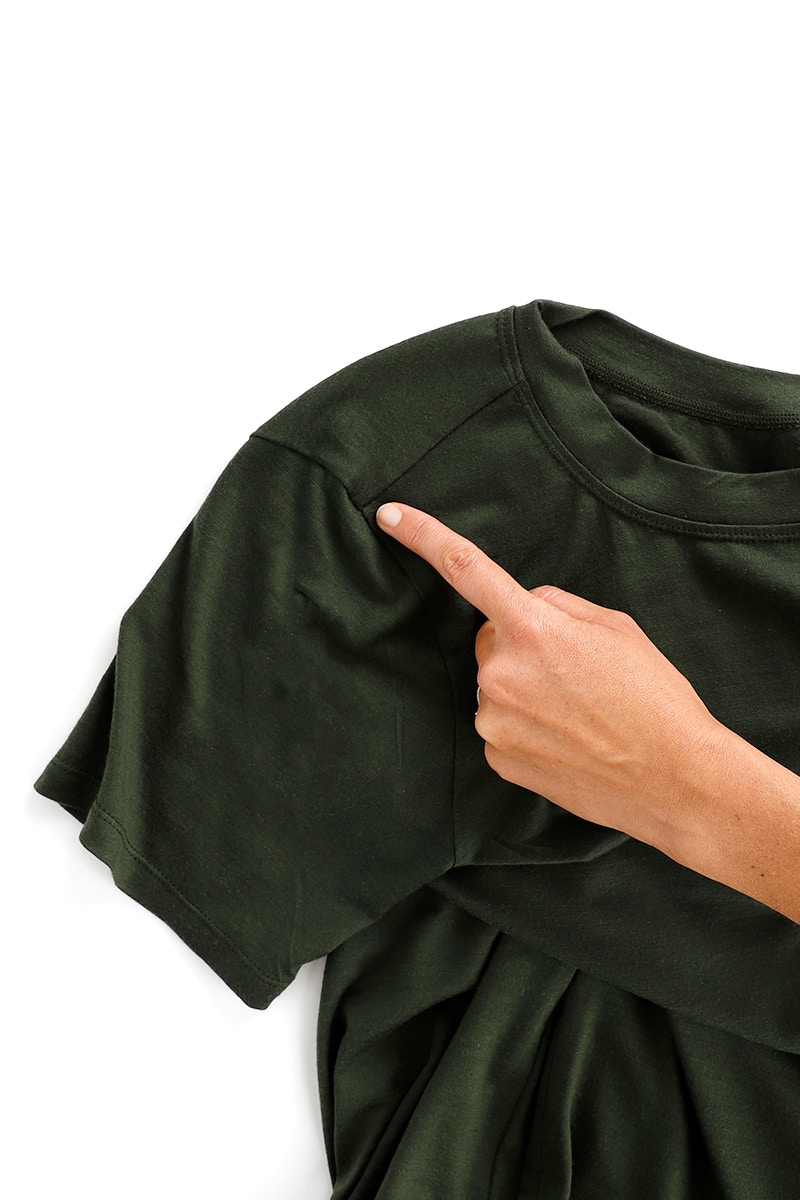
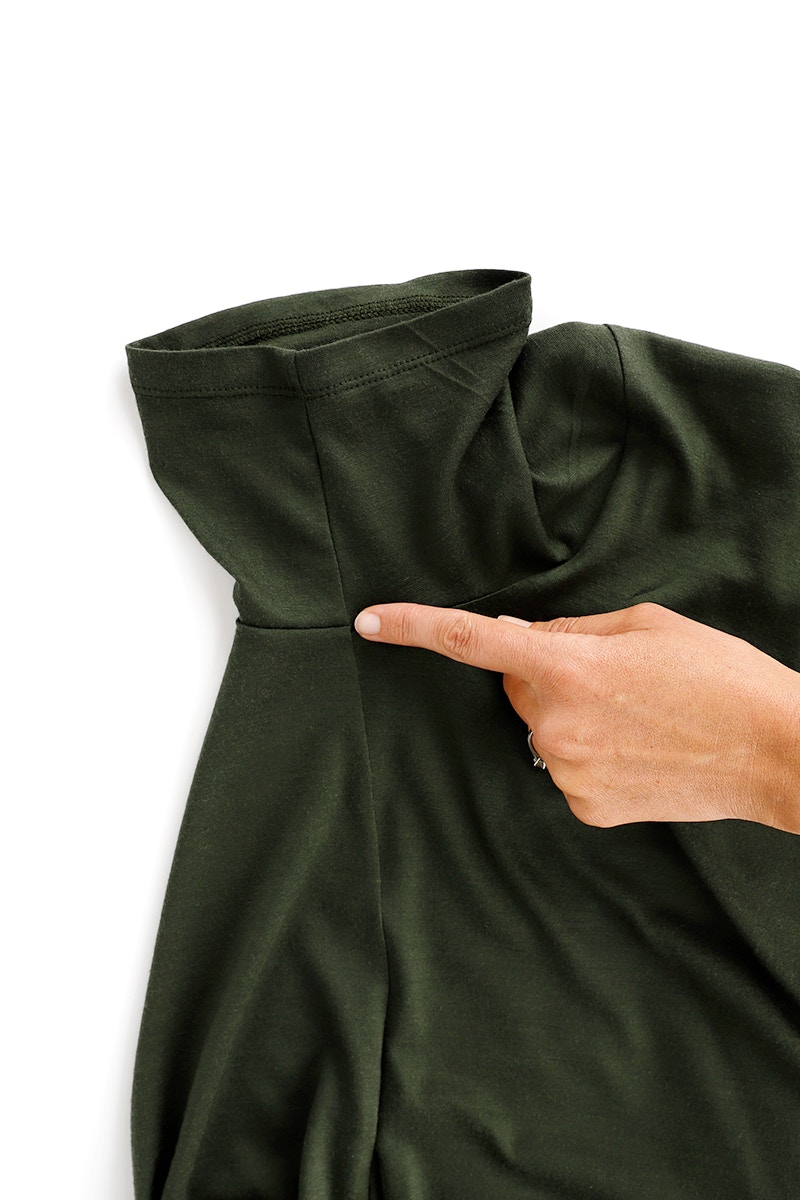
Now for the finishing touches!
To keep your seam allowances in place, back tack in the ditch 2-3 stitches in the shoulder seam, at the sleeve head and, at the side seam by back tacking in the ditch 2-3 stitches in the sleeve seam at the underarm.
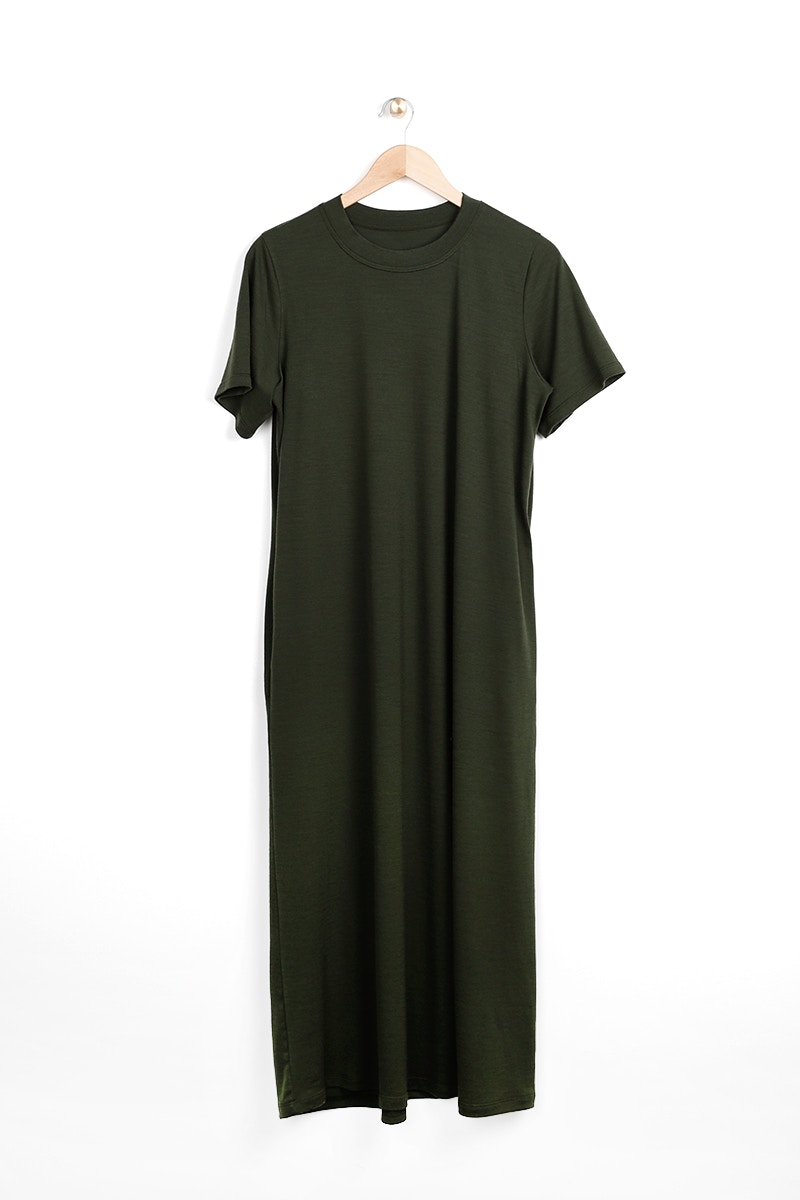
Clip your threads and give your Mabel Dress a final press. You're all done!
Check out the Mabel Dress pattern in our Online Store here. Don't forget you can always email us via patterns@thefabricstore.co.nz if you need advice!
Mabel makes from our wonderful community are also popping up over on Instagram, follow @makebytfs and use #TFSMabelDress so others can check out your creations!


