Curved Back Waistband Adjustment
We strongly recommend sewing a toile (sample garment) in calico fabric (or similar) prior to cutting your final jean. This will ensure you have the opportunity to make any alterations in length or fit the jean pattern using an inexpensive fabric. Sewing a toile requires additional time, but we consider this time well spent for a project of this type.
When fitting our toile to our model Adorate, we needed to remove a small amount of excess from the waistband to accommodate the curve in her lower back. This post will cover how we did this, and is a very simple alteration to the pattern. The method we used keeps your waistband on the straight grain*, which can help to avoid stretch across the waistband over time.
*Note that you can also curve off the waistband if you prefer, and you may wish to add stabilising interfacing if you choose to do this.
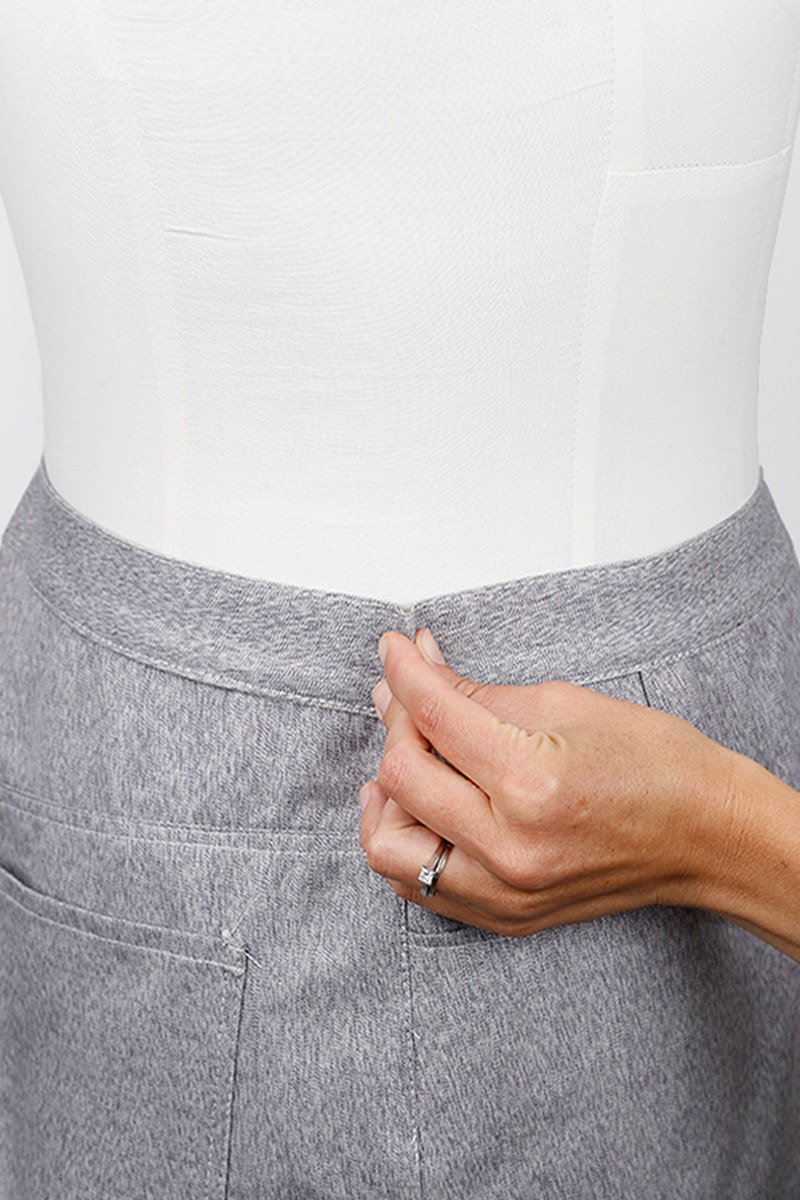
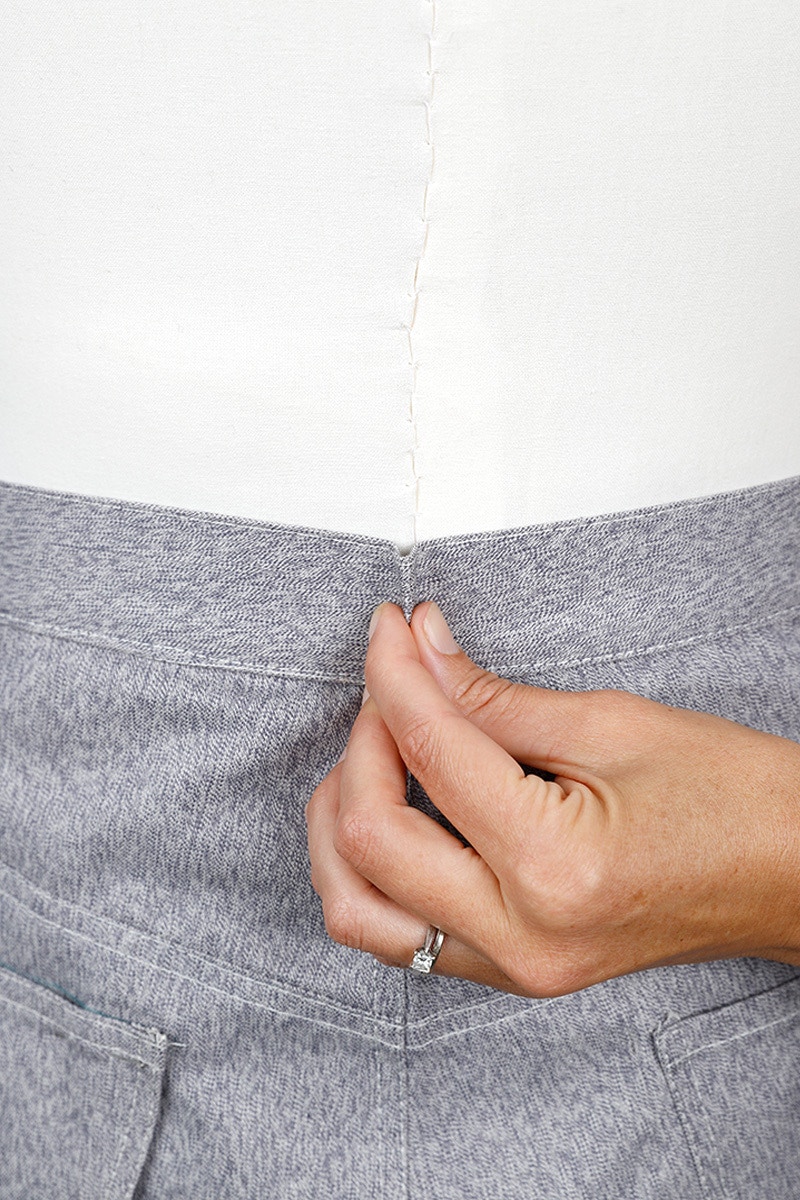
Try on your toile and pinch out the excess to get the waistband sitting comfortably and fix it with a pin. You can take the excess all from the centre back, from the side seams, or a combination of both. If the amount you are removing extends past the waistband, you will need to remove this from the side seams and/or centre back of your front and back pieces.
In our example, we are taking the excess from both side seams and the centre back of the waistband only. You can alter the steps for what works for you.

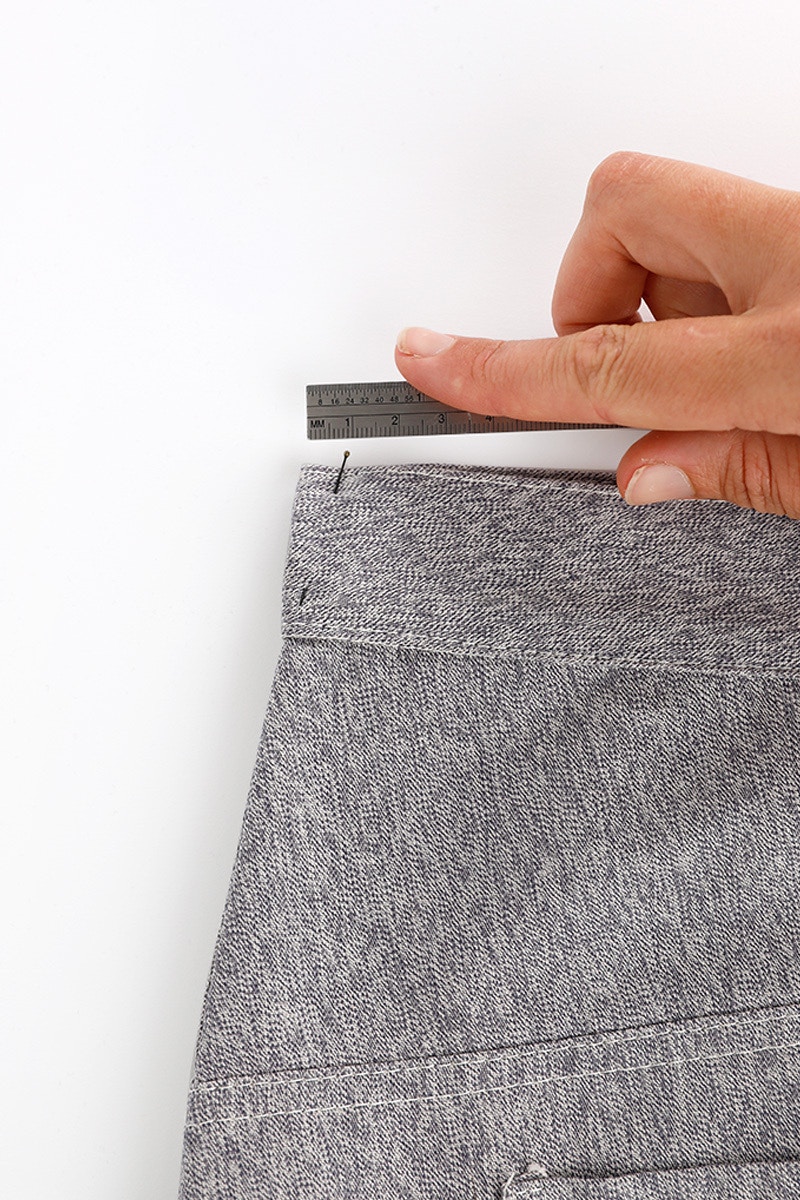
Take off your toile then measure and take note of the amount you need to remove at each seam. Our excess measured 1cm at the top of the waistband, to nothing at the bottom, for each seam.

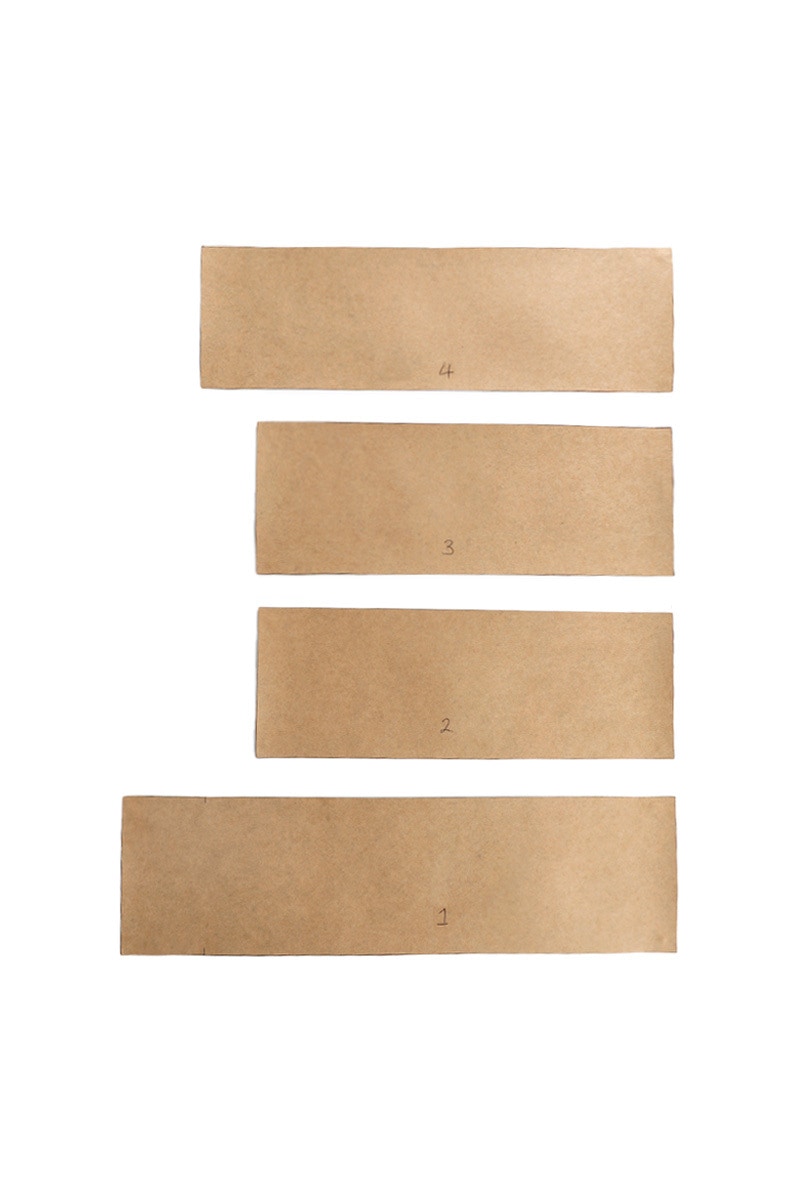
We will now take the measurements from your toile and alter the waistband pattern piece.
Split the waistband at each seam that you are removing excess from. The notches in the waistband indicate the side seams and centre back to help you find these seam locations.
As the pieces can look very similar it can be helpful to number each piece so you know which order they go in.
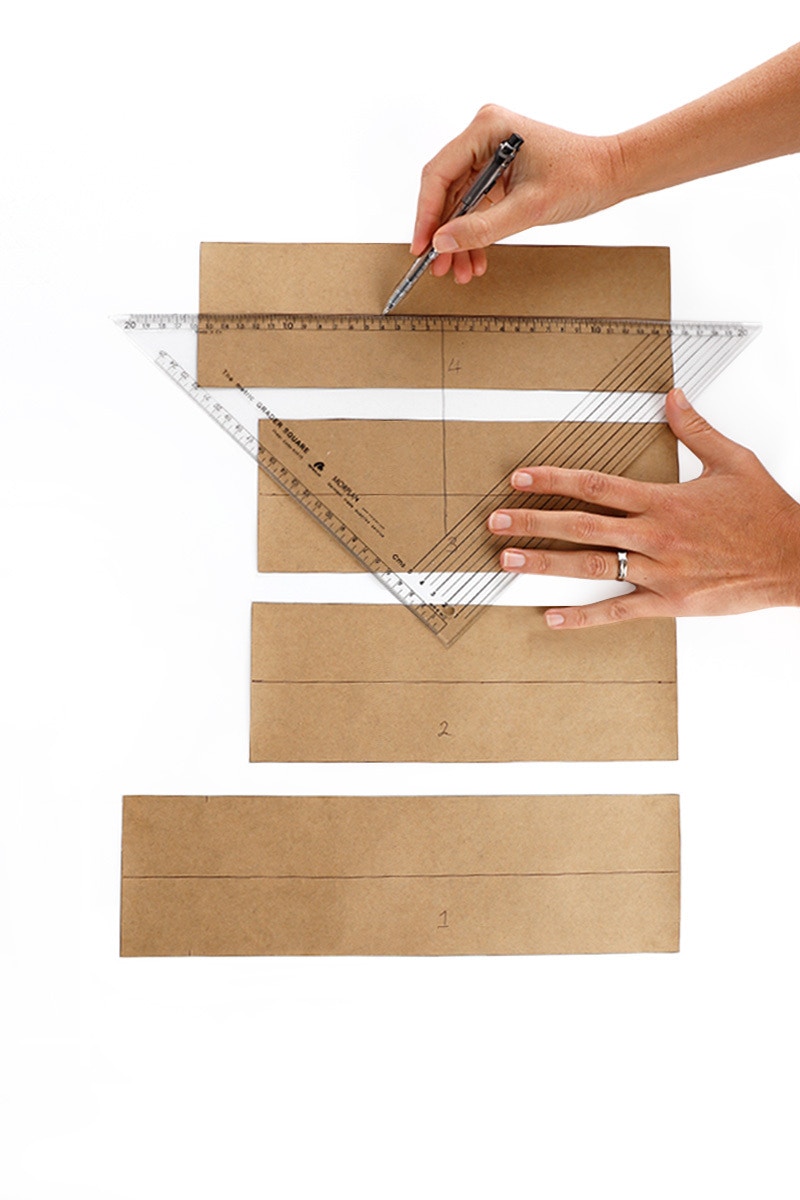

As the waistband is folded when it's sewn on, we need to cut each waistband piece in half lengthwise.
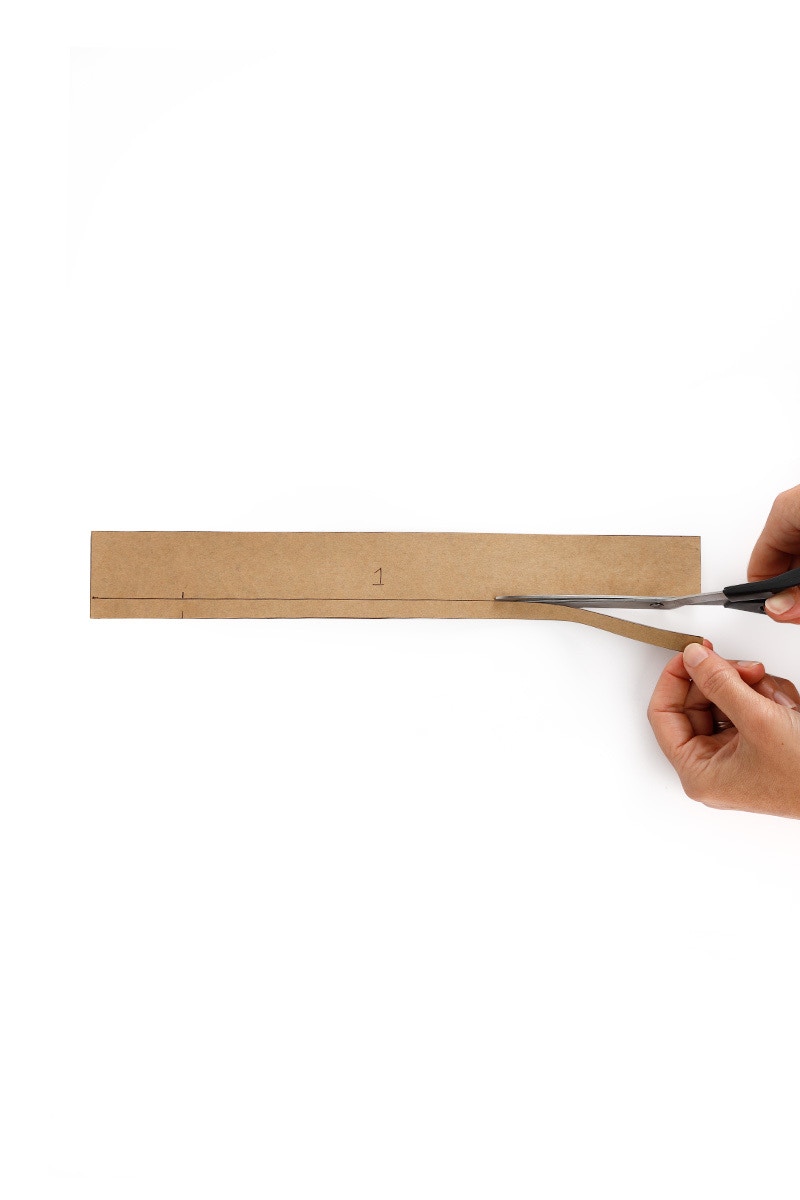
Next, remove the 1cm seam allowance at the bottom edge of the pattern piece. Don't forget to transfer any notches!
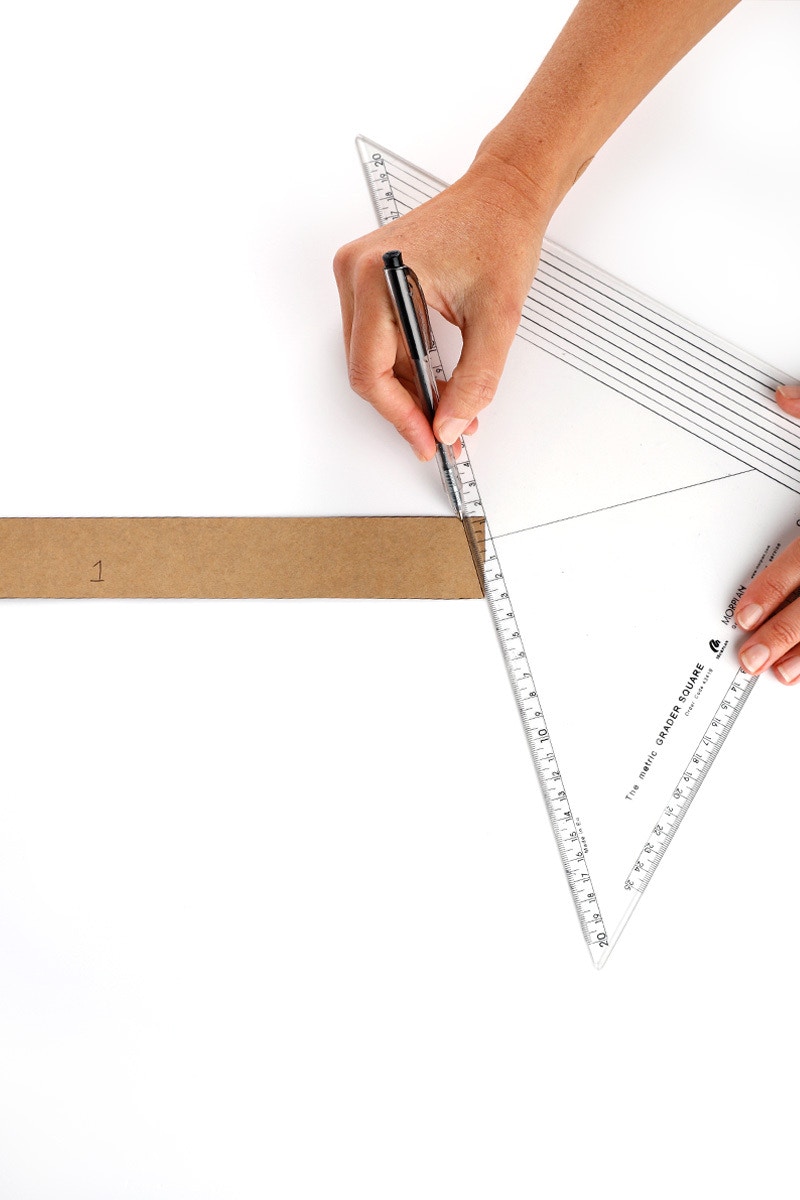
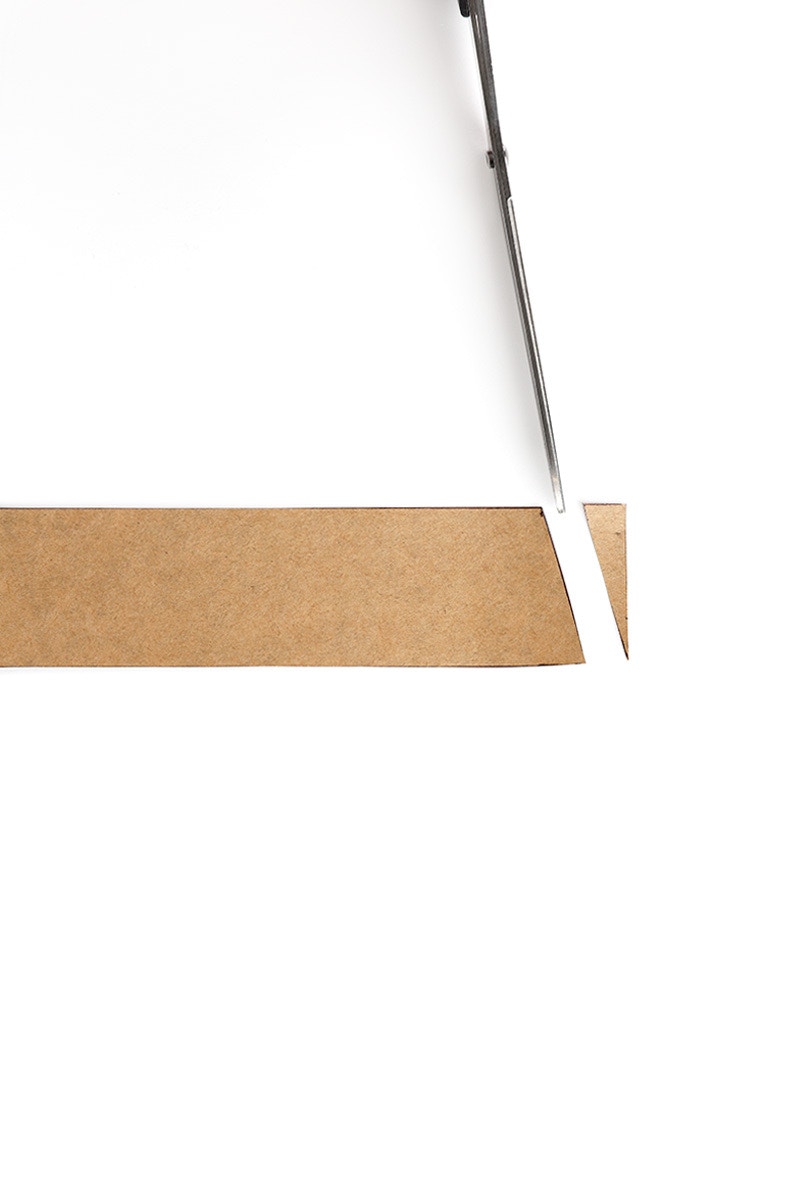
Measure and draw on the amount the needs to be removed from each seam. Our example has 1cm removed at the top tapering to nothing at the bottom. Cut off the excess on the pattern.
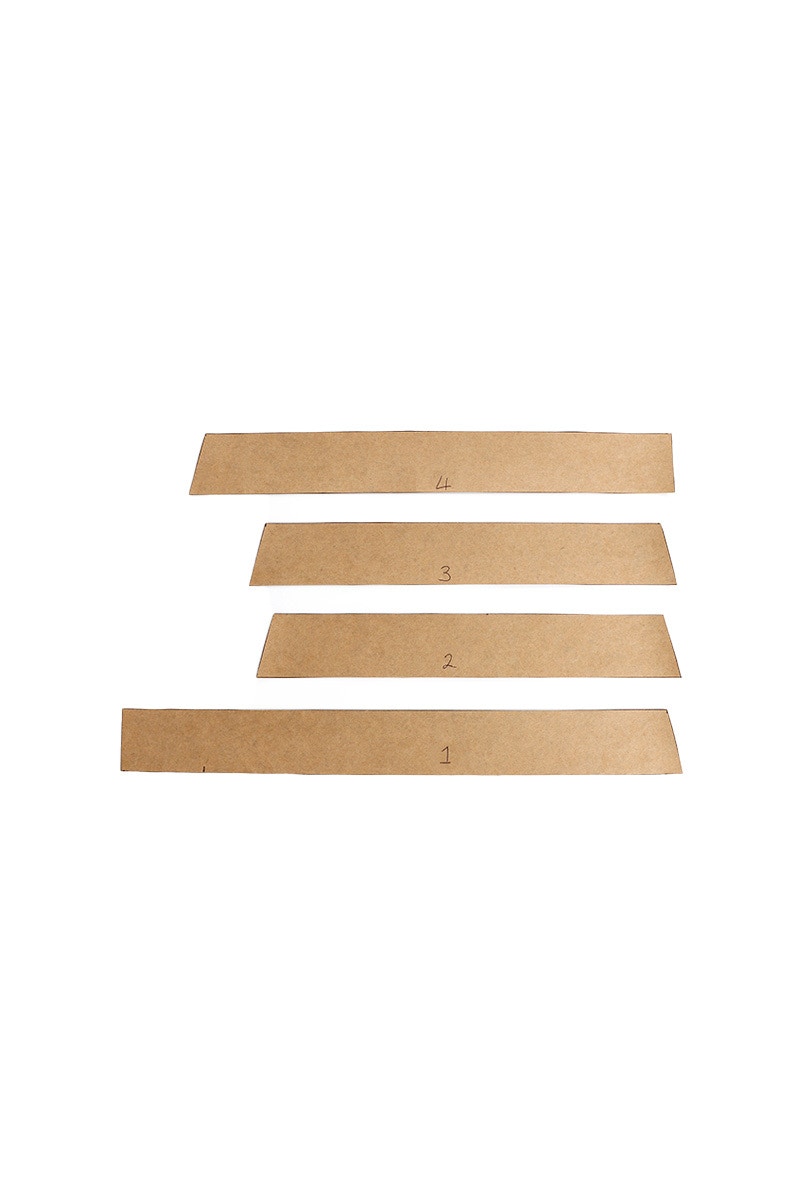
Repeat the last step for each seam that requires excess to be removed.
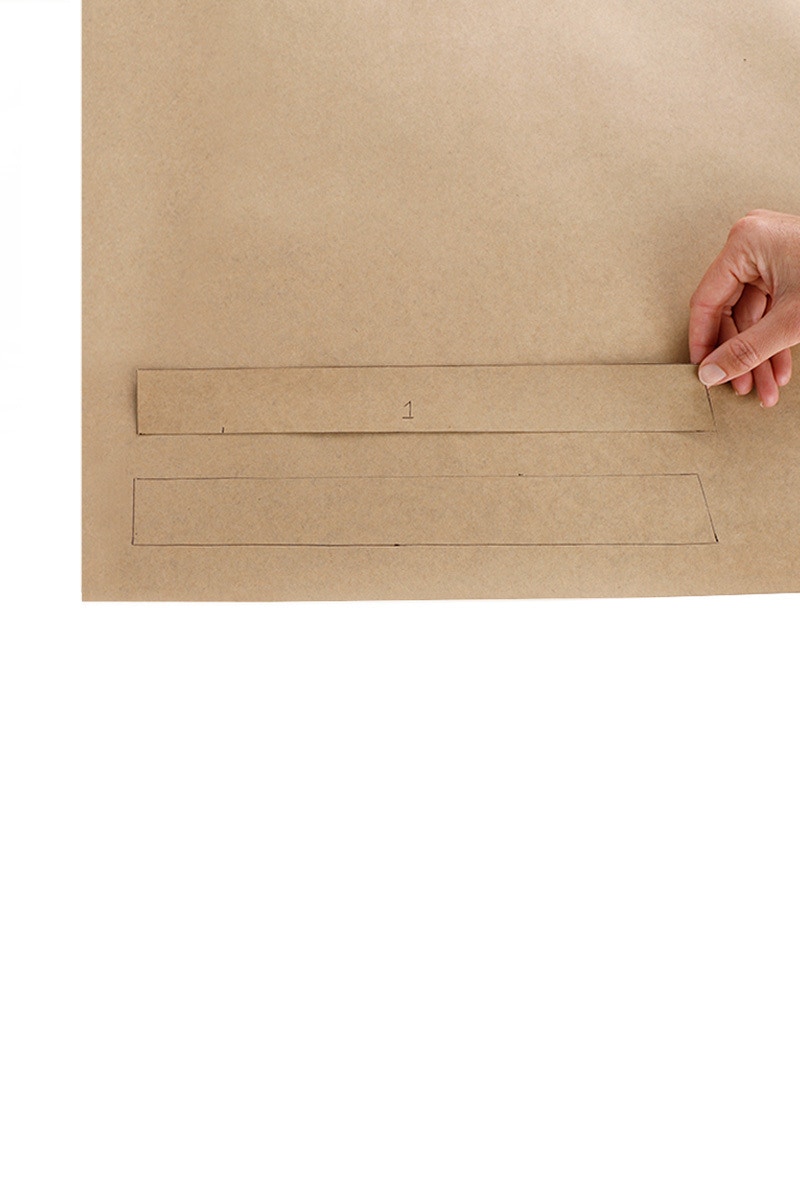
Now that we have removed the waistband excess, we need to re-create our pattern pieces.
Trace your altered pattern piece onto a fresh piece of paper.
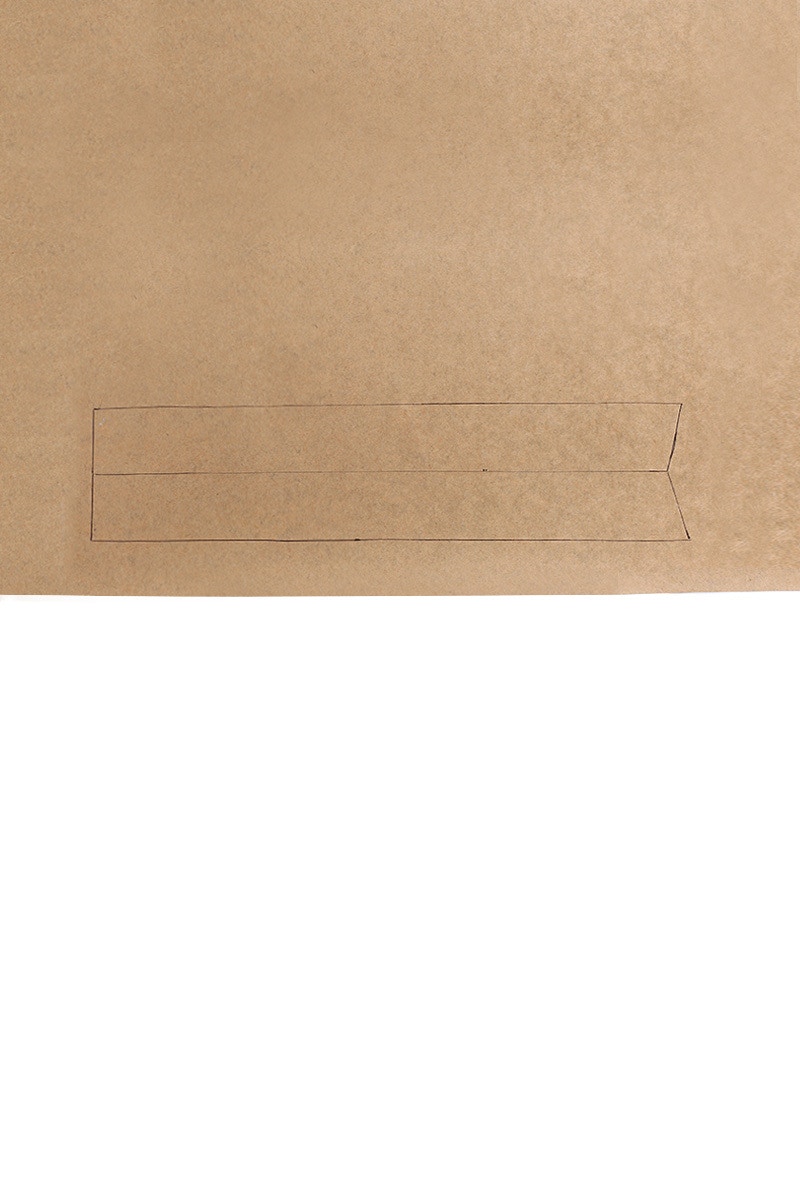
Reflect the pattern upwards, along the fold line on the waistband and trace around it. The waistband depth should now measure 8cm.

Add the 1cm seam allowance back on each long edge, and the ends you have shaped.
Remember that we have not changed anything at the centre front of the waistband so we don't need to add seam allowance there.
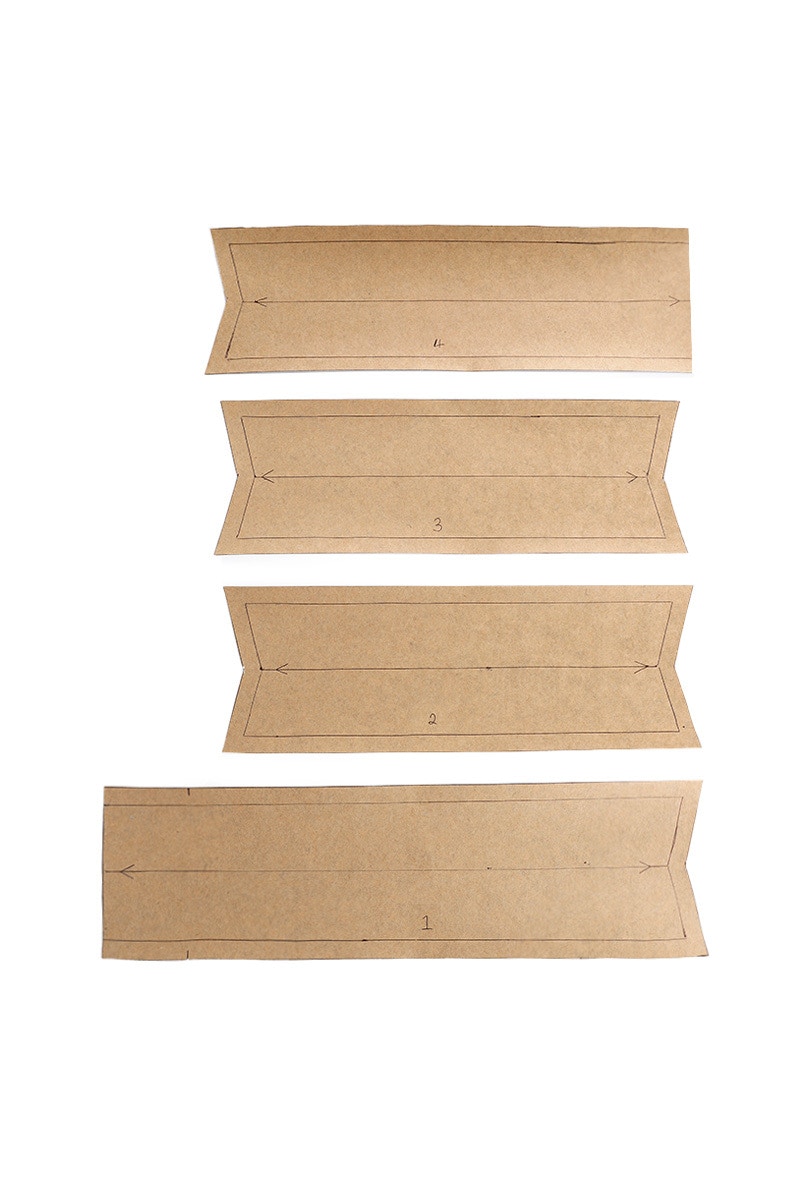
Repeat for each pattern piece.
Don't forget to draw on your grainline and notches, and rename each piece.


Now it is time to sew your waistband!
Trace around each piece onto your fabric and then cut them out.

Press each piece in half as per the pre-pressing steps in the Instruction Booklet.

Sew each seam together with a 1cm seam and then press the seams open.

Press your waistband in half again. It is now ready to attach to your jeans as per the steps in the Instruction Booklet, matching the waistband seams to the side and centre back seams.


1 — Pre-pressing
Before you get started on your May Jean, here are a few sewing tips that can make the sewing process a bit smoother.
— Check your tension by sewing through a couple of layers of scrap denim. Make sure you check your tension with both regular thread and top stitching thread. You may also want to test sew some bar tacks and buttonholes at this point, and try installing a jeans button and rivets if you are using them.
— Make sure to use a denim/jeans needle, or one that is suitable for heavyweight fabrics. For best results use a new, sharp needle.
— Use top stitching thread for the needle only, and regular thread in the bobbin.
— When sewing the bulkier parts of your jean, try using a hump jumper to keep the top stitches even. A hump jumper is a tool that levels the presser foot when sewing particularly thick bits of fabric. You can also use folded fabric or cardboard to achieve the same effect.
— It is not usually necessary to back tack when using top stitching thread as the ends will be caught by a seam when assembling your jeans. Where it is necessary to secure a seam, eg, when top stitching the side seams, you can back tack a stitch or two. If your sewing machine finds back tacking with top stitching thread difficult, pull the top thread to the wrong side and secure the end of the seam with a knot.
— Using an edge stitch foot, if you have one, will help in getting an accurate finish when top stitching your jean.
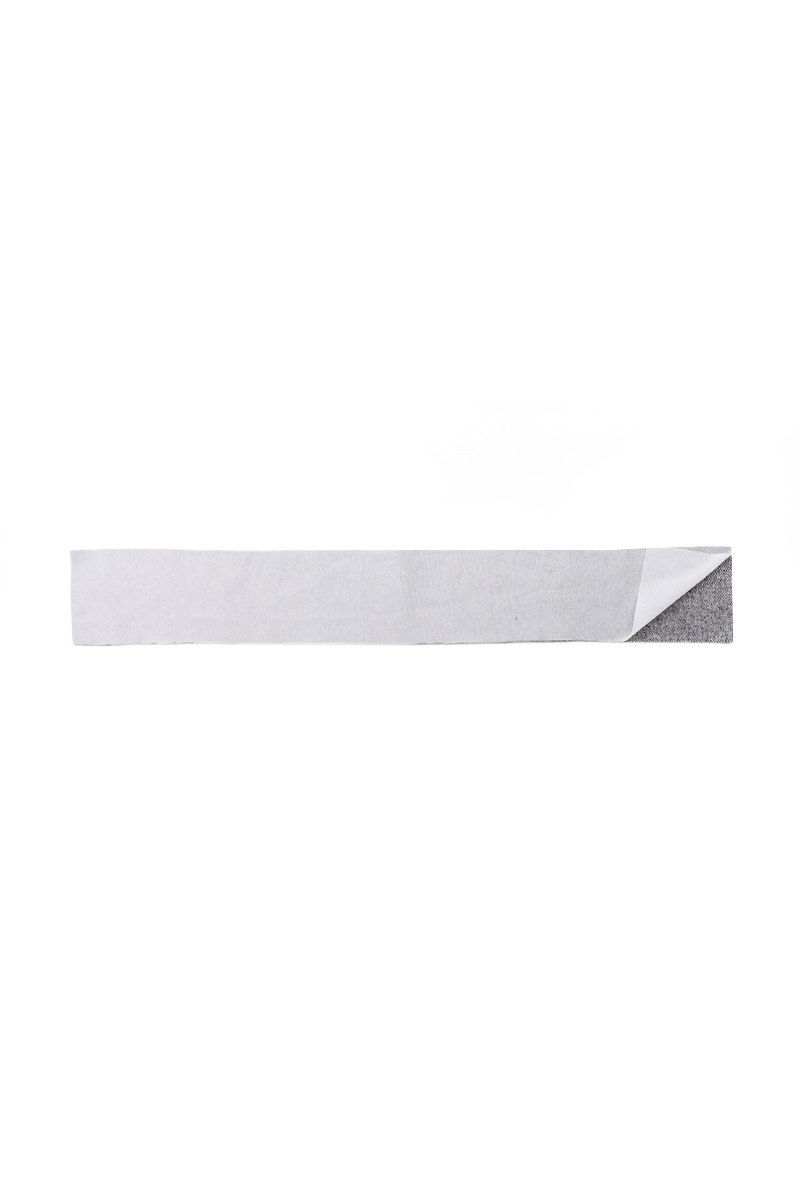
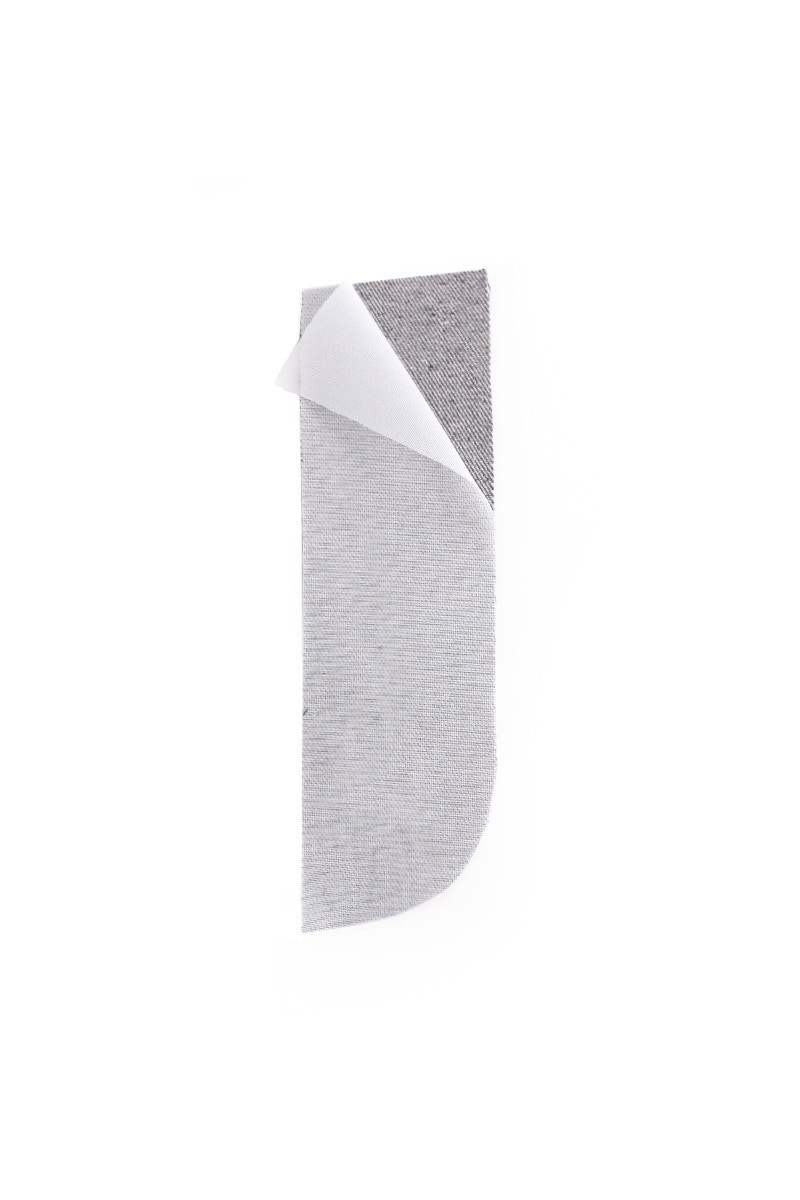
Depending on the weight of your denim you may choose to interface your waistband and fly facing. This can be done by block fusing, or piece fusing. If you do not wish to block fuse, you can piece fuse these pattern pieces. This means cutting out each pattern piece in both interfacing and your main fabric and then applying the interfacing to each piece separately. If you choose to piece fuse keep your pattern pieces close by for reference and make sure they don’t stretch out of shape.
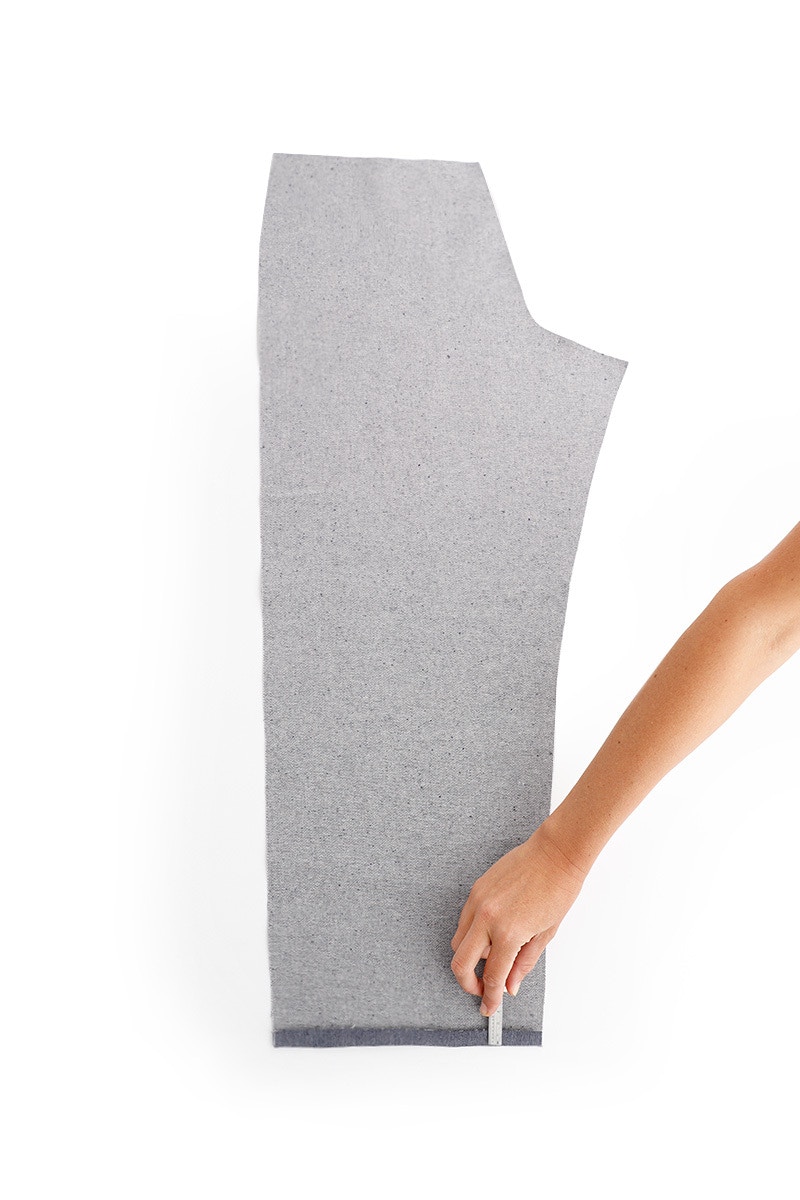
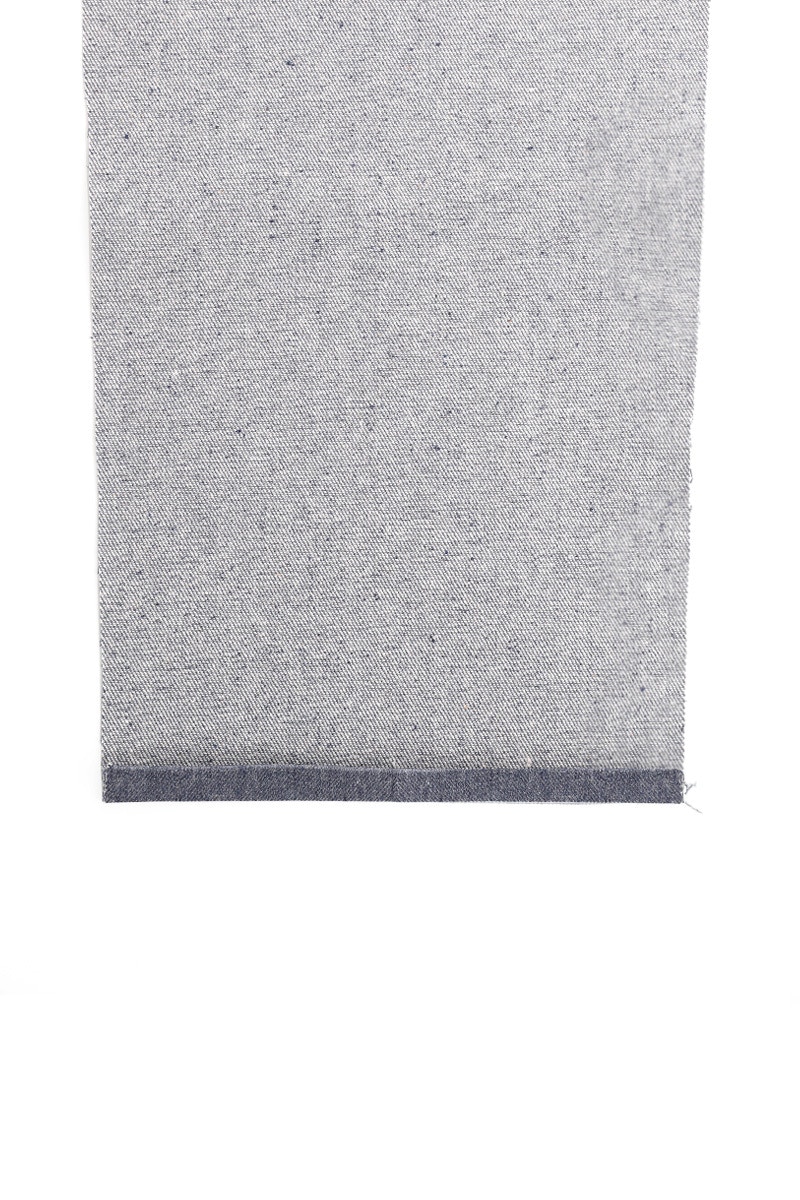
We strongly recommend that you use an iron to press some areas of your pieces before you begin sewing. This will help to ensure accuracy as you sew, as well as aid in giving your May Jean a neat and tidy finish.
At the bottom of each front and back piece, fold back the hem 1.5cm to the wrong side and press. Fold the hem back 1.5cm a second time and press again. The finished hem depth will be 1.5cm.
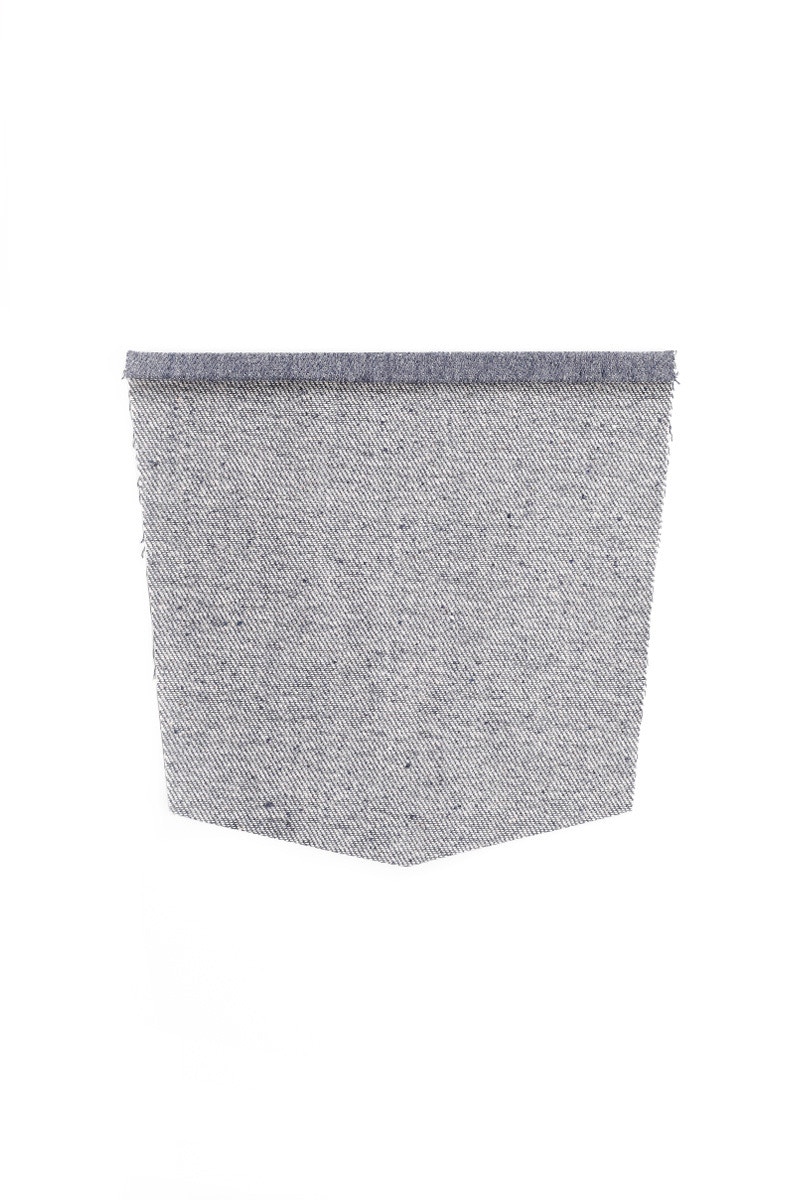
At the top of each back pocket fold the edge to the 1cm to the wrong side and press. Fold the edge back 1cm a second time and press again. The finished fold will measure 1cm.
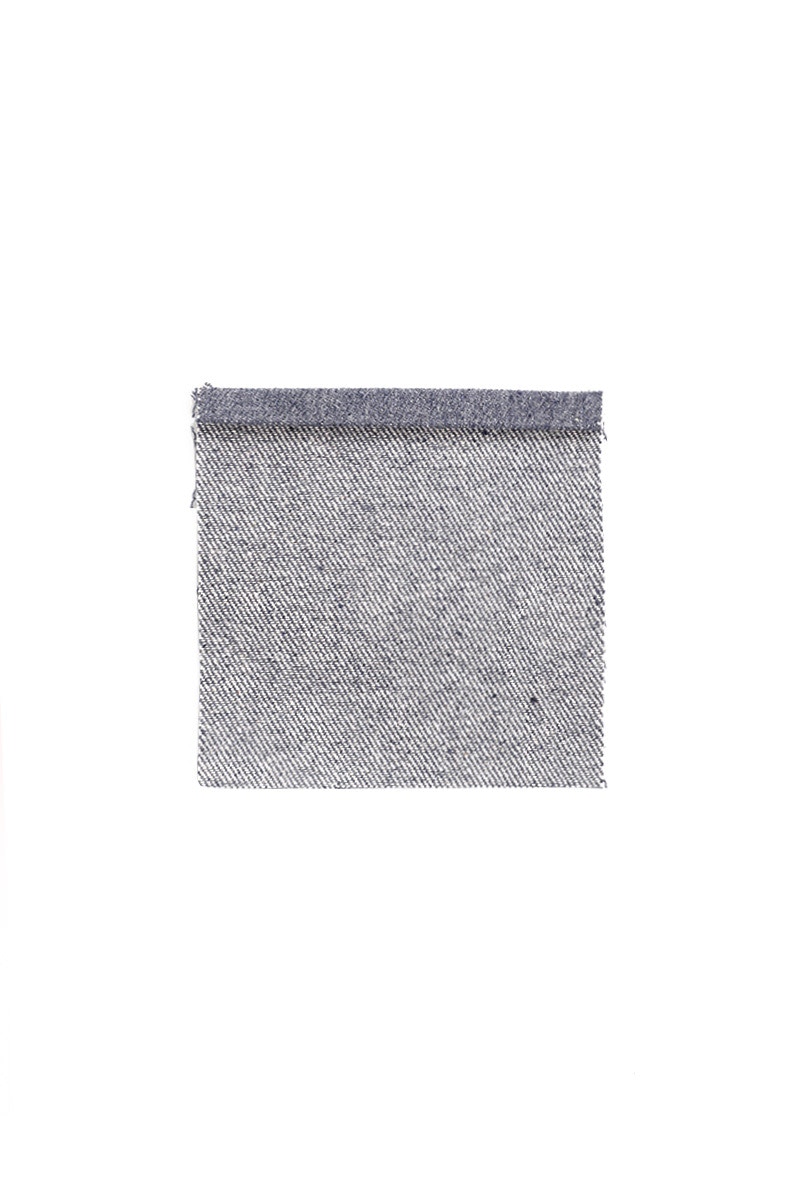
At the top of the coin pocket fold the edge to the 1cm to the wrong side and press. Fold the edge back 1cm a second time and press again. The finished fold will measure 1cm.
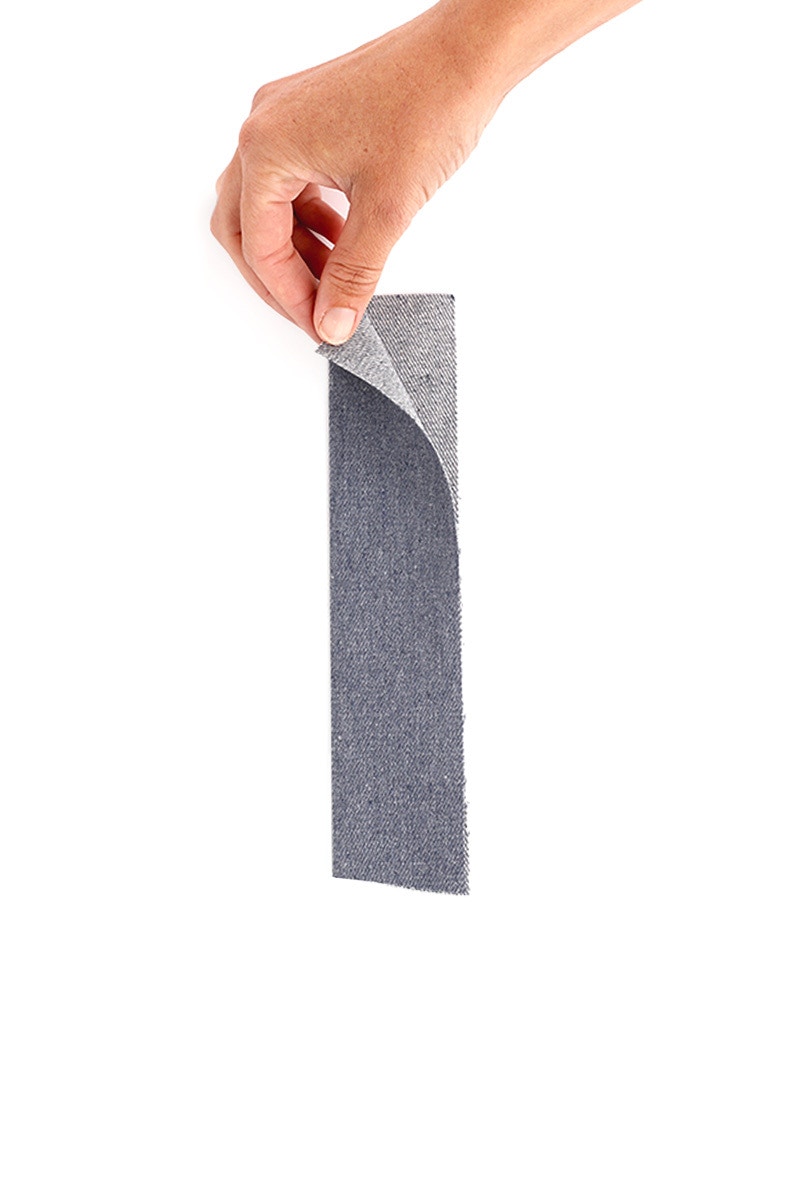
Fold the fly guard in half, wrong sides together and press.
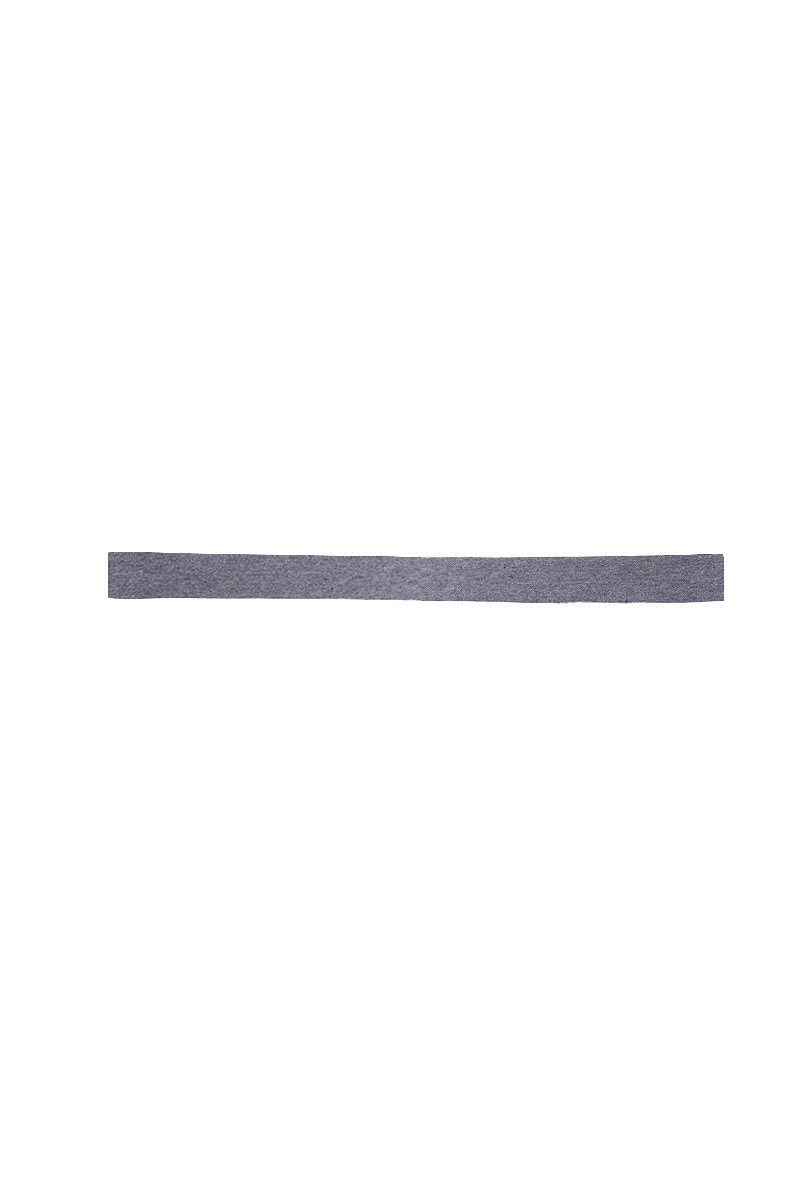
Fold the waistband in half length ways, with the wrong sides together. Press.
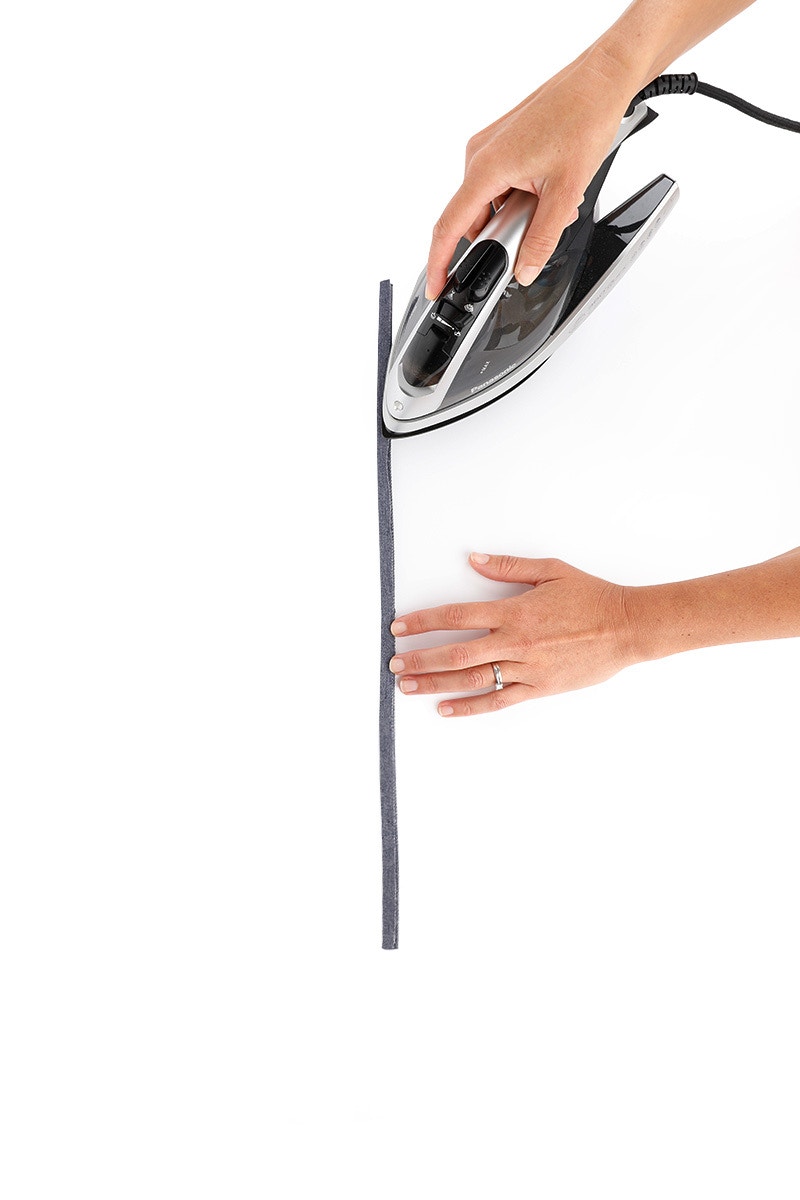
Fold the belt loops into thirds, lengthwise. Press.
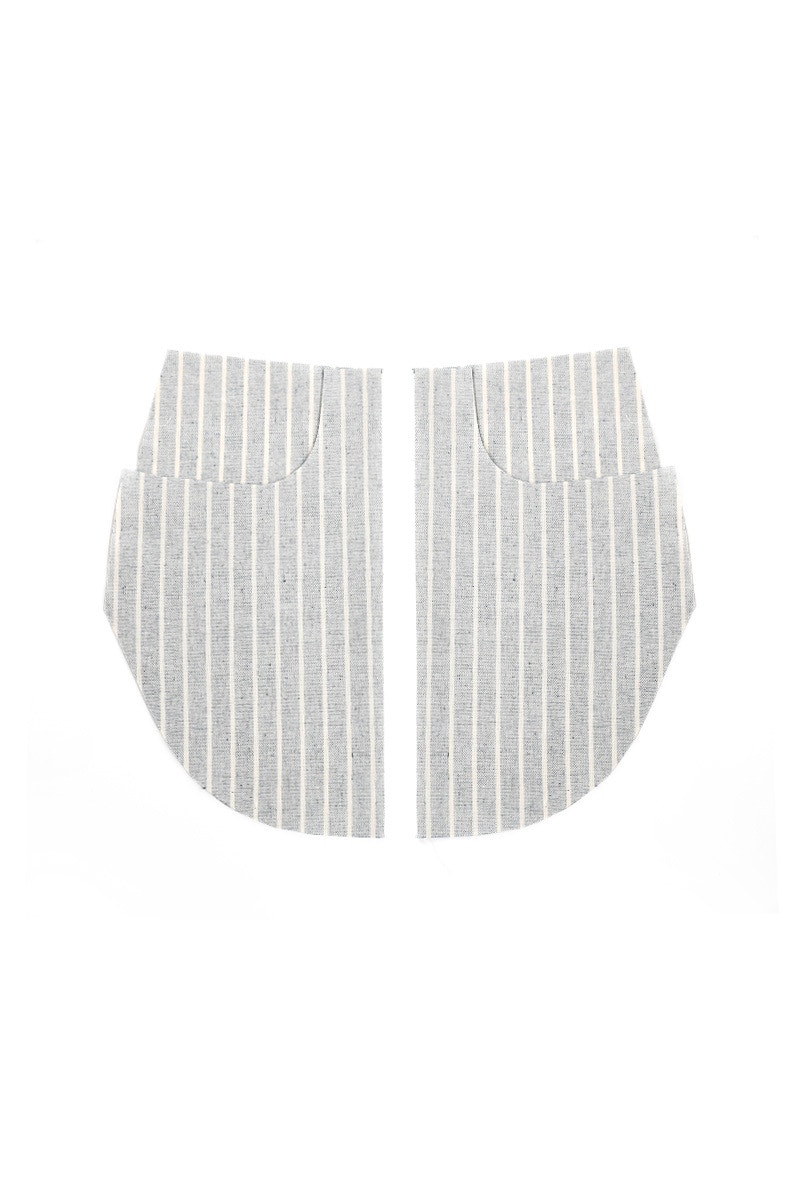
Fold each pocket bag in half at the notches, with the right sides together. Press.
Note, when pressing the pocket bag the side seams will not match. This extra fabric is known as pocket ‘spring’ and gives ease to allow for your hand to get into the pocket.
2 — Construct the Backs
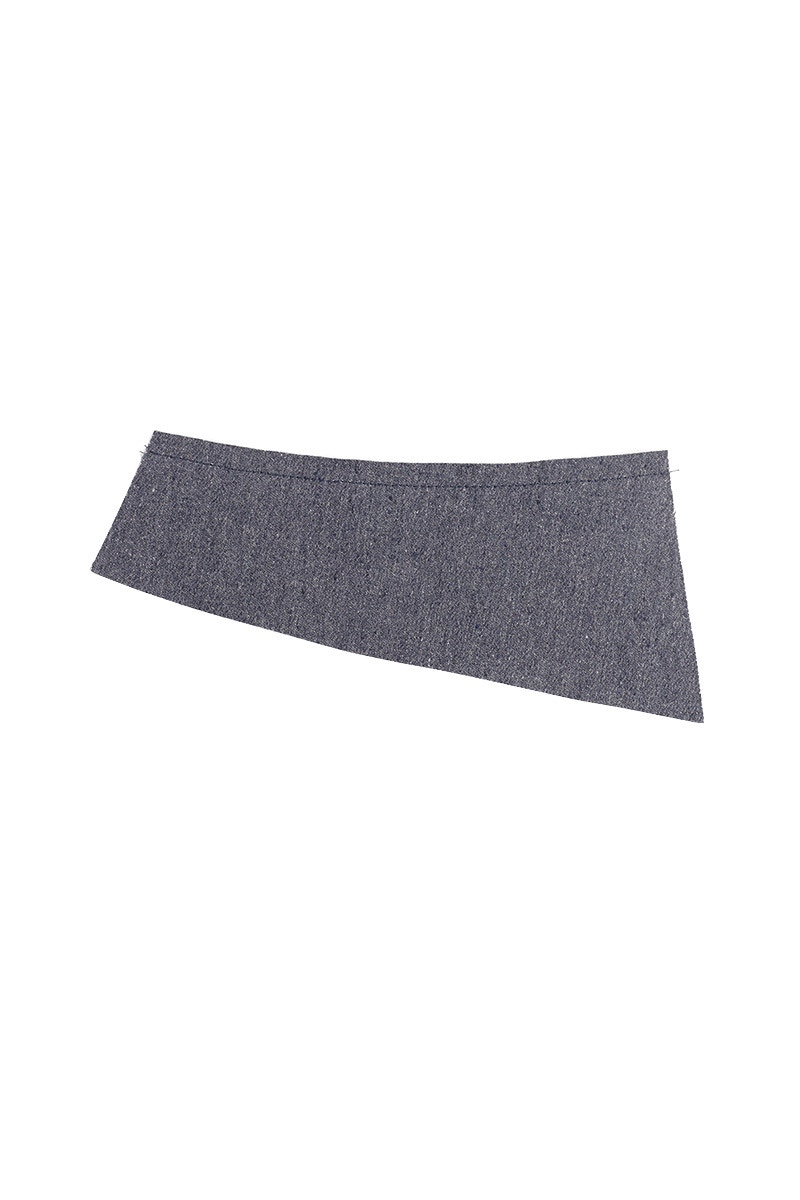
First, we will attach the yoke to the back leg.
Stay stitch the top edge of each yoke to prevent it from stretching out.
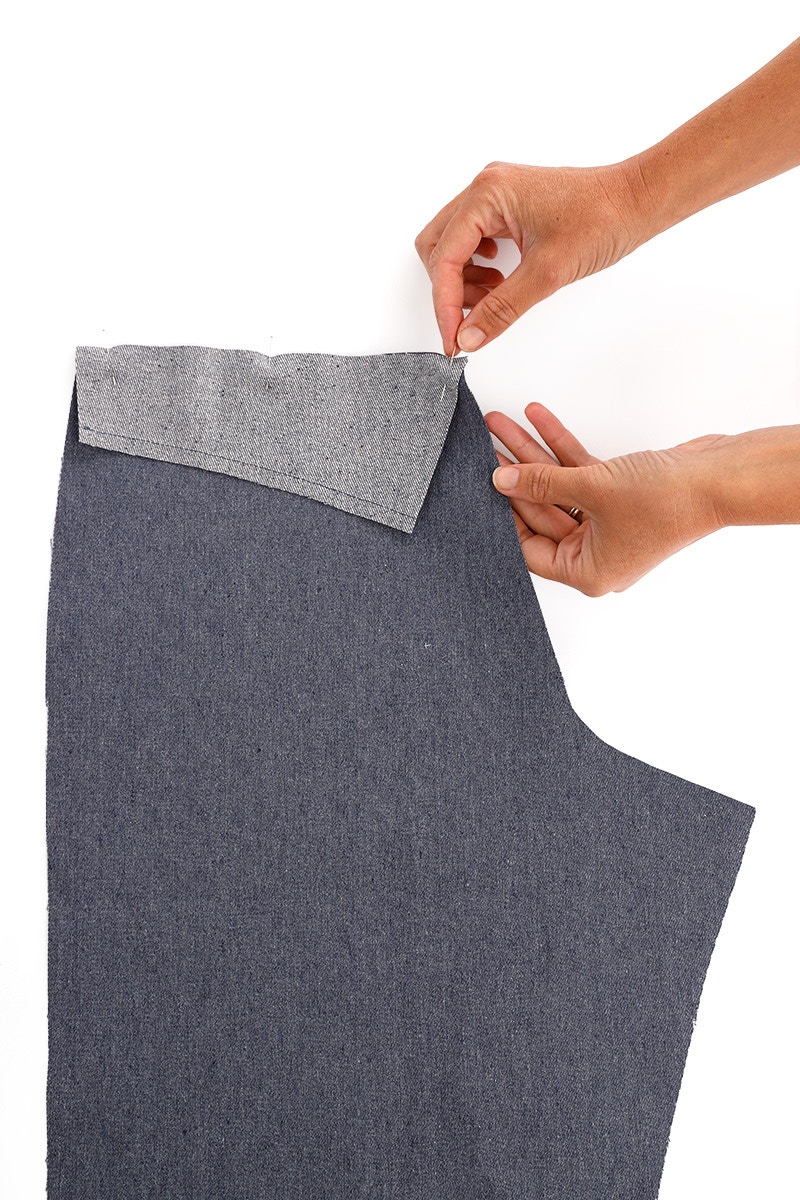
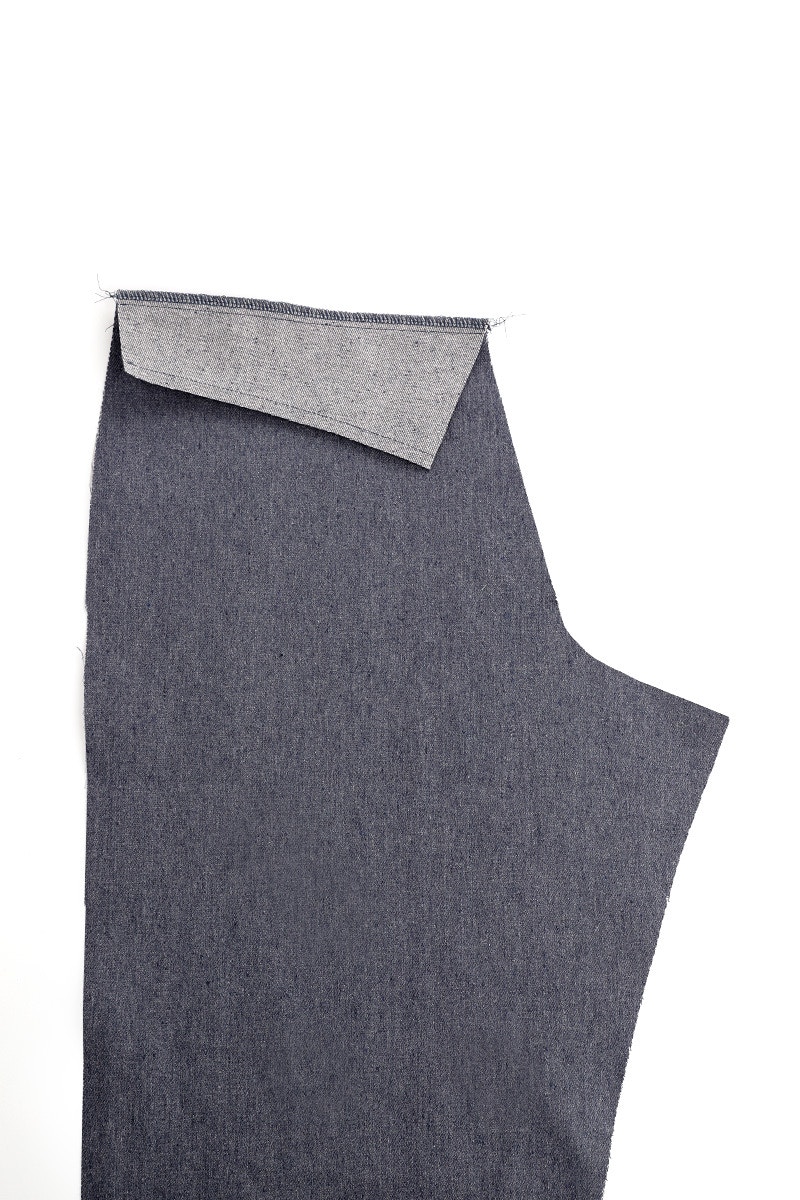
Then, with the right sides together, pin the right yoke to the right back leg. The larger end of the yoke is at the centre back.
Sew together at 1cm then neaten the seam. Press the seam down towards the leg.
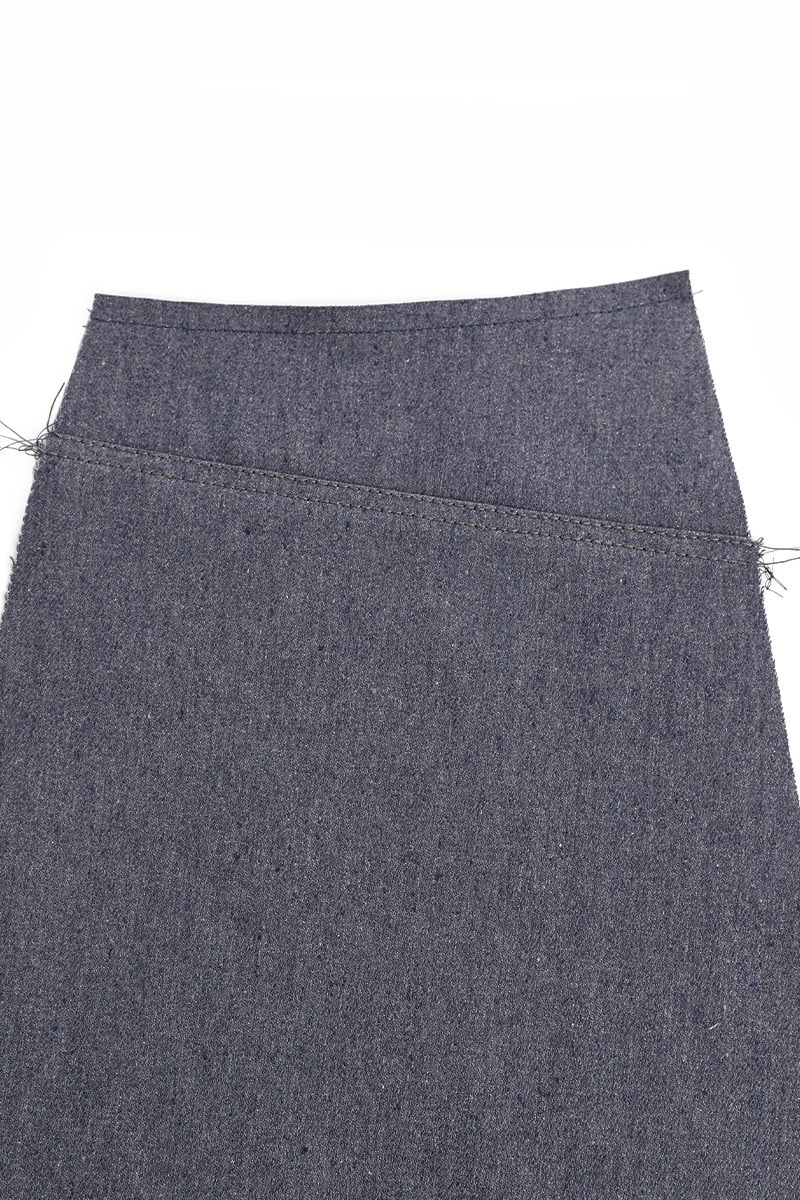
Top stitch the seam allowance to the leg with two lines of stitching, 6mm apart.
Now, repeat for the other side.
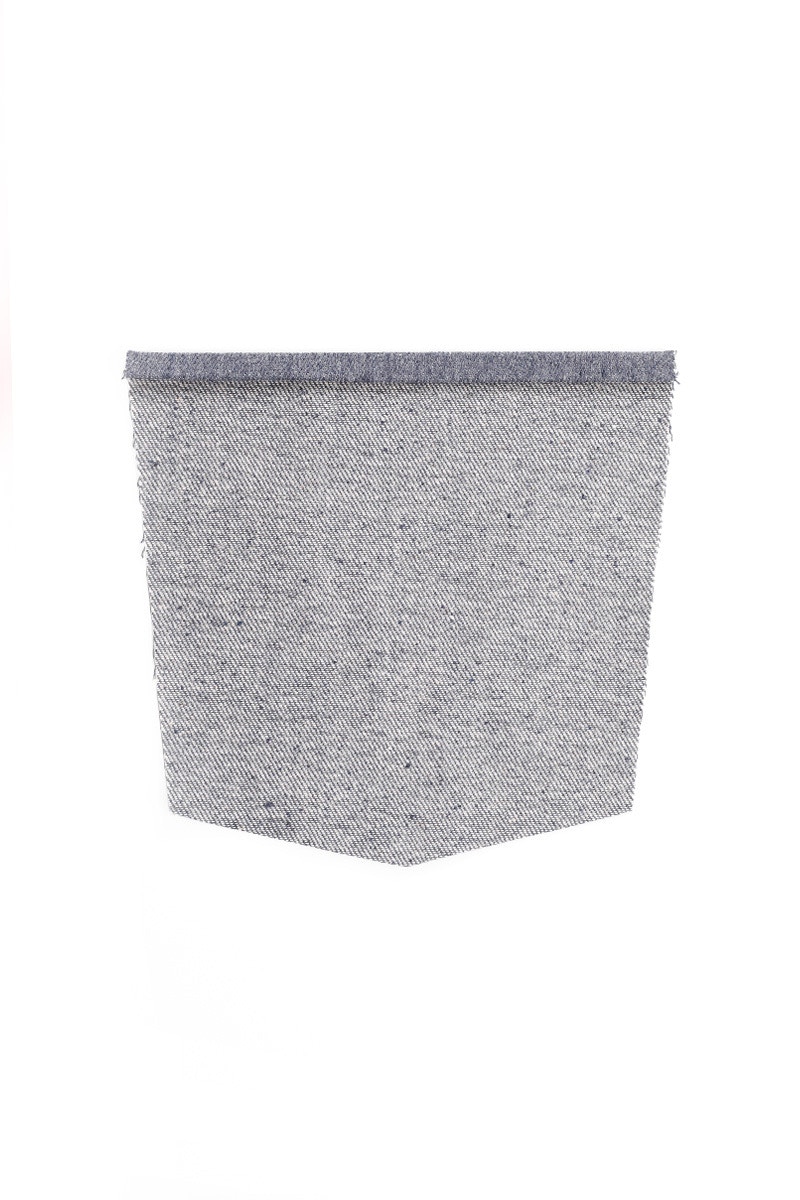
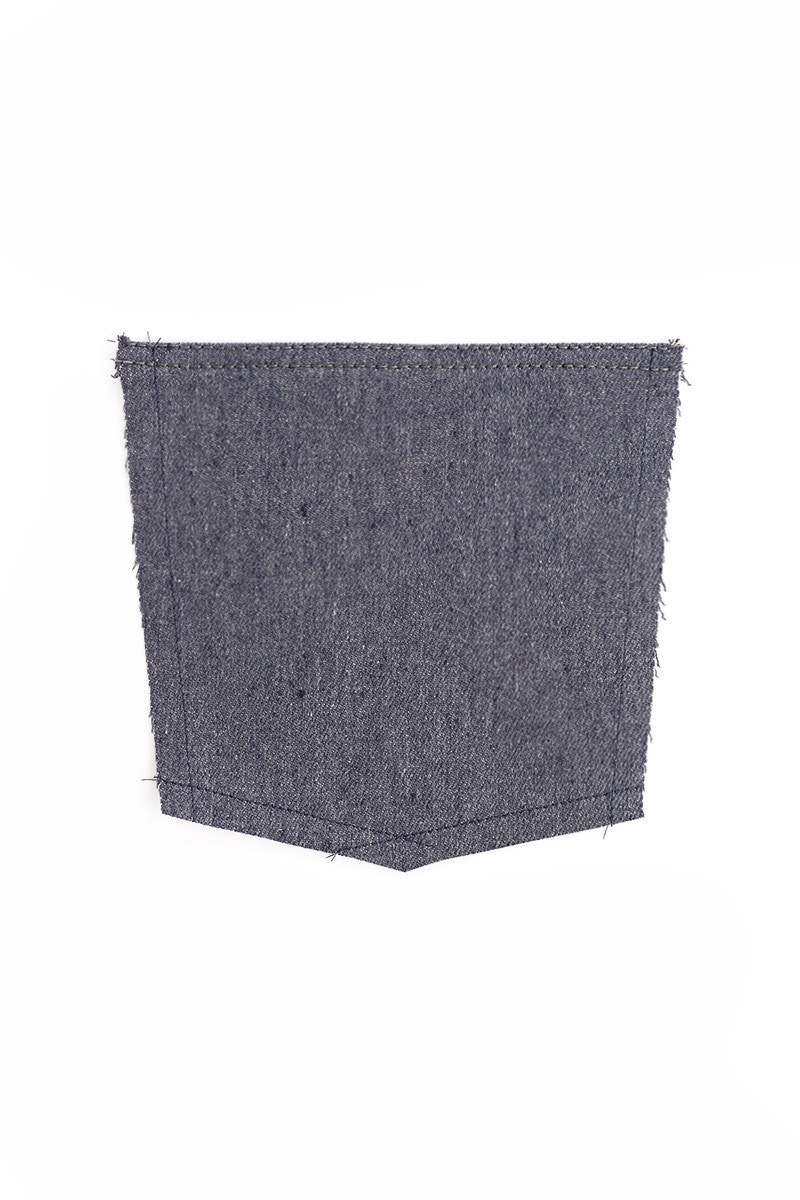
Now we will sew the back pockets.
Turn the top edge of the back pocket over 1cm twice. Top stitch with two lines of stitching, 6mm apart.
Machine baste a line of stitching around the remaining sides of each pocket at 1cm.
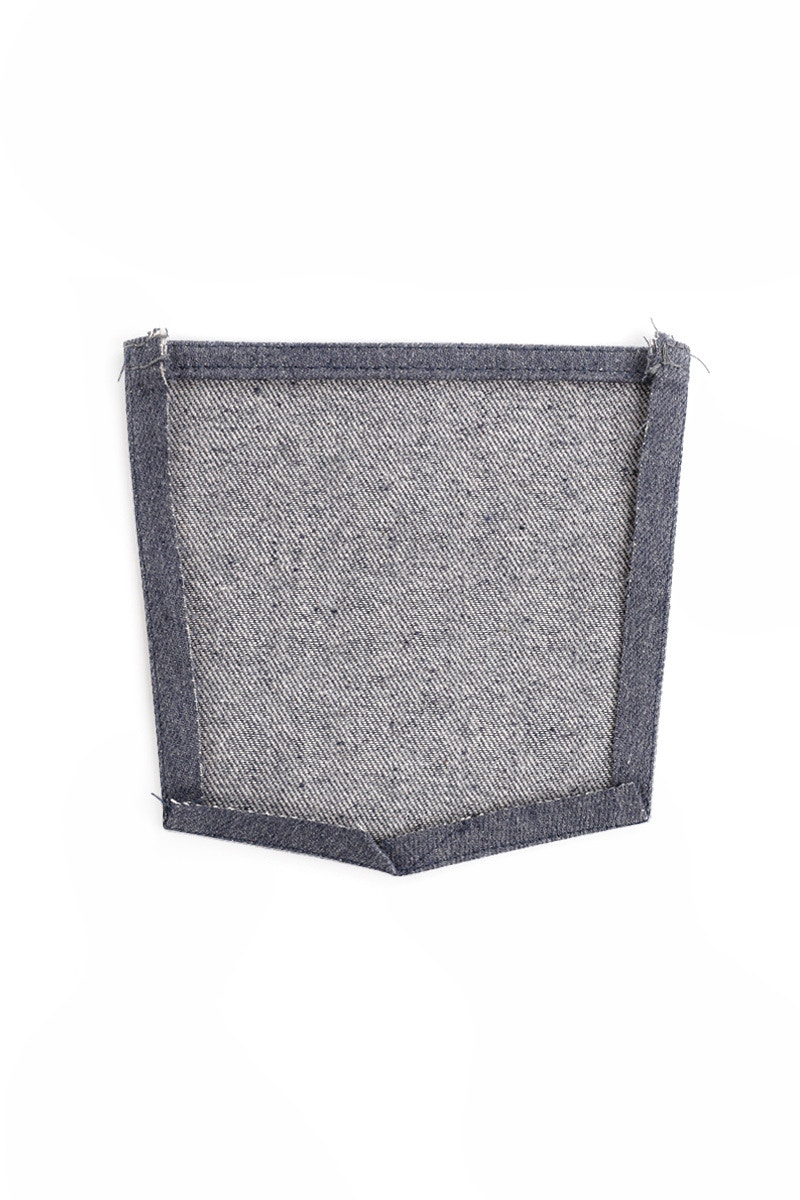
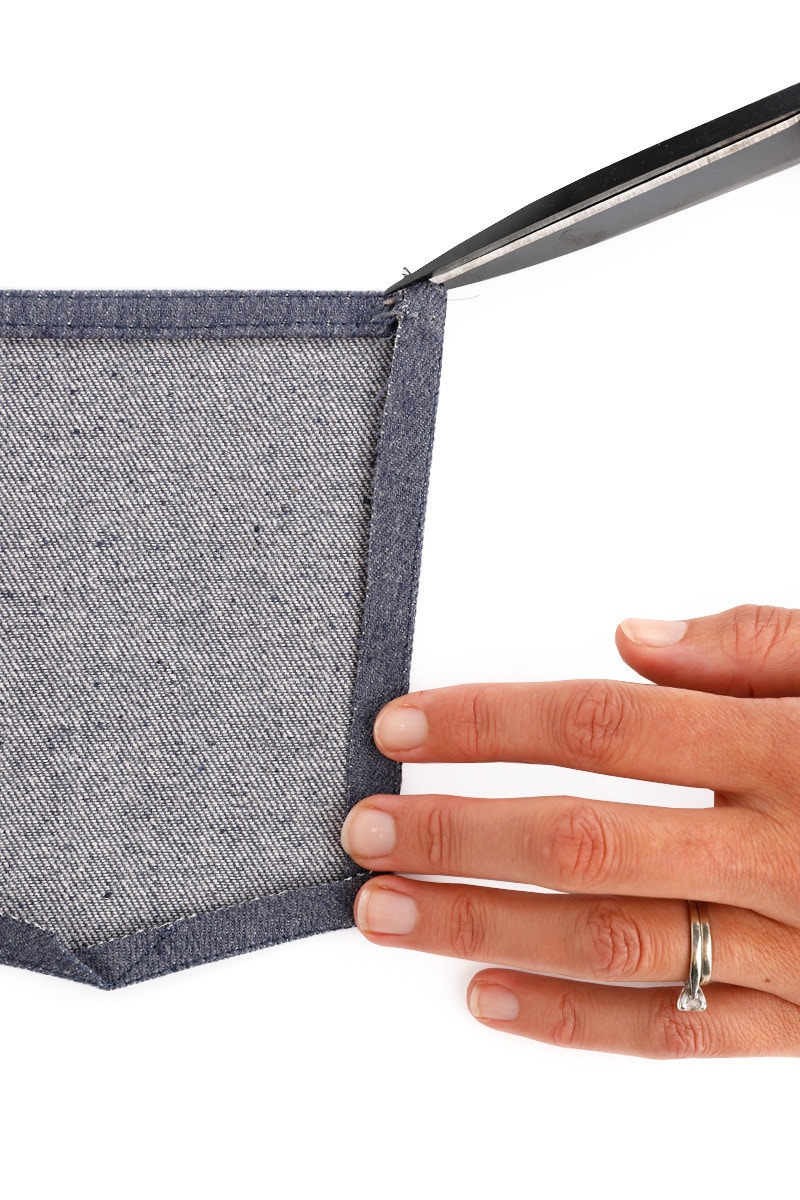
Press the edges under 1cm using the stitching as a guide, rolling the basting stitches to the underside so they are not visible from right side.
Trim the excess fabric from the seam allowance so it’s not visible over the top edge.
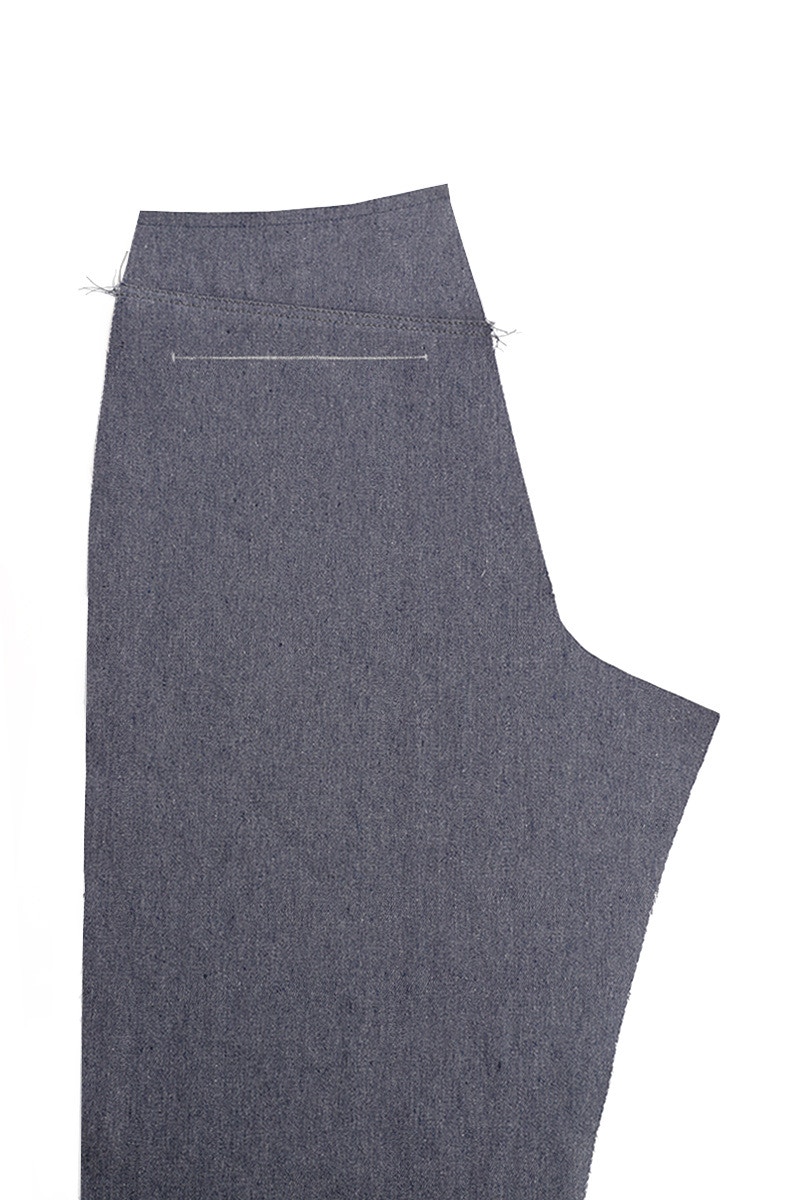
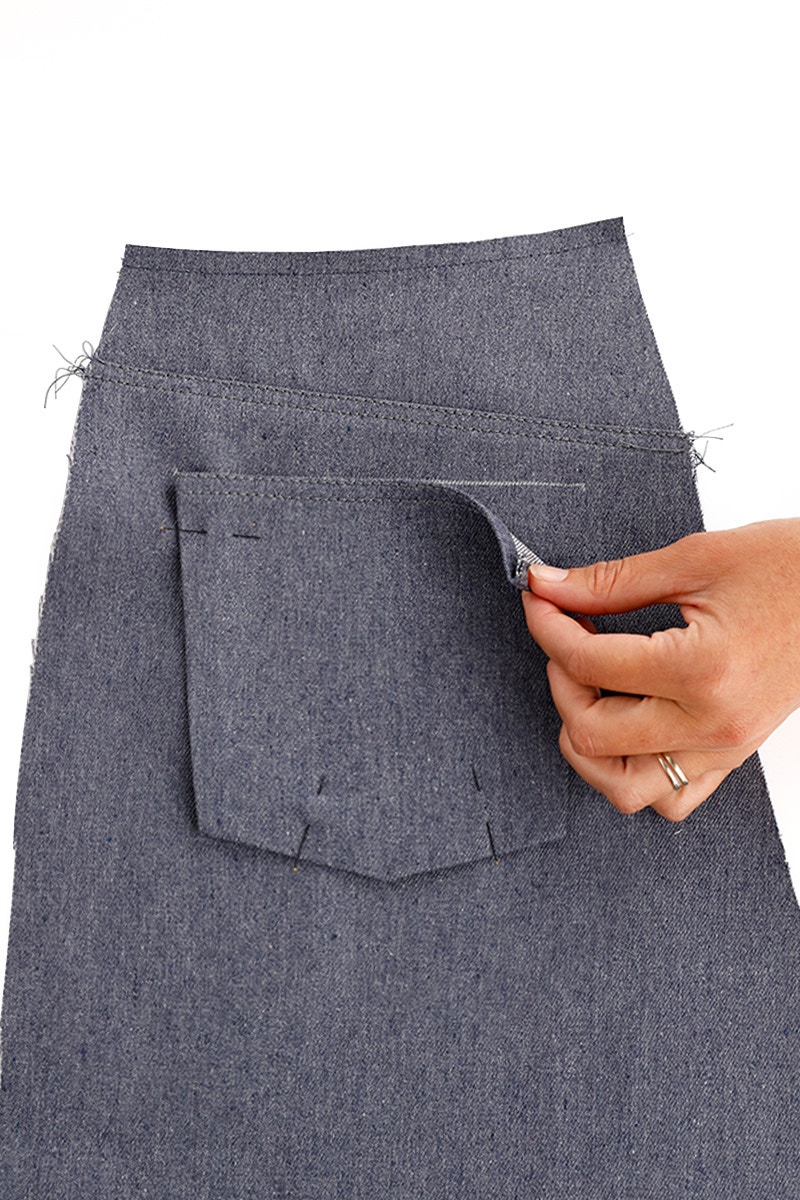
Transfer the back pocket placement to the back leg using tailor's chalk, a fabric pen, or your preferred method.
Pin the back pocket to the back leg.
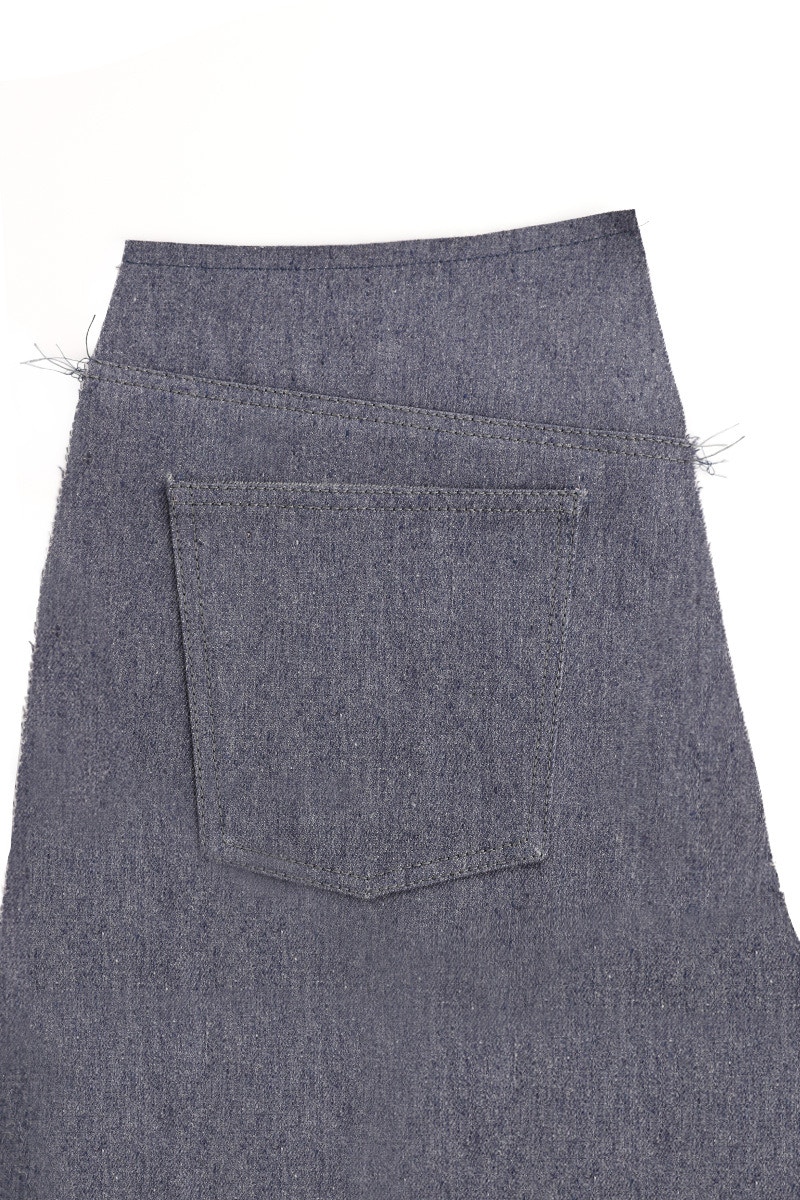
Top stitch the back pocket to the leg with two lines of stitching, 6mm apart.
Repeat for the other side.
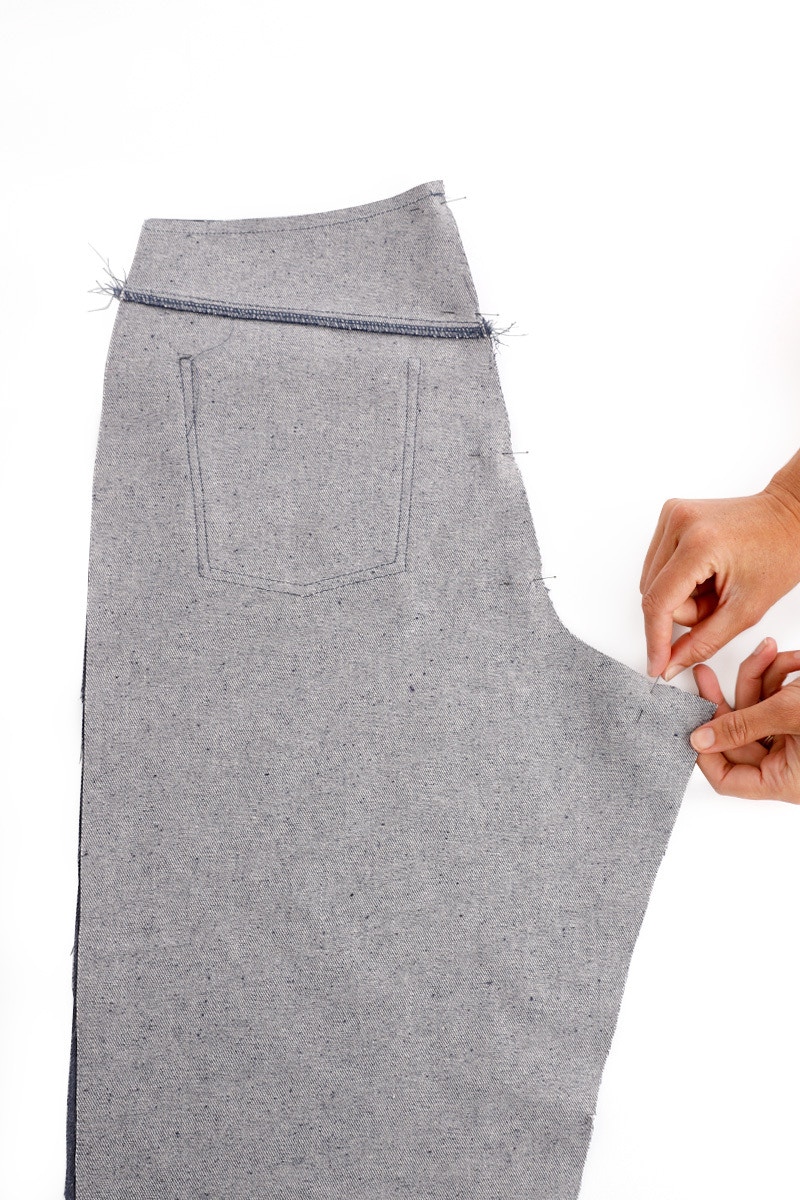
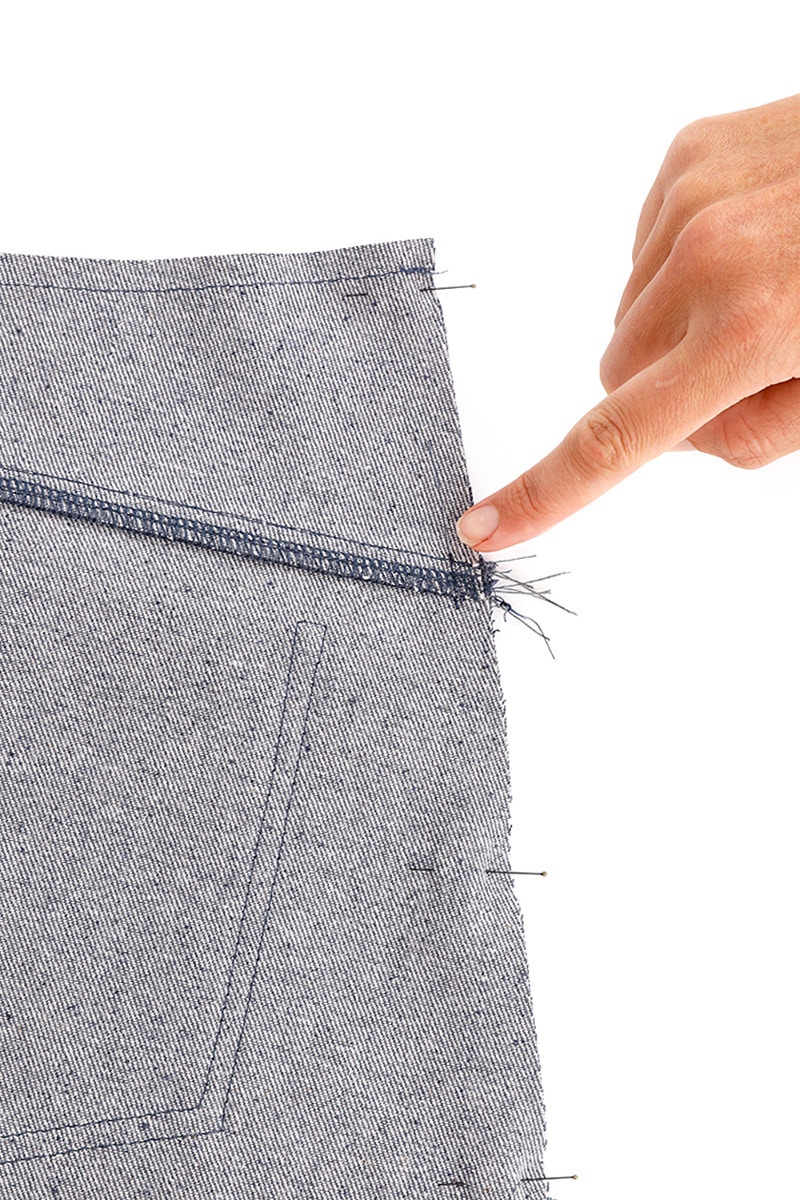
With the right sides together, pin the back legs together at the centre back, matching the notches and seams.
When matching seams, try machine basting a few stitches at the join to prevent them from slipping when sewing the seam.
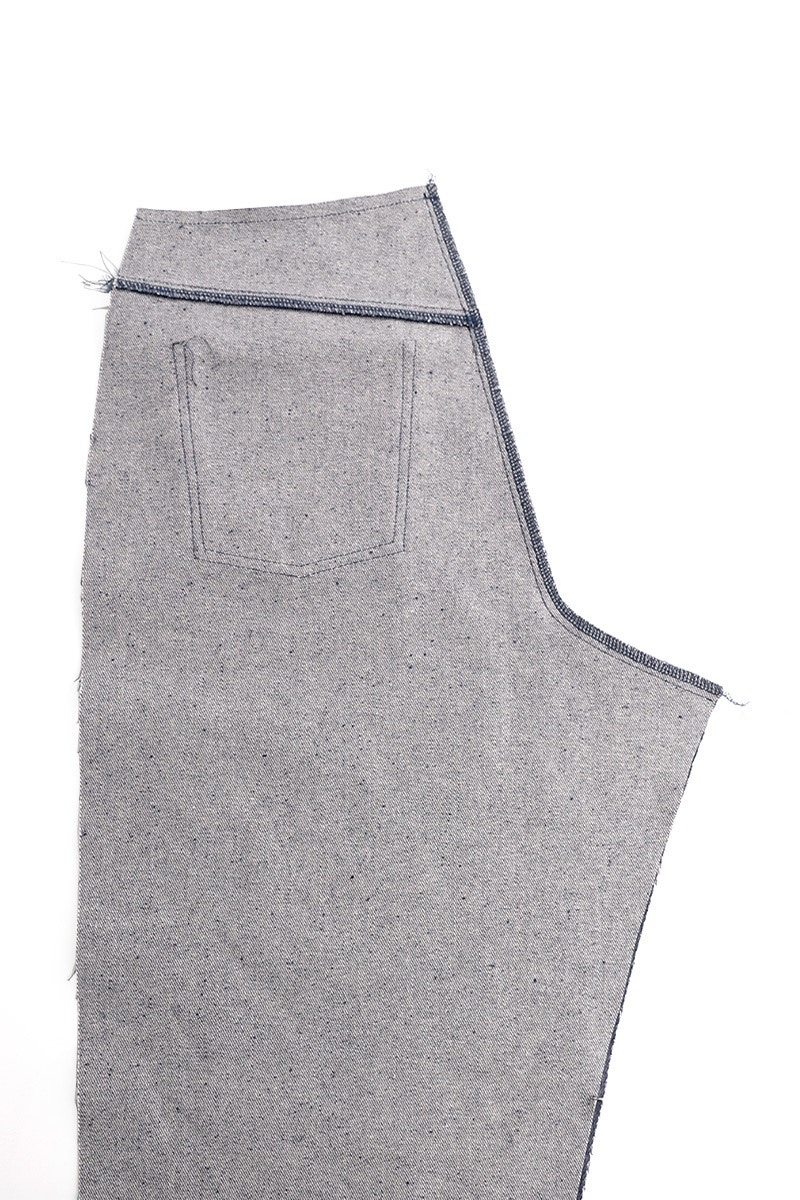
Sew the centre back seam at 1cm then neaten with your overlocker.
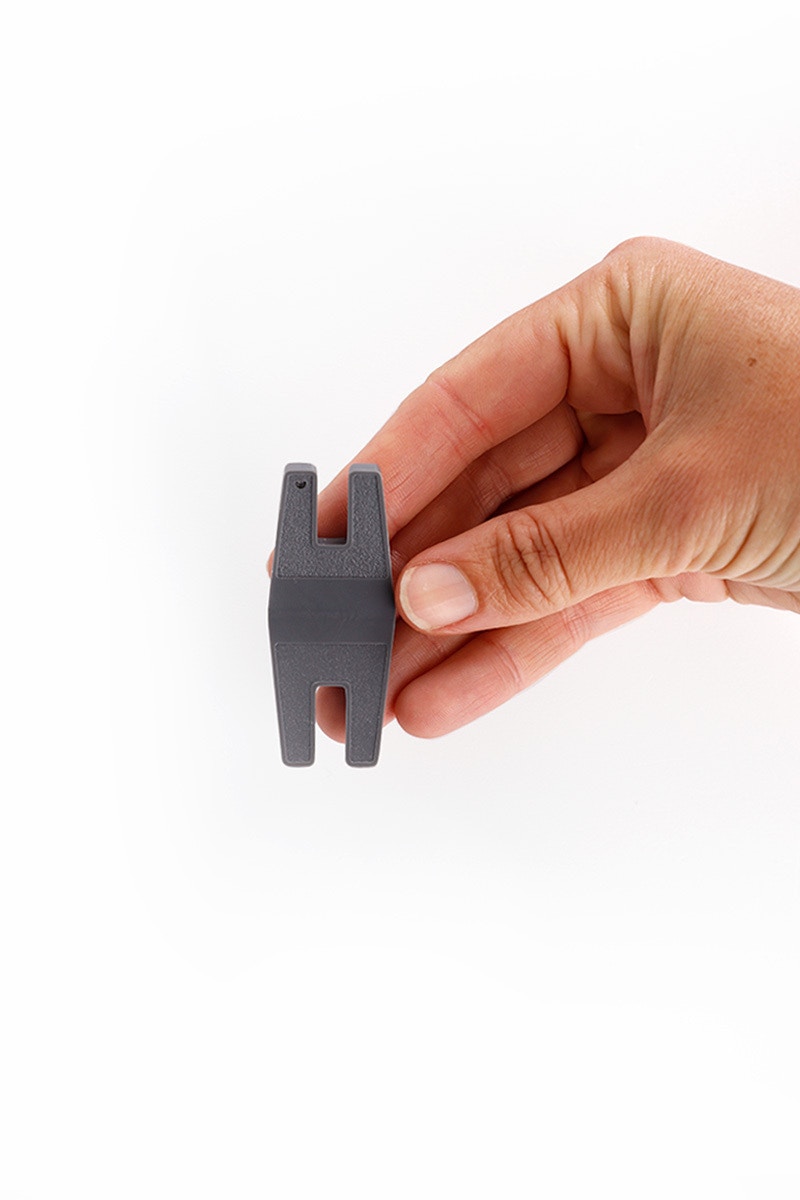
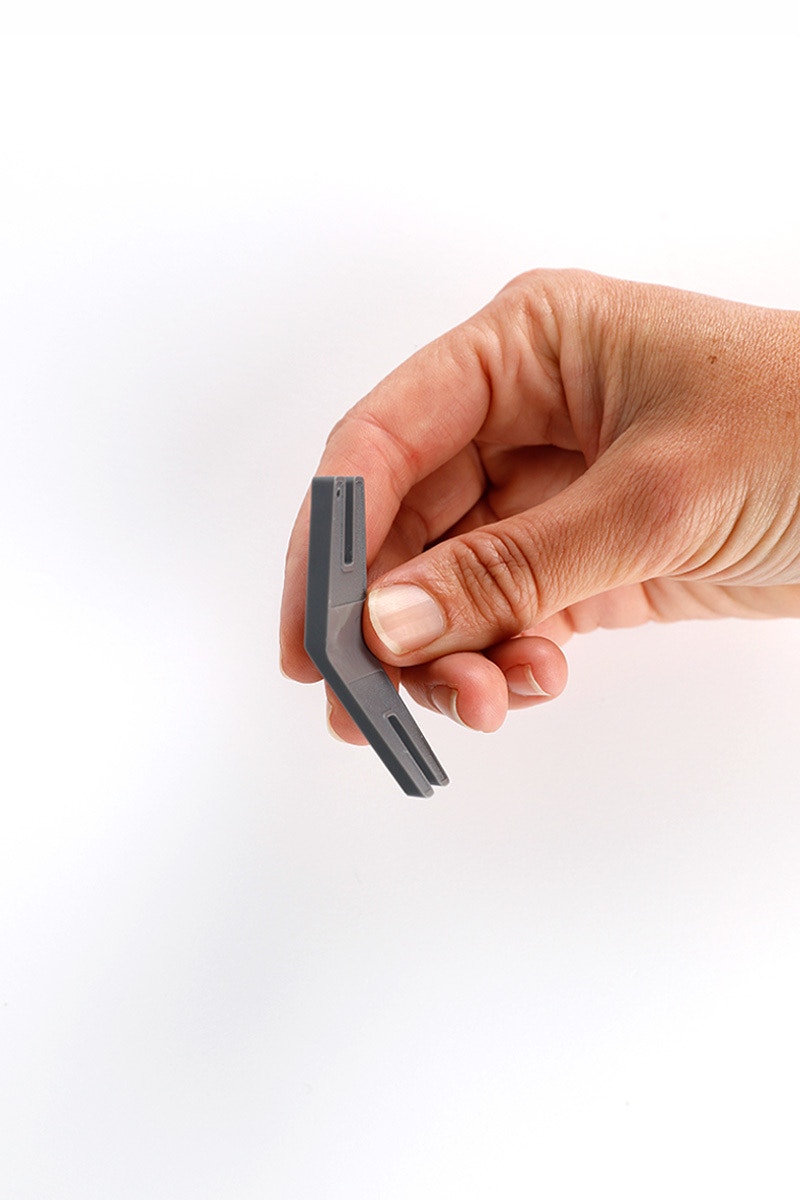
When sewing the centre back seam you might find it helpful to use a tool called a hump jumper when sewing over the point where the yokes meet. This tool often has two different thicknesses and is used to ease the back of your sewing machine presser foot up and over a particularly thick spot. If you don't own a hump jumper a folded piece of fabric is just as effective!
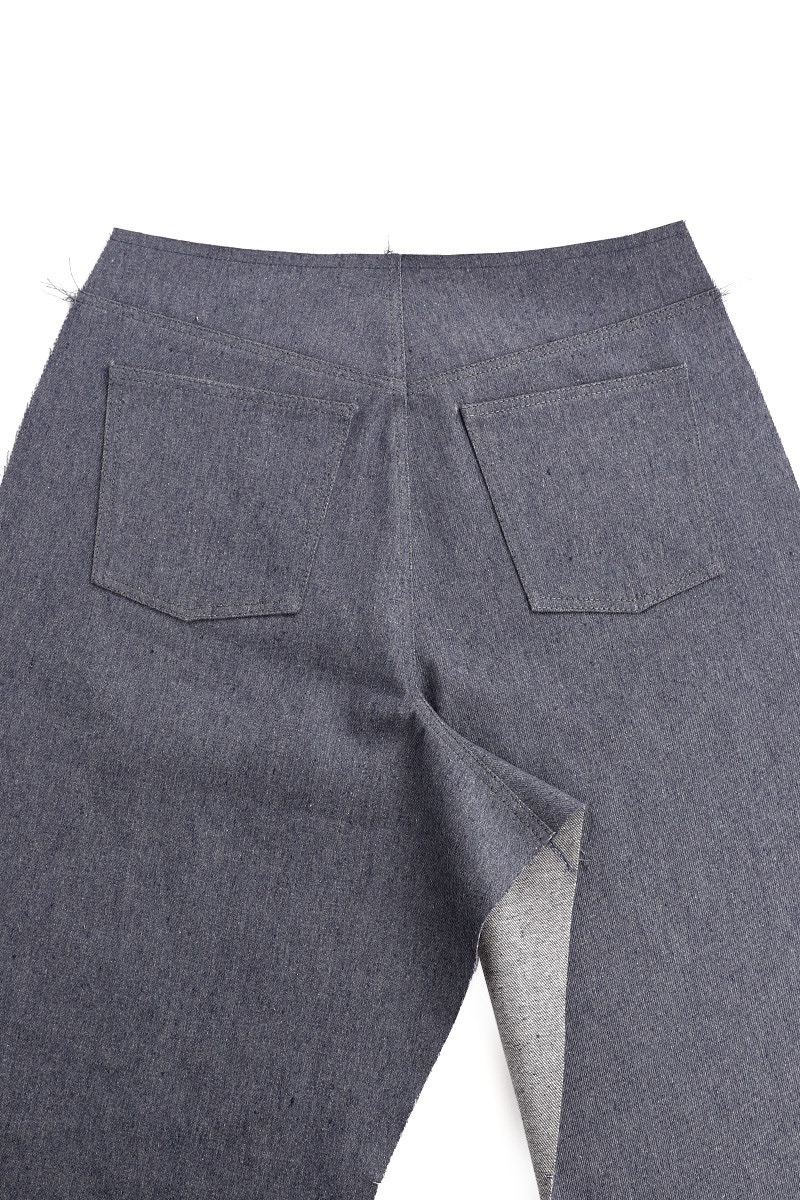
Press the seam towards the left side, as worn. Top stitch on the left leg, with two lines of top stitching, 6mm apart.
3 — Sewing the Fly Zip
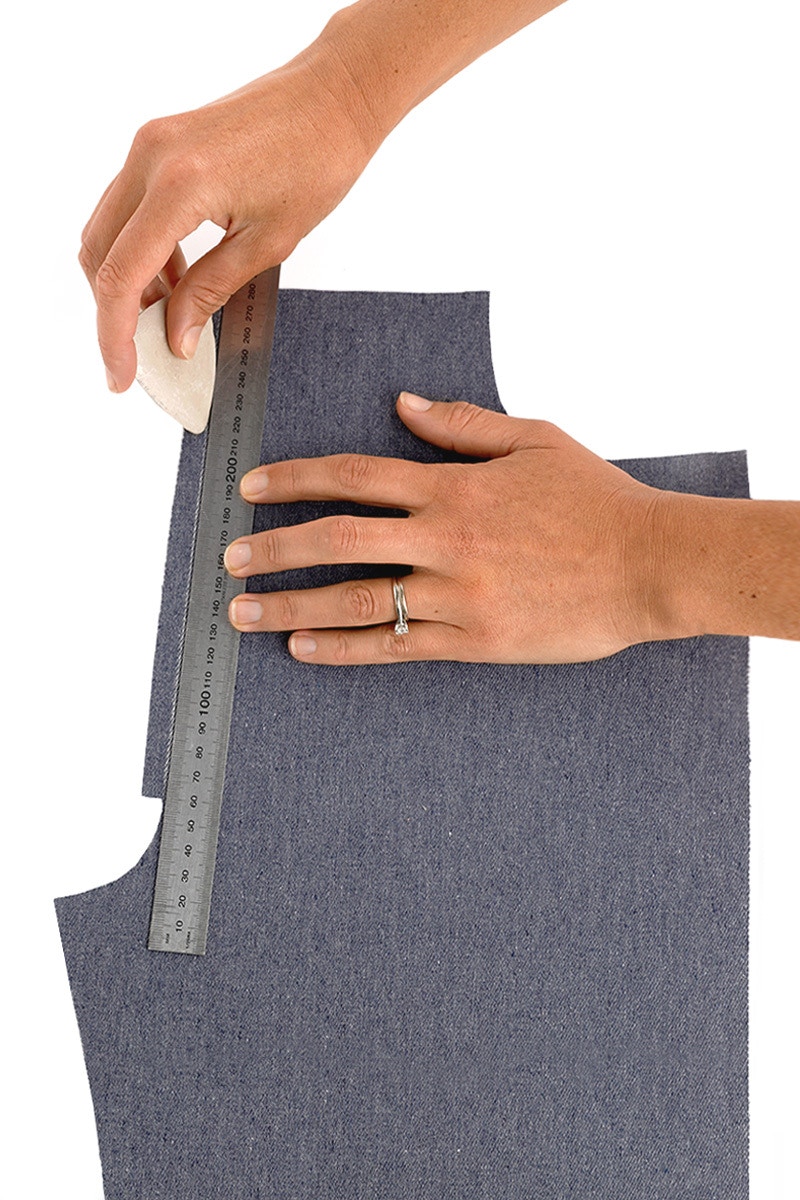
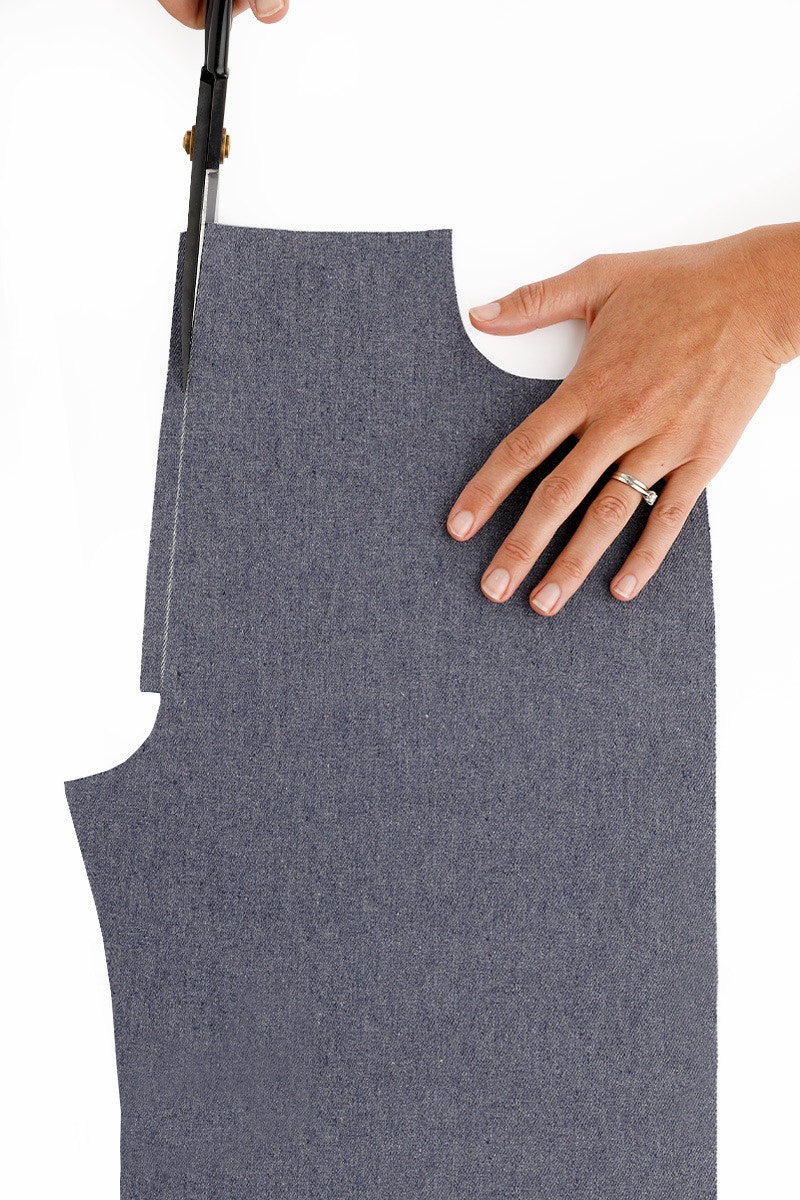
If you haven’t done so already, cut off the 1cm fly extension on the left front (as worn).
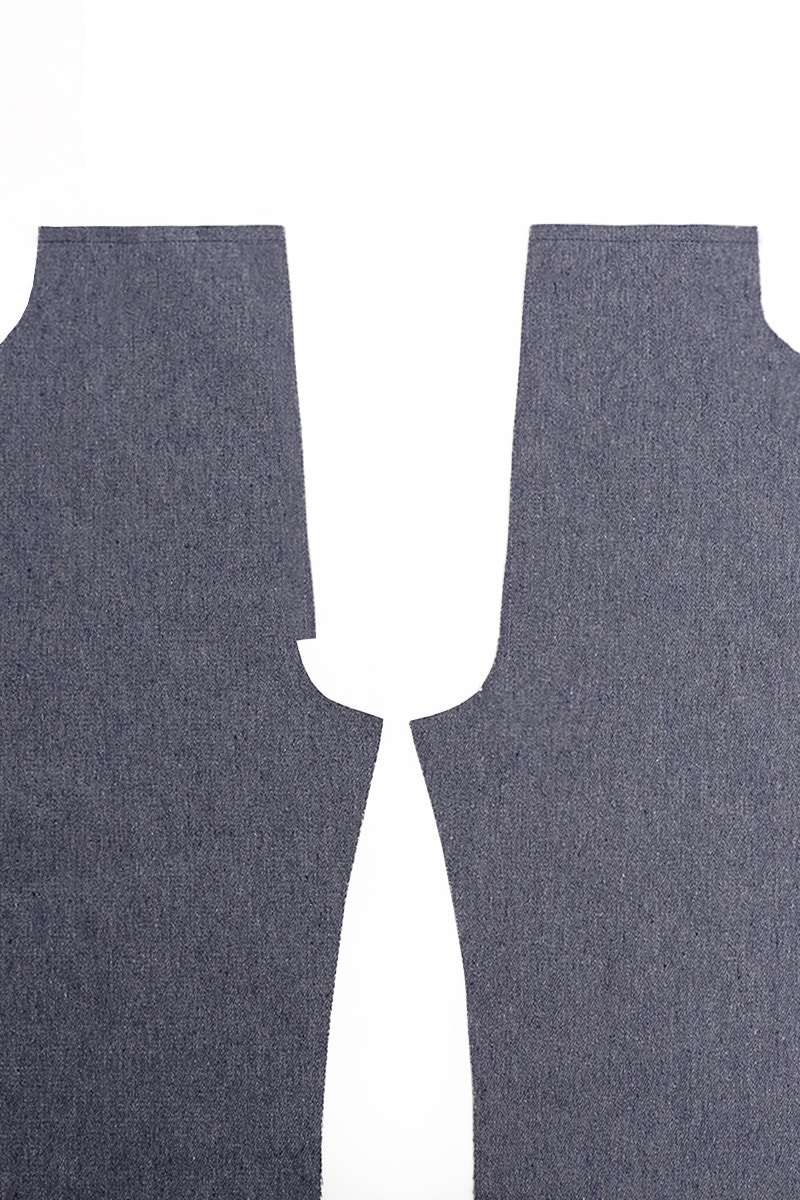
Stay stitch the waist edge of each front leg to prevent it from stretching out.
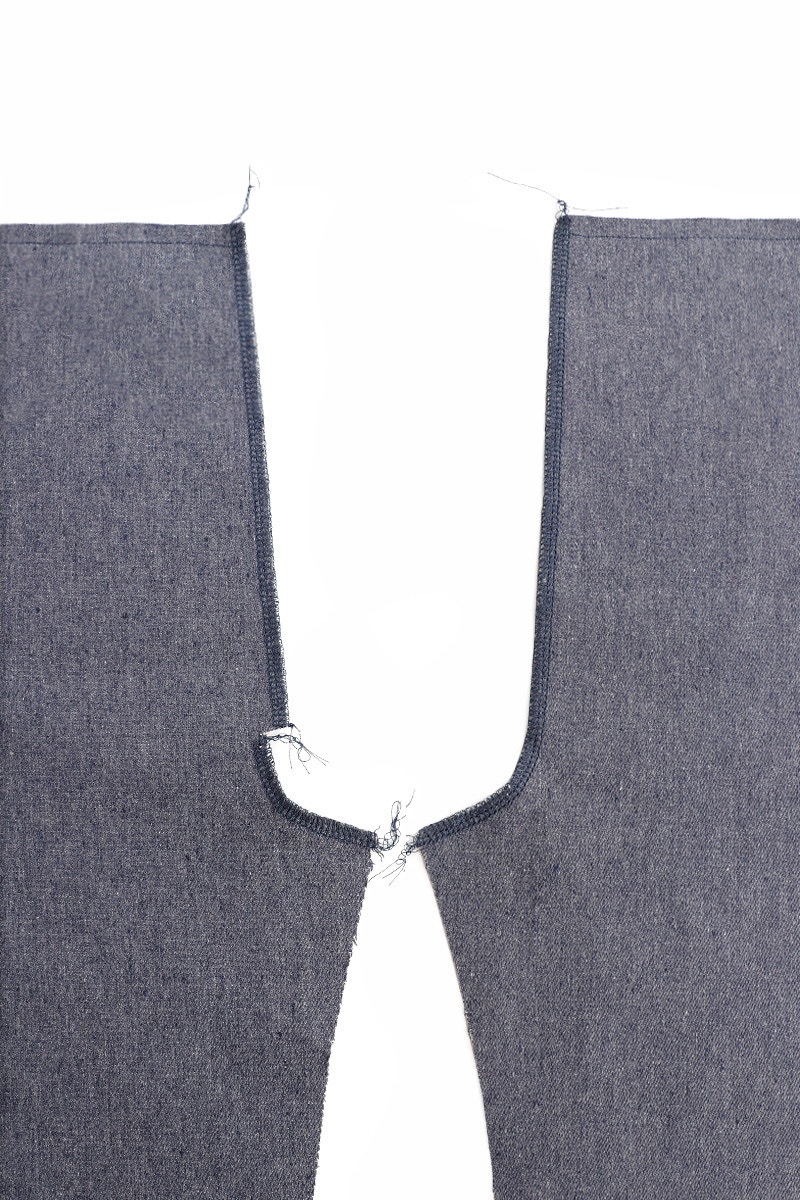
Neaten the centre front of each front piece separately.
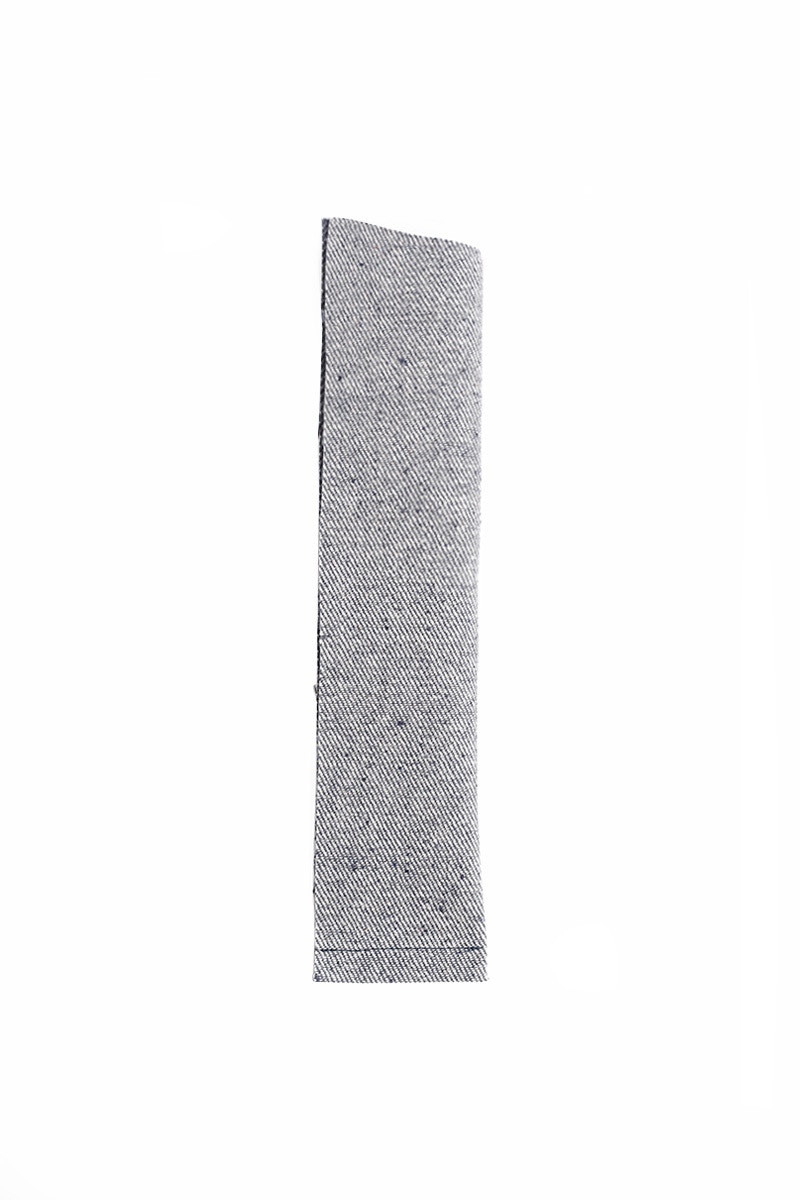
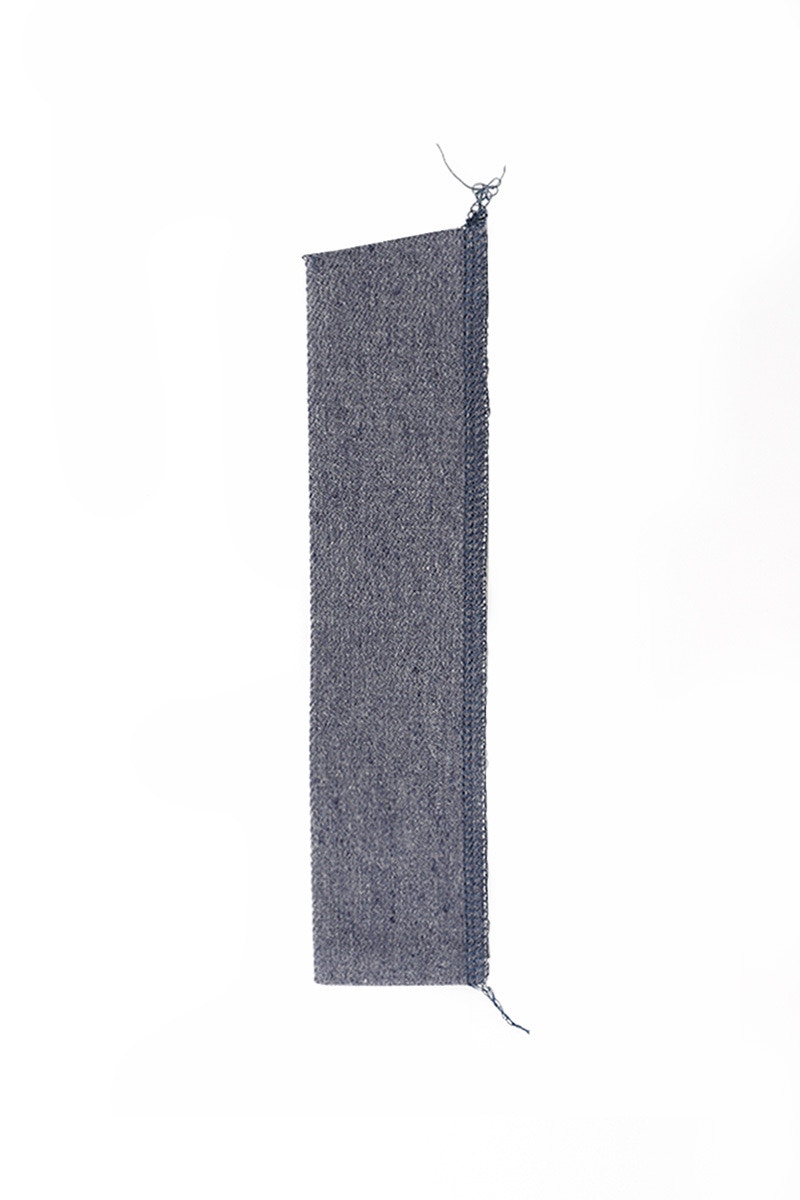
Fold fly guard in half, right sides together and stitch closed at 1cm at the bottom edge. This is opposite to the pressing you made at the beginning.
Turn right side out and press. Neaten the long raw edges of the fly guard together.
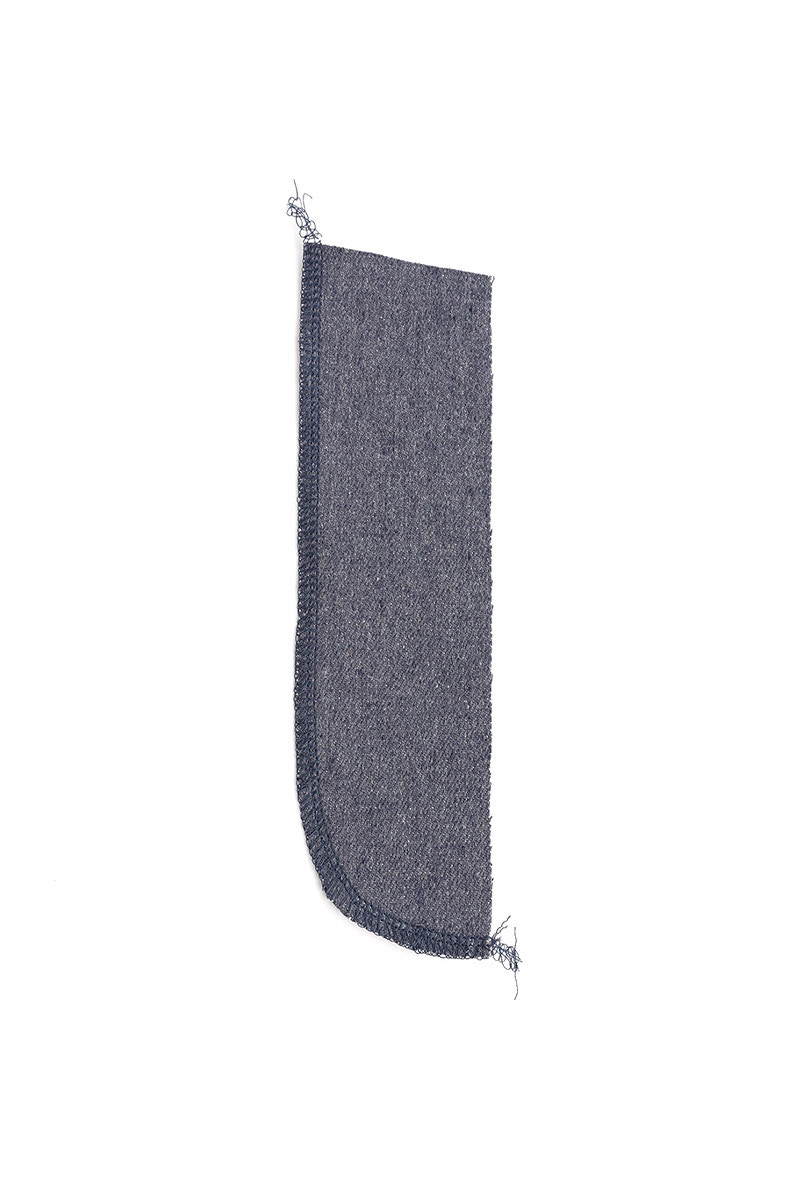
Neaten the curved edge of the fly facing.
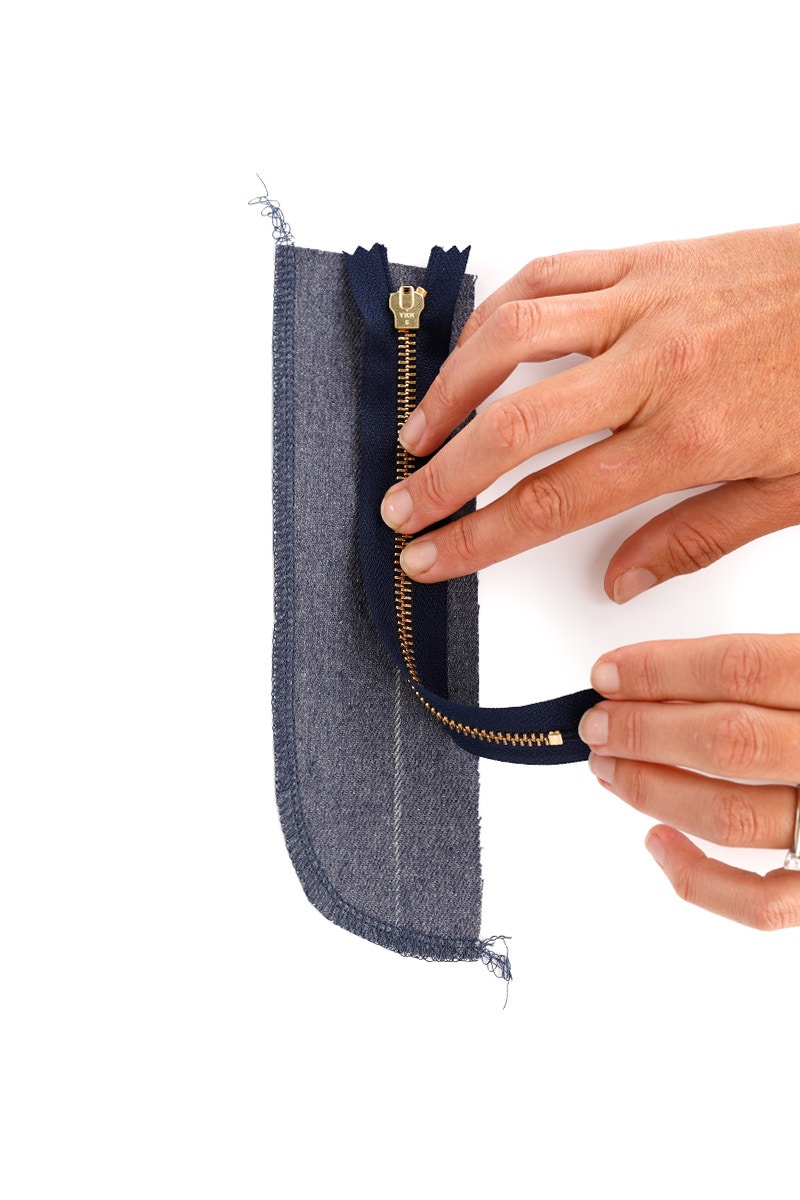
On the right side of the fly facing, mark in the line where zip teeth will sit with a fabric pen or tailor’s chalk. This is 2.3cm from the long, straight edge.
Lay the zip face down on the fly facing with the teeth centred on the line you just marked out. Pin the left side (as you are looking at it face down) of the zip tape to the fly facing. The top of the zip tape aligns with the top of the fly facing.
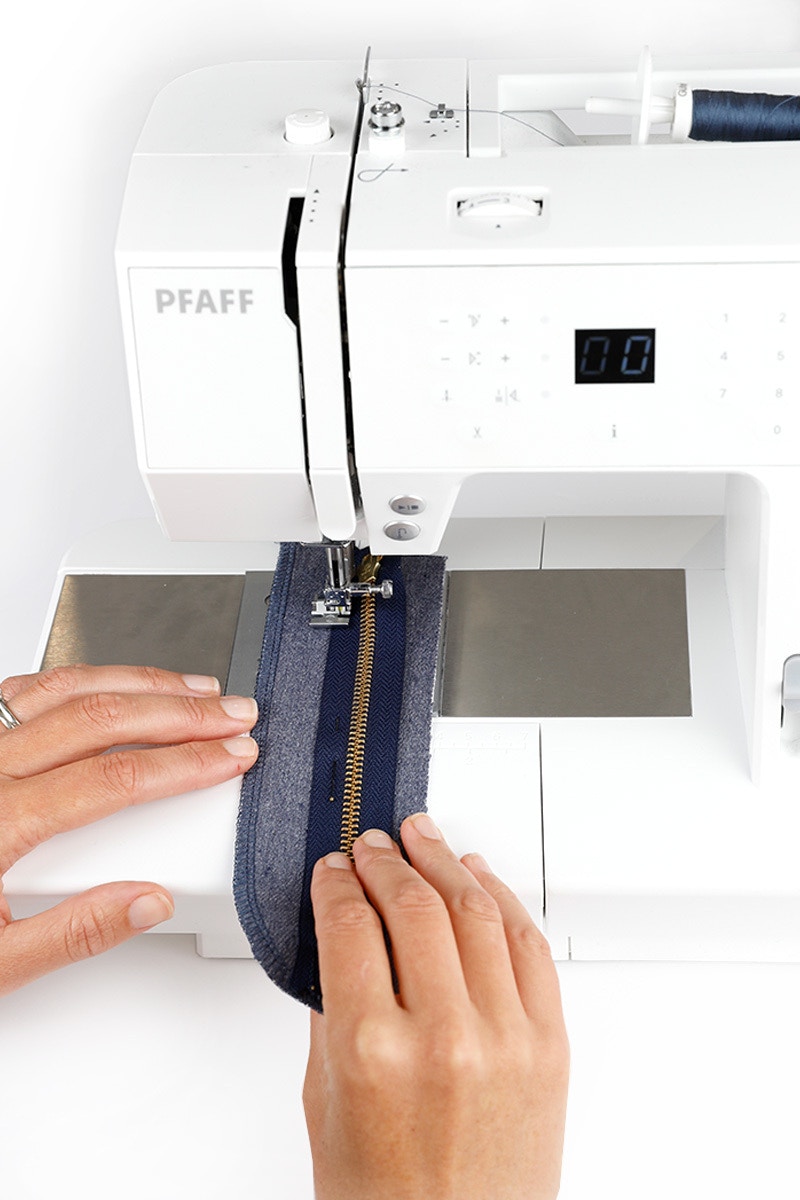
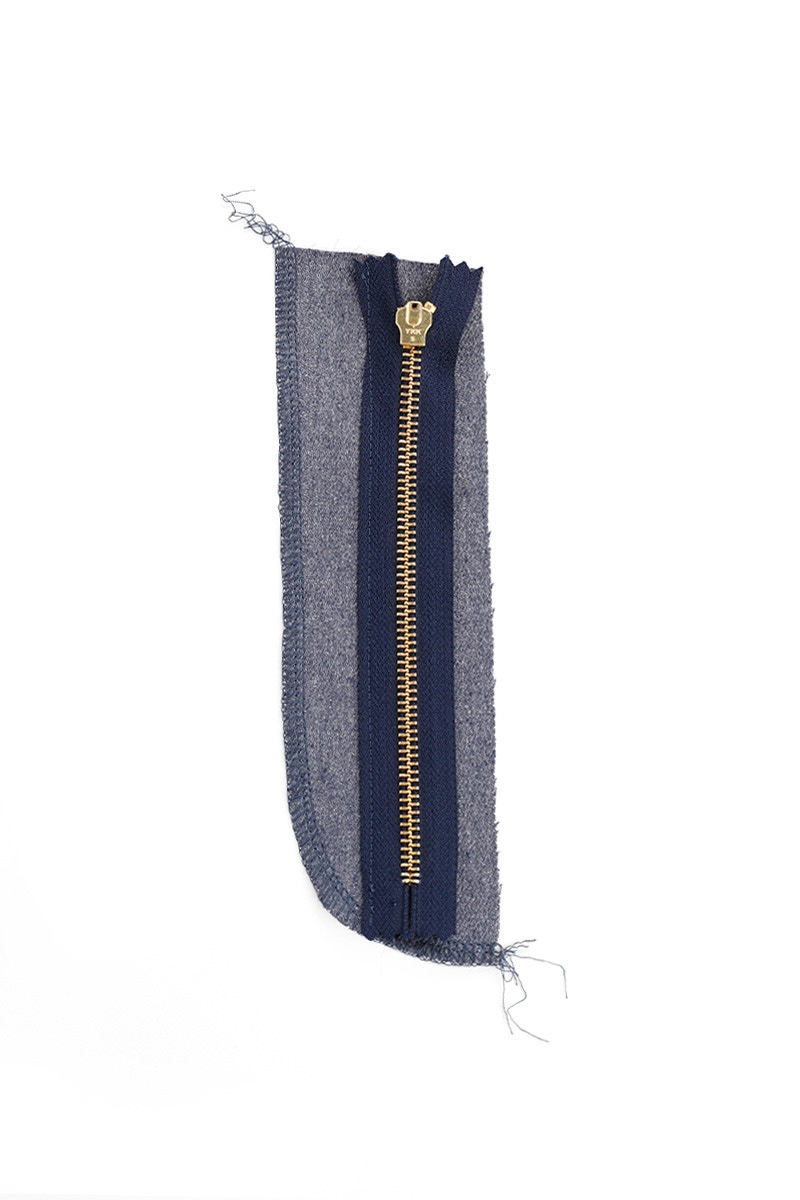
Edge stitch the left side of the zip tape to the fly facing.
Depending on the width of your presser foot you may need to use a zip foot to do this, and the following steps.
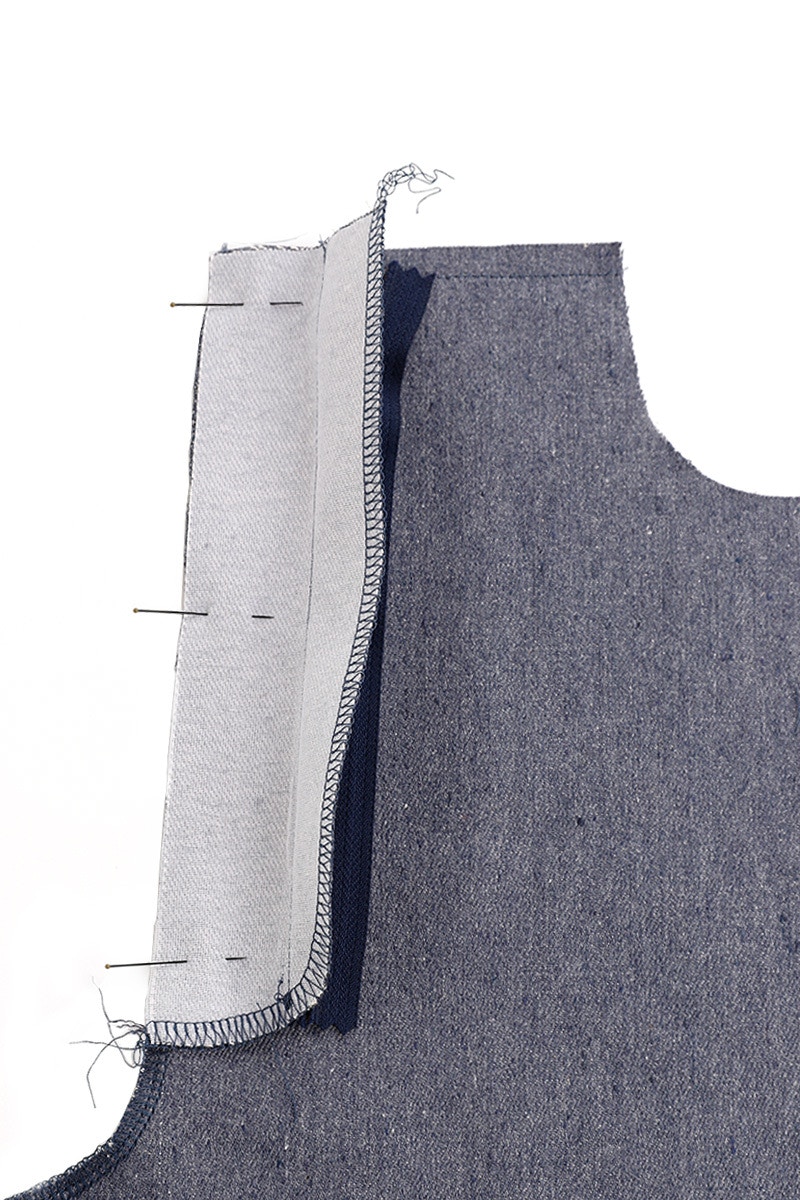
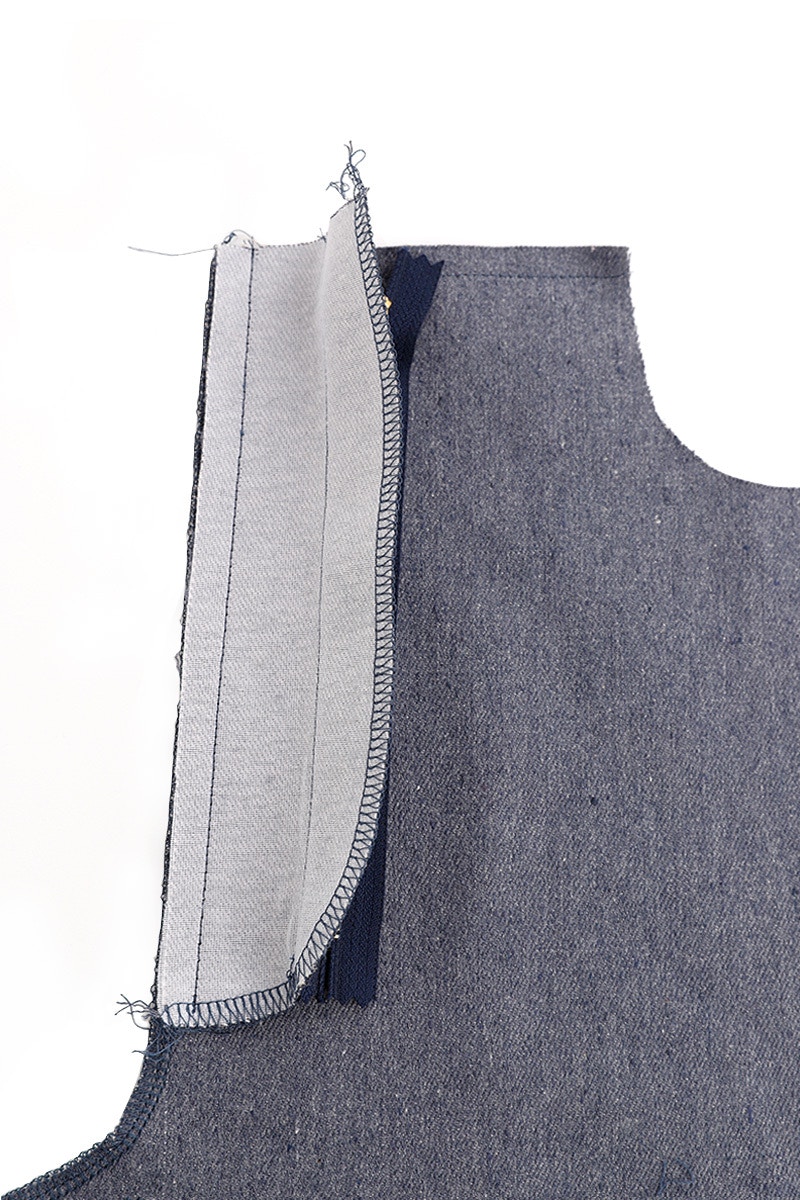
With the right sides together, lay the fly facing on the left front leg, aligning the centre fronts and waist edges. The bottom of the fly facing will match the notch on the left leg. Pin the two pieces together, then sew with a 1cm seam.
Take care not to catch your zip tape when sewing this seam.
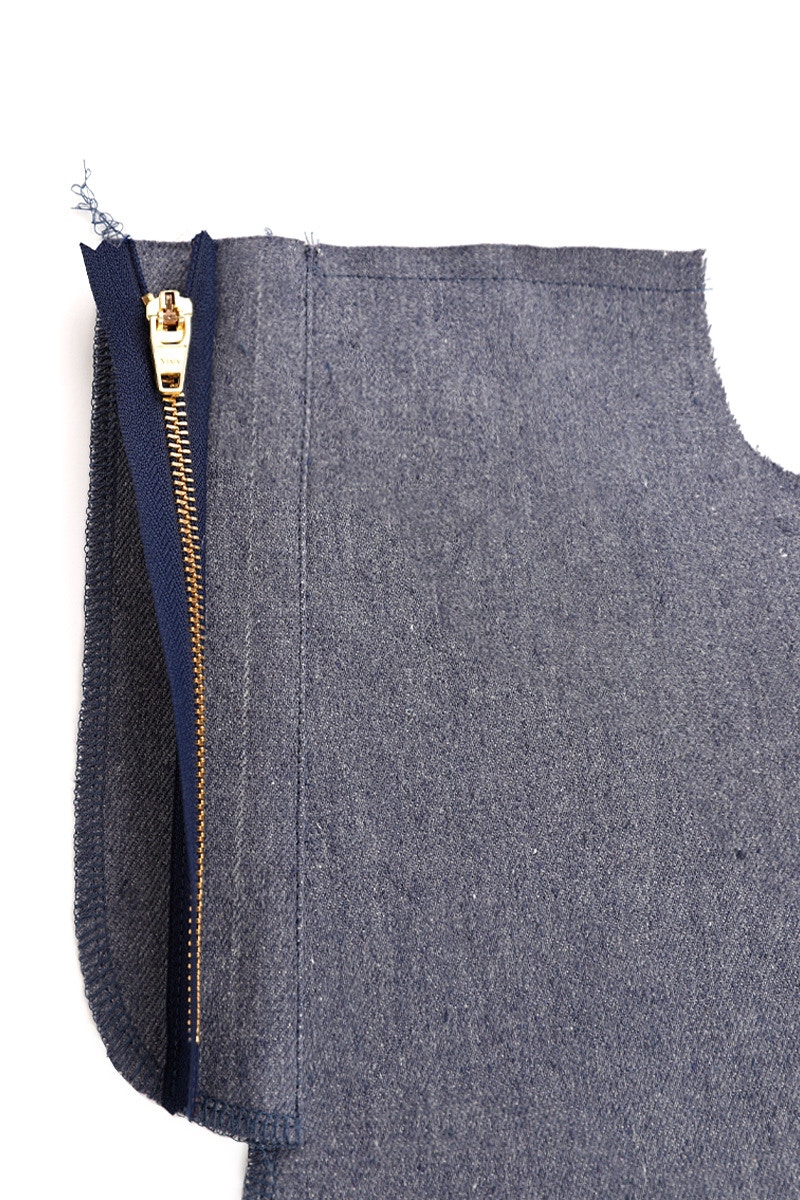
Now, fold the fly facing out and press the seam allowance towards the facing. Edge stitch on the fly facing at the centre front.
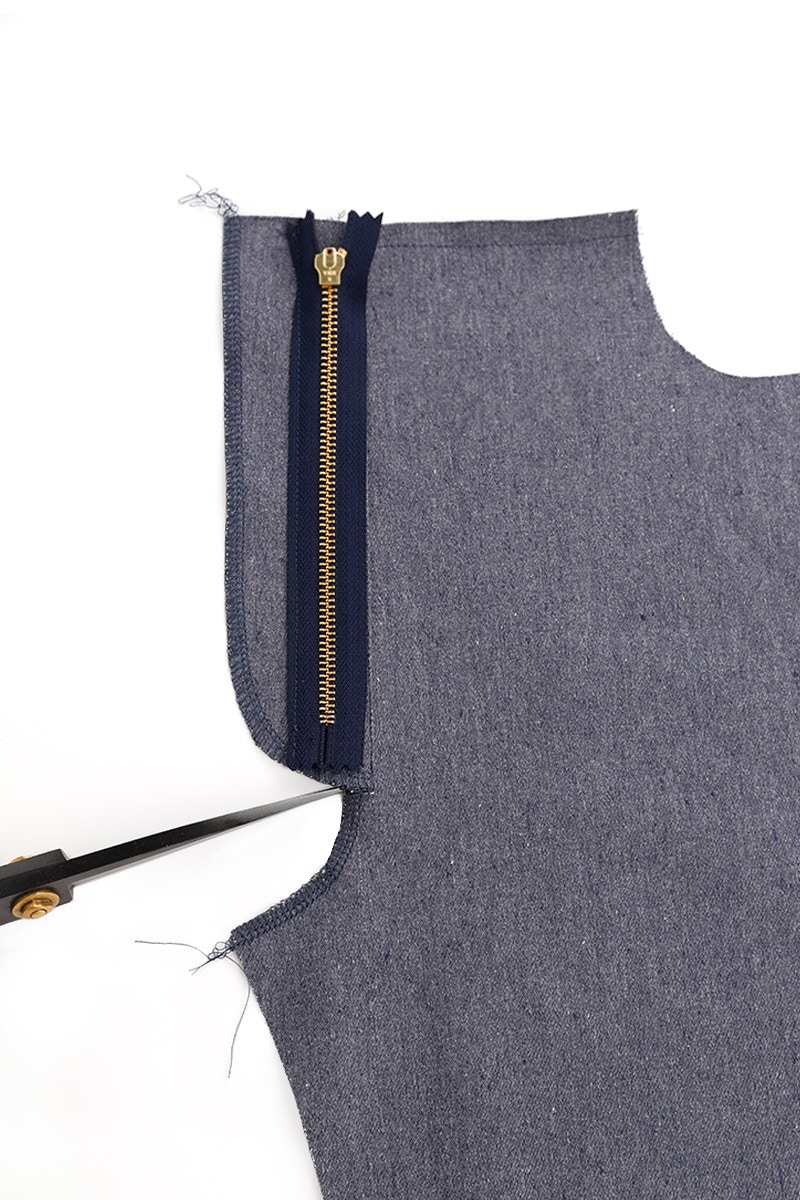
Clip into the left front leg exactly 1cm at the base of the fly facing.
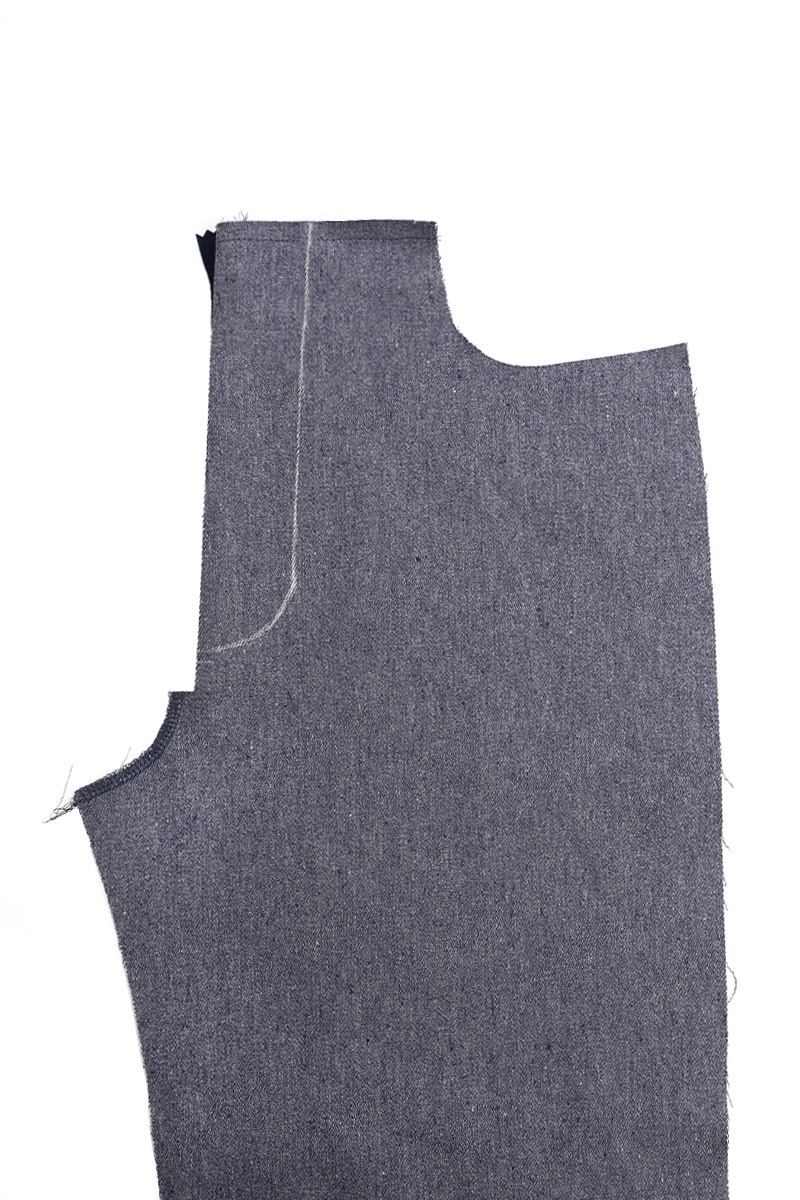
Fold the fly facing so the wrong sides are together and press. Pin the facing to the left leg.
Using the fly facing pattern piece as a guide, mark the top stitching lines using a fabric pen or tailor’s chalk.
Make sure the top stitching is positioned so that you will catch the fly facing, and avoid the end of the zip teeth when sewing.
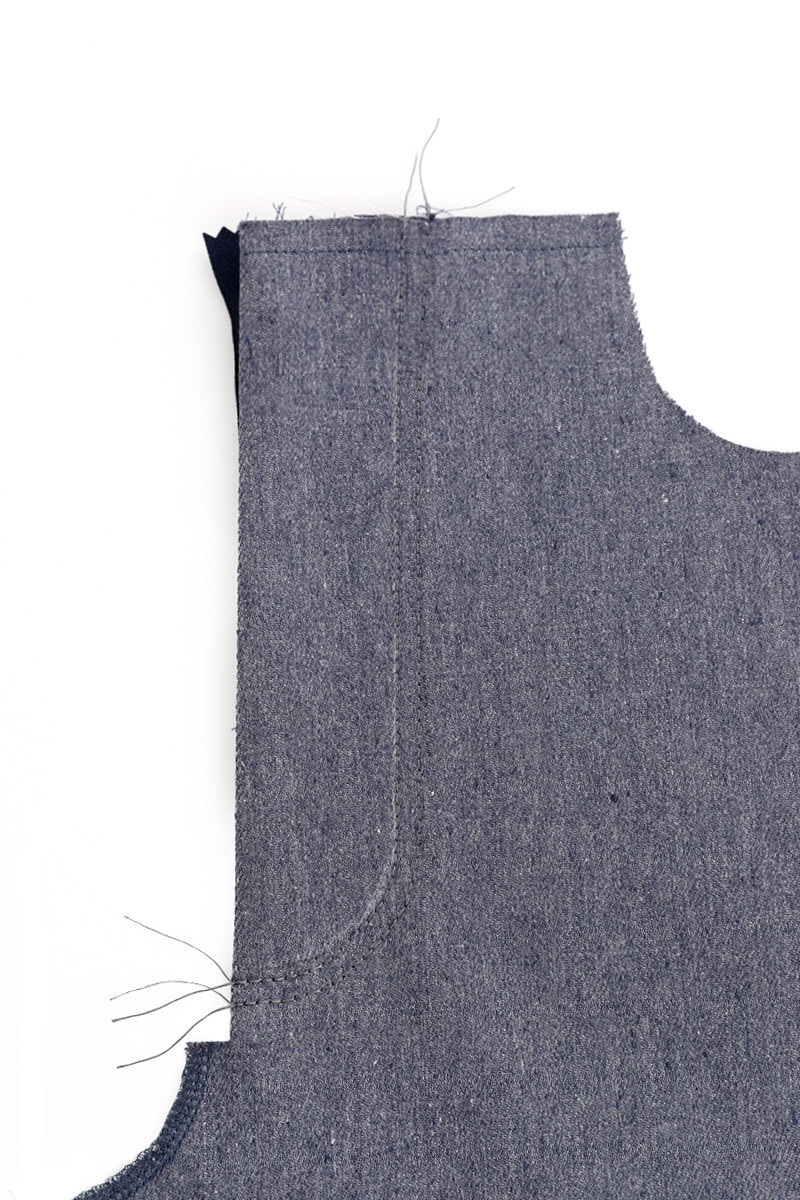
Using top stitching thread, sew two lines of stitching 6mm apart. Start at the waist edge and finish at the centre front. Do not back tack at the end of the seam. Instead, pull the thread through to the wrong side and knot them.
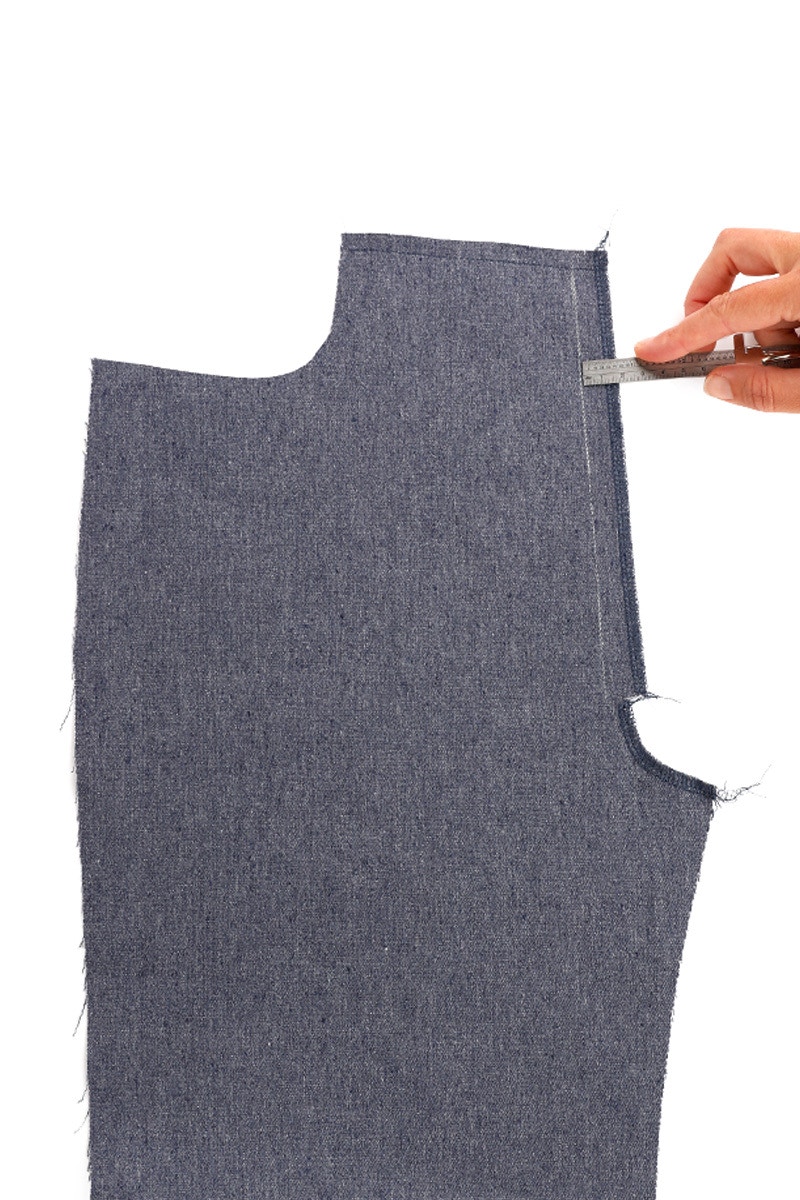
On the right side of the right front leg mark in the line where the zip teeth will sit with a fabric pen or tailor’s chalk. This is 1.5cm from the centre front edge.
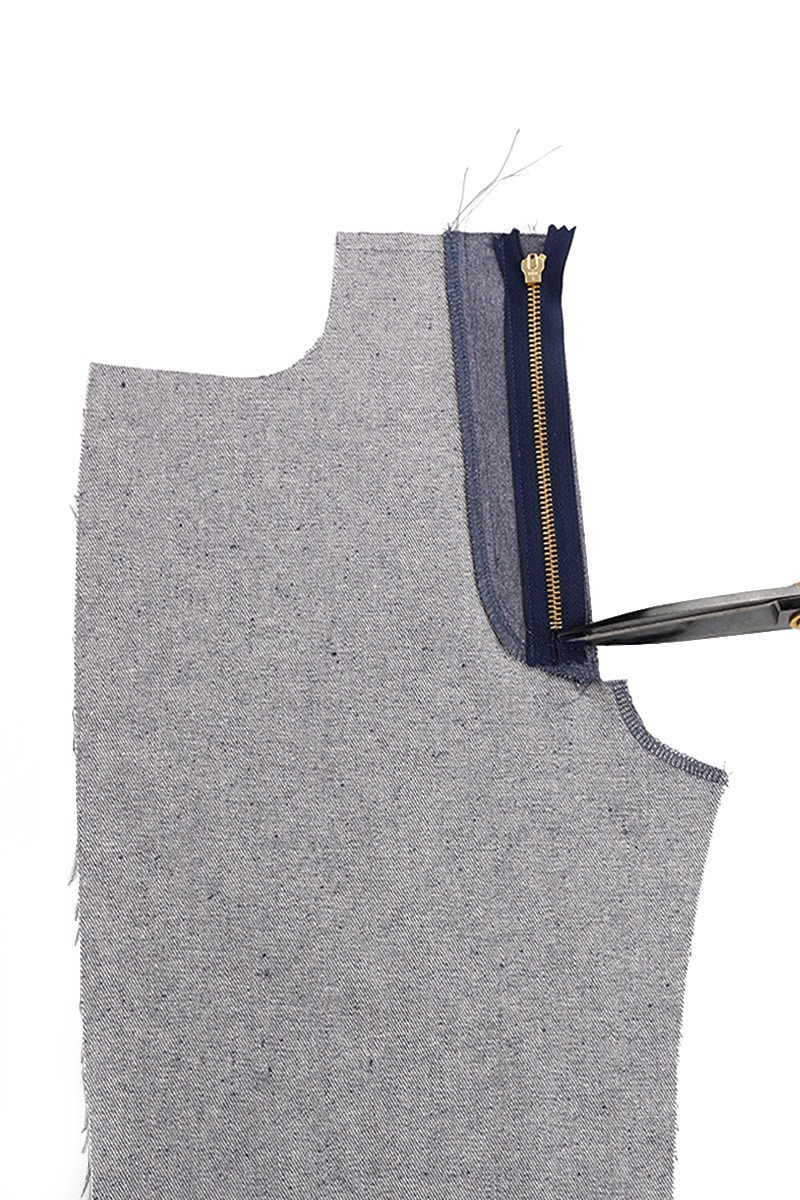
If the bottom of the zip is caught in the top stitching, clip the right side zip tape just above the top stitching to free it.
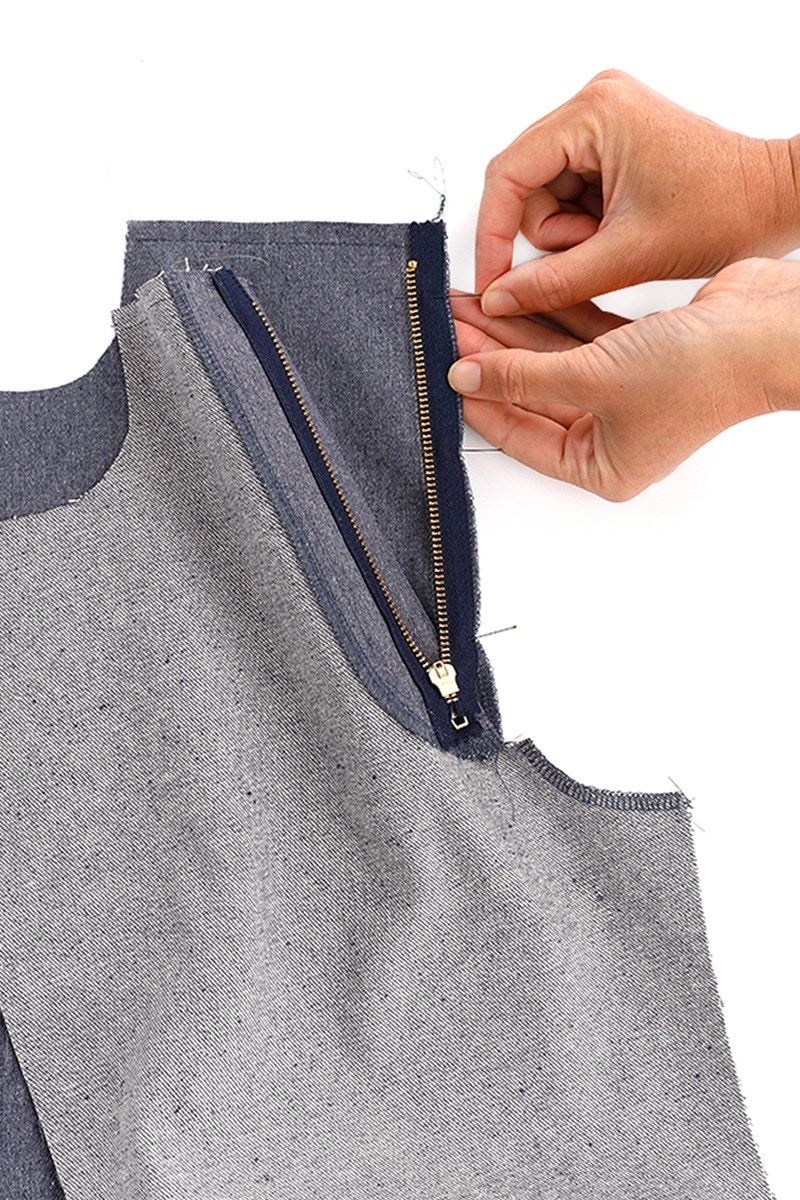
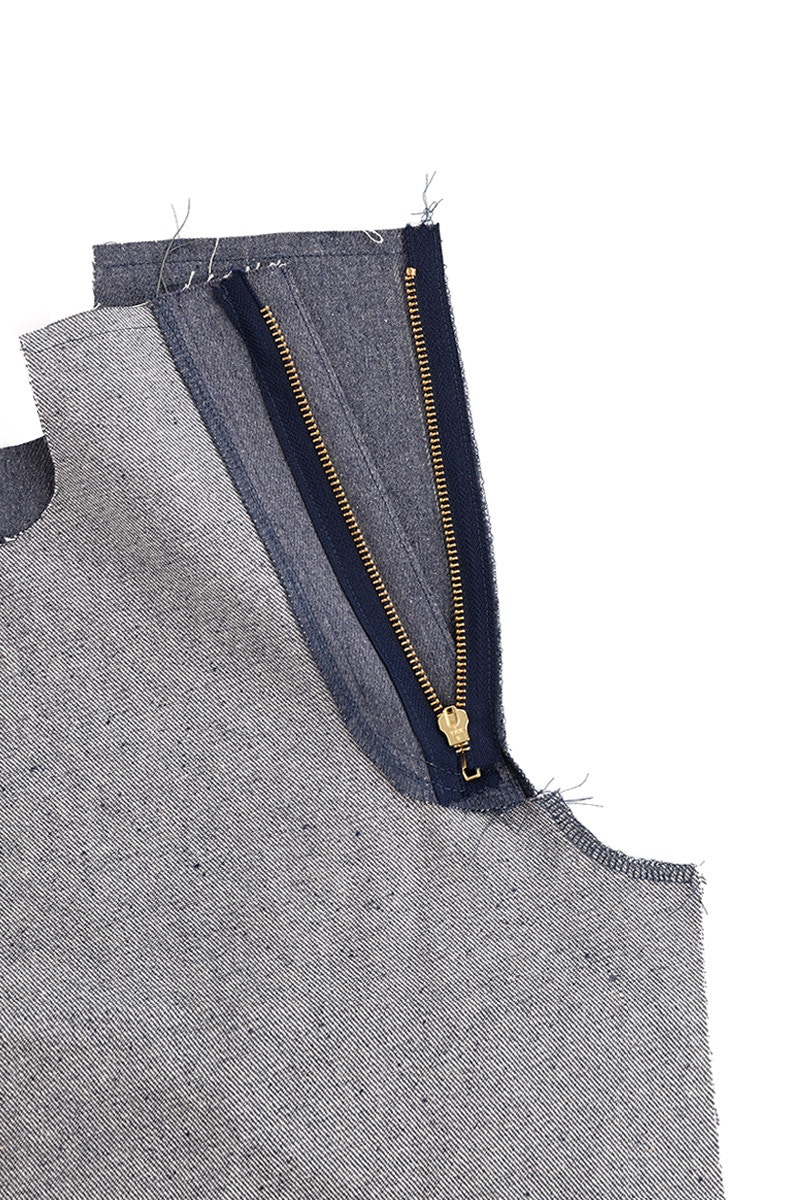
With the zip face down, pin it to the right side of the right front leg, aligning the teeth to the line you just marked.
Depending on the width of your zip tape, it may not align with the centre front edge of the right leg.
Edge stitch them together.
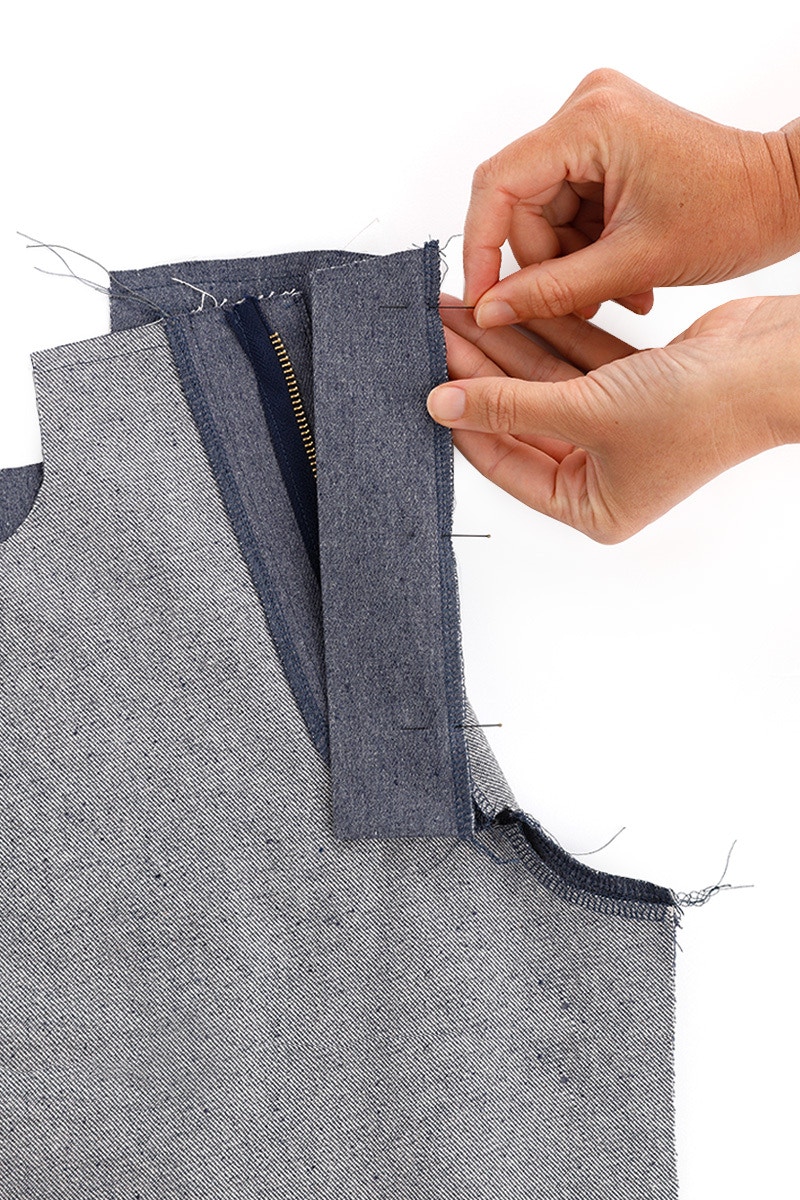
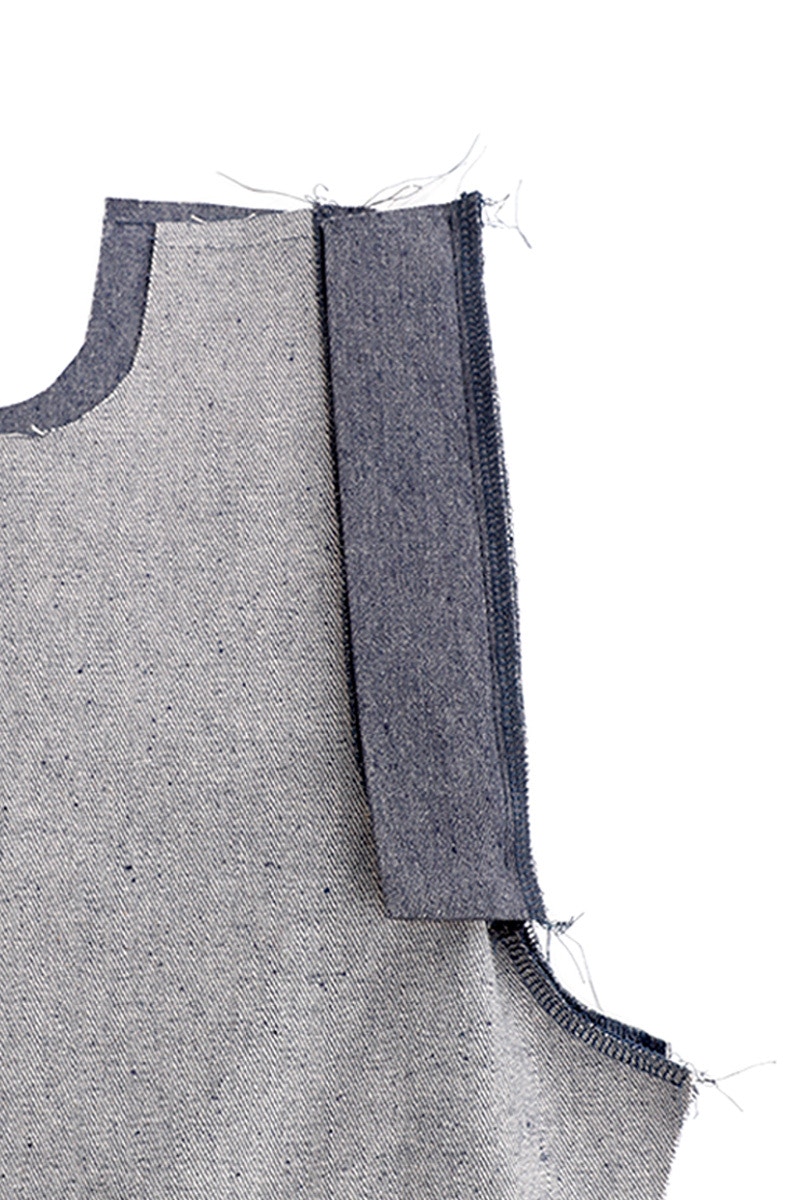
Lay the fly guard on top so the zip is sandwiched in between the fly guard and right front piece. Pin in place and stitch them together at 1cm, finishing 1cm before the bottom of the fly guard.
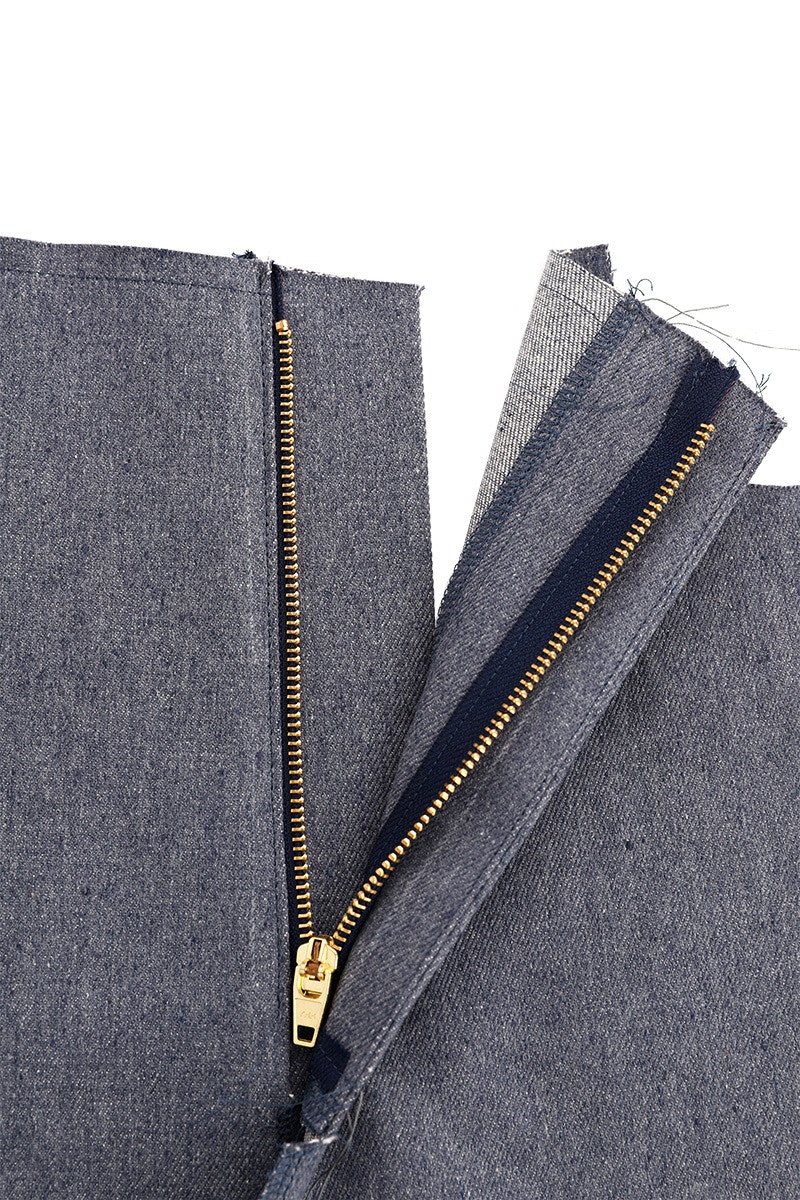
Turn your jeans right side up and fold back and press the right front leg at centre front. Using a zip foot, edge stitch down the centre front.
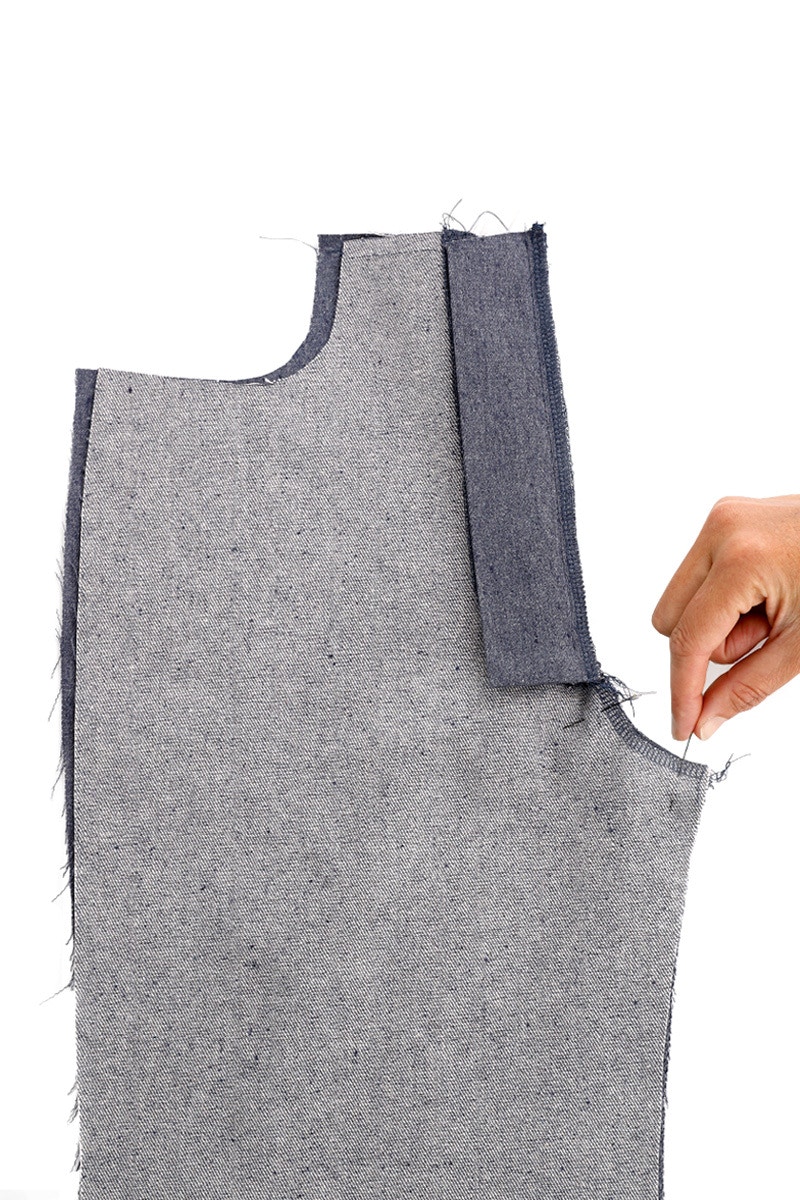
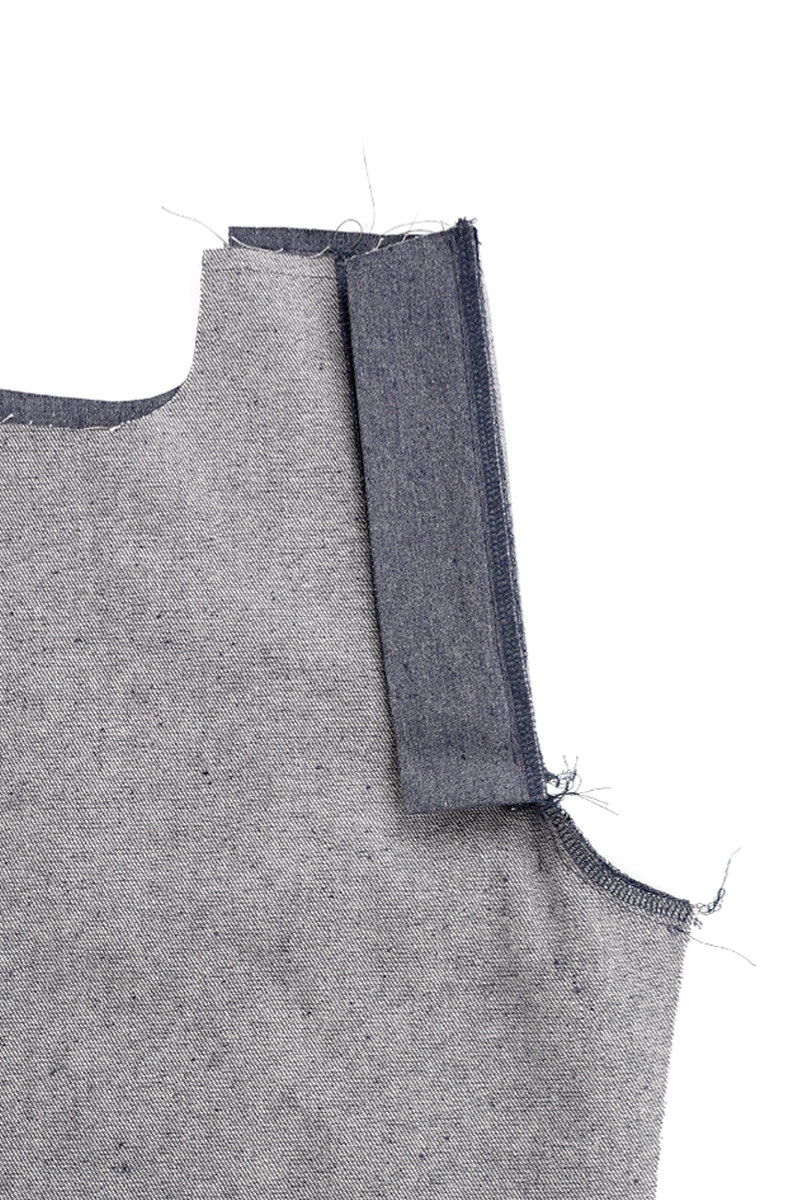
Pin the crotch closed and then using a 1cm seam, sew as far as you can towards the bottom of the zip.
Press the seam towards the left leg.
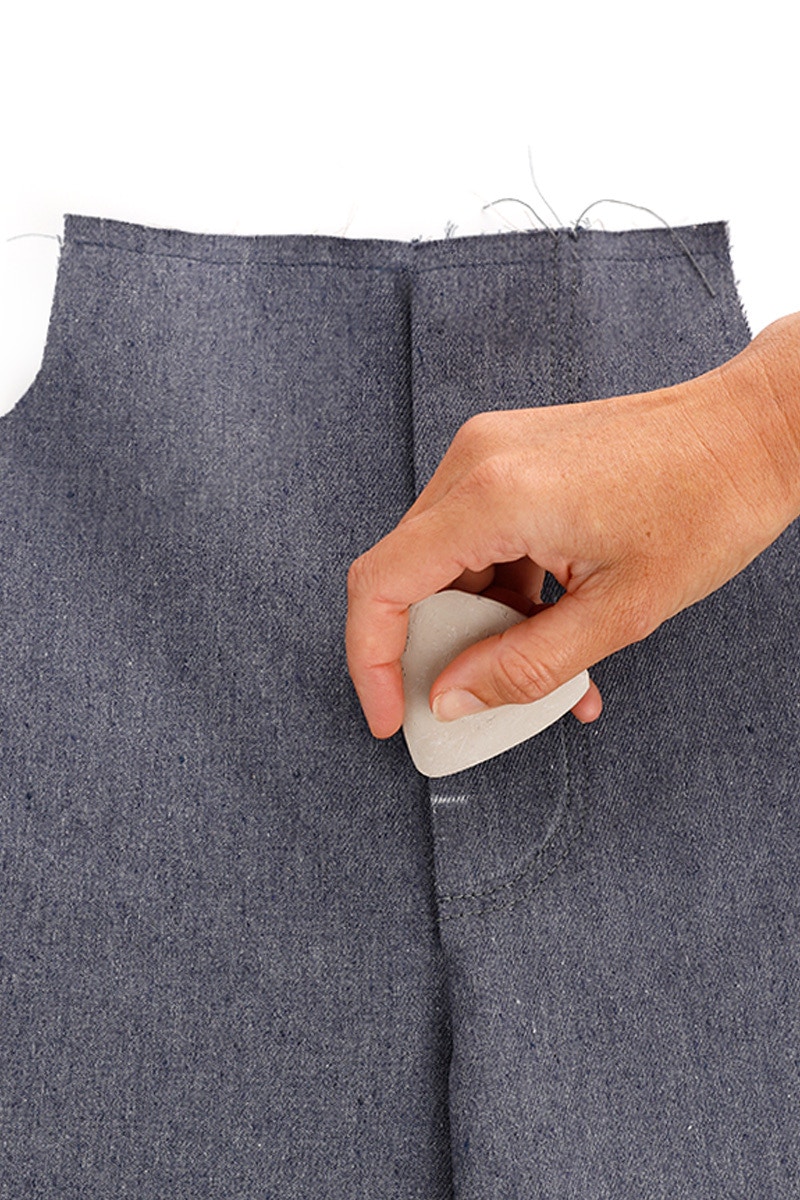
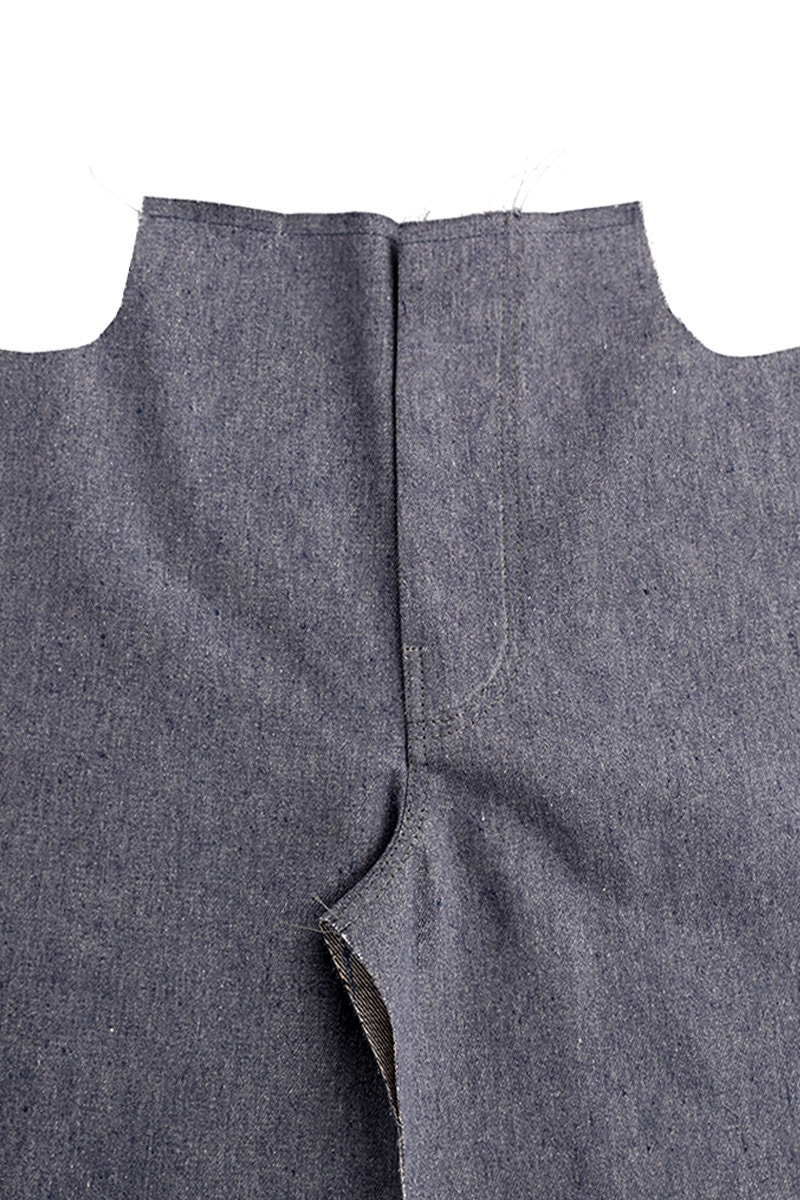
Now we will top stitch the front crotch seam.
Mark 3.5cm from the bottom of the top stitching with a fabric marker or tailor’s chalk.
Using top stitching thread, and starting at the crotch, edge stitch towards centre front. When you reach the mark you just made, stop with your needle down, turn your jeans 90 degrees and stitch in 6mm (2-3 stitches) towards the left leg. Stop again with your needle down and turn your jeans another 90 degrees and sew line of stitching at 6mm parallel to the line you just sewed.
4 — Front Pockets
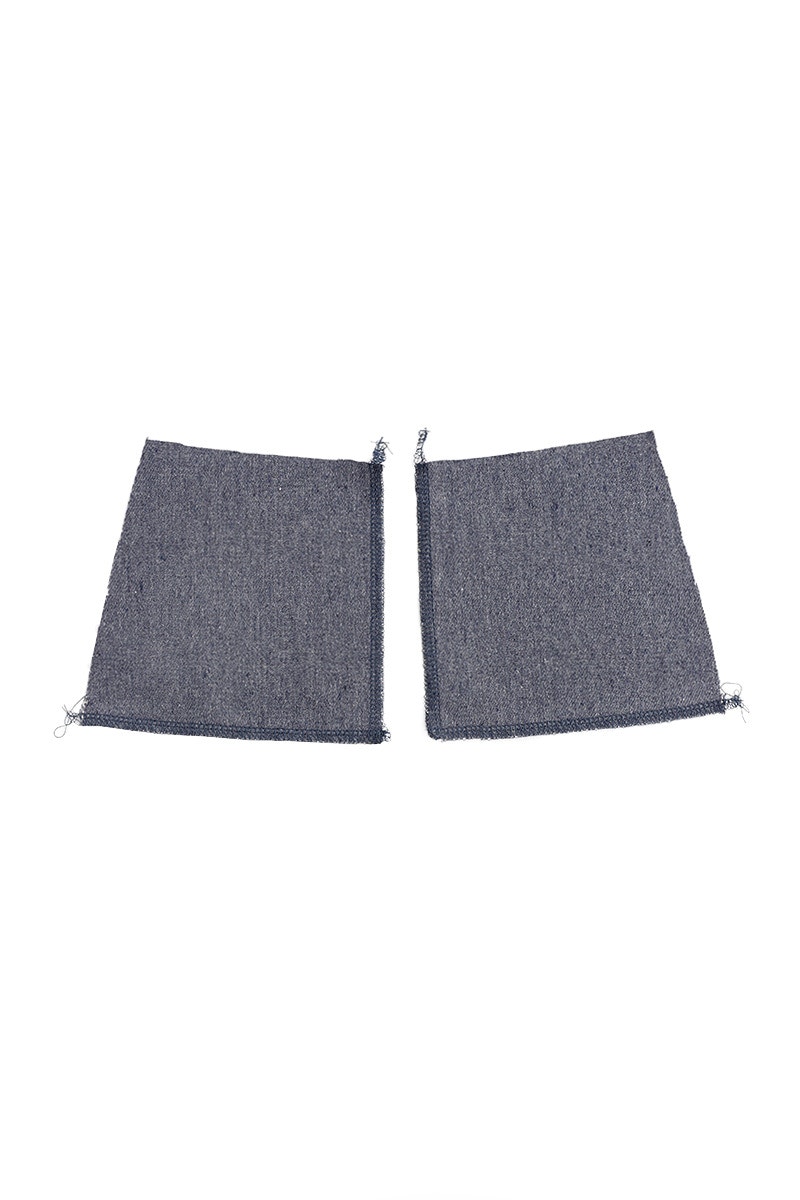
Start by neatening the two unnotched edges of each pocket bearer.
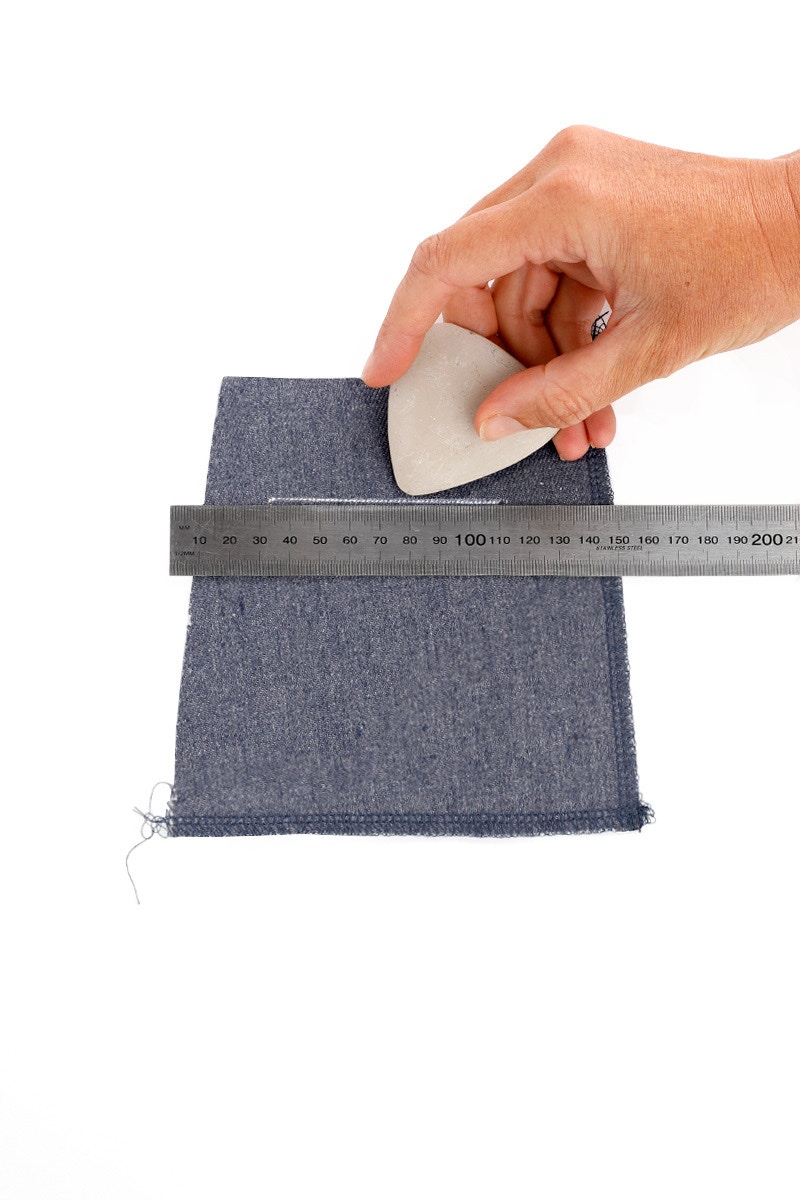
Transfer the pocket placement markings to the right side (as worn) only.

Turn the top edge of the coin pocket over 1cm twice. Top stitch with two lines of stitching 6mm apart.
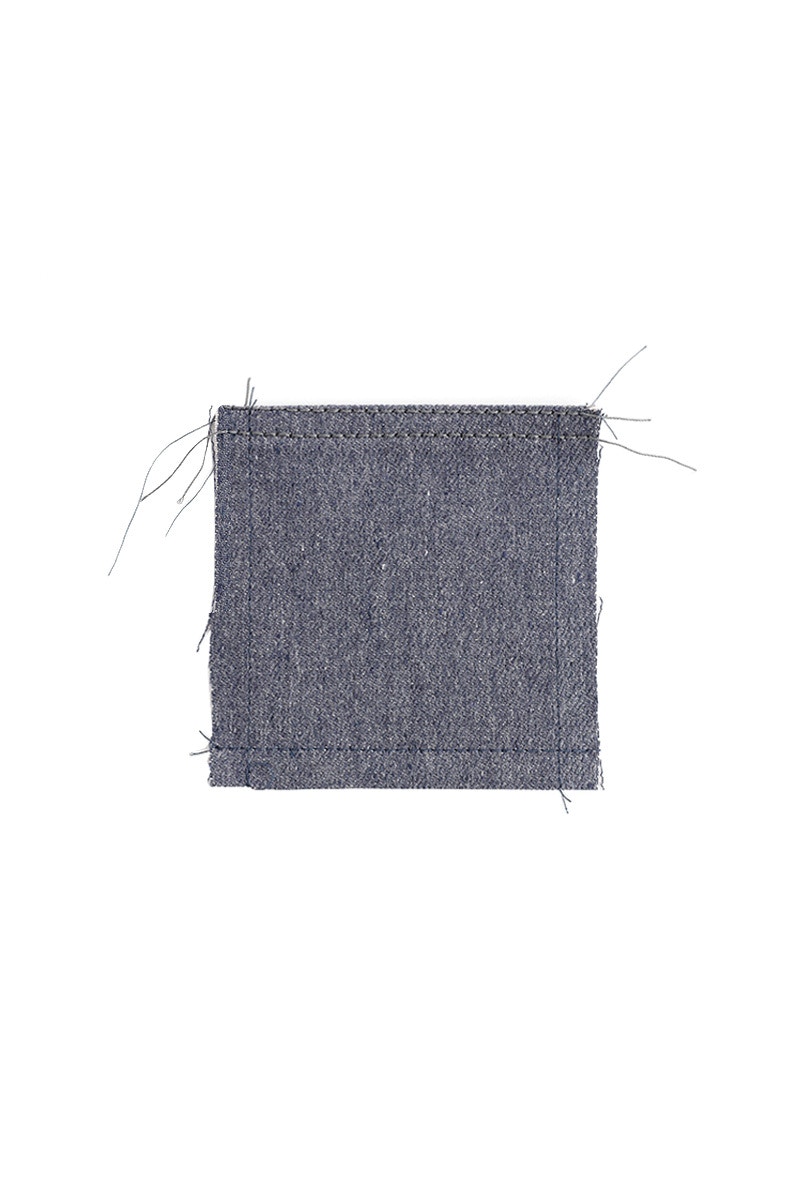

Machine baste a line of stitching around the three remaining sides at 1cm. Press these edges under 1cm using the stitching as a guide.


Pin the coin pocket to the right-hand side pocket bearer (aligning to the markings). Top stitch, with two parallel lines of stitching 6mm apart, the three unstitched sides to secure.


Next, pin the pocket bearer to the pocket bag. With the wrong side of the pocket bearer facing the right side of the pocket lining, pin the pocket bearer in place. Edge stitch the pocket bearer to the pocket bag.

Pin and then edge stitch the second pocket bearer to the other pocket bag to create a pair.


Pin the pocket bag to the front leg, right sides together. Stitch around the curved pocket opening at 1cm.

Clip into the curve at 1cm spacings, taking care not to cut through your stitching.

Fold the pocket bag over, so the wrong sides are together and press. Top stitch the pocket opening with two lines of stitching, 6mm apart.


Fold the pocket bag in half at the notches, wrong sides together. This is opposite to the way you pressed this piece at the beginning.
Pin the bottom edge together, then sew with a 5mm seam. Trim the seam to 3mm.
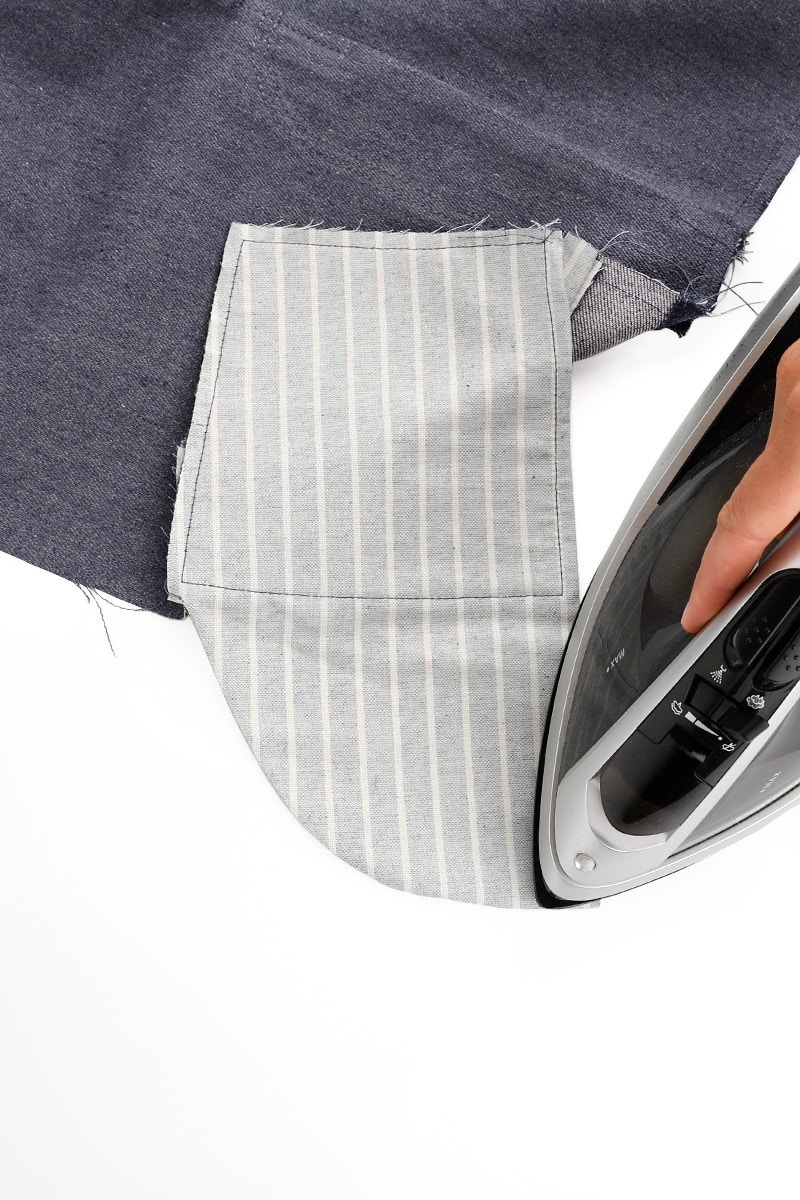
Turn the pocket out so the right sides are together, using a point turner to ensure the corner is fully turned out. Press.

Sew the bottom edge again at 5mm to enclose the seam. Press again.
Baste the pocket bag to the front leg at the waist and side.
Repeat for the other side.
5 — Assemble the Jean
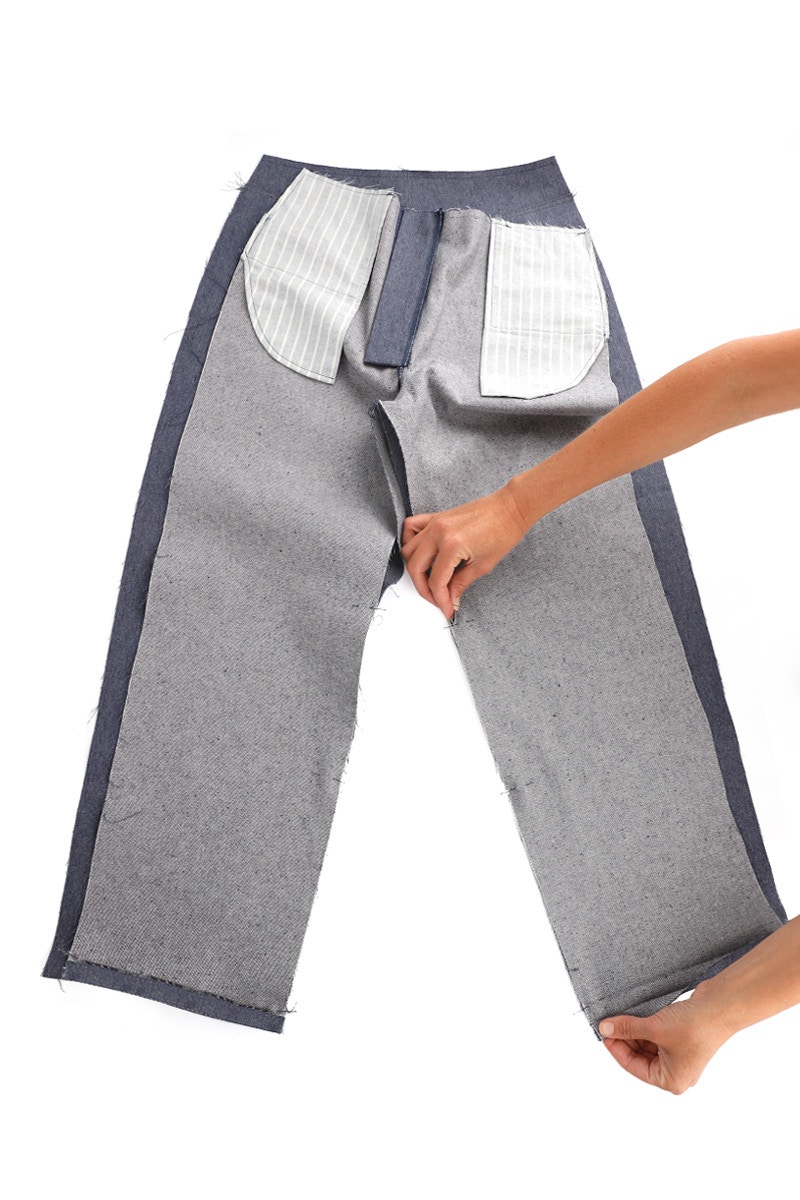
With the right sides together, pin the front to the back through the inseam, matching the seams and notches. Sew them together at 1cm and then neaten the raw edge.
Press the seam towards the front.
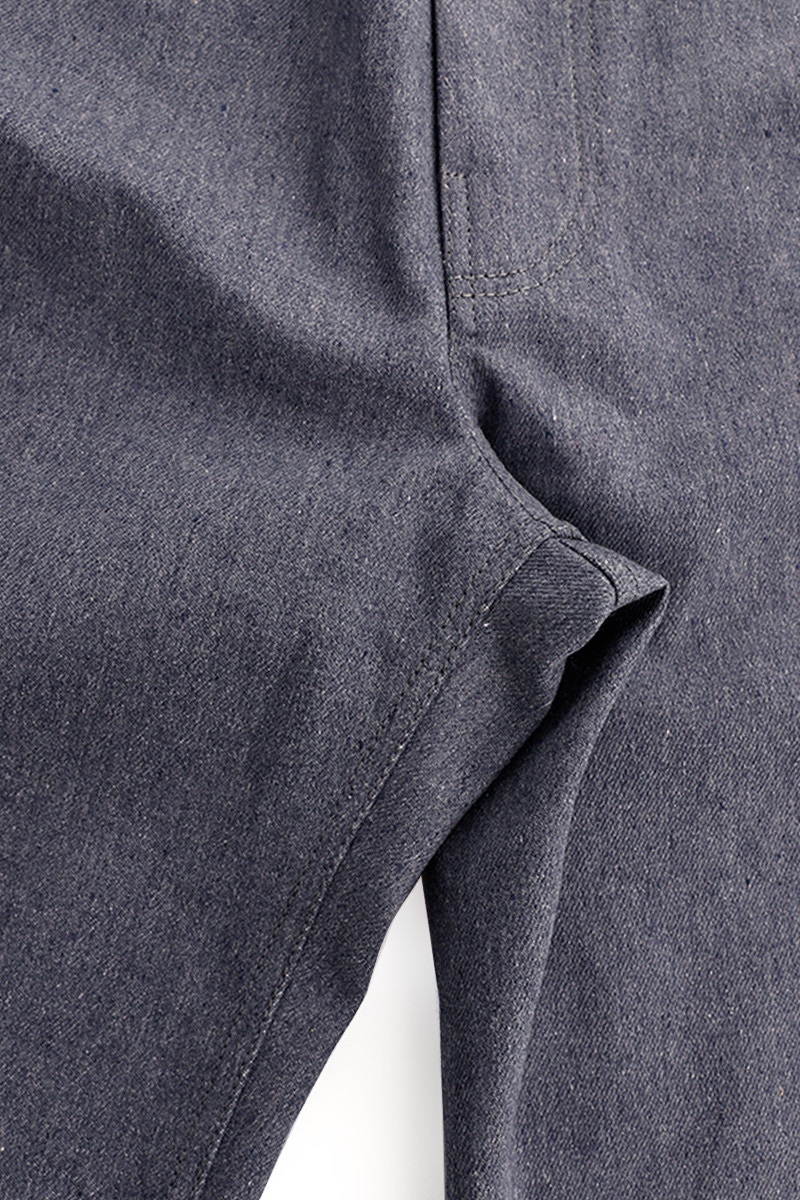
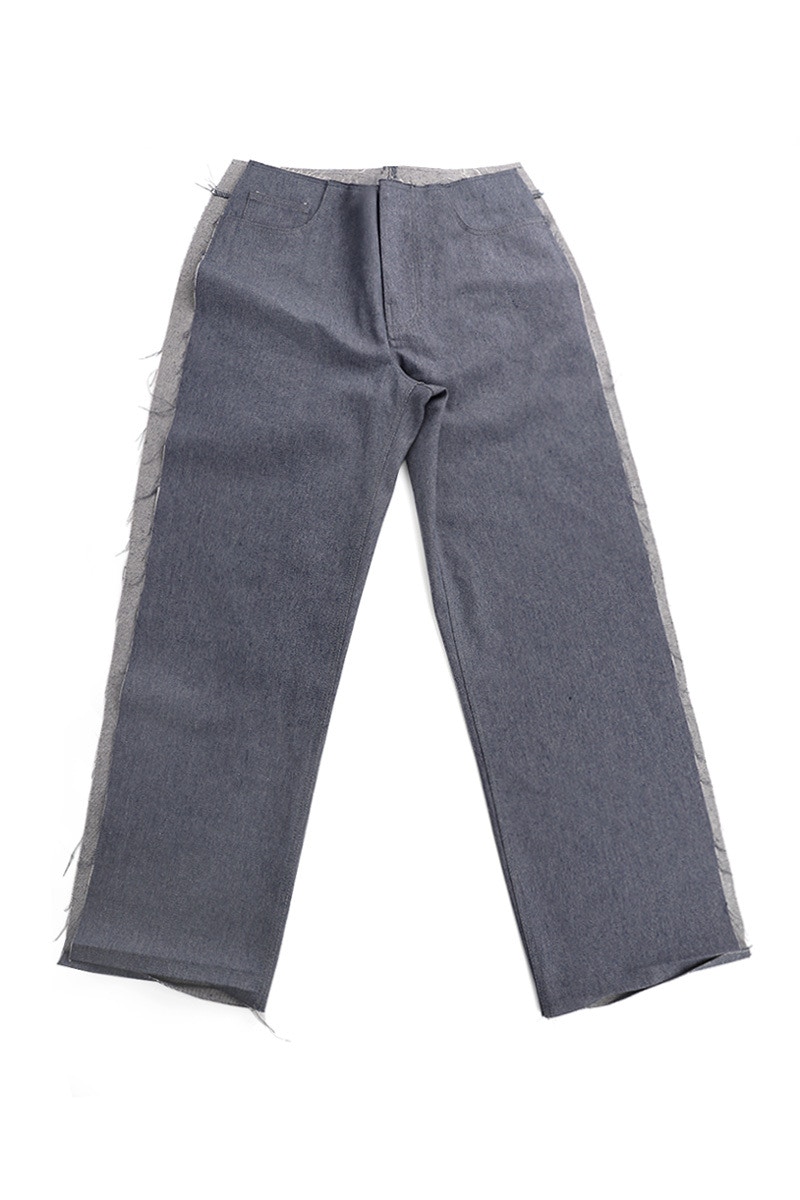
Top stitch the seam on the right side with two rows of stitching 6mm apart.
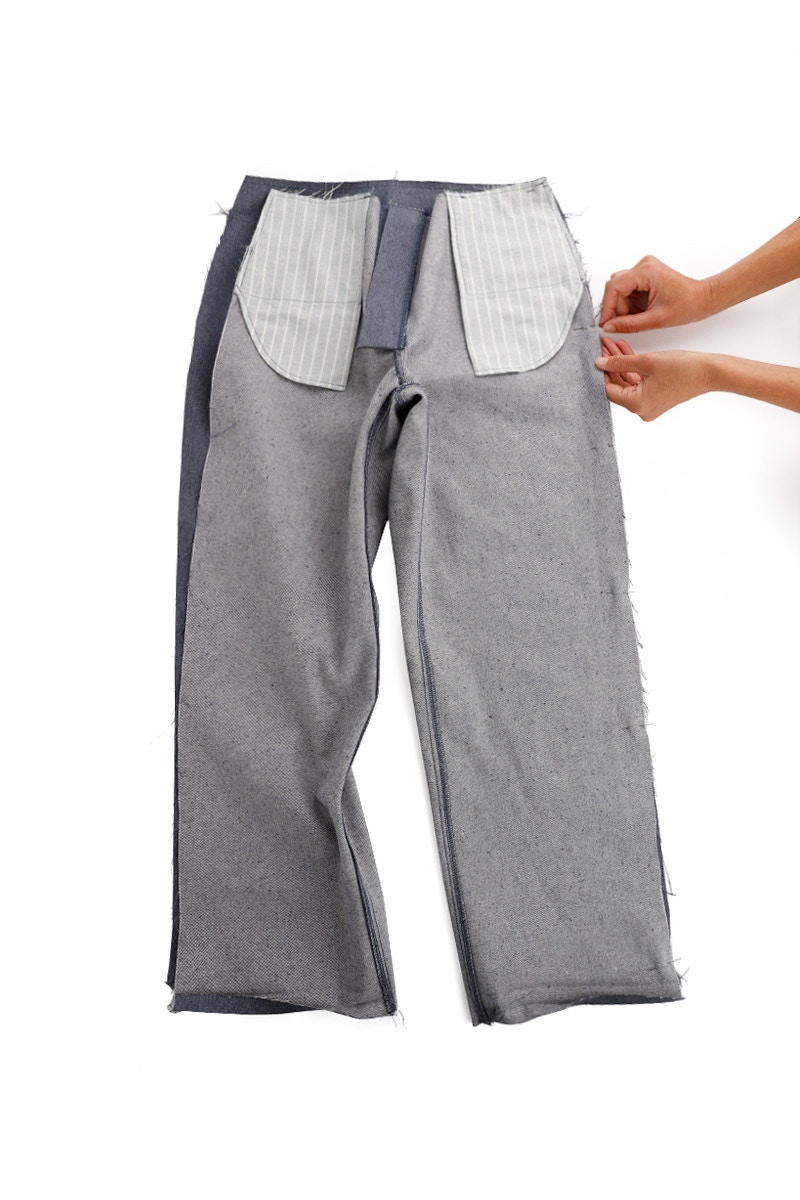

Next, with the right sides together, pin front to the back at the side seam. Sew at 1cm then neaten the raw edge.
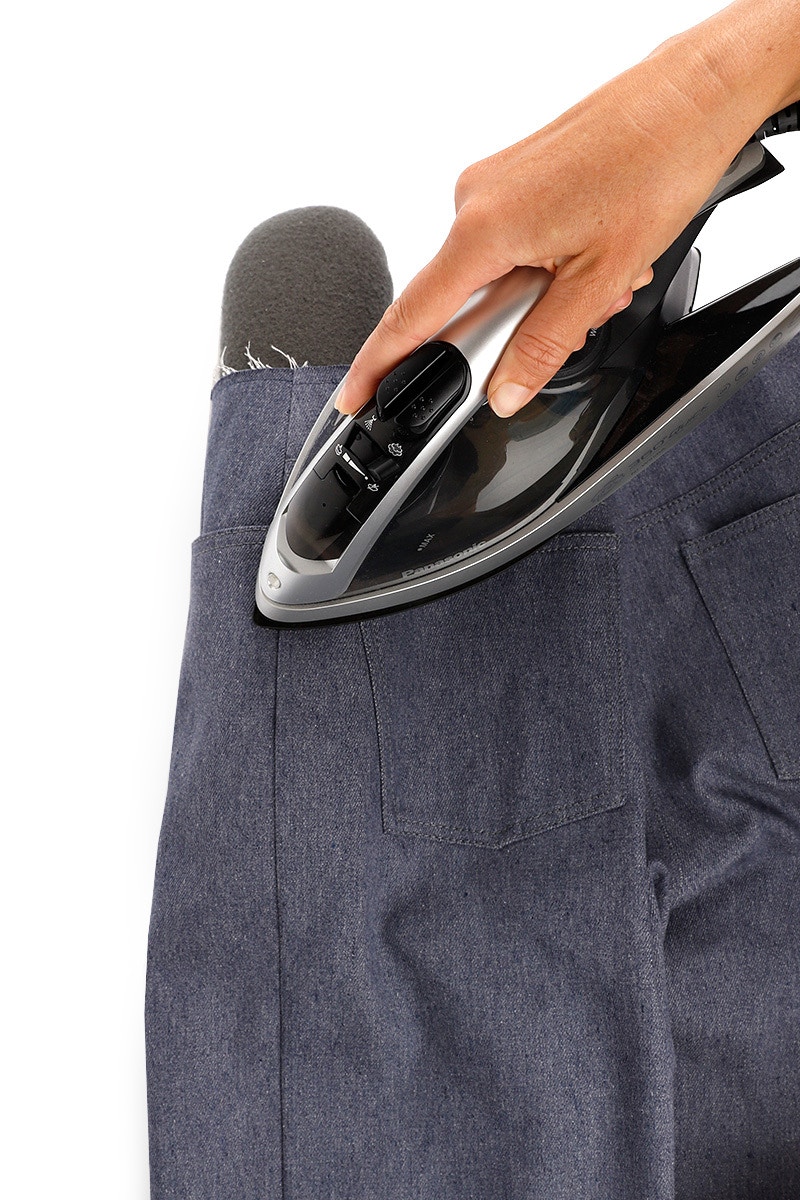
Press the seam towards the back.
Repeat for the other side.
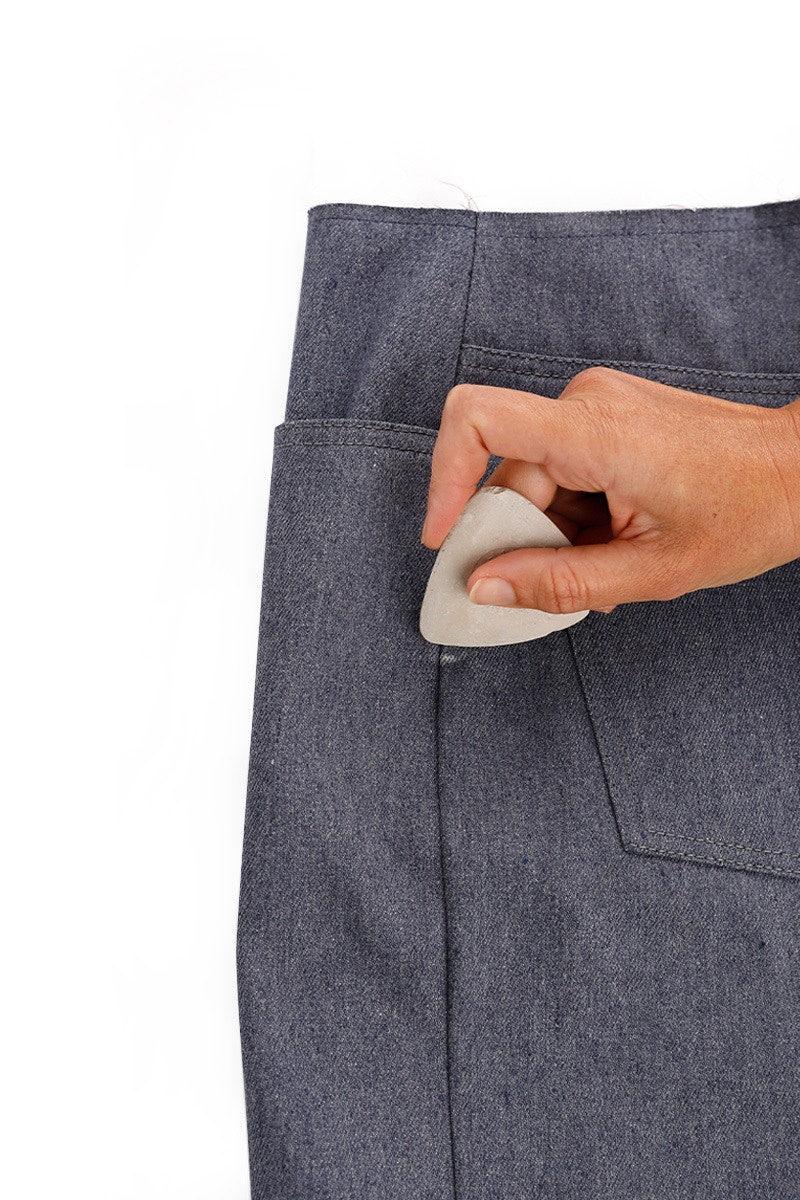
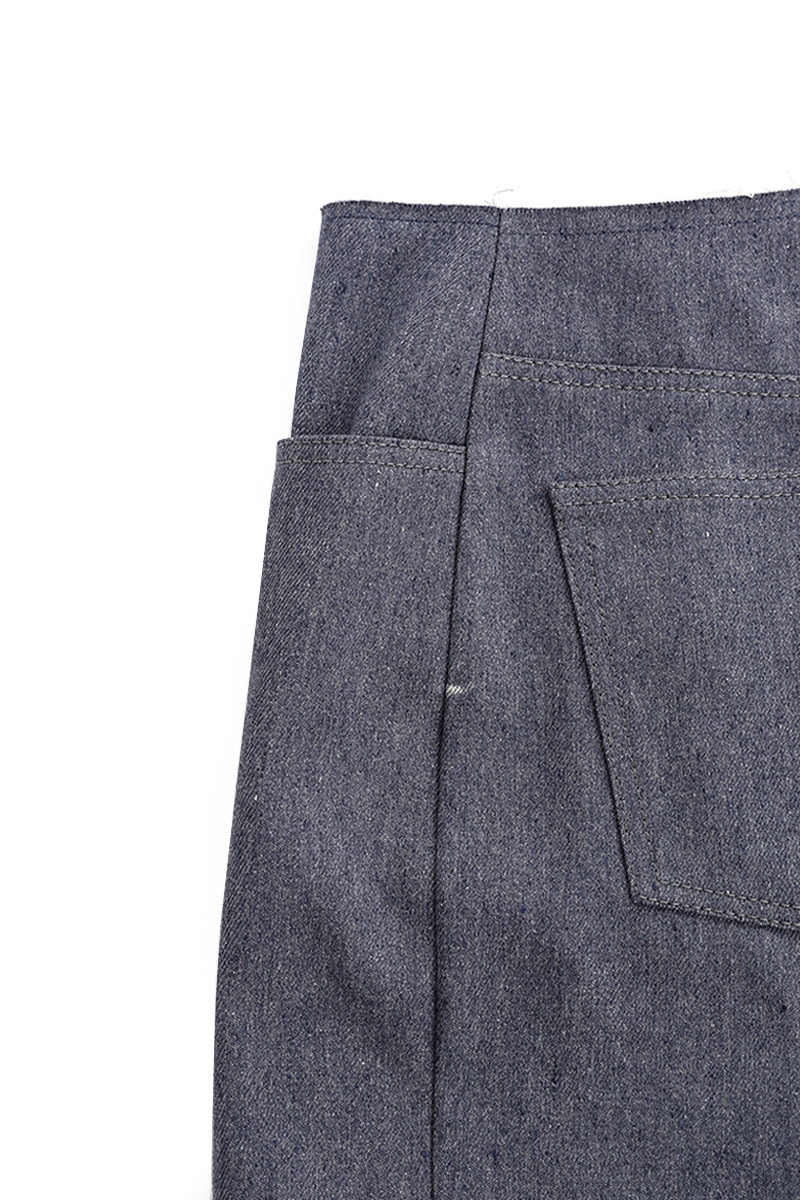
Turn the jean right side out. At the side seam, mark the bottom of the pocket bag using chalk or a pin.

Using top stitching thread, edge stitch from the waist to the bottom of the pocket lining. Back tack 2-3 stitches at the bottom of the pocket bag, or pull the thread through to the wrong side and tie off with the bobbin thread.
6 — Belt Loops and Waistband
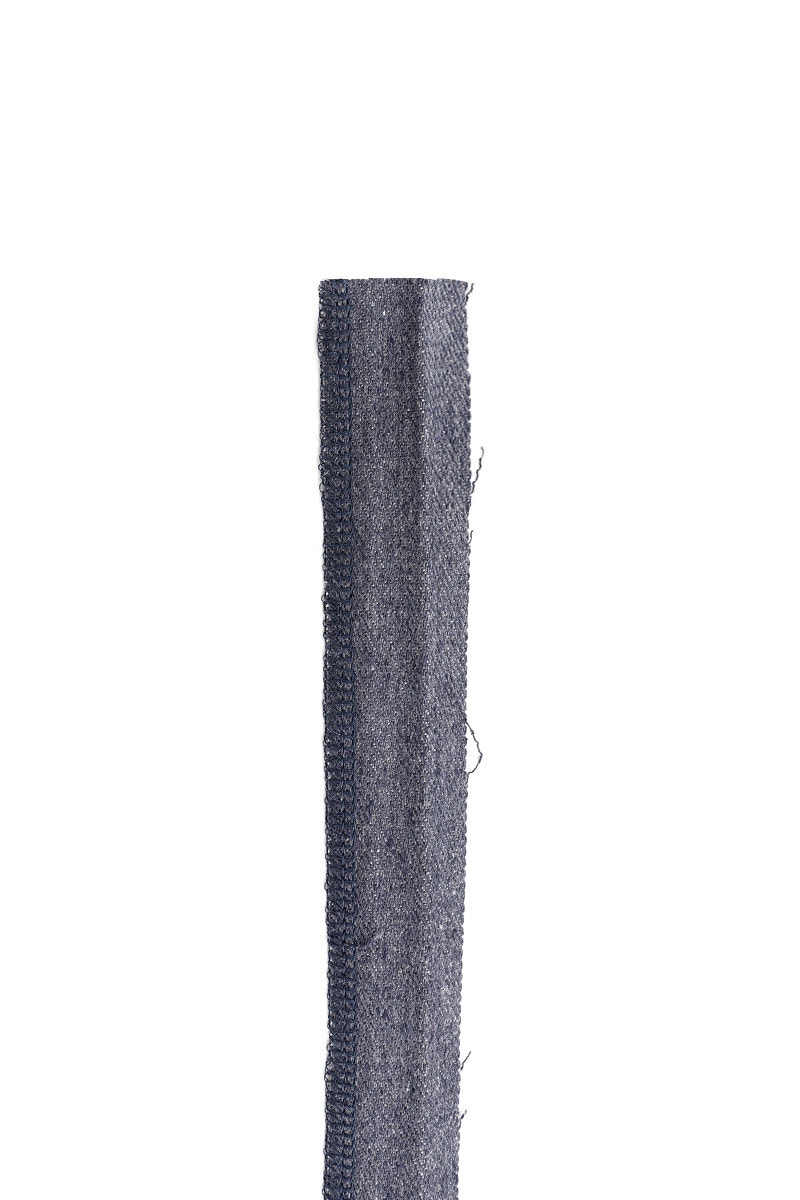
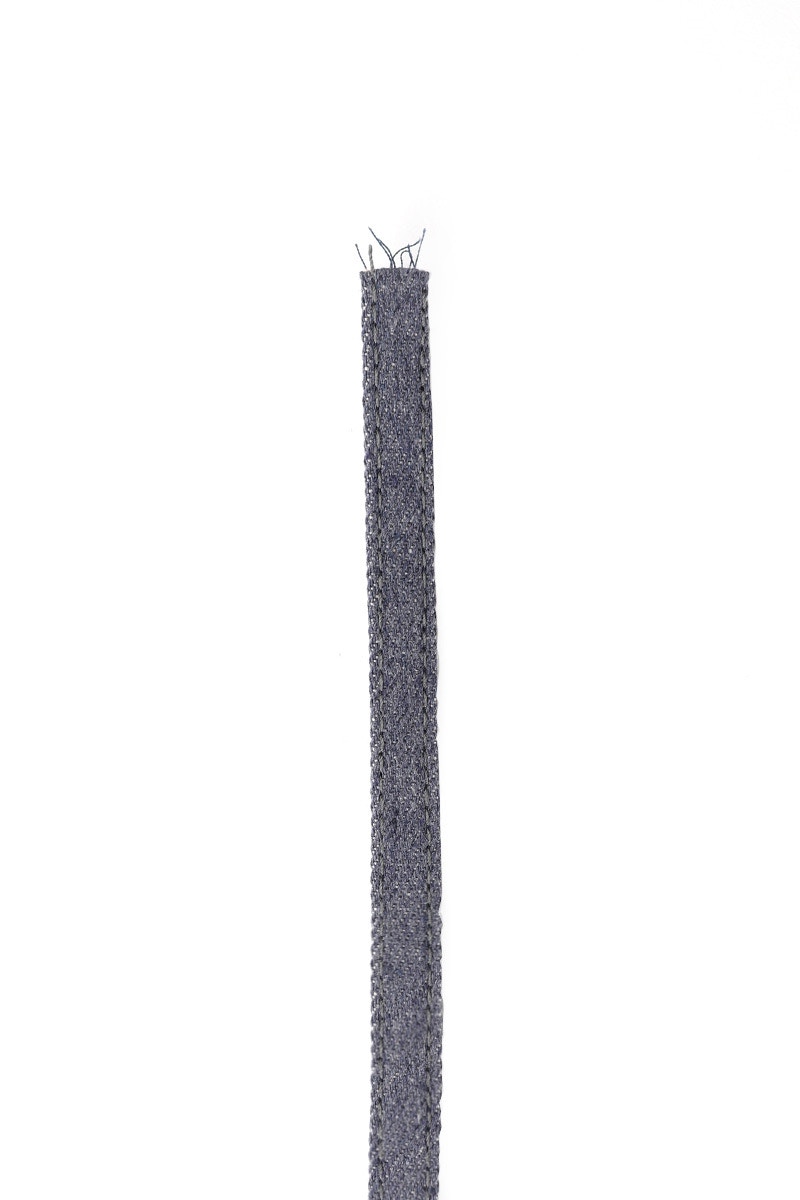
Neaten one long edge of the belt loop pieces. Fold the belt loops into three lengthways with the right side out and the finished edge on top.
Using top stitching thread, edge stitch the length of the belt loops on each side.
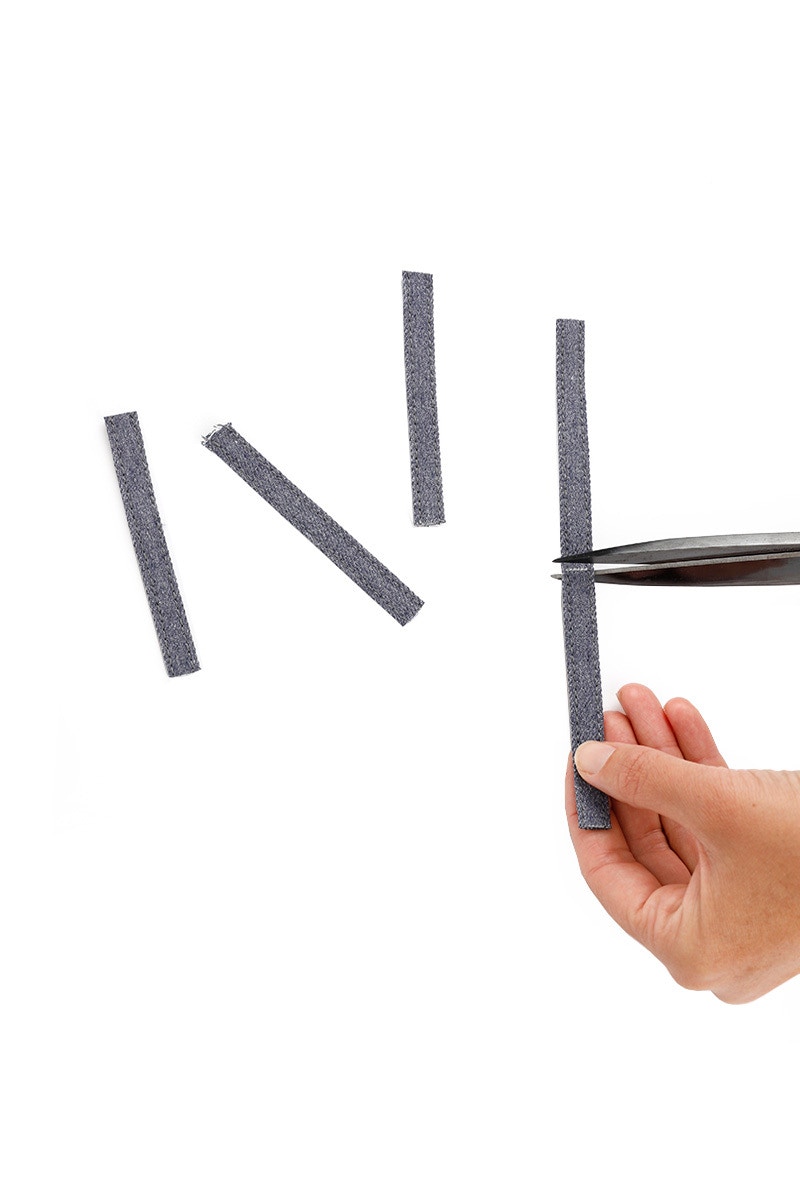
Cut the belt loops into five 10cm pieces.
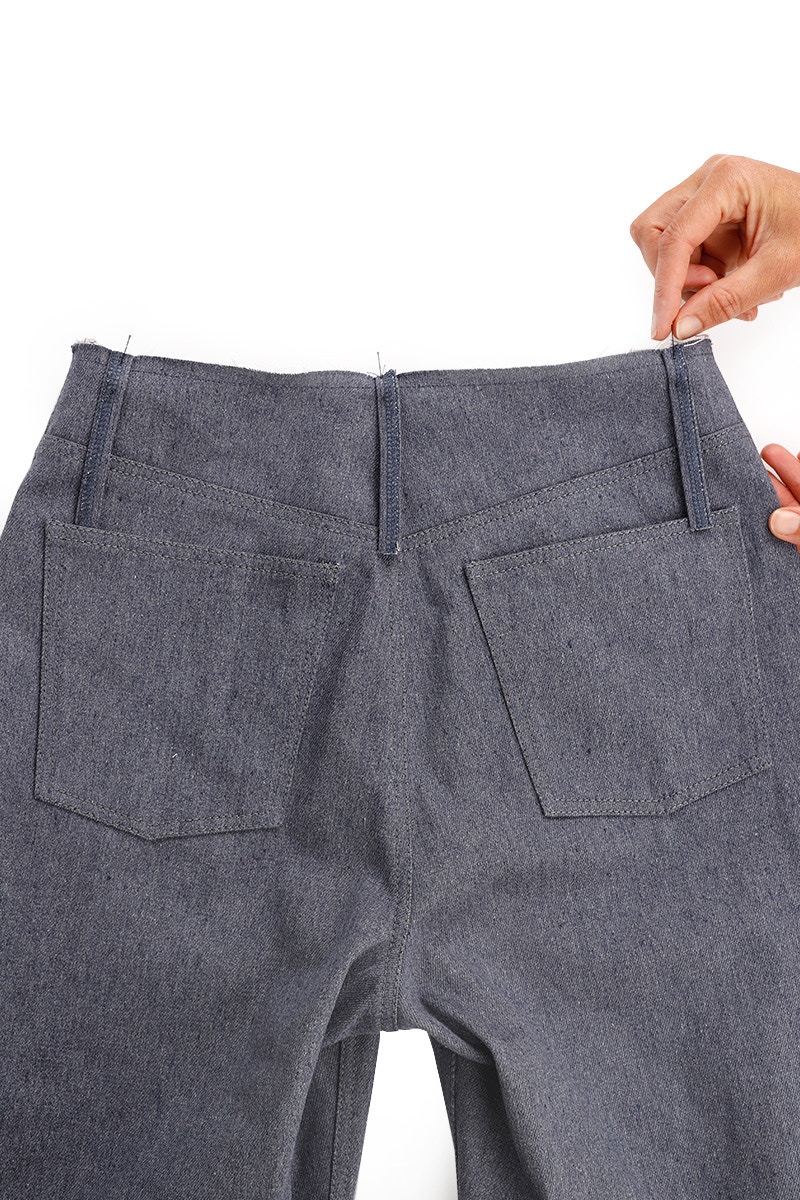
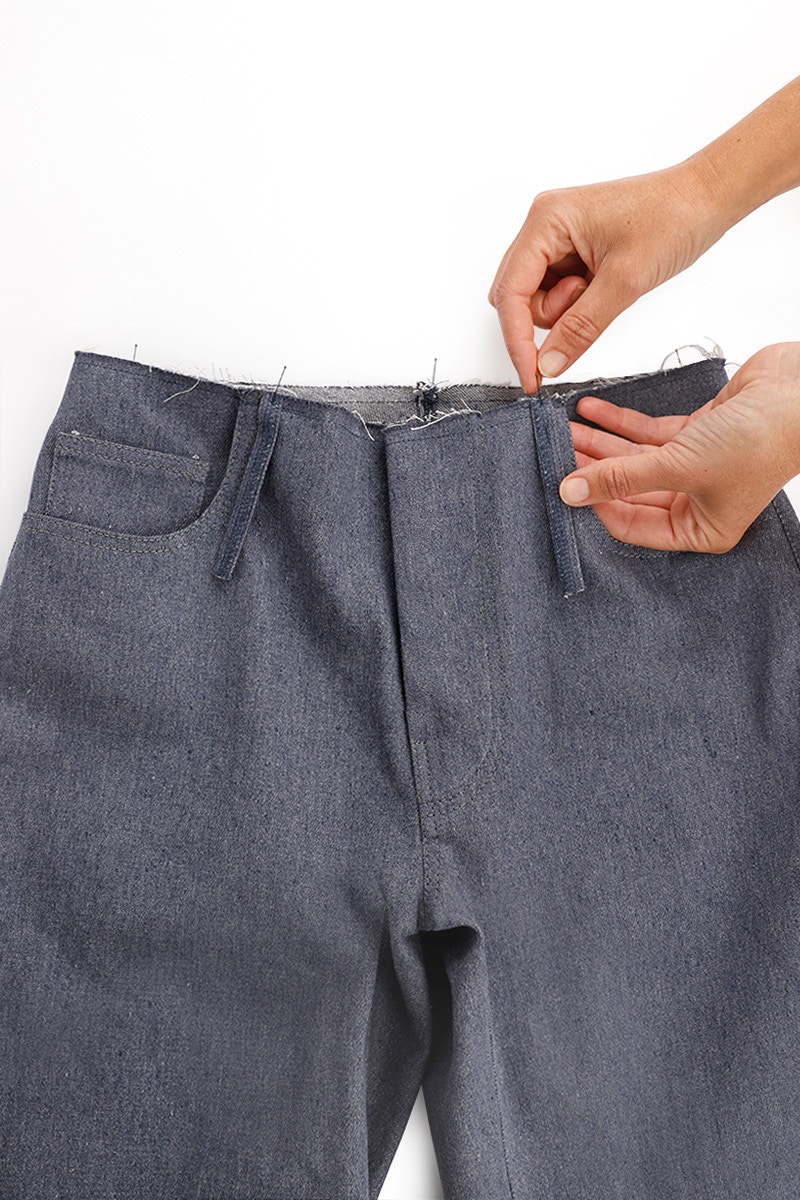
With the right sides together, place the belt loops at the waistline of your jeans. One belt loop sits over the top stitching at centre back. Two belt loops sit slightly to the back of each side seam, as indicated by a double notch on the yoke. The final two belt loops are placed next to the front pocket top stitching.
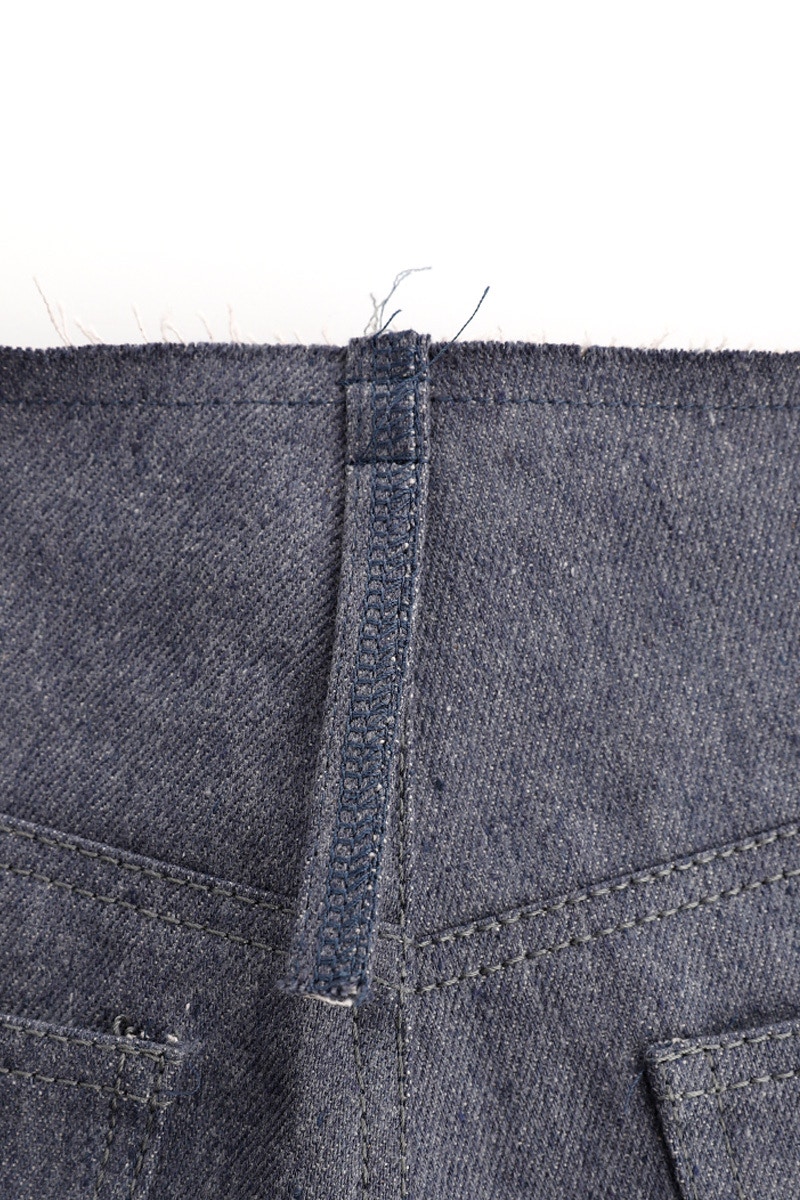
Stitch the belt loops in place at the waist edge, and again at 2.5cm from the waist edge.

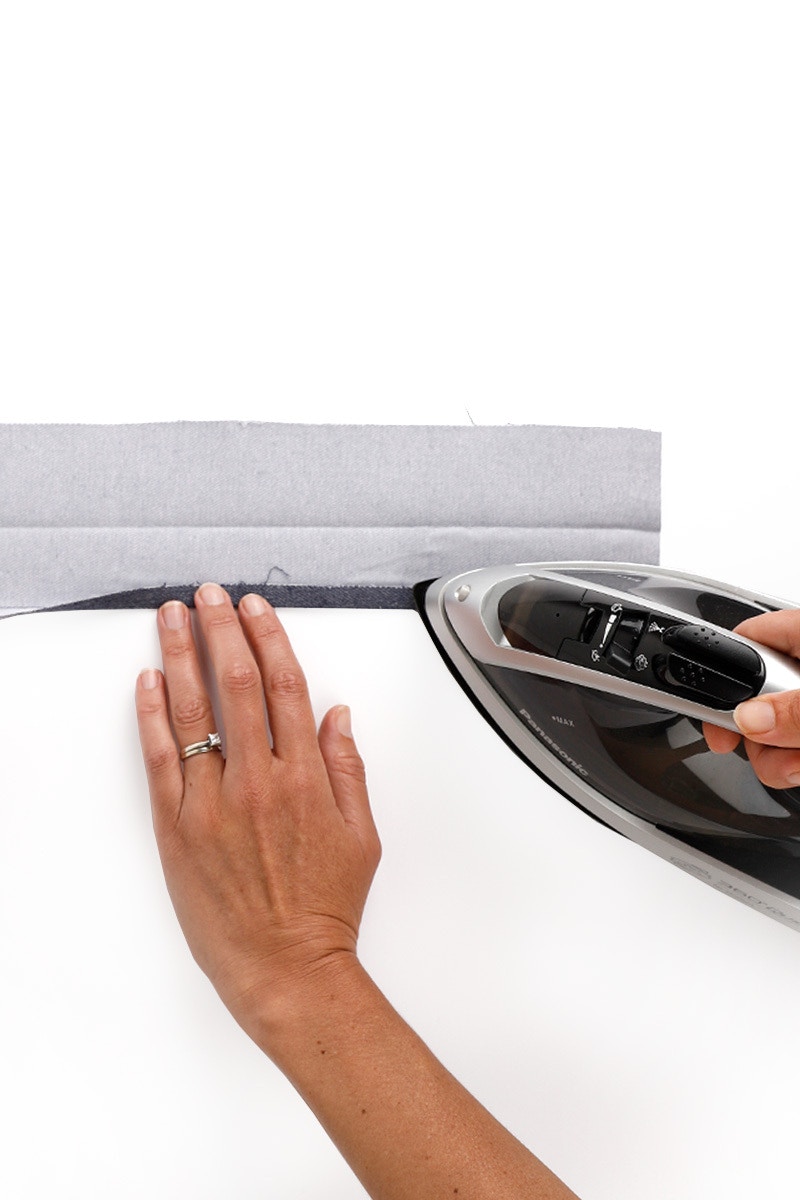
Machine baste a line of stitching at 1cm along the outer edge of the waistband piece.
Fold back the seam allowance 1cm to the wrong side using the basting as a guide and press.
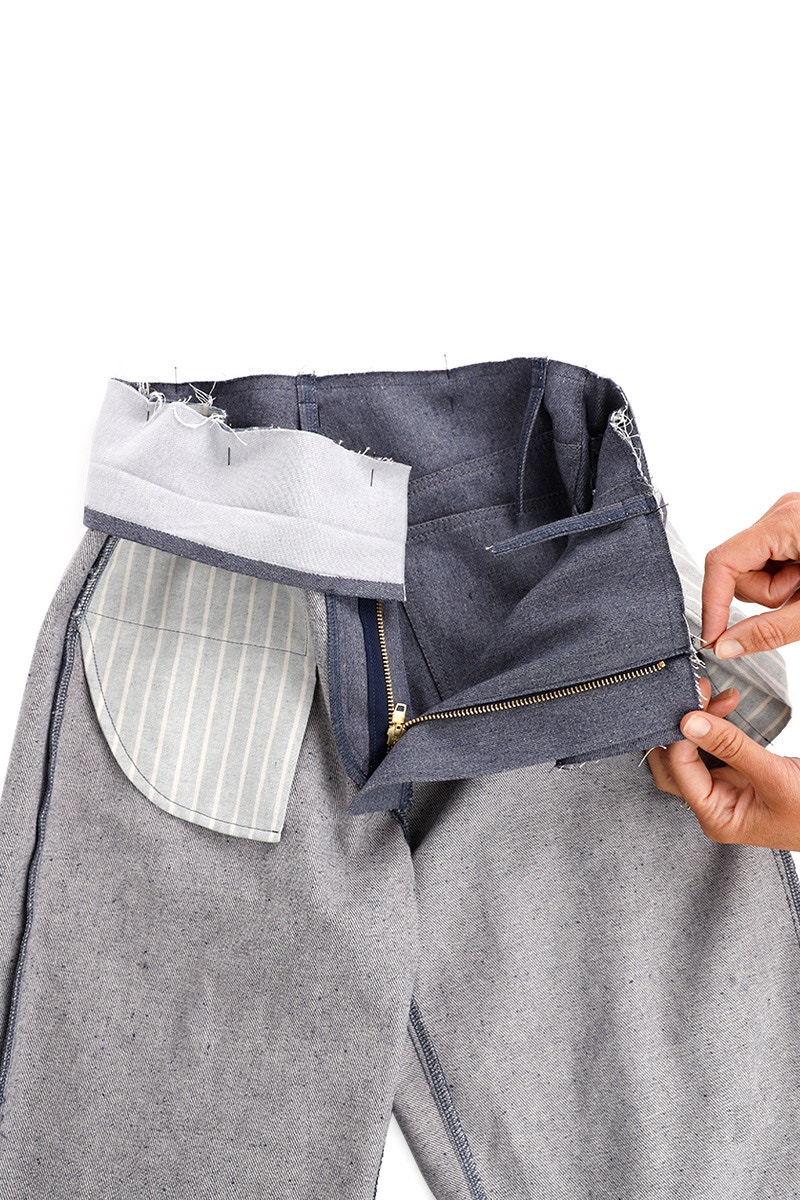
With the right side of the waistband facing the wrong side of the jeans, pin the two pieces together matching the notches and the seams. The waistband will extend past the centre front, and the fly guard by 1cm at each end.
The waistband measures slightly shorter than the waist of the jean itself. This helps the waistband sit closer to the body. Because of this, the jean will need to be eased into the waistband as you sew. If you are having trouble easing it in, try running a long ease stitch over each section to help bring the jean in a bit. Just be careful not to create any tucks in the fabric! A steamy iron can also help.
Sew the waistband to the jeans at 1cm.
Press the waistband and seam allowance up.
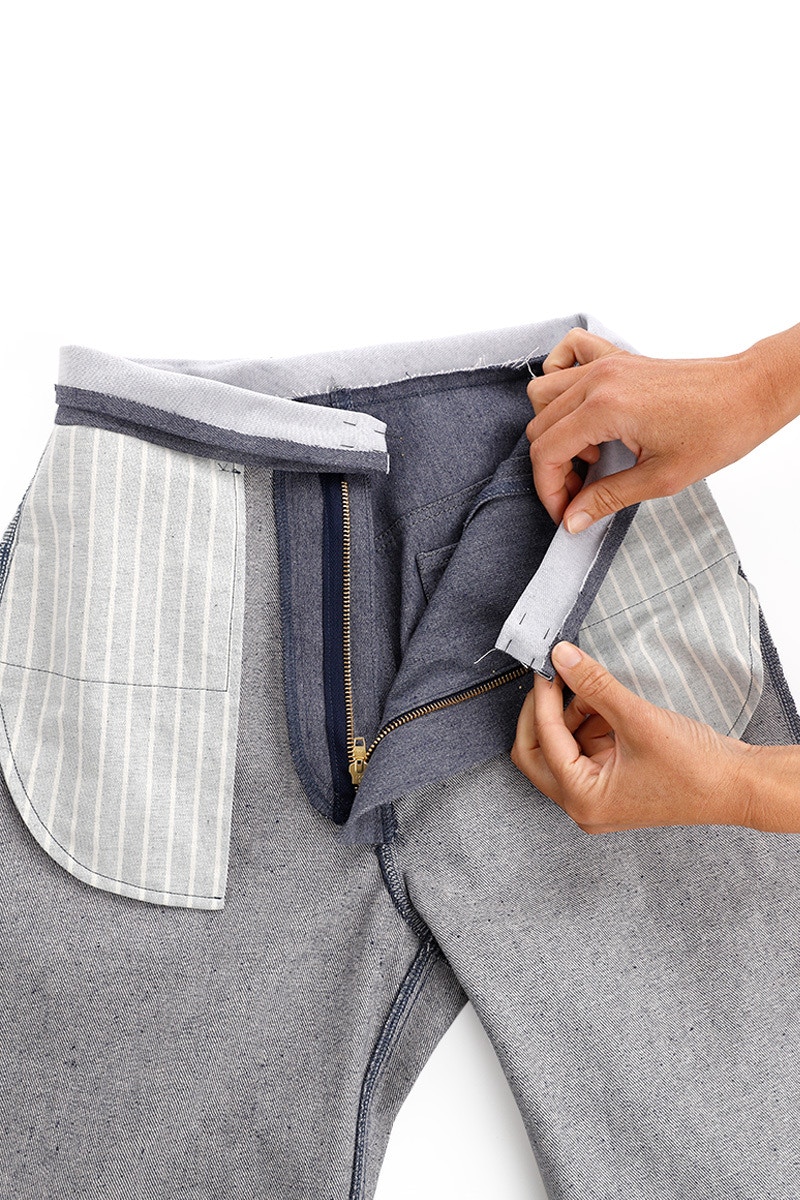
Fold the waistband in half, right sides together. This is opposite to the way you pressed this piece at the beginning. Keeping the seam allowances folded up, pin in place and then sew each short end of waistband closed.


Turn the waistband right side out, using a point turner to help get a nice, sharp corner. Depending on the thickness of your fabric, you might want to snip the corner to reduce bulk.
Give your waistband a press.
Pin the waistband closed. The edge of the waistband will meet with the last line of stitching you made.
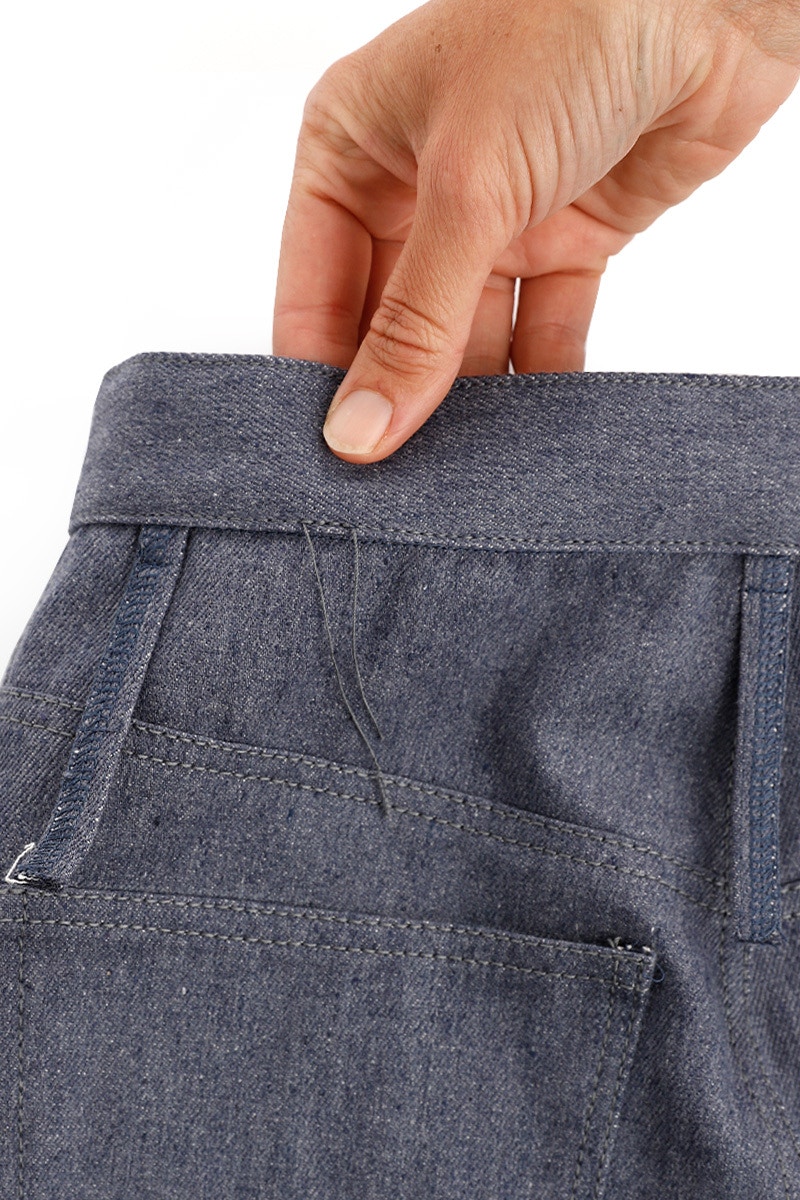

Edge stitch around the waistband with top stitching thread. Sew from the right side, starting and finishing on the lower edge, at the back.
7 — Finishing Touches

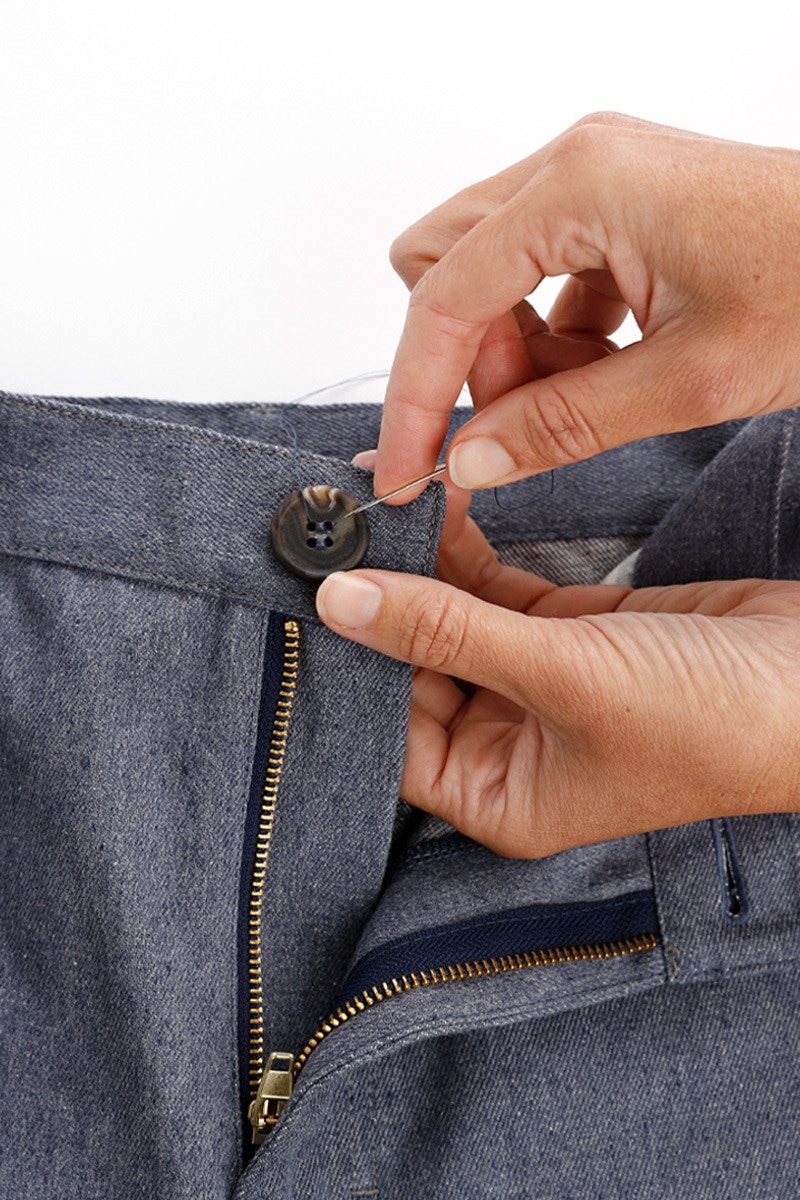
It’s time to add your button and buttonhole!
Sew a buttonhole on the left waistband as indicated on the waistband pattern piece. If your button varies in size to the recommended you will need to adjust the length of your buttonhole accordingly.
Install, or sew on, your button on the right waistband, opposite the buttonhole.
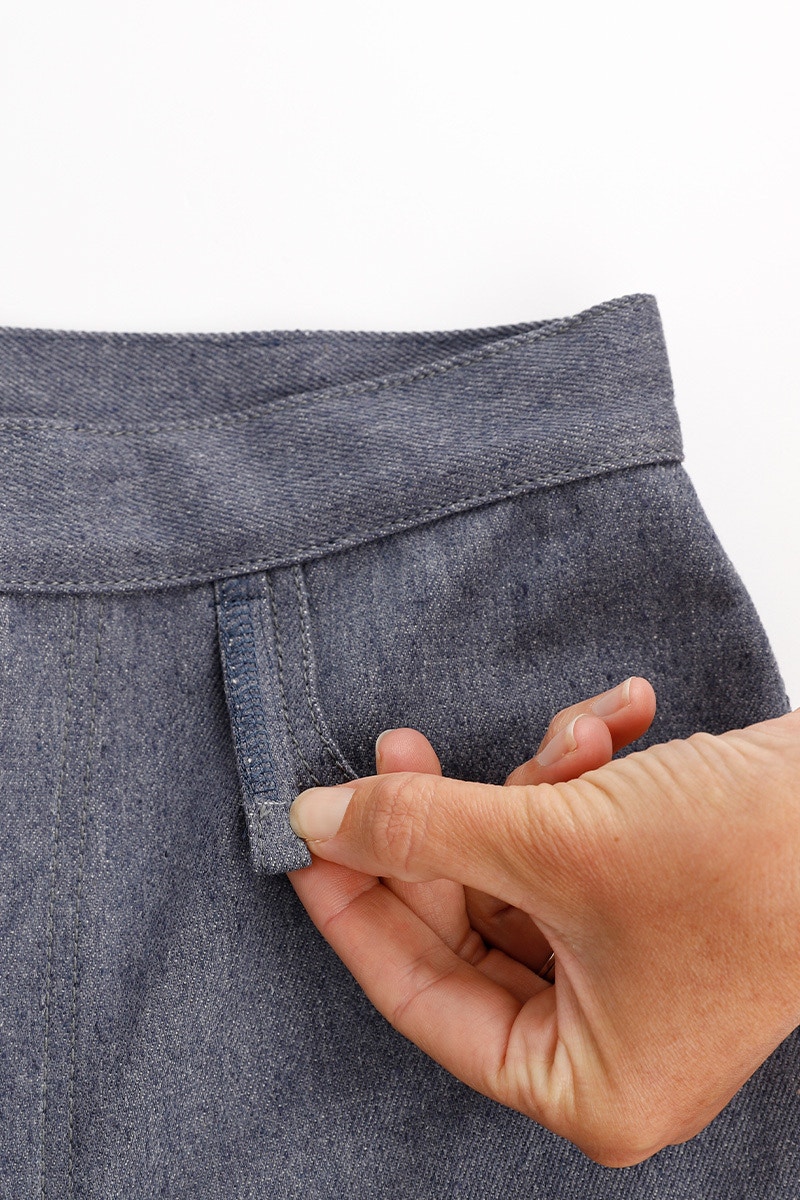
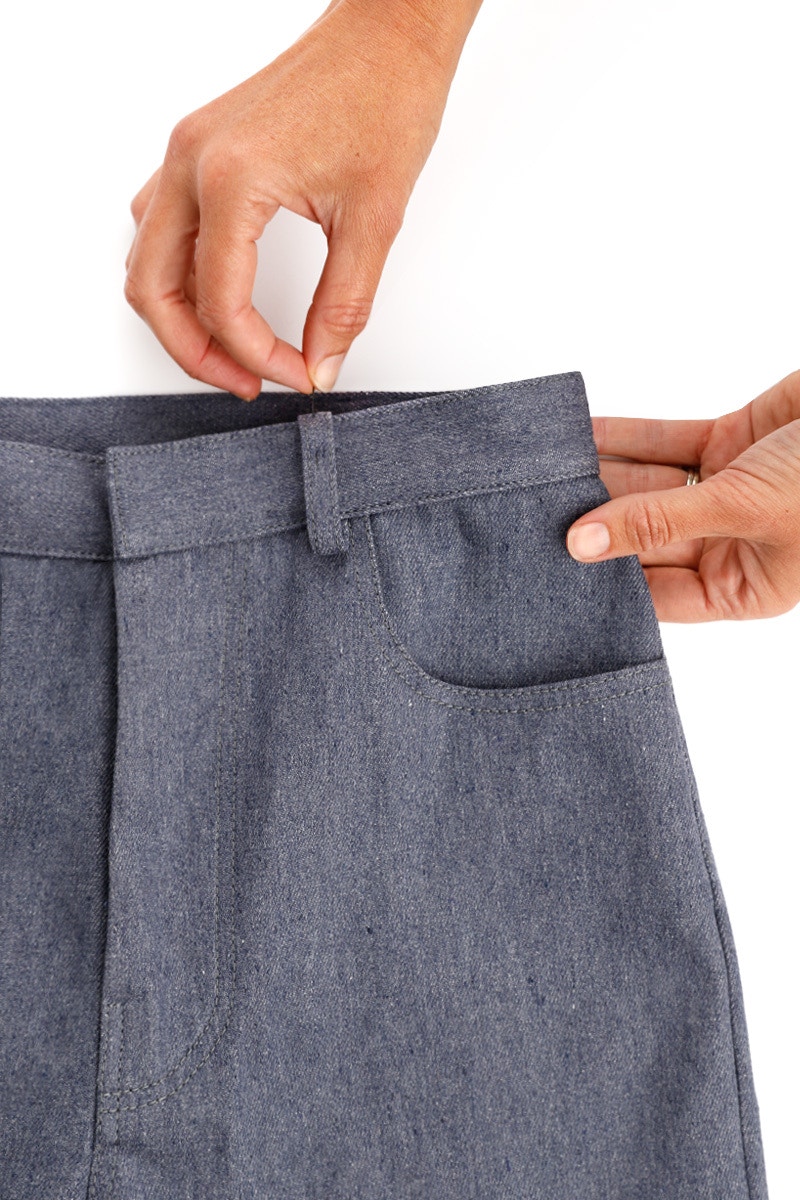
To complete your belt loops, flip each belt loop up.
Fold under the free end of the belt loop so the edge of the belt loop is in line with the top of the waistband.
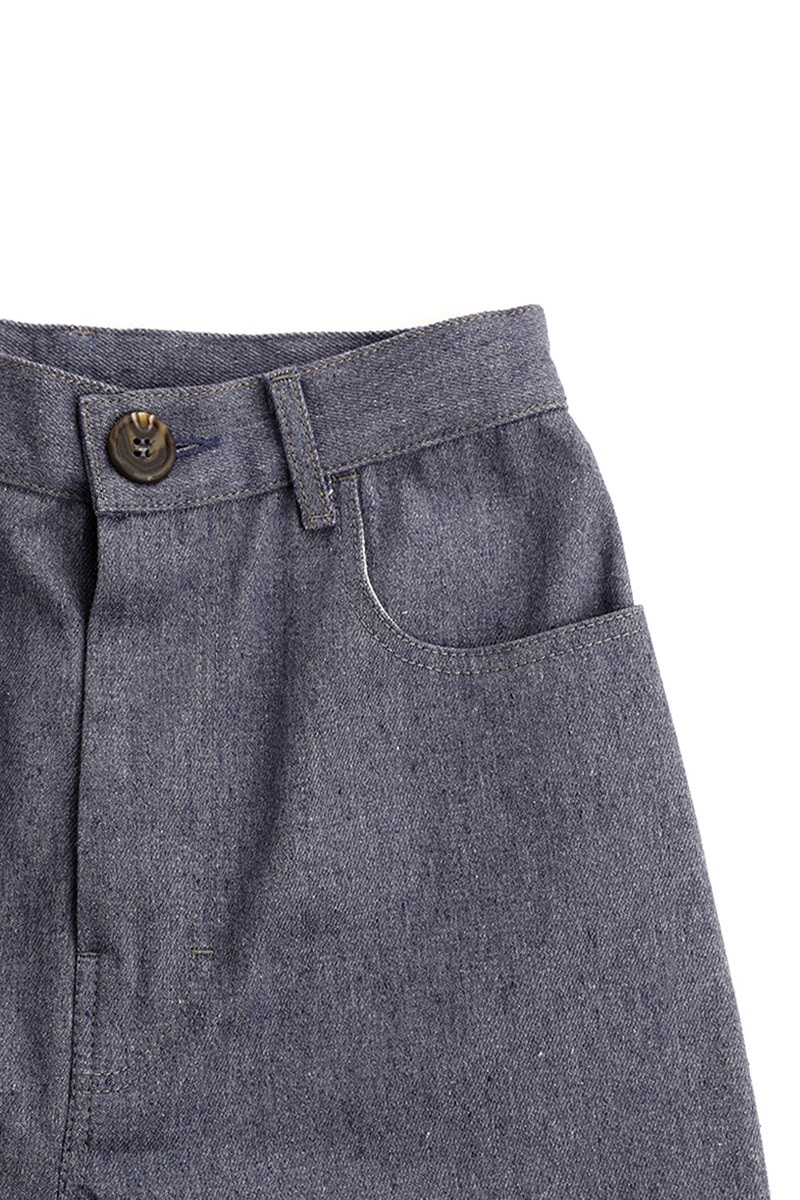
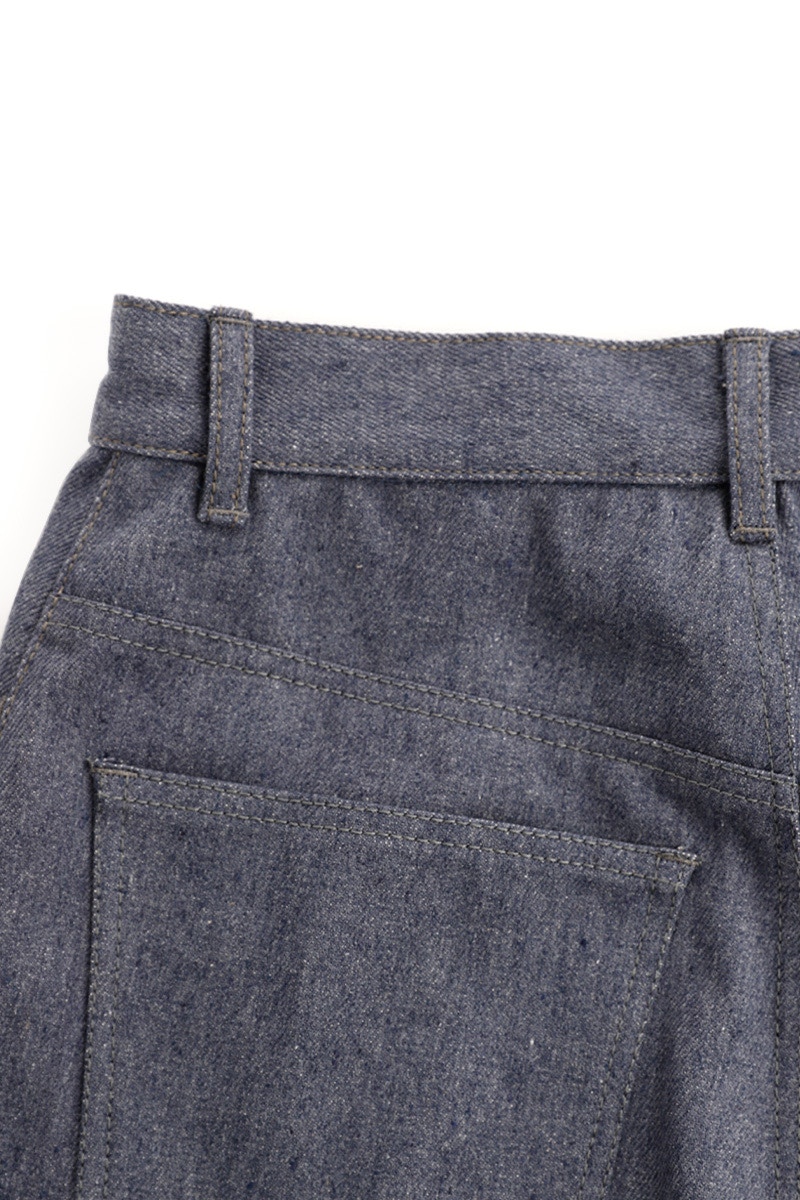
Top stitch along the top and bottom edges of the belt loops, or bar tack at each edge to secure.
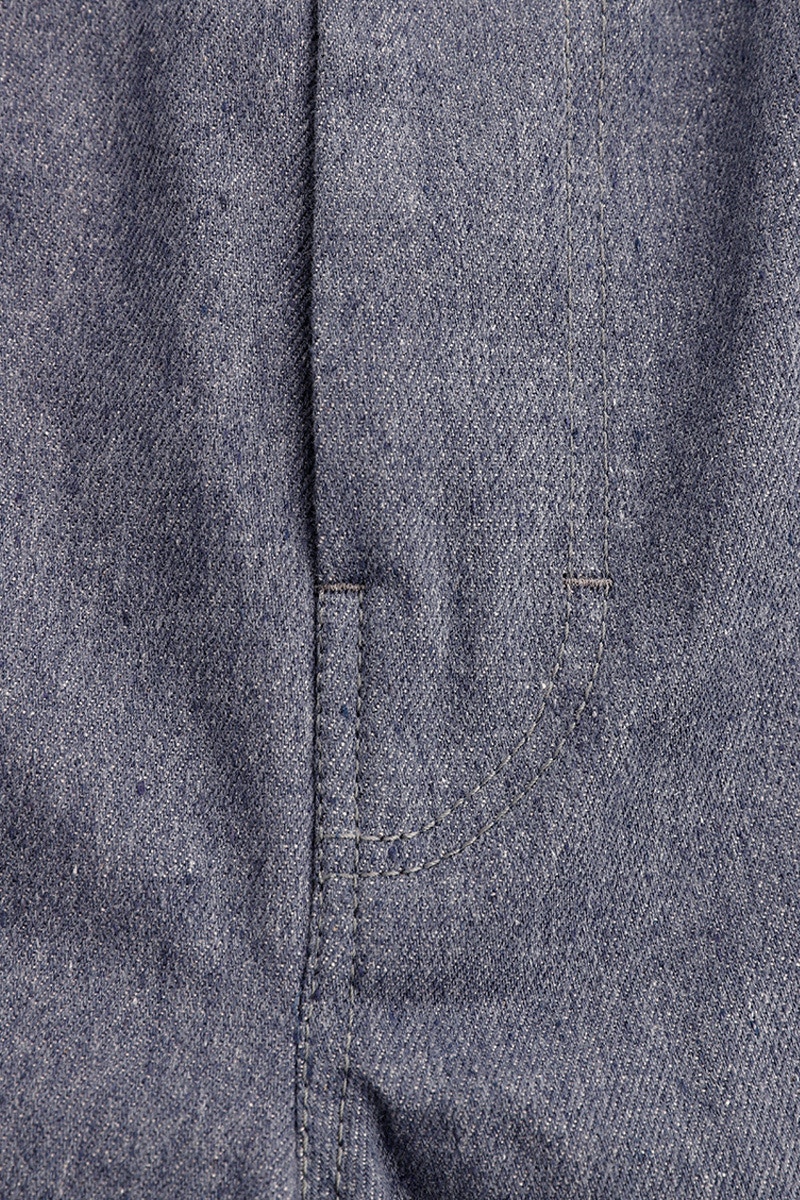
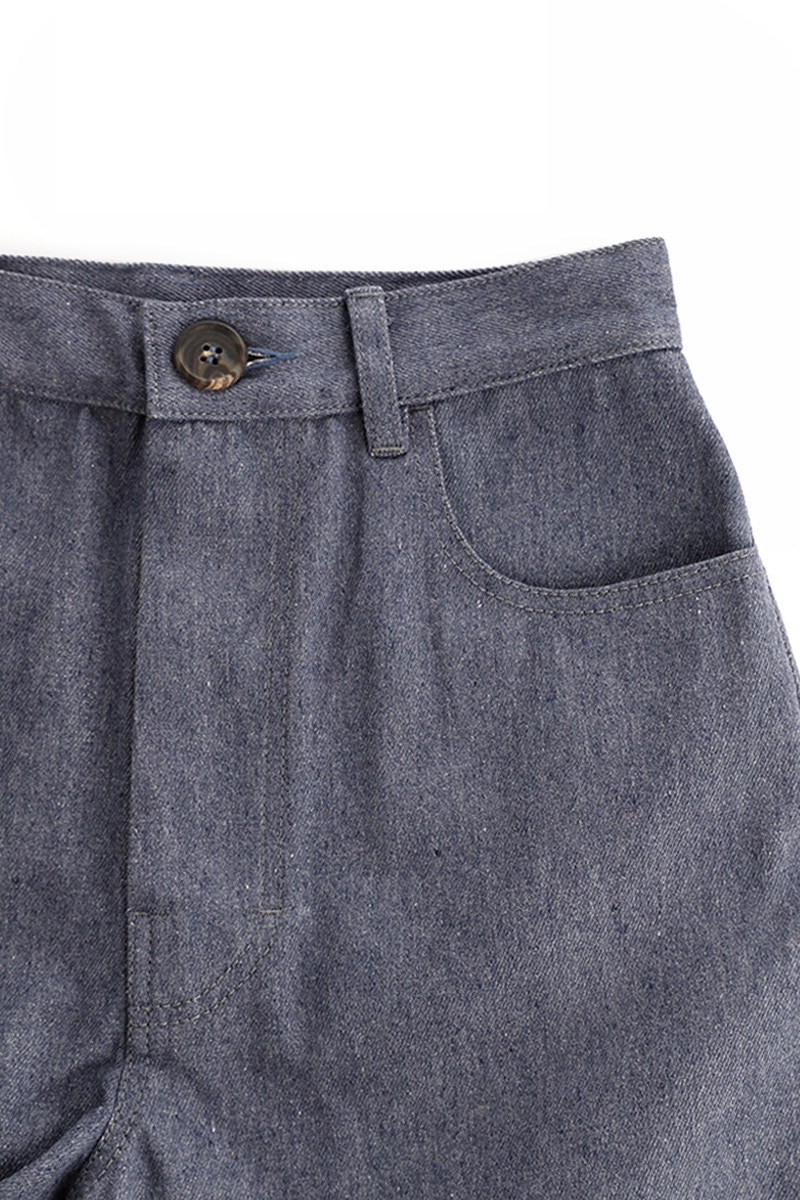
Now it is time to add bar tacks.
Make sure the fly guard is sitting flat behind the zip then sew two bar tacks, one at the top of the centre front crotch top stitching and one parallel to the first, in the fly top stitching. Stitch your bar tacks through all the layers..

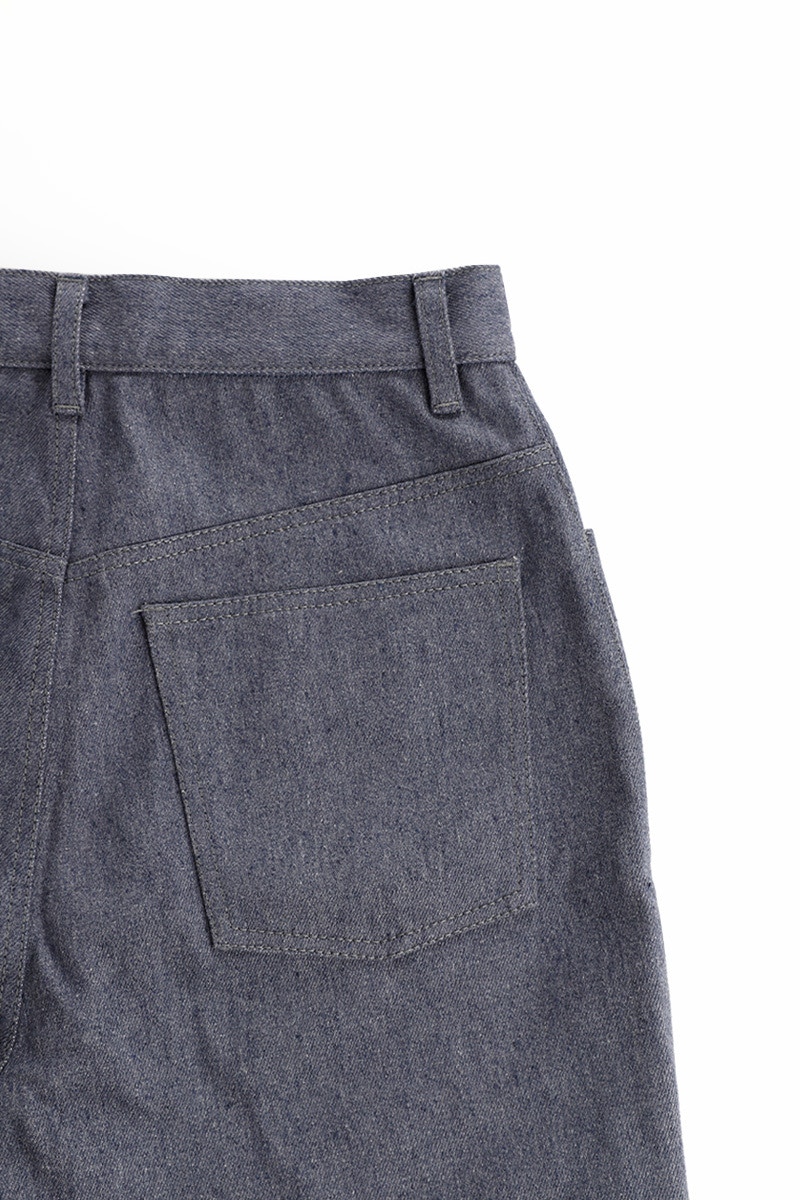
In addition to the belt loops and fly, bar tacks can also be sewn at some key stress points on your jean for added longevity. These are located at each corner of the coin pocket, the side seams and waist edges of the front pockets, and each corner of the back pockets.
Alternatively, if you are using rivets, attach them at these locations.
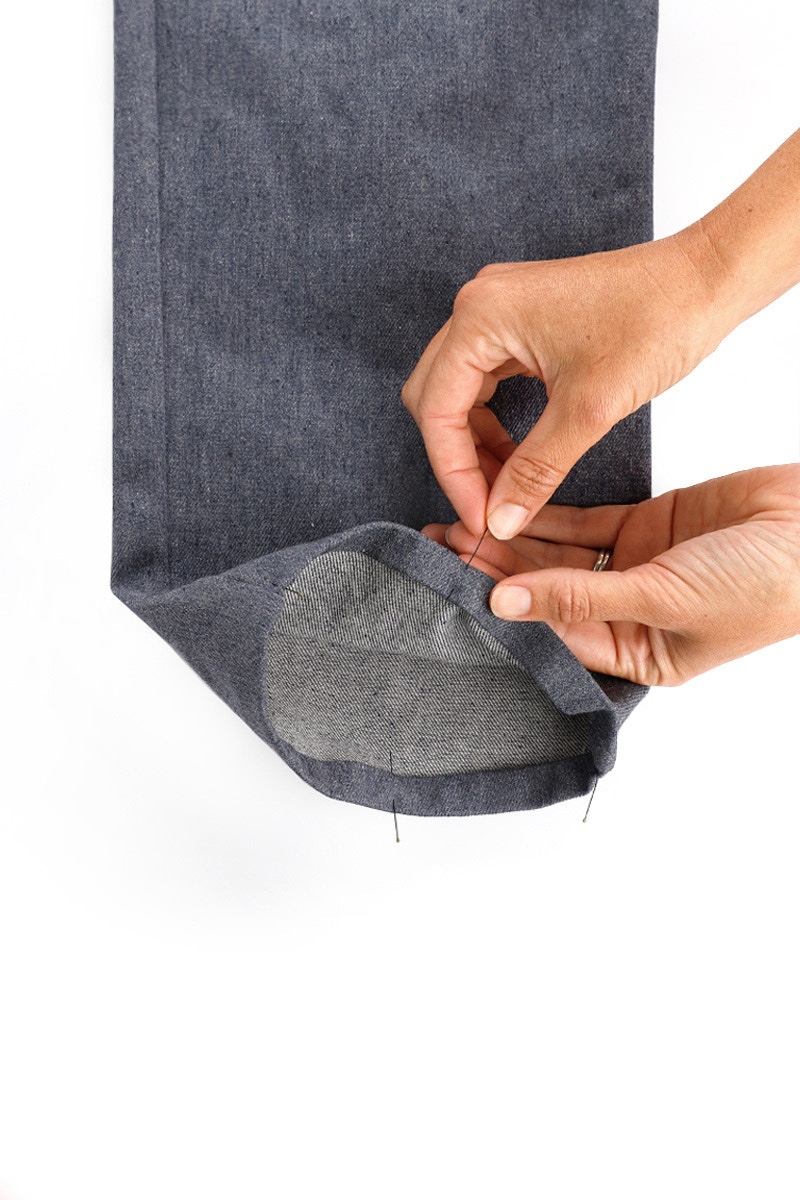
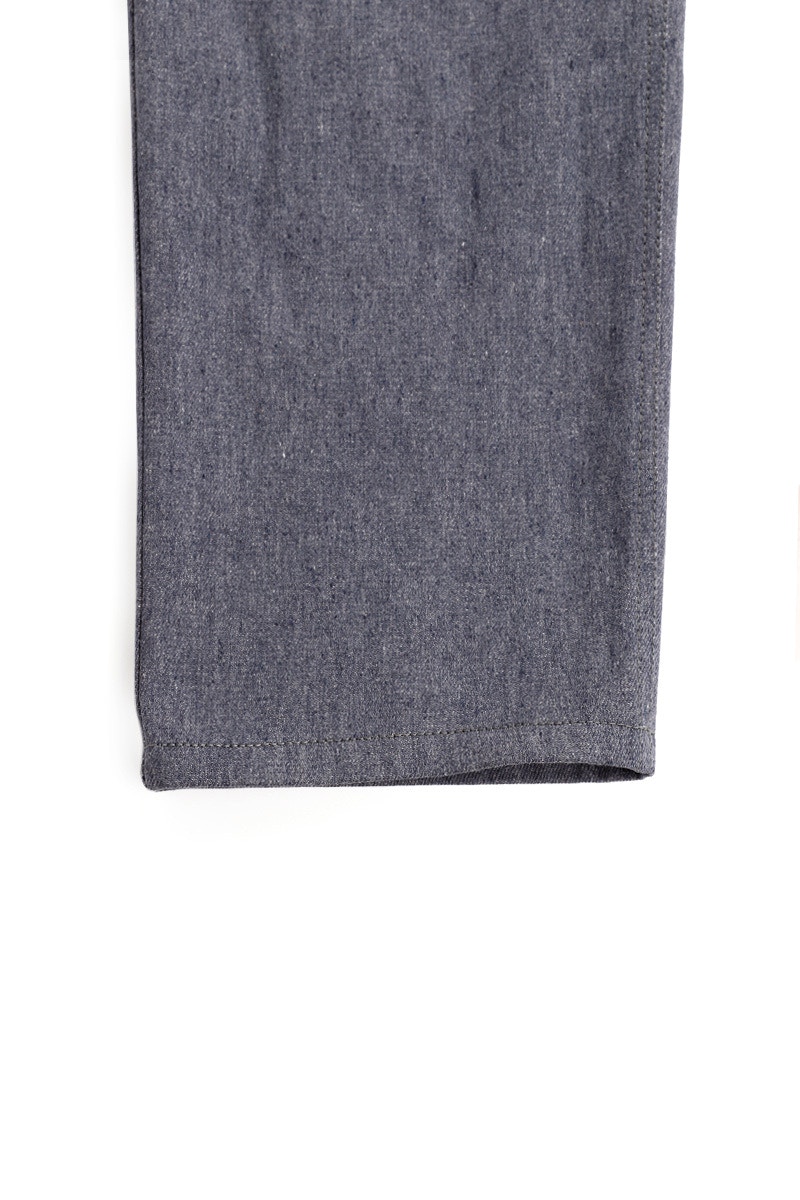
At the bottom of your jeans, fold up the hem 1.5cm, two times, and then press. Top stitch from the right side at 1.3cm, making sure you are catching the folded hem on the wrong side as you are sewing.
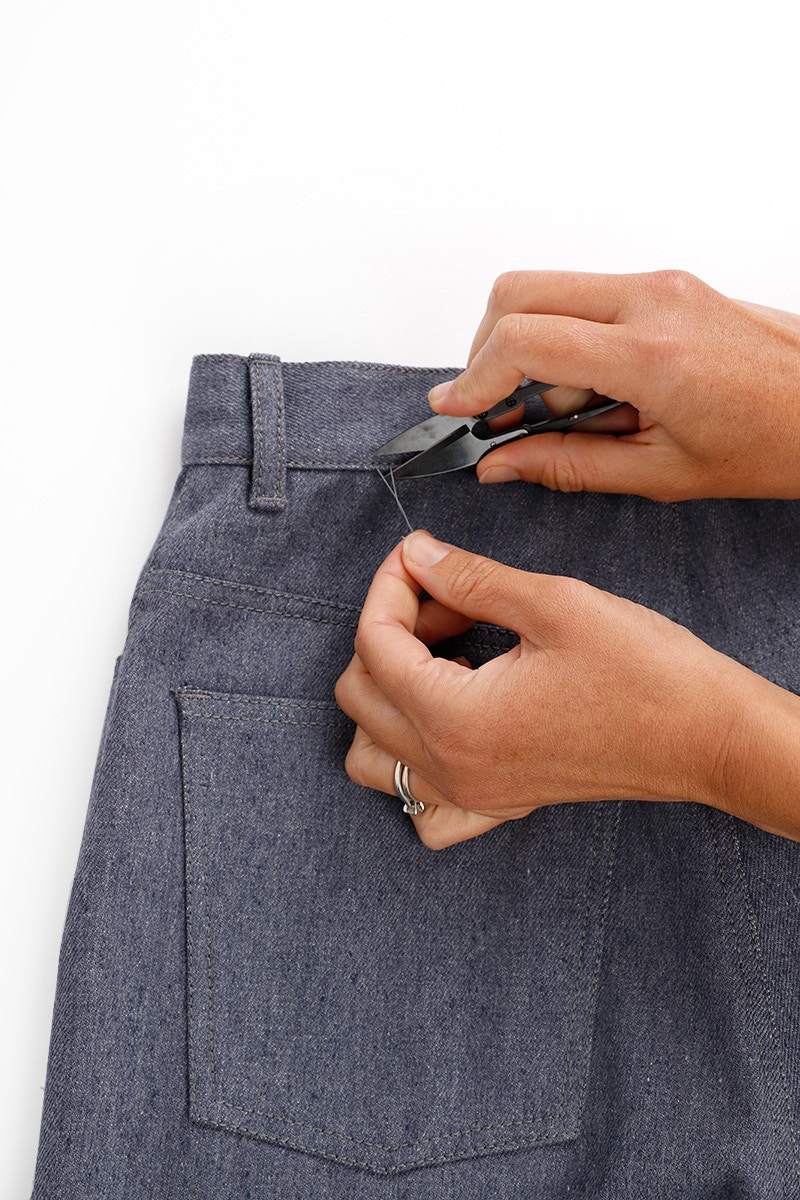
Clip any loose threads.
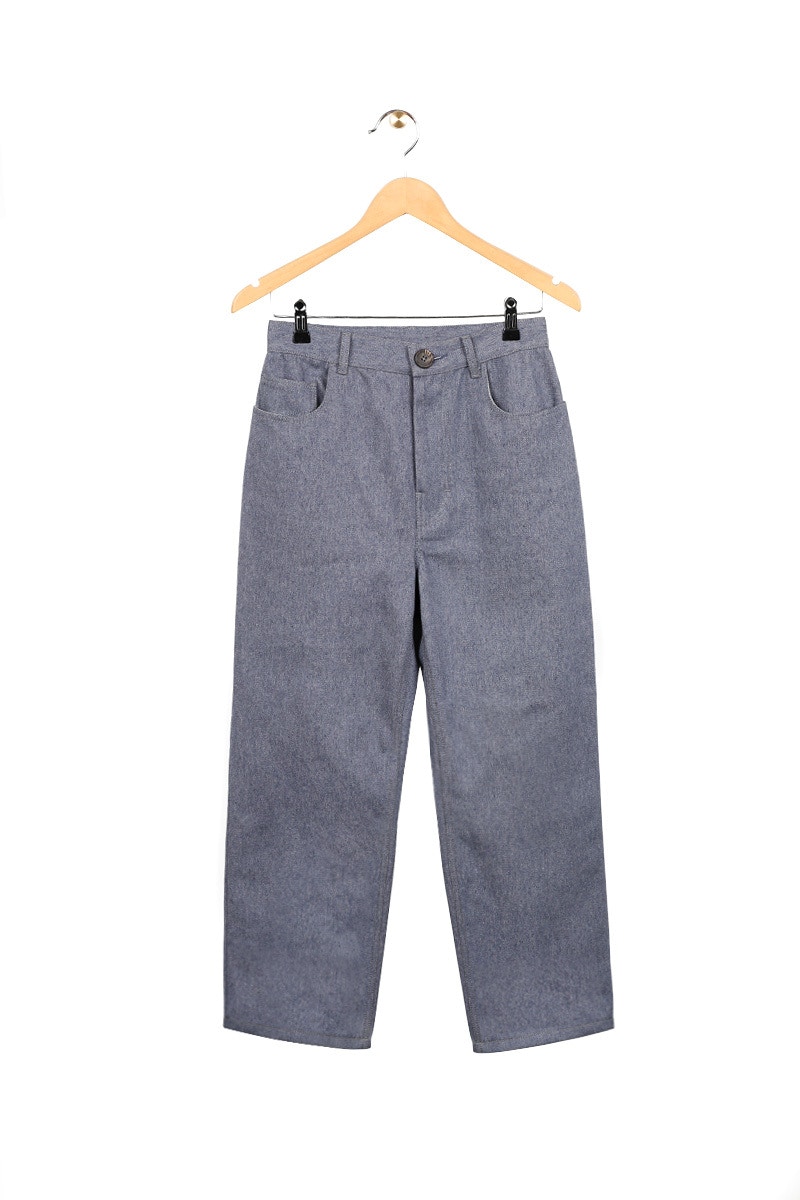
Give your jean a final press. You’re all done!
Check out the May Jean pattern in our Online Store here.
Don't forget you can always email us via patterns@thefabricstore.co.nz if you need advice!
May makes from our wonderful community are also popping up over on Instagram, follow @makebytfs and use #TFSMay so others can check out your creations!

